Search Our Database
Purchase Domain with IPServerOne Free DNS Hosting
Introduction
Purchasing a domain name is a critical step in establishing your online presence. IPServerOne offers an easy and integrated solution with free DNS hosting to get your website up and running. This guide provides a streamlined process for acquiring your domain and setting up DNS hosting with IPServerOne.
Prerequisites
- An active account with IPServerOne.
- Basic understanding of domain registration and DNS settings.
A domain name can simply be purchased from IPServerOne. We should note that nameservers are needed for a domain to work. From here, we are laying five available options to choose from :
- Purchase domain by using your own nameservers
- Purchase domain with a Standard DNS Hosting from IPServerOne
- Purchase domain with a Premium DNS Hosting from IPServerOne
- Purchase domain with a Free DNS Hosting from IPServerOne (valid for hosting a website only)
- Purchase domain with a Premium Plus DNS Hosting from IPServerOne
This is a guide for those who do not own any nameservers and would like to opt for IPServerOne Free DNS Hosting for nameservers.
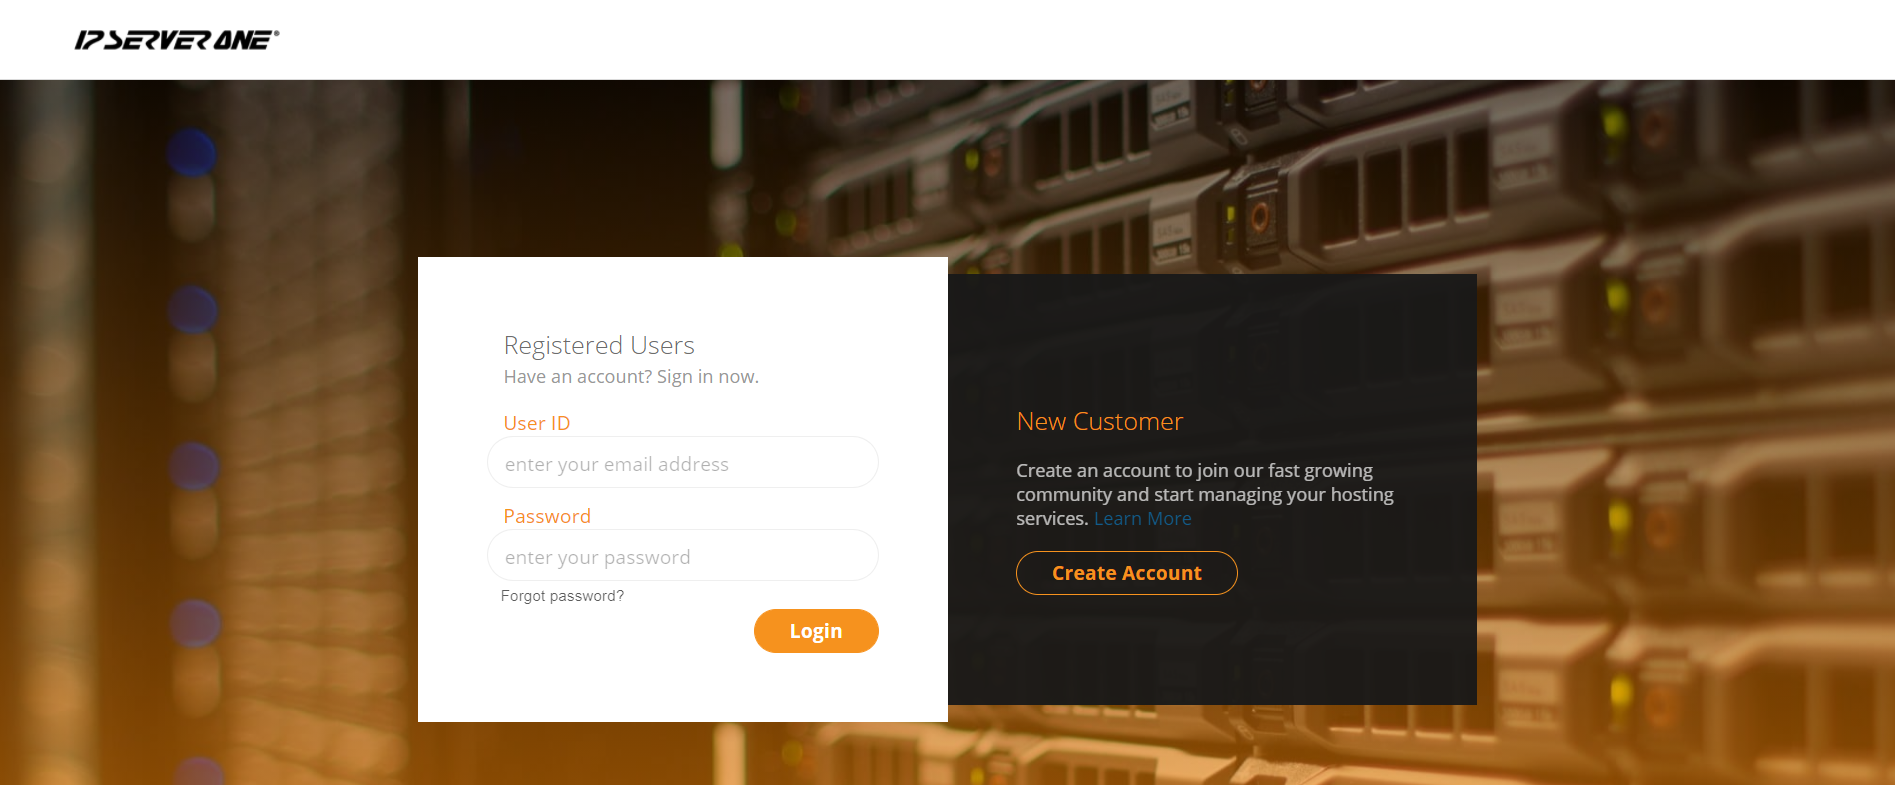
1. To purchase a new domain name, start off by logging in to IPSERVERONE portal.
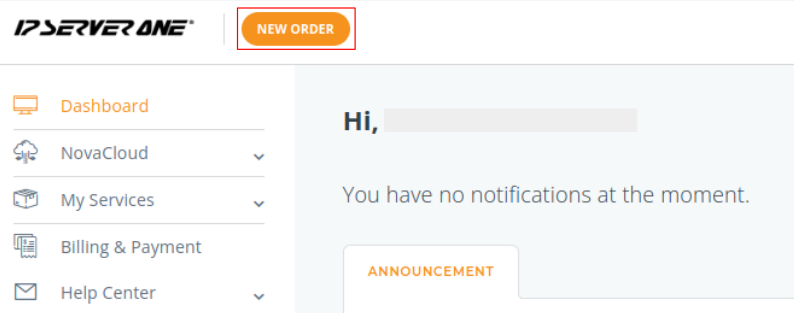
2. After successfully logged in, click on New Order.
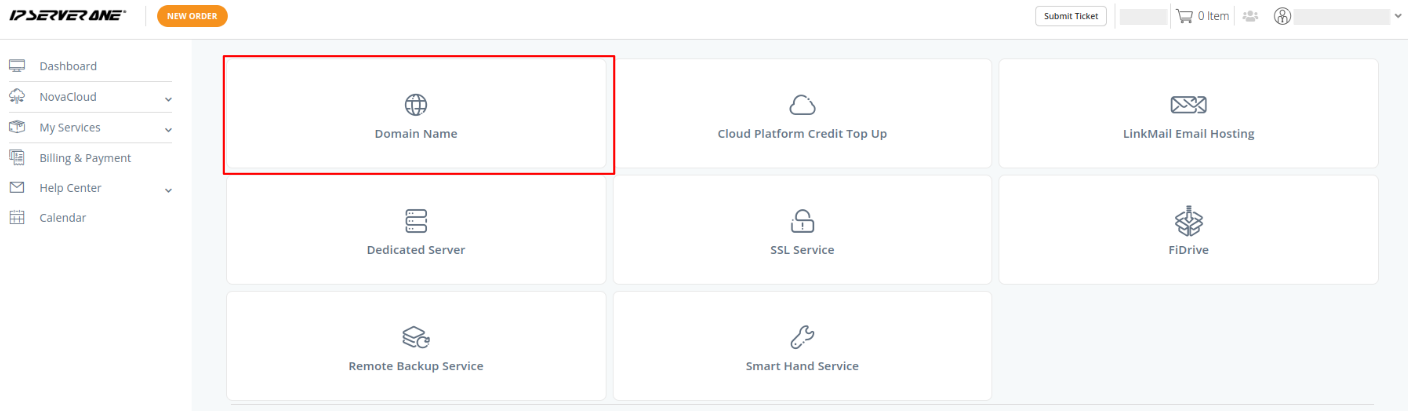
3. Then, click on Domain Name.
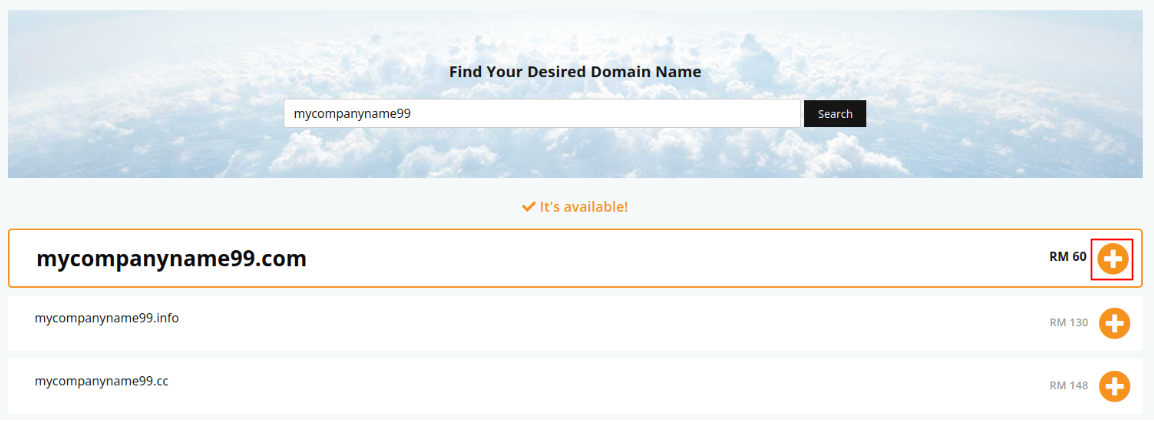
4. Before registering a domain name, do check its availability in the search field.

5. Once you have clicked the Search button, available names and extensions will appear. From here, simply click on the ‘+‘ button of your choosing.
An order summary tab will appear on the right after clicking the ‘+’ button.
6. To create a domain name, it is essential to have a name server to operate the domain. If you do not own any nameservers in hand, you can opt for IPServerOne’s Free DNS Hosting.

** Free DNS Hosting is only sufficient for customers who intend to use less than 2 records for each domain (max of 5 domains only).
If you’re looking to store more DNS records, do opt for our Standard, Premium and Premium Plus DNS Hosting.
7. Continue your steps by clicking on Registration Profile.
You can set to default or select any contacts created or you may create different contact profiles by clicking on Add Profile.
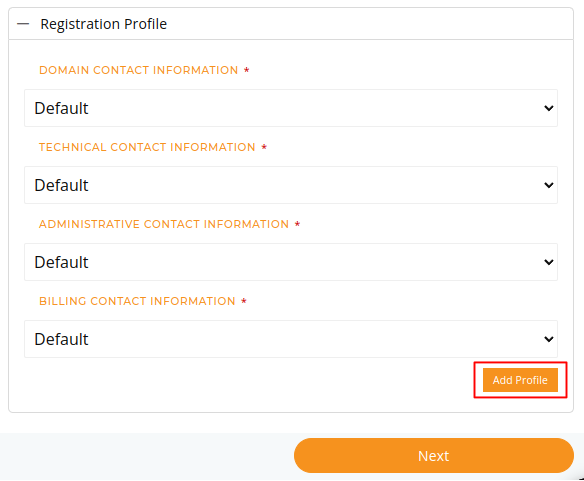
** If you are a first-timer, fill in the contact information with your details to set a default profile for your new domain registration.

** Please make sure your account profile is complete before pursuing the domain. An error will appear if your profile is incomplete, so do update the missing details by clicking on the Edit Profile.
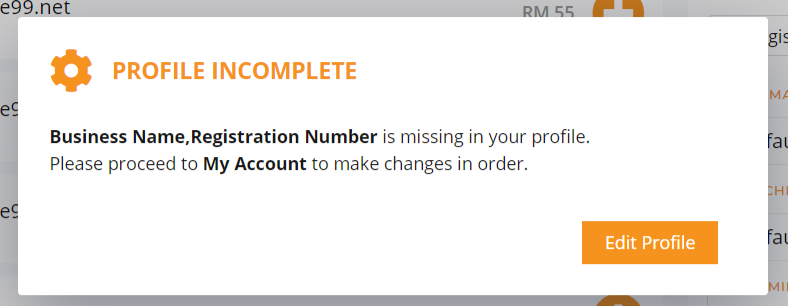
**You will have to redo the steps to purchase domain name again if customer profile is incomplete.
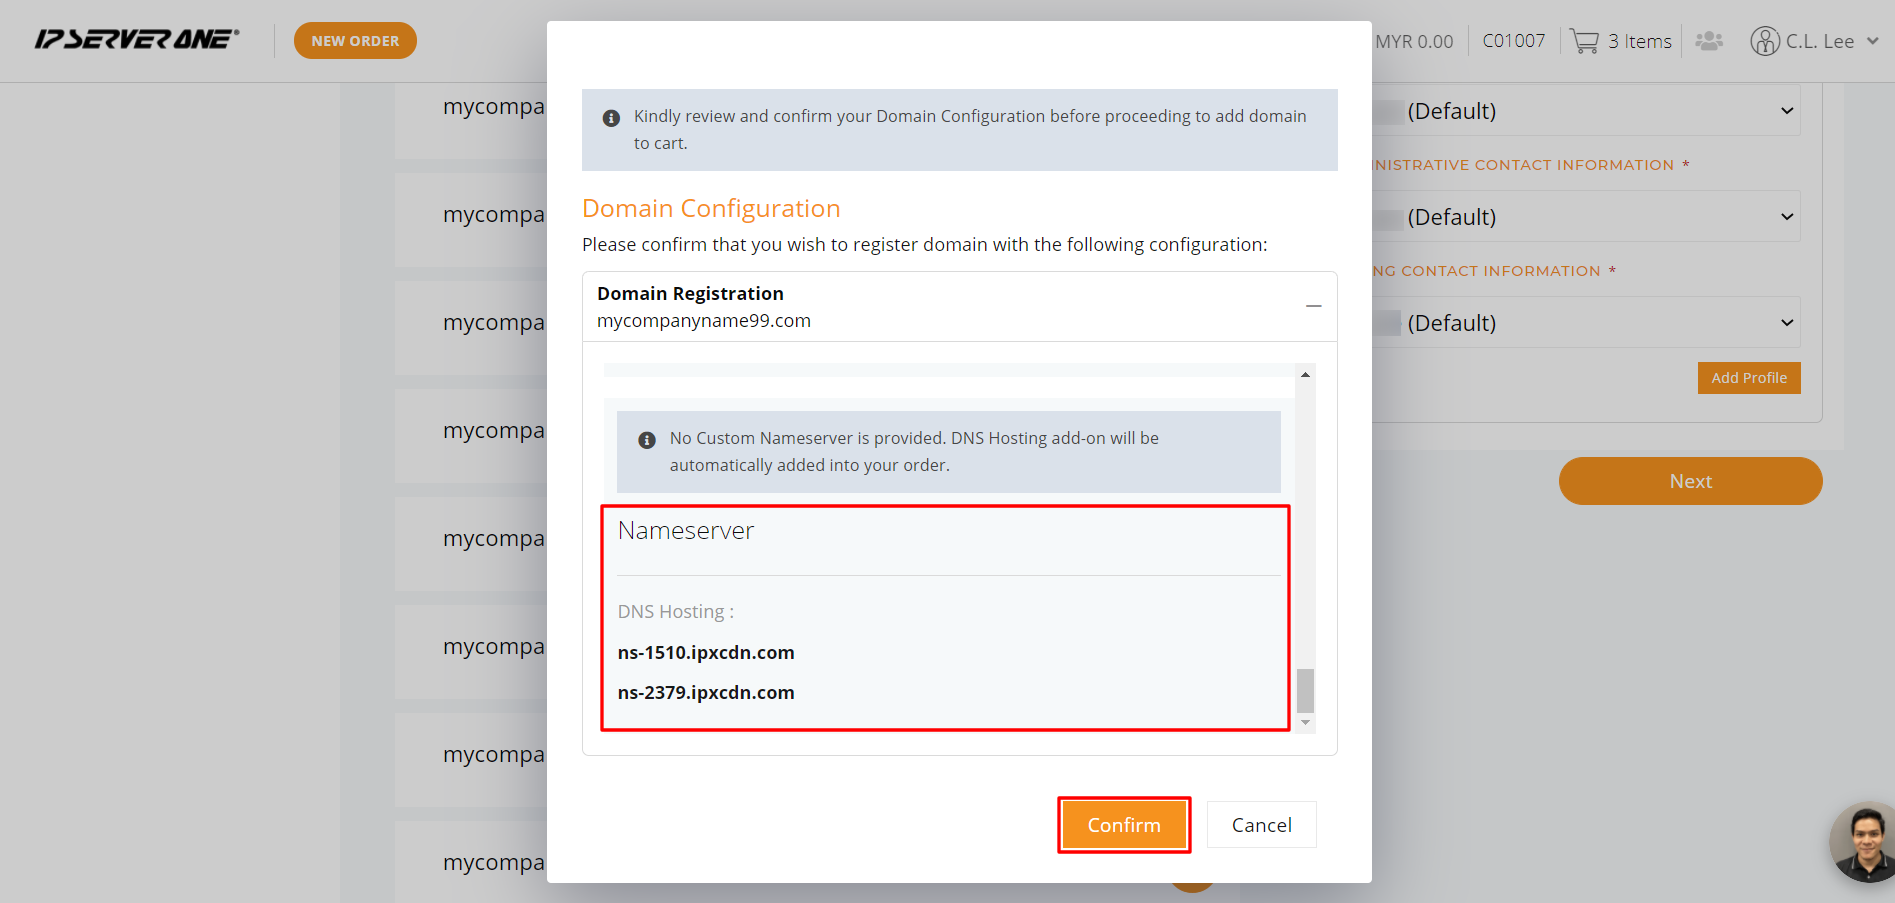
8. Done with Registration Profile, you will be directed to Domain Configuration section. Kindly review these details and confirm your domain configuration by clicking Confirm.
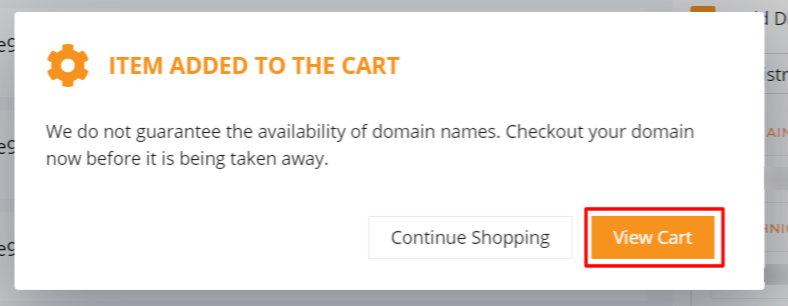
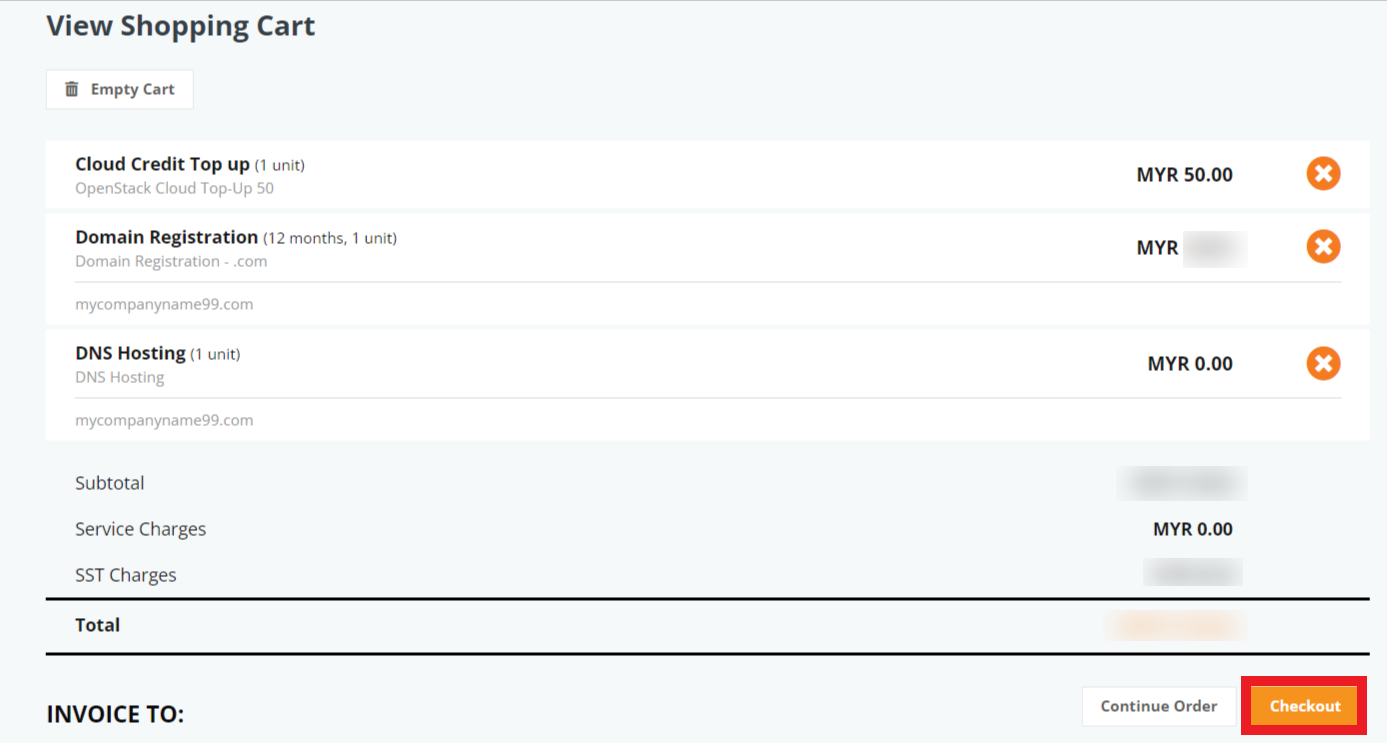
9. Domain is successfully added to cart, you may now proceed to checkout to secure the availability of your domain name.
10. Your cart should show as follows. Proceed to click Checkout.
Additional Links for Reference
Conclusion
Acquiring a domain with IPServerOne and setting up free DNS hosting is a straightforward process designed to facilitate your website’s smooth launch. By following the steps outlined, you can ensure a seamless setup of your online presence.
For additional assistance or if you encounter any issues, please contact our support team at support@ipserverone.com.