Search Our Database
Cloud Hosting Security Group
Introduction
When you have launched an instance, you will be running various of service in it and some service will required specific port to run and you required to open the port in security group or you may wish to close unused port for better security. This article will guide you through the steps to open / close the port for your server.
Prerequisite
- Access to customer portal where the instance is under
- Knowledge on server port
Creating a security group
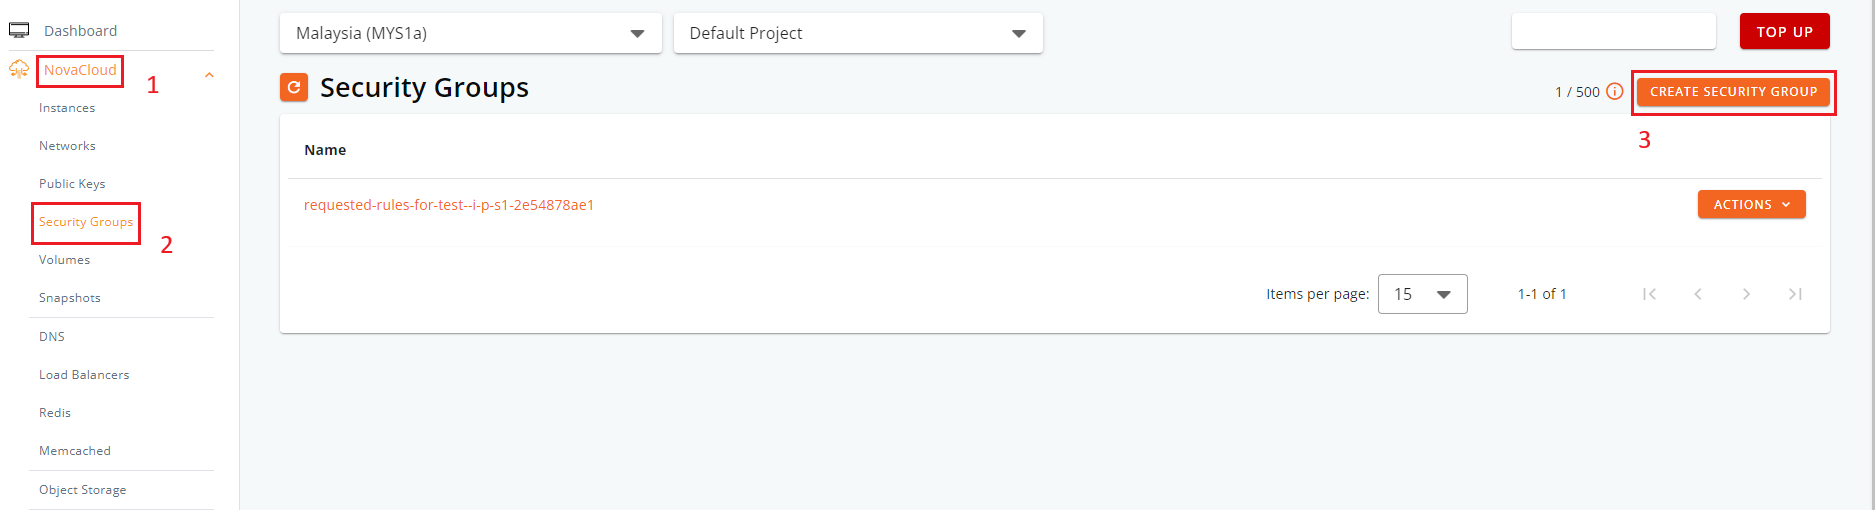
Navigate to Security Groups
- Navigate to Security Groups from the drop-down menu on the left panel. Click on Create Security Group
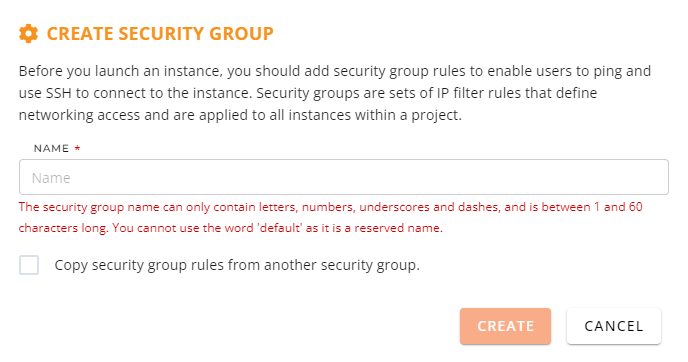
Creating Security group
- Enter the Name of the security group and click on Create. If you want to copy security group rules from an existing security group, check the box labeled Copy security group rules from another security group.
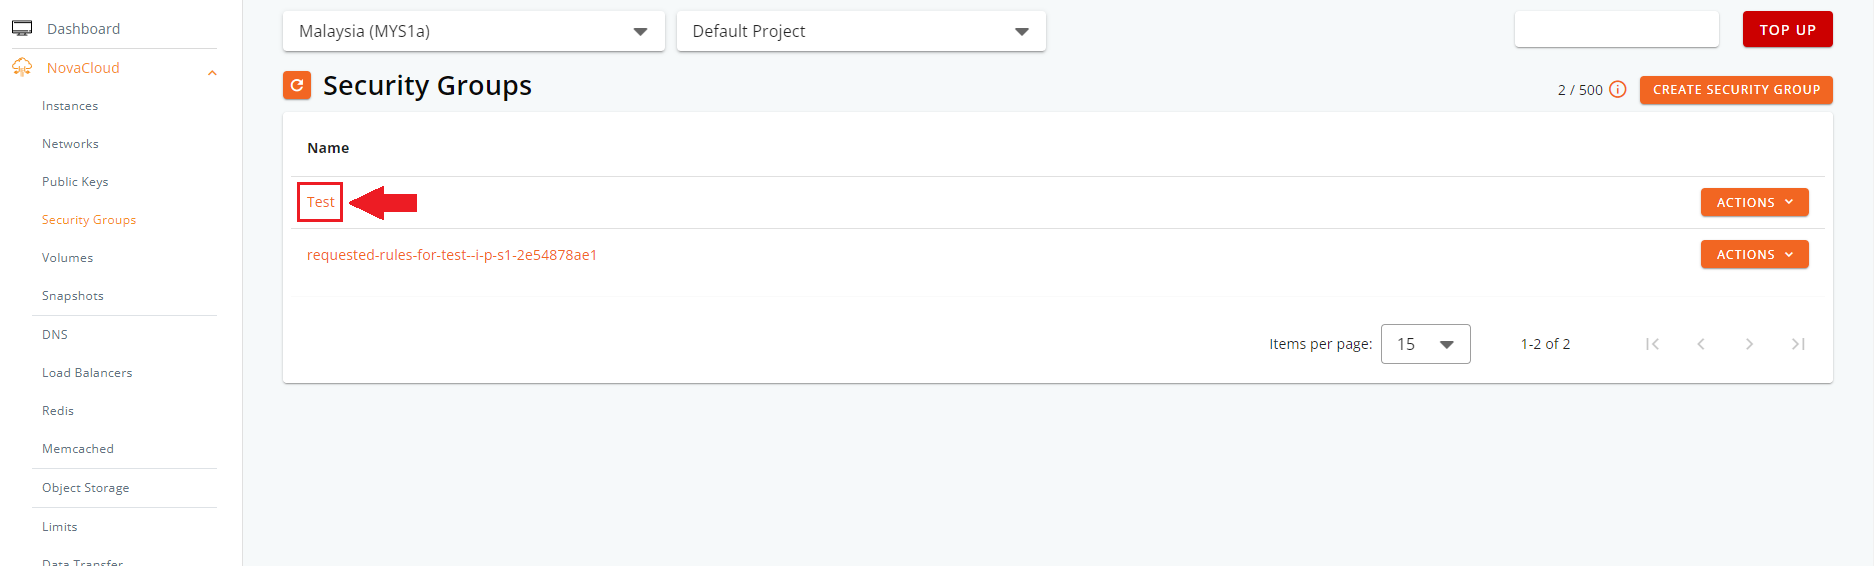
- Once done, click on the name of the security group that you have created to proceed with editing.
Adding Rules
- Add a new rule to your Security Group by clicking on Create Rule
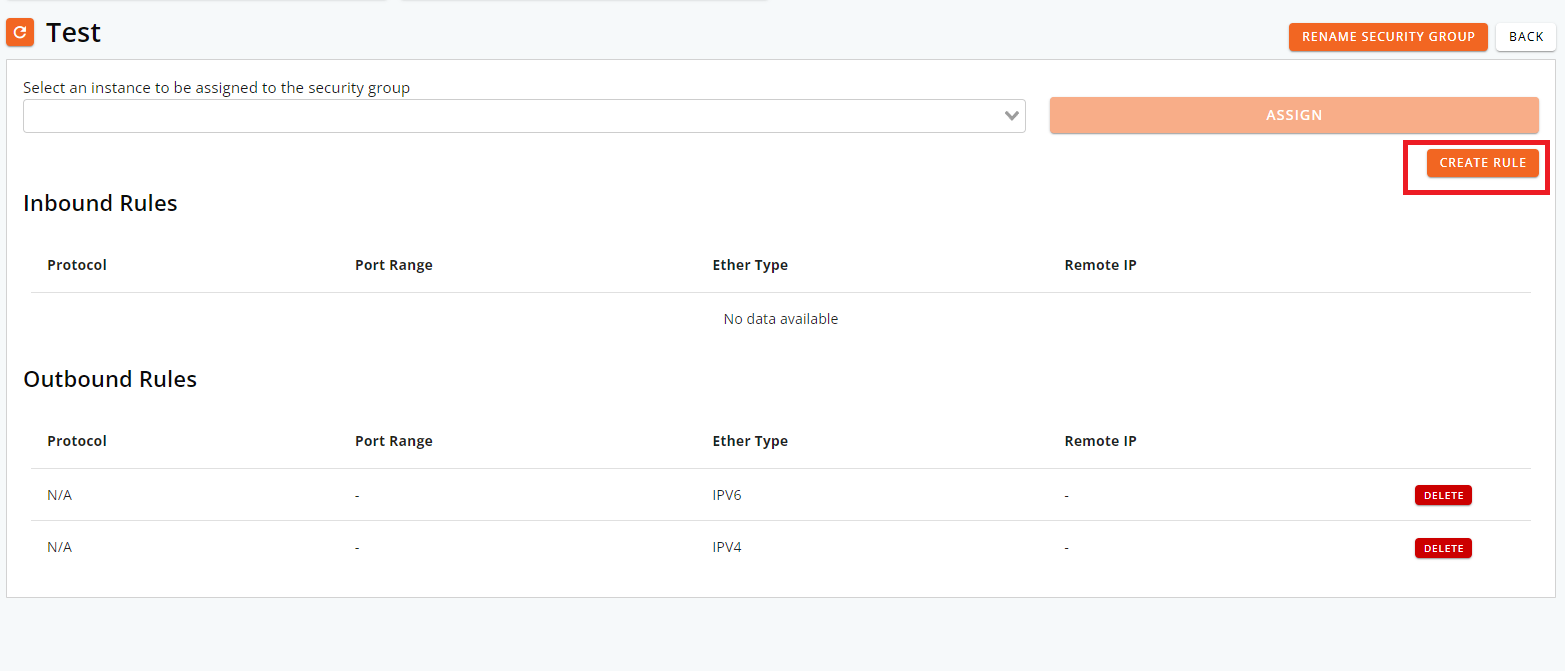
- Set the rule by allowing port(s) according to your use-case and click Create.
Note:
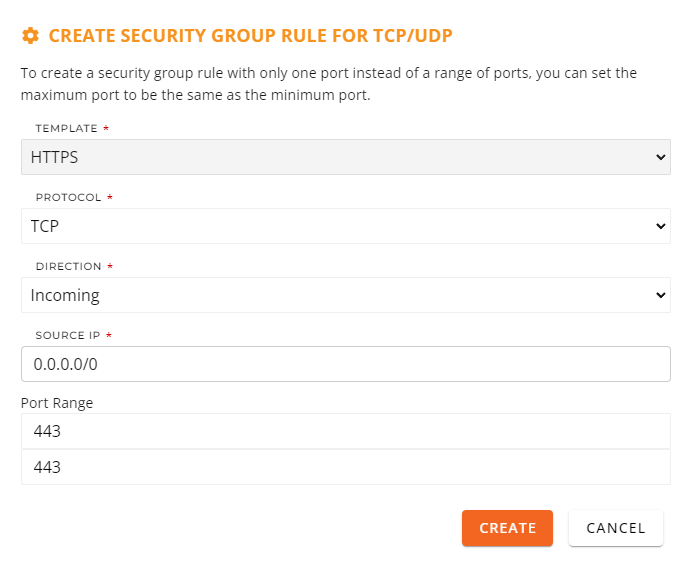
When you need to open a specific port for your application, you can do so by creating a security group rule:
- Template: You can select “Custom” from the dropdown menu if you need to open a custom port. This allows you to configure the rule with your specific requirements. Other templates like HTTP, HTTPS, SSH, and RDP are available for common configurations.
- Protocol: Choose “TCP” from the dropdown menu. TCP ensures reliable, ordered, and error-checked delivery of data. Other options might include UDP, DCCP, AH, ICMP, ICMP and more depending on your needs.
- Direction: Set the direction to “Incoming” to allow traffic to come into your network. You can also choose “Outgoing” if you want to control traffic leaving your network.
- Source IP: Enter 0.0.0.0/0 to allow traffic from any IP address. This means that any device on the internet can connect to your specified port.
- Port Range: Enter in both the minimum and maximum port fields.
Finally, click “Create” to save and apply the rule.
Assigning security groups to your Instance
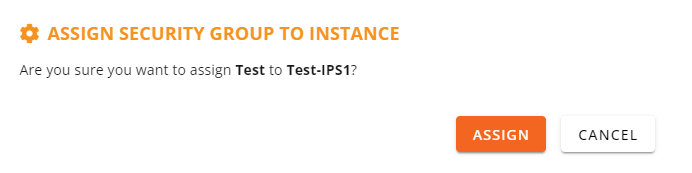
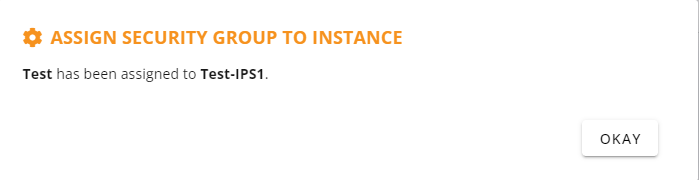
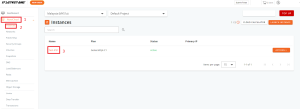
- To assign the new security group to instance, on the top panel, type in the Instances Name and click Assign.
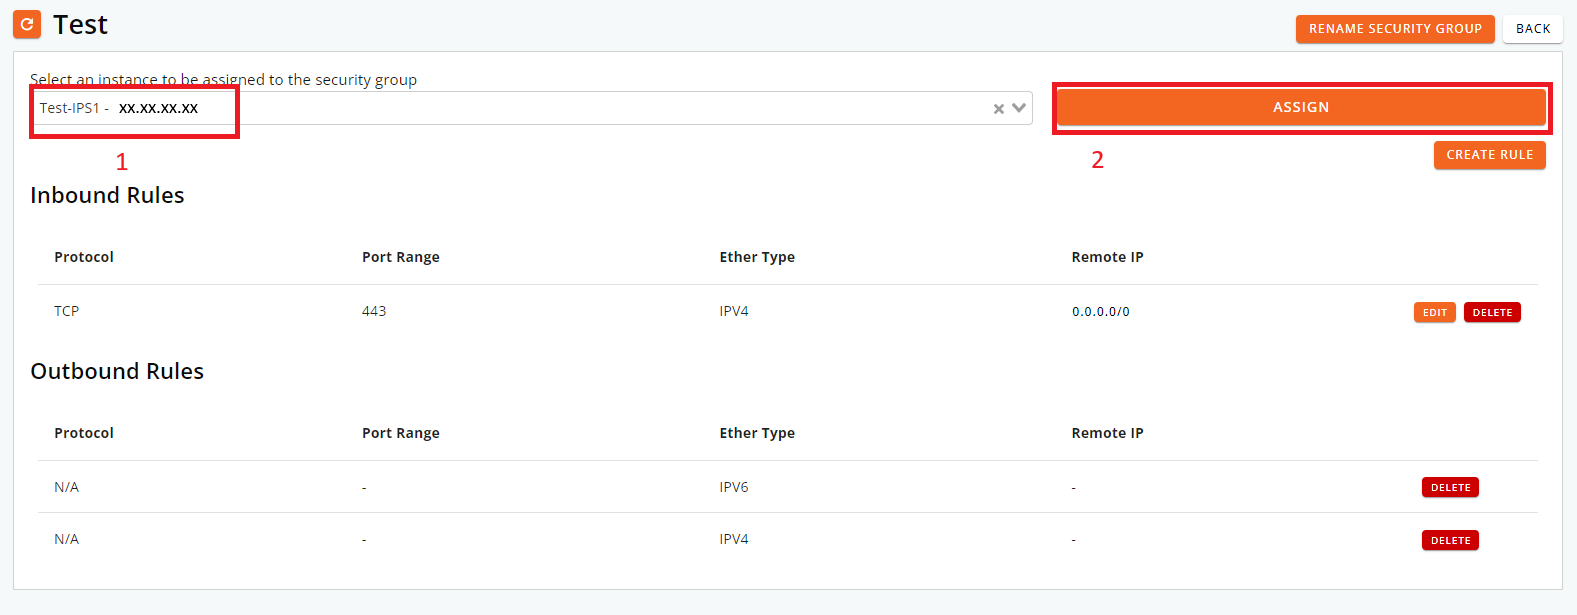
- Then, select the Assign and the has been assigned to the Instance that you chosen.
Result: The specific port will be allowed to connect to your instance from external.
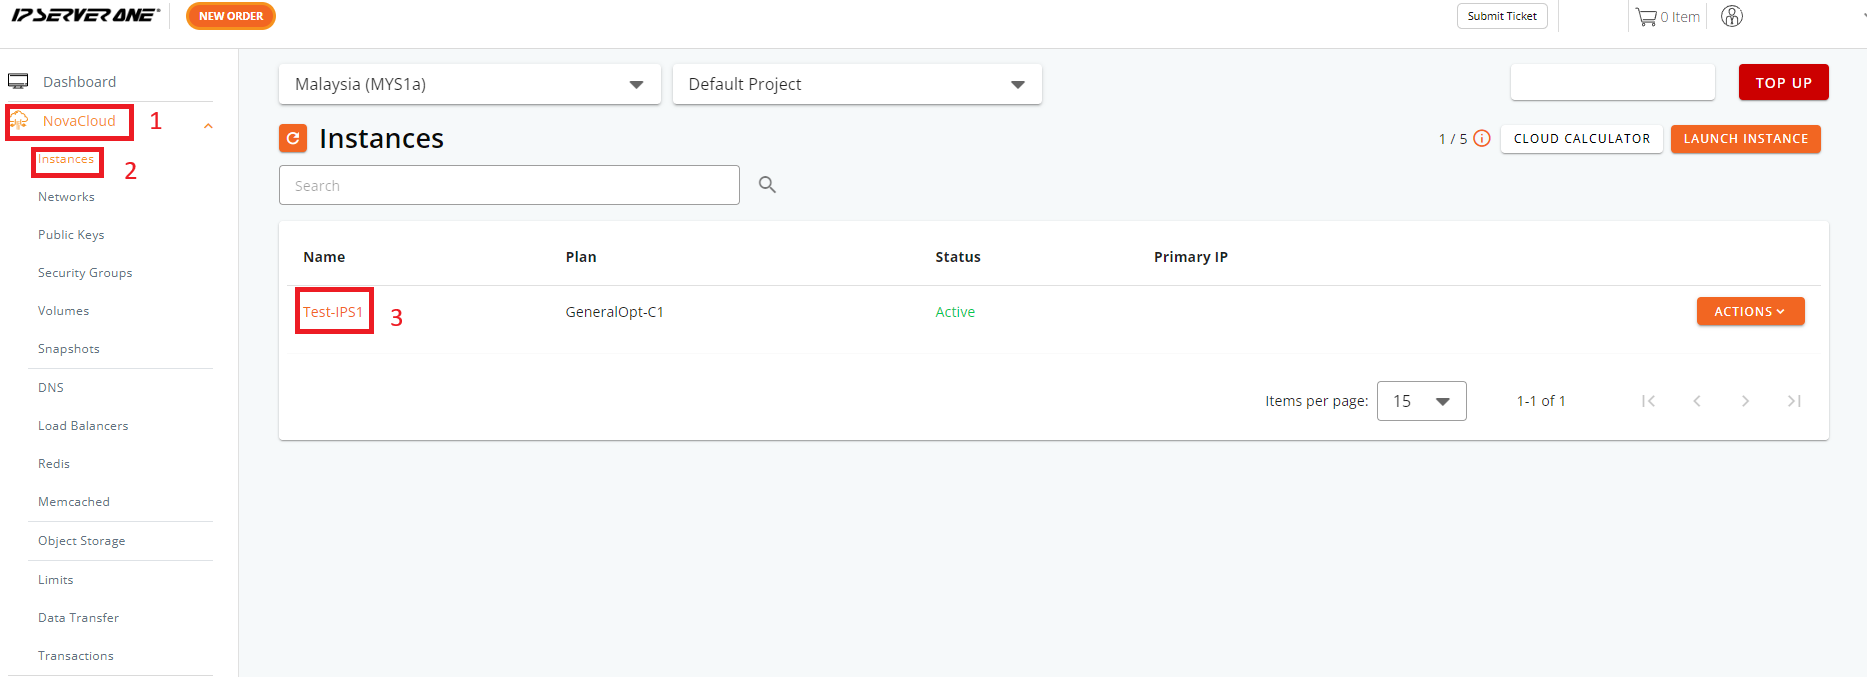
- To verify if the security group if the security group is applied From Dashboard, click on NovaCloud and click dropdown to Instances. Select the region your instances are located. Proceed to click on Instances Name.
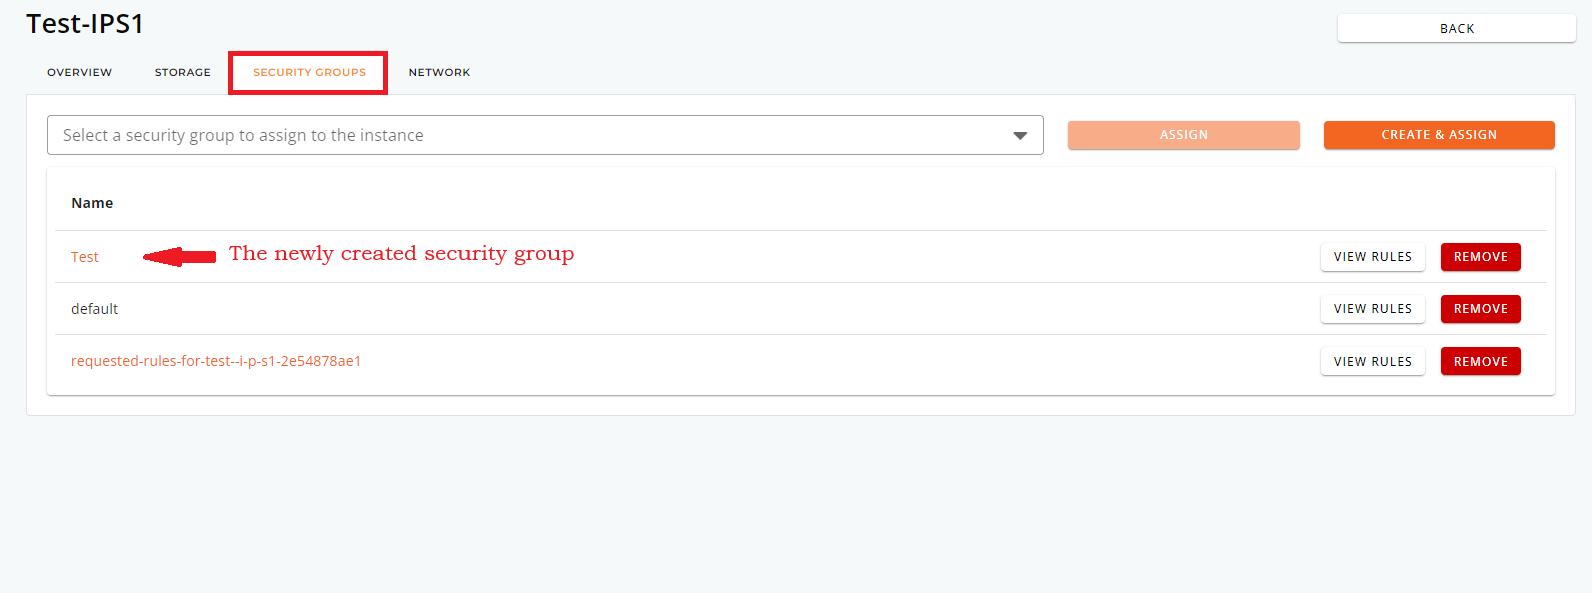
- Navigate to the Security Group tab, where you will see that the newly created security group has already been assigned to your instance.
Conclusion
By going through this guidance, you will be able to open the necessary port for your service to run and closed unused port for better security.
For additional assistance or if you encounter any issues, please contact our support team at support@ipserverone.com.