Search Our Database
How to access instance console via Customer Portal
Introduction
Welcome to the quick start guide for accessing the console of your instances within NovaCloud. This guide is designed for users of all levels, whether you’re new to cloud computing or an experienced developer looking to manage your instances more effectively. Accessing the console of your instances is crucial for direct interaction, troubleshooting, and managing the software running on your virtual machines. Follow the step-by-step instructions below to access your instance console effortlessly.
Prerequisite
Instructions
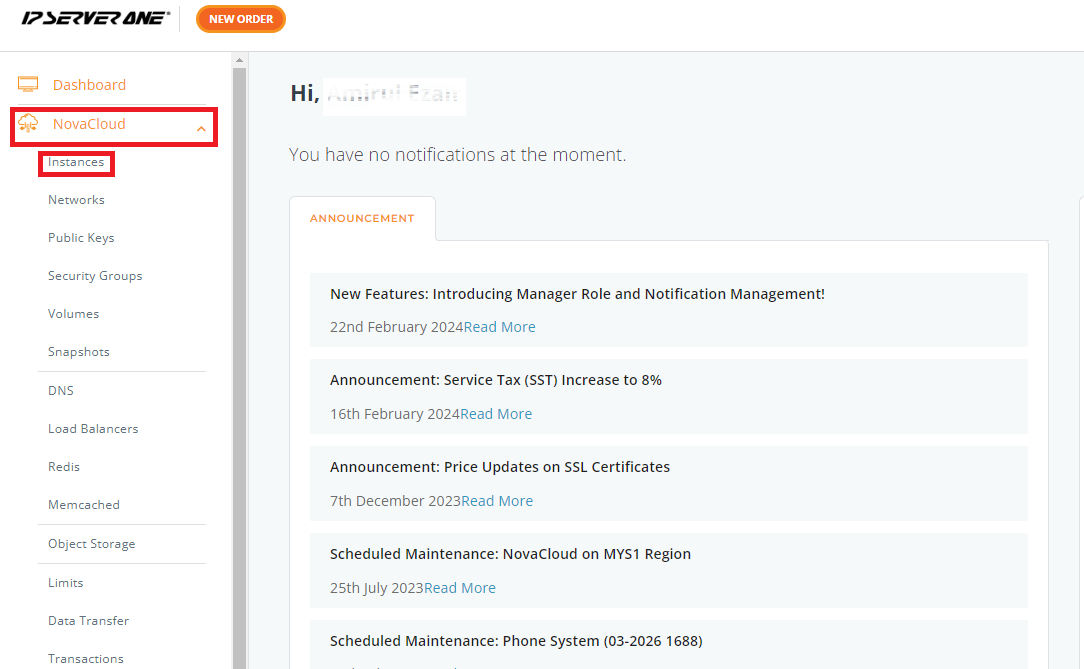
Step 1: Navigate to Instances
Once logged in to your Customer Portal account, select NovaCloud from the main menu and open the Instances section.
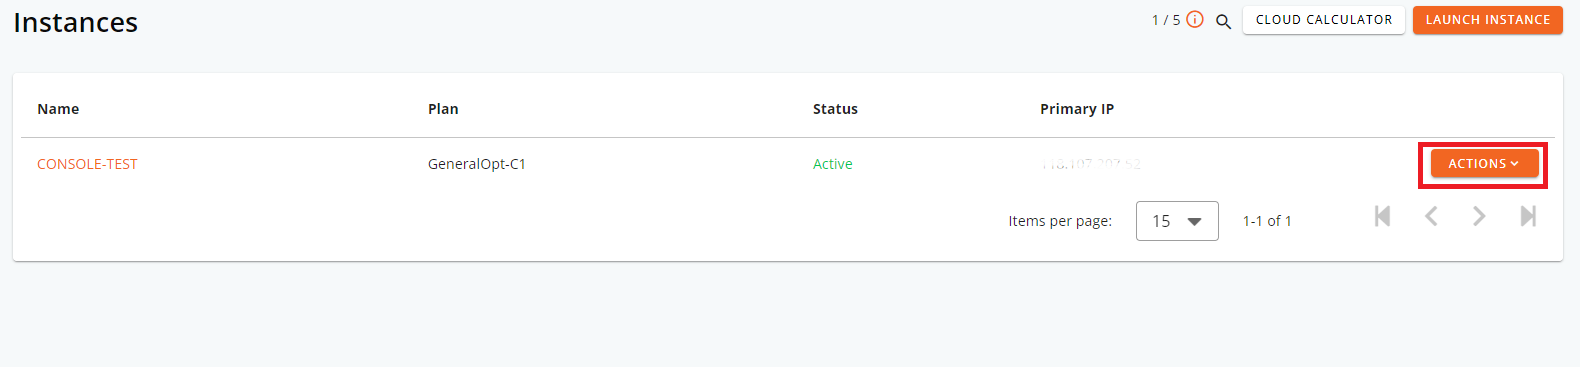
Step 2: Locate the Instance and Open the Actions Menu
In the Instances section, locate the specific instance you wish to manage. Click on the ACTIONS button associated with the instance to open a dropdown menu with available management options.
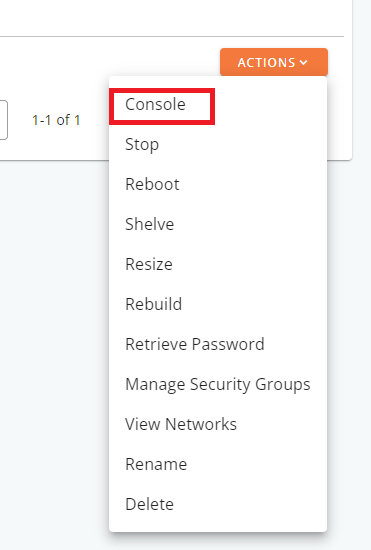
Step 3: Select the Console Option
From the ACTIONS dropdown, select Console. This will open the console screen for the selected instance, allowing direct interaction with the instance’s operating system.
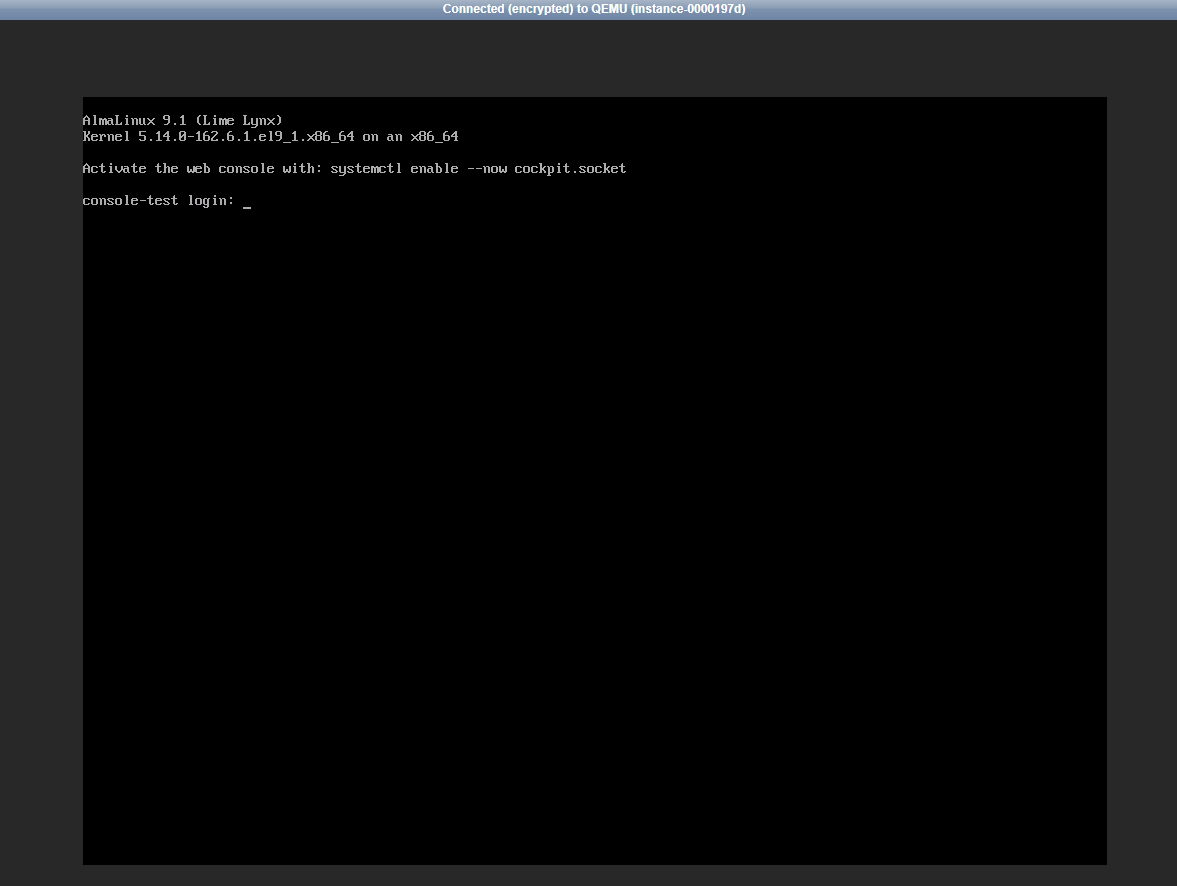
Step 4: Activate the Console
In the console screen, click on the black screen area once to activate it. This ensures the console is ready to receive keyboard input, enabling you to start managing your instance directly.
Conclusion
Accessing the console of your instances on NovaCloud is a straightforward process that can be accomplished in just a few steps. This functionality is essential for performing direct operations, troubleshooting, and ensuring your instances run smoothly. By following this guide, you should now be able to access and interact with your instances’ consoles efficiently. Remember, managing your cloud instances effectively is key to leveraging the full power of cloud computing, and accessing the console is a fundamental skill in achieving that goal.