Search Our Database
How To Launch Cloud Instance From Volume
Introduction
Launching a new instance in the cloud can be an exciting step in scaling your resources or deploying new applications. This guide is designed to assist users in creating instances by leveraging volumes from images or snapshots within the Customer Portal. It is important to ensure that you have completed the prerequisites before you proceed with the steps provided. By following this guide, you will be able to launch your instance smoothly and efficiently.
Prerequisite
Instructions
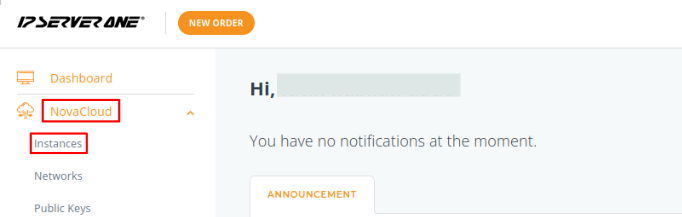
Step 1: Access Instances
- Log into your portal account and Click on NovaCloud.
- Select Instances from the dropdown menu.
Step 2: Check or Create Volumes
- Click on Volumes from the left-side dropdown. Verify if an existing volume is available.
- If needed, create a new volume by selecting:
- Create Volume From Image or
- Create Volume From Snapshot (depending on the use case).

Step 3: Launch Instance
- Ensure the volume is in available status.
- Click on Instances and click Launch Instance.

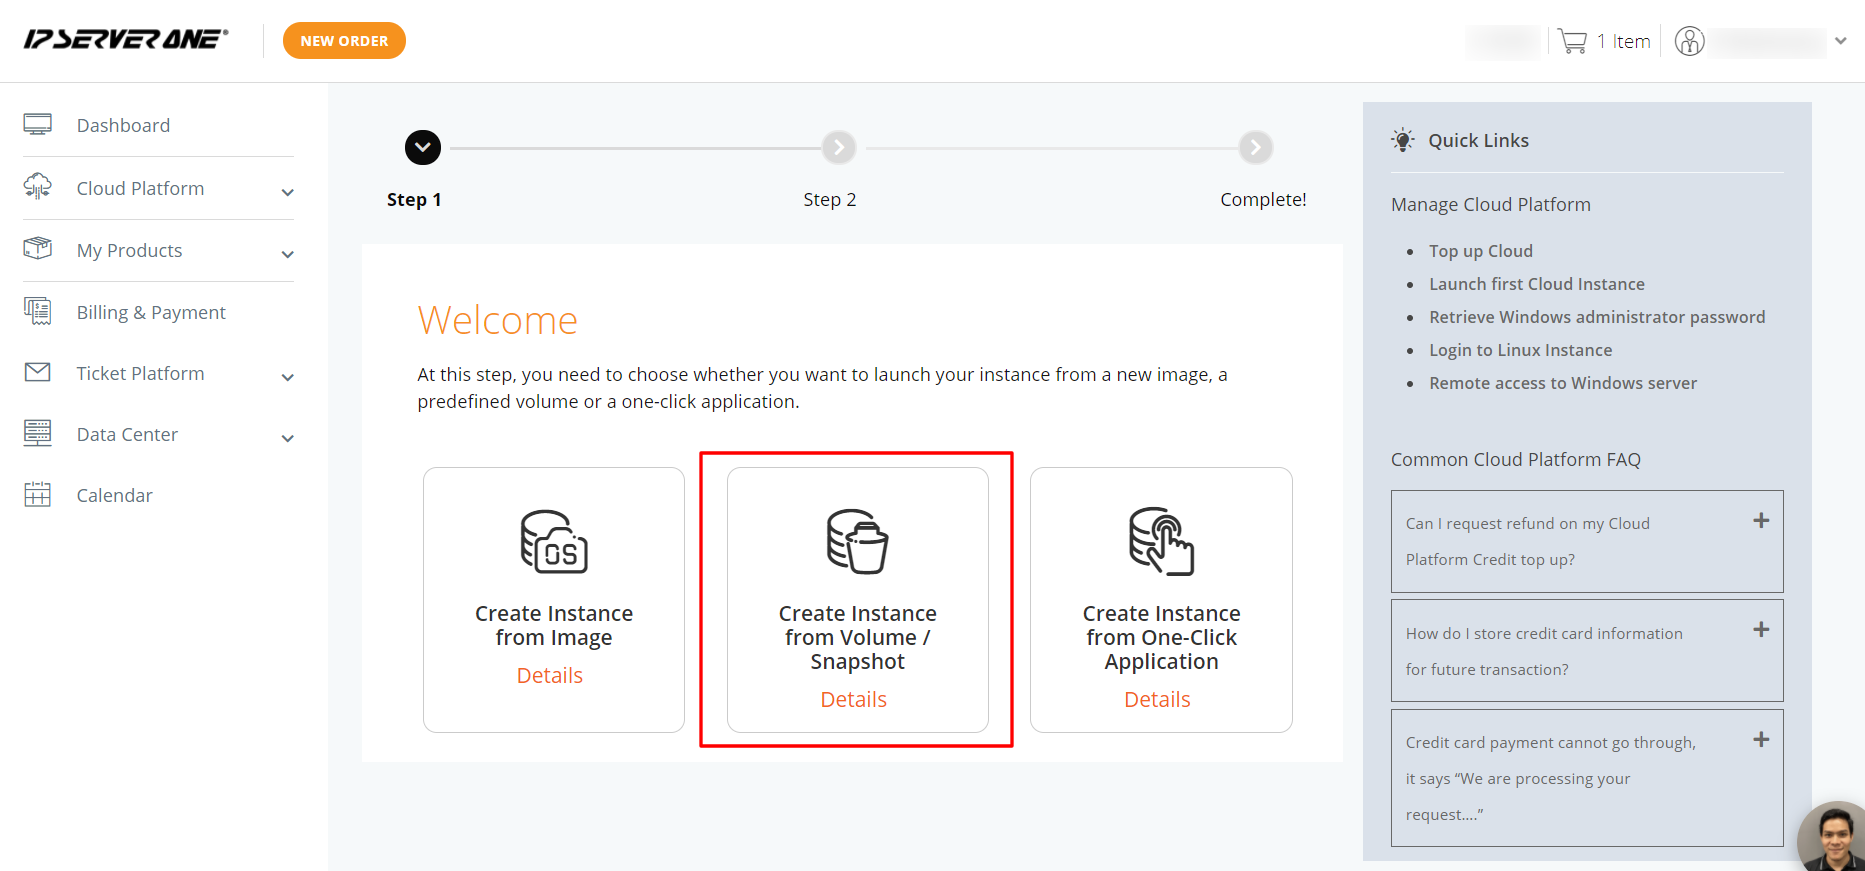
Step 4: Create Instance From Existing Volume
- Select Create Instance from Volume/Snapshot.
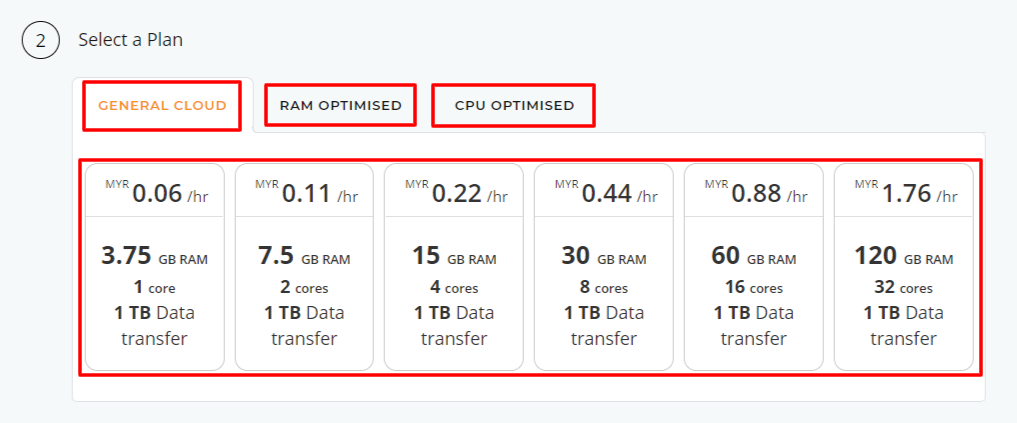
Step 5: Choose a Flavor
- Select a Flavor for the instance (General Optimized, RAM Optimized, or CPU Optimized).
Note: We offer a variety of Instance types (eg: General Optimized, RAM Optimized, CPU Optimized). You may select the flavor based on your use-case.Flavor can be upgraded in the future when scaling is required. You may refer to this guide to upgrade the plan : How To Resize Cloud Instance
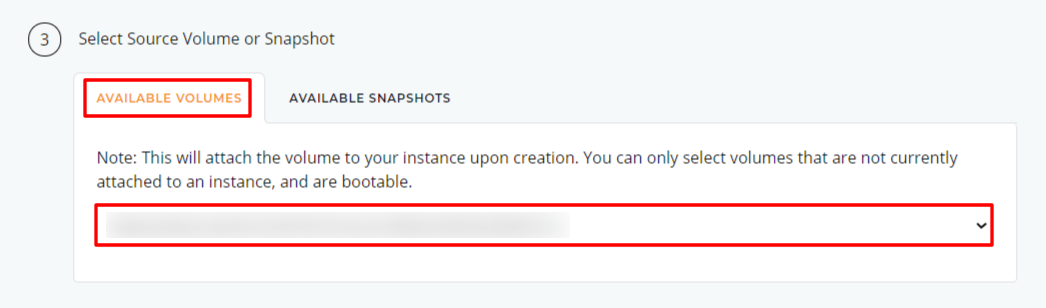
Step 6: Select Volume or Snapshot
- Select the desired volume or snapshot from the dropdown menu.
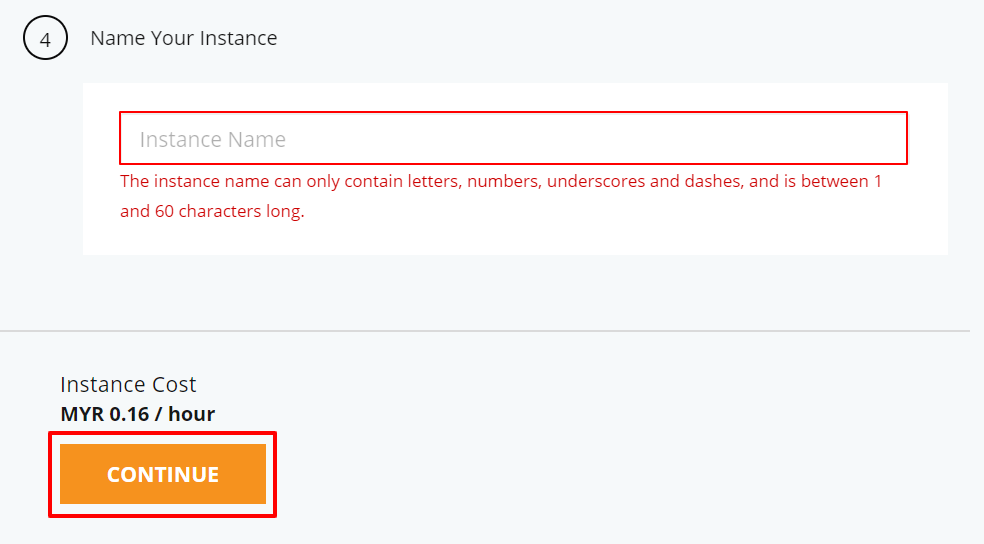
Step 7: Name Your Instance
- Enter a name for the instance and click Continue.
Step 8: Generate or Import a Key Pair
- Choose to either:
- Generate a new key pair or
- Import an existing public key.

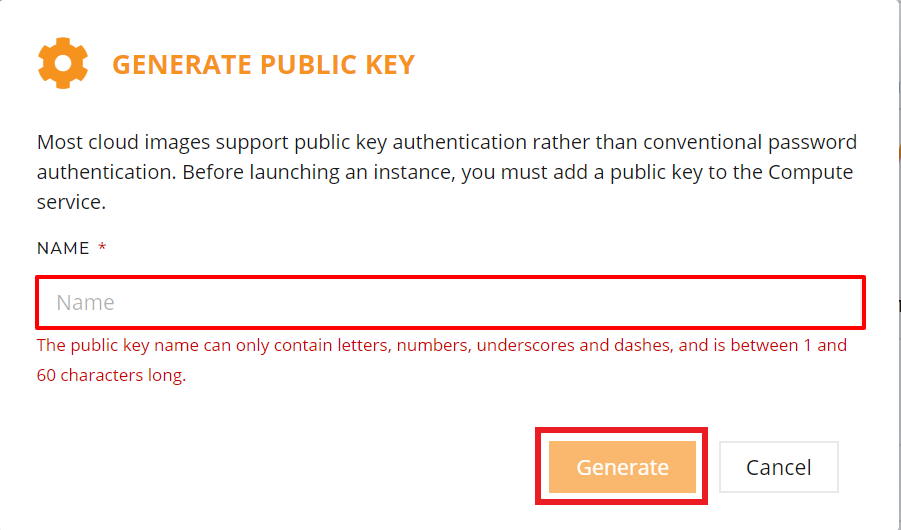
Step 9: Name and Generate Key Pair
- Enter a name for the key pair.
- Click Generate.
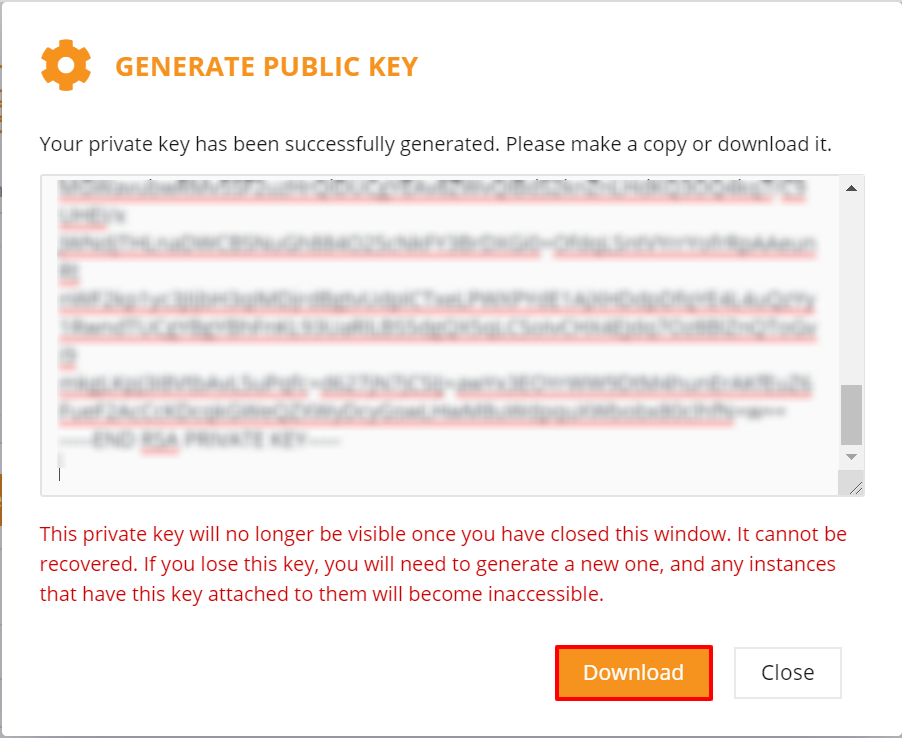
Step 10: Download Your Private Key
- Download the private key (.pem file) to a secure location.
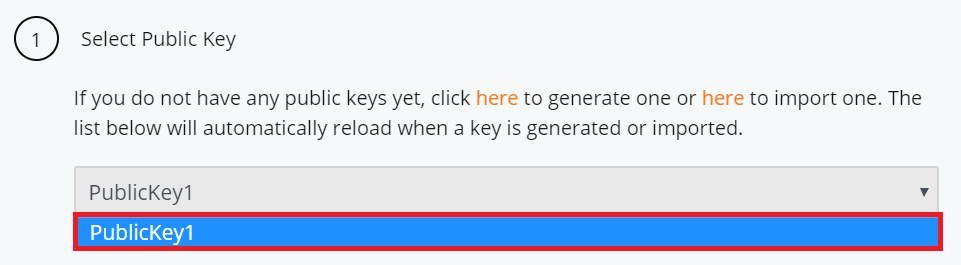
Step 11: Select the New Key Pair
- Select the newly generated key pair for the instance.
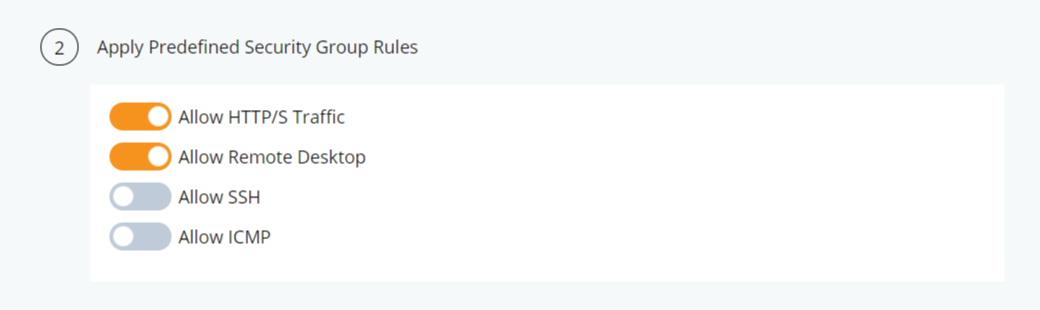
Step 12: (Optional) Apply Predefined Security Group Rules
- Apply predefined security group rules if needed.
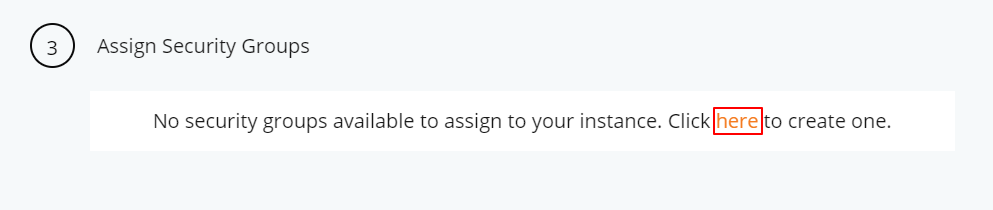
Step 13: (Optional) Create a New Security Group
- Create Create Security Group rules by clicking Here
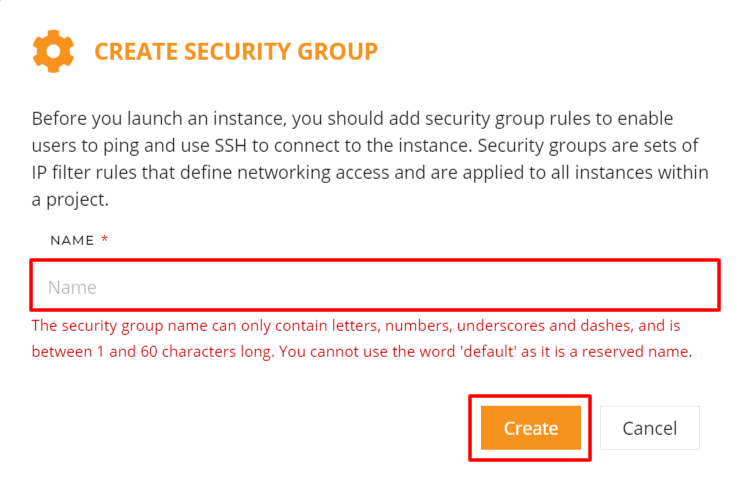
- Enter a name for the new security group and click Create.
- Select the newly created security group.
- Review the security group rules.

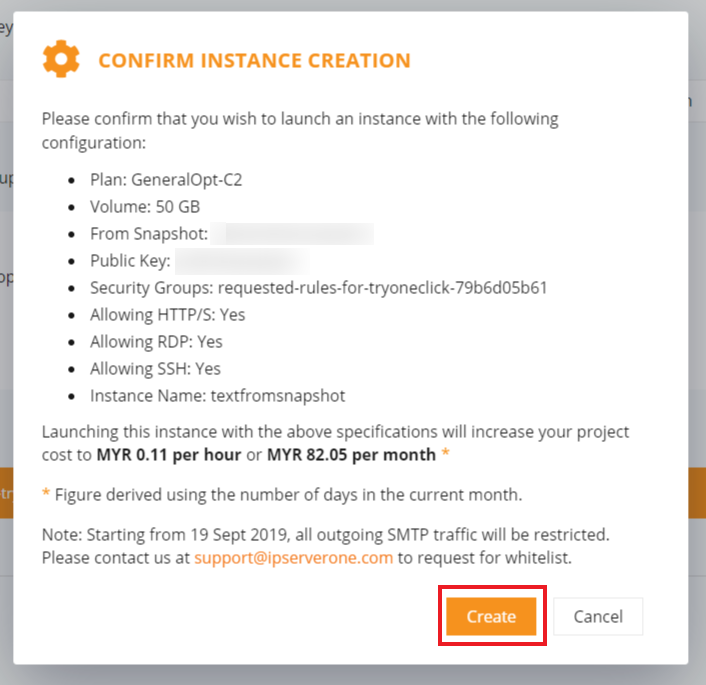
Step 14: Review Instance Costs
- Review the total cost of the instance.
- Ensure you have enough credit in your account.
Step 15: View Launched Instance
- Click Instances to view the newly launched instance.
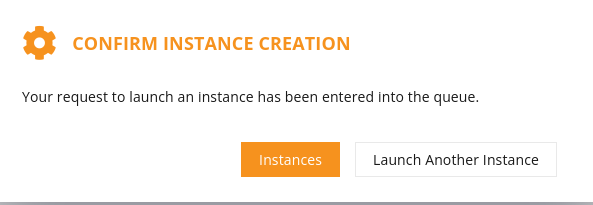
Step 16: Monitor Instance Creation
- Wait for the instance to be created.
- Refresh the page periodically to check its status.

Final Result
Your Instance will be in Active status once the launch is successful.

Conclusion
Congratulations on successfully launching your instance! You’ve navigated through the process of instance creation with ease, ensuring that your cloud environment is customized to your specific requirements. Keep in mind the importance of securing your key-pair, as it is crucial for accessing your instance. Should you have any inquiries of the guidelines, please feel free to open a ticket through your portal account or contact us at +603 – 2026 1688. We’ll be happy to assist you further