Search Our Database
Discontinuation of Shared Hosting Service: Status Update
Following our announcement on the discontinuation of the shared hosting service effective 31st Dec 2023, customers may choose to upgrade or terminate the shared hosting service status via our customer portal.
**Note: We will suggest customers update the hosting service status as soon as they can to prevent any service disruption.
Here are the steps for your reference:
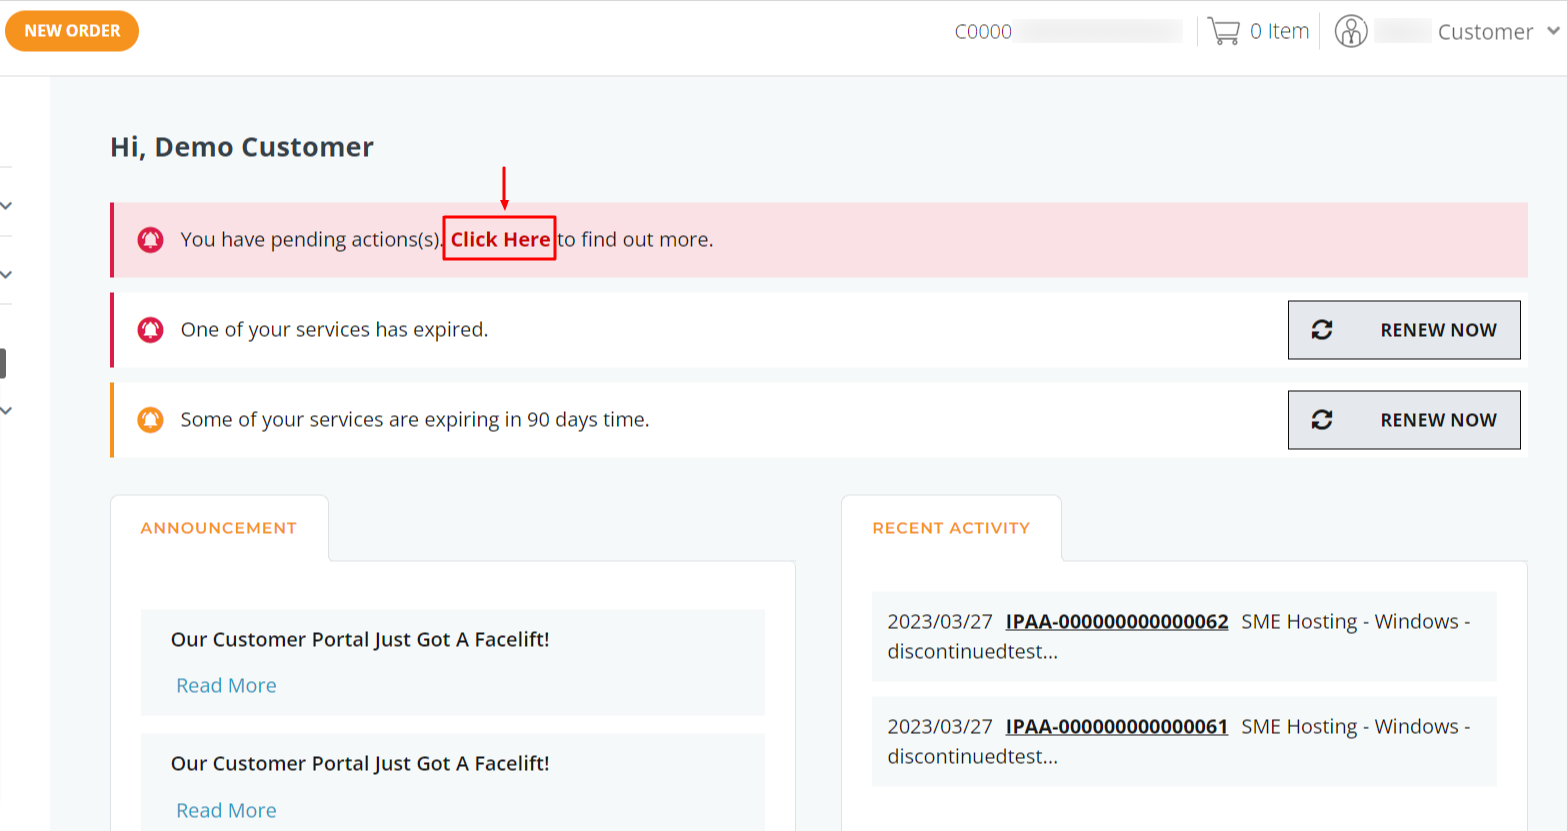
Step 1: Log in to the customer portal: https://portal.ipserverone.com/
Step 2: Once logged in, you will see a notification on the Dashboard. To proceed, click on “Click here” and you will be guided to the share hosting overview page.
Step 3: On the overview page, you will see all your shared hosting service(s) and their current Status. Click on Manage to proceed with updating your hosting service.
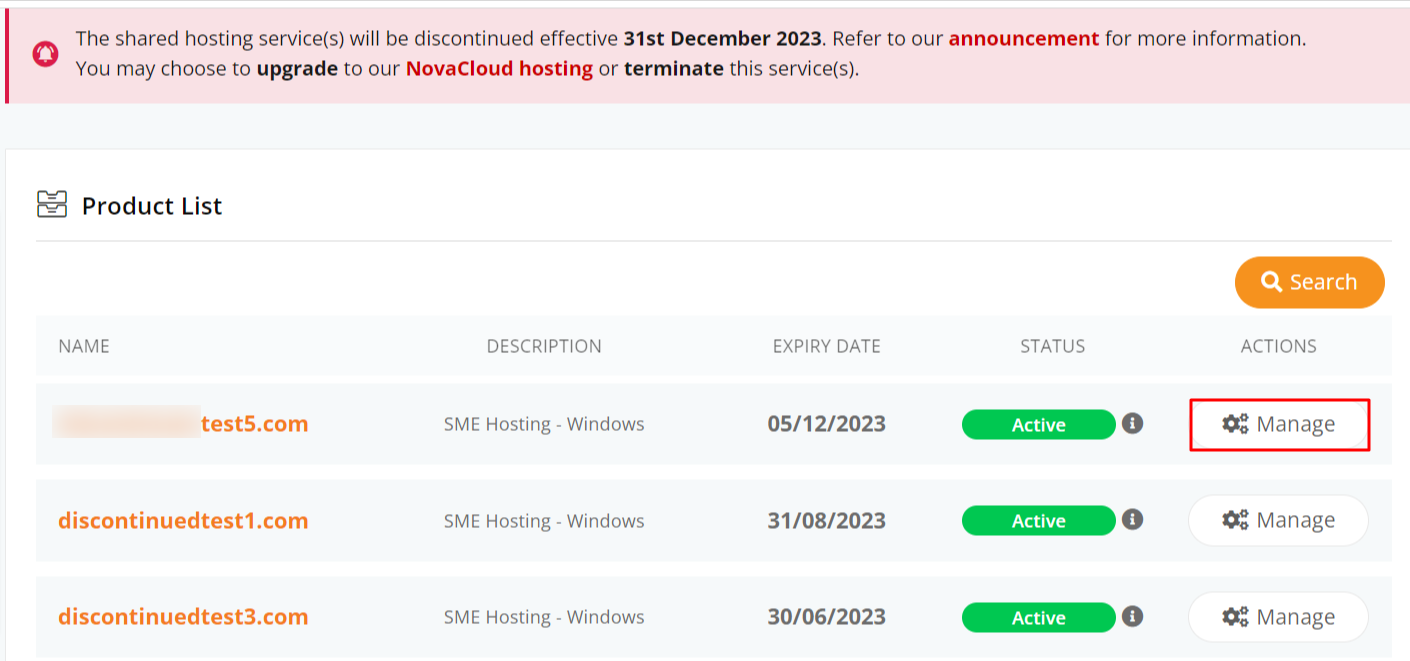
There are 4 types of Status:
- Active: No action has been taken yet.
- Inactive: The shared hosting service has expired.
- Upgrade: The shared hosting service is pending an upgrade.
- Terminate: The shared hosting service is pending termination.
Step 4: Once you click on Manage, you will see 3 options to choose from: Upgrade, Terminate, or 30-day Renewal.

**Once the option is selected, it cannot be undone. Contact our team if you have a change of mind.
Opting for Upgrade:
Should you choose to upgrade your shared hosting service, our team will be in touch with you to propose a suitable NovaCloud hosting.
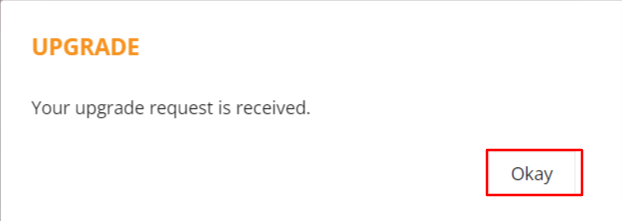
1. Click on the Request for Upgrade button. A pop-up message will appear, check the box if you agree to proceed, then click on the Proceed to Upgrade button.
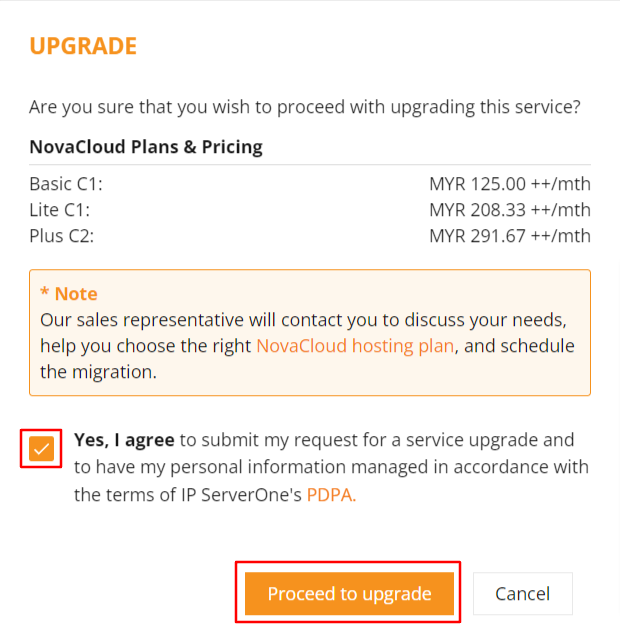
2. Once the upgrade request is submitted, our team will get in touch with you and propose NovaCloud as an alternative hosting solution.
3. We will take care of the entire upgrade and migration process.
Opting for Terminate:
Should you choose to terminate your shared hosting service, our team will be in touch with you to arrange for the service refund and termination. Please note that your new service provider will need to assist with migrating your service(s).
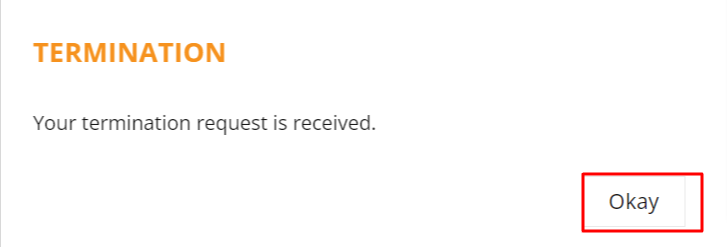
1. Click on the Request for Terminate button. A pop-up message will appear, check the box if you agree to proceed, then click on the Request for Termination button.
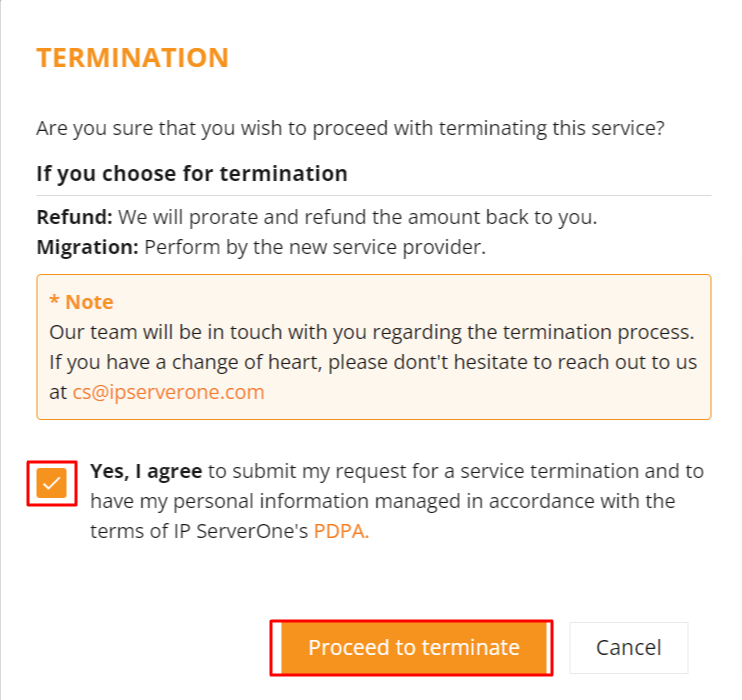
2. Once the termination request is submitted, our team will get in touch with you for verification and the refund process (if any).
3. Please note that your new service provider will need to migrate out your service(s) to the new hosting site.
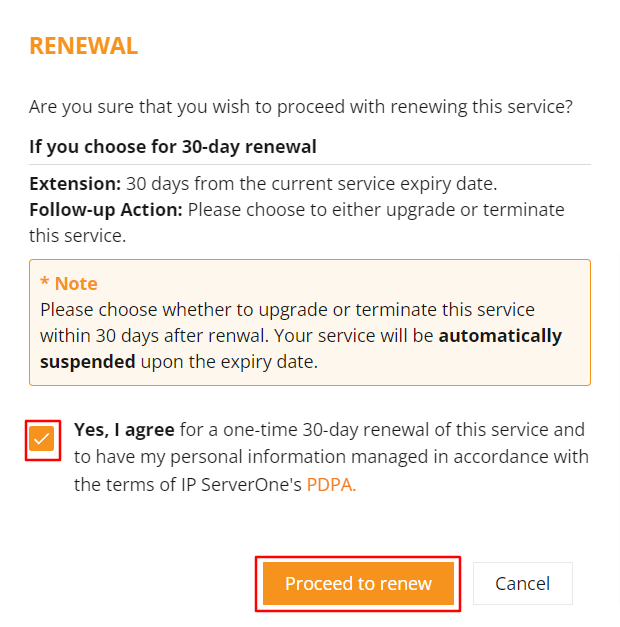
Opting for 30-day Renewal:
Should you require more time to consider and plan out the possible hosting option, you may proceed to activate the one-time 30-day renewal.
The 30-day renewal option is only available ONCE for EACH shared hosting service. To ensure a seamless migration process, you are required to decide whether to upgrade or terminate the shared hosting service before the service expiry date.
1. Click on the Proceed for 30-day Renewal button. A pop-up message will appear, check the box if you agree to proceed, then click on the Proceed to Renew button.
2. Next, you will be redirected to the payment options page. Please select your choice of payment method and click Proceed to Pay.
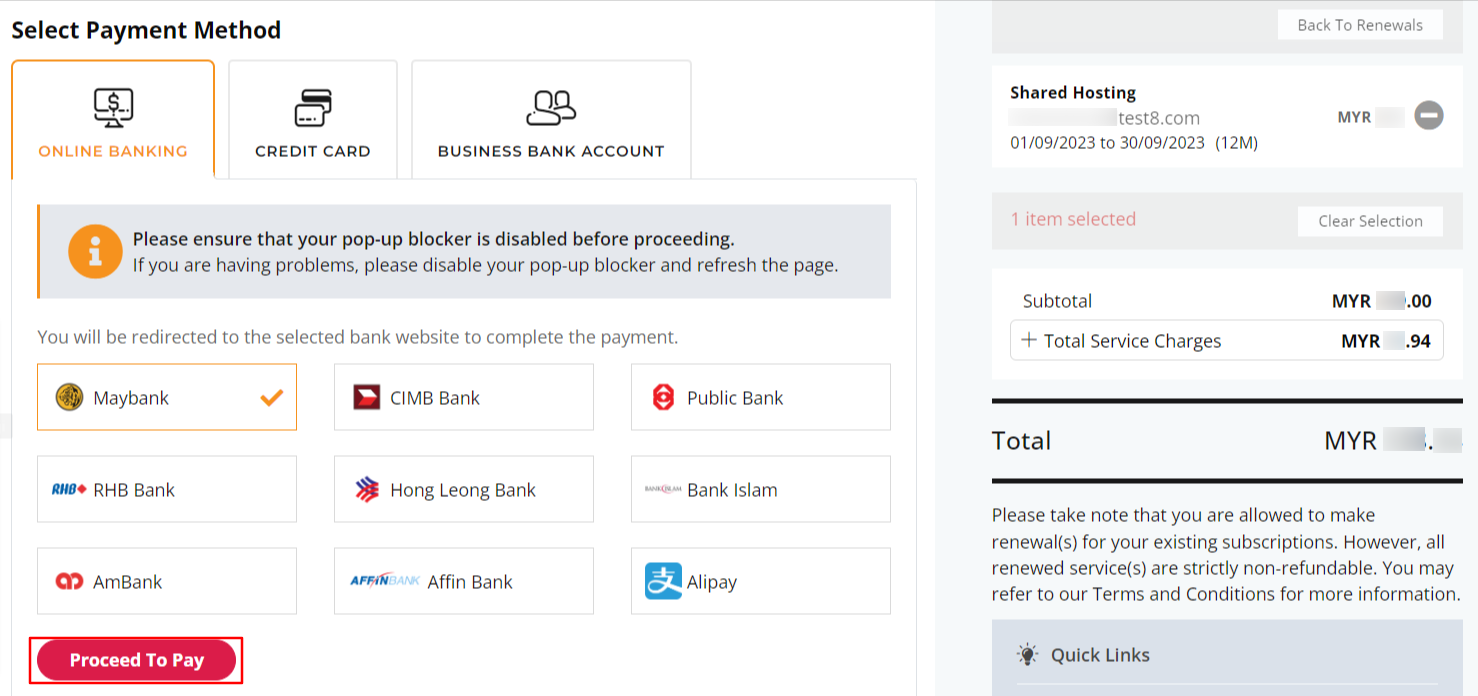
3. Once payment is made successfully, your shared hosting service will be renewed automatically. The service will be extended for another 30 days, and the new expiry date will be shown on the portal.
– End Steps