Search Our Database
How to use Object Storage as a CDN
Introduction
Step-by-step Guide
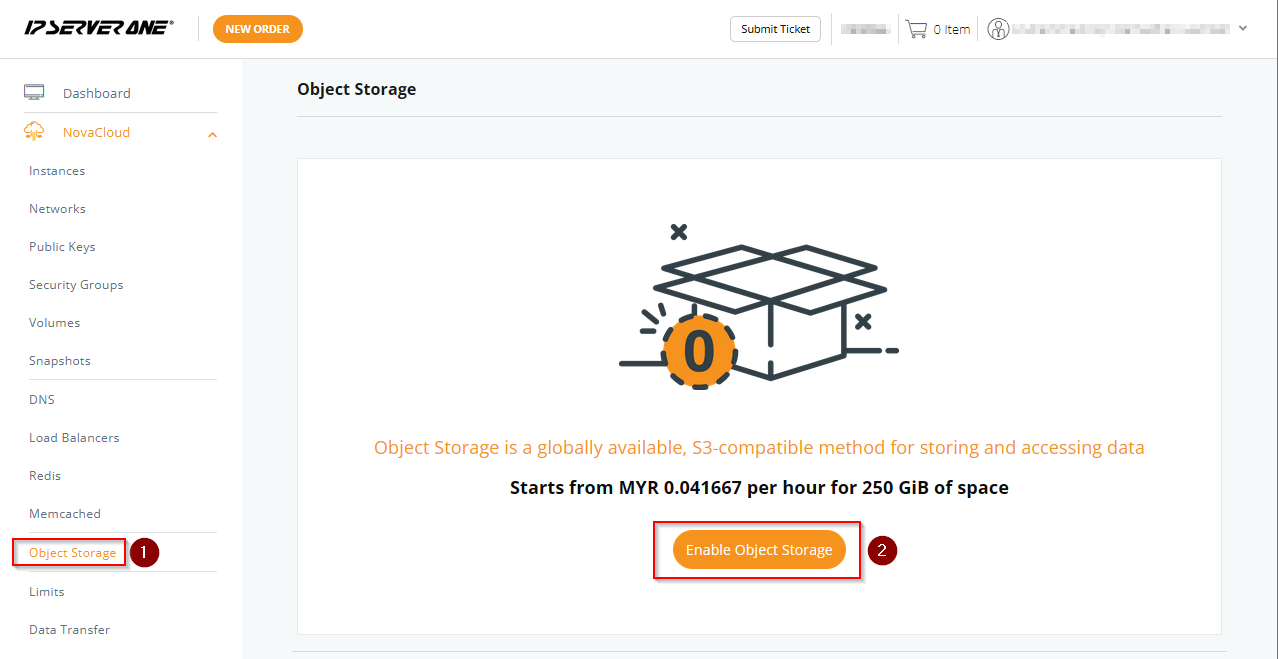
Step 1: Log into the Customer Portal
Once you’re logged in, navigate to the “Object Storage” tab and ensure that Object Storage is enabled if you haven’t already done so.
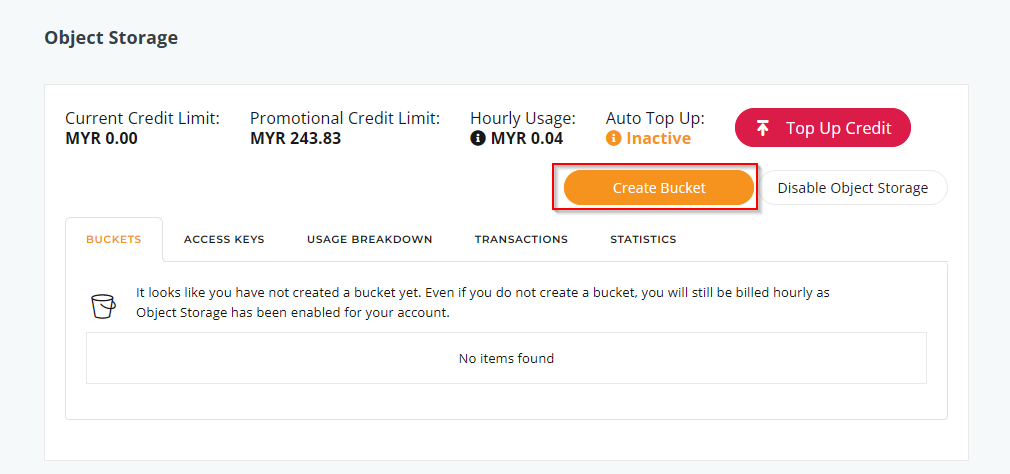
Step 2: Create a Bucket
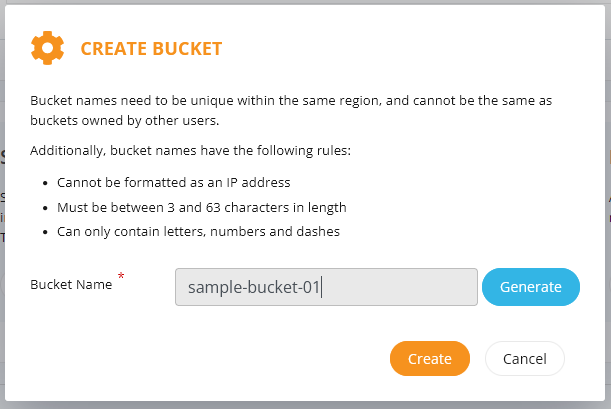
Now, you need to create a bucket. For instance, we’ll name ours “sample-bucket-01.” It’s advisable to use a standardized naming convention for easy organisation and retrieval of your content.
Step 3: Generate an Access Key
After creating your bucket, generate an access key to enable read and write actions.
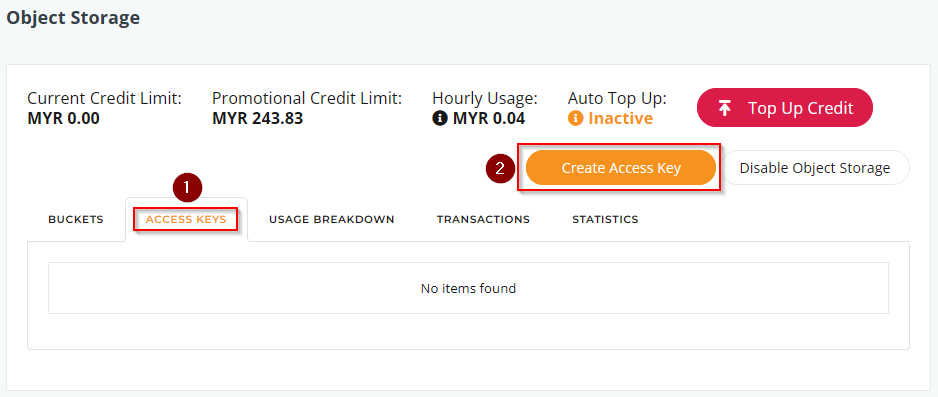
We’ll name the key “sample-key-01” and leave the “Expiration Date” field blank, indicating no expiration date for the key. Enable “Grant Write Permissions” for this access key and grant access to “sample-bucket-01.” Click “Generate” once the key is configured.
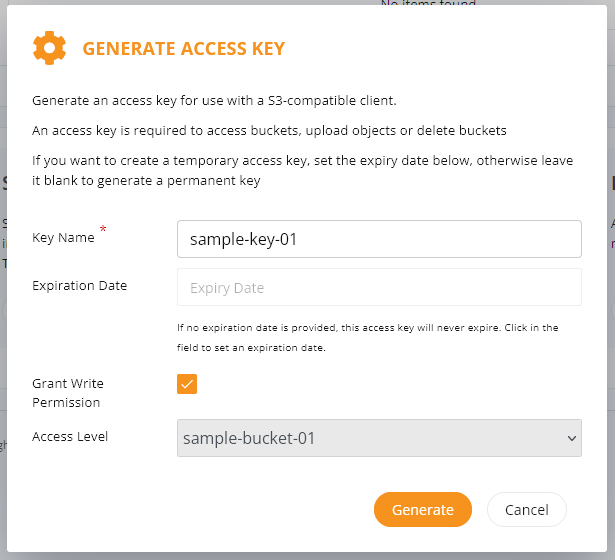
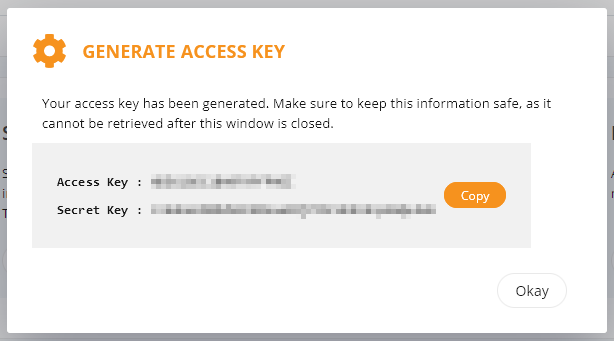
Note that the access key contains both “Access Key” and “Secret Key” values, which are essential for accessing the bucket.
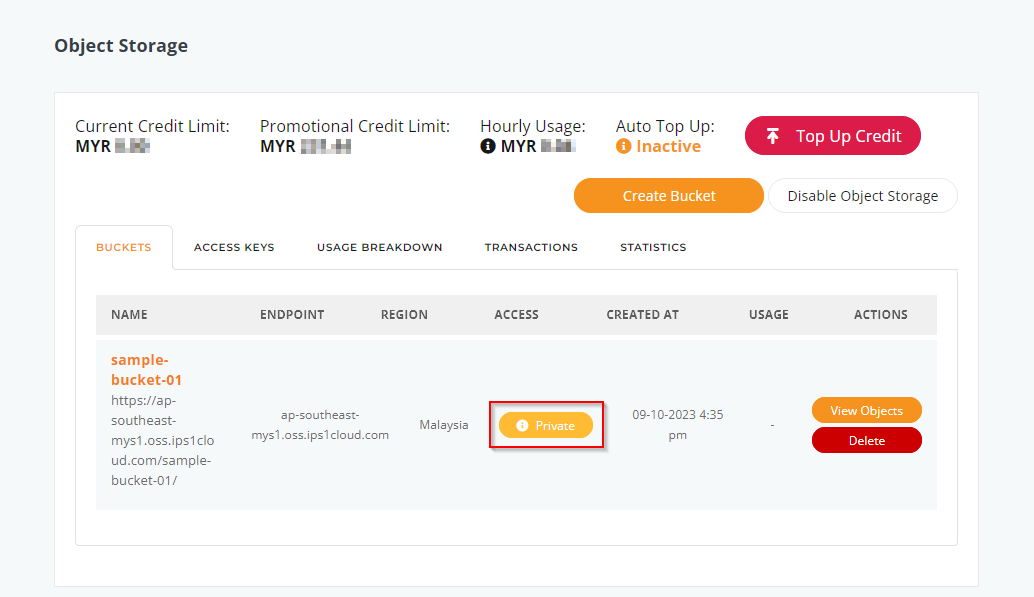
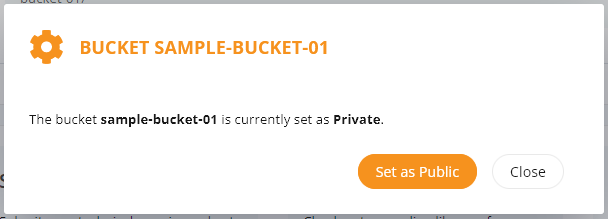
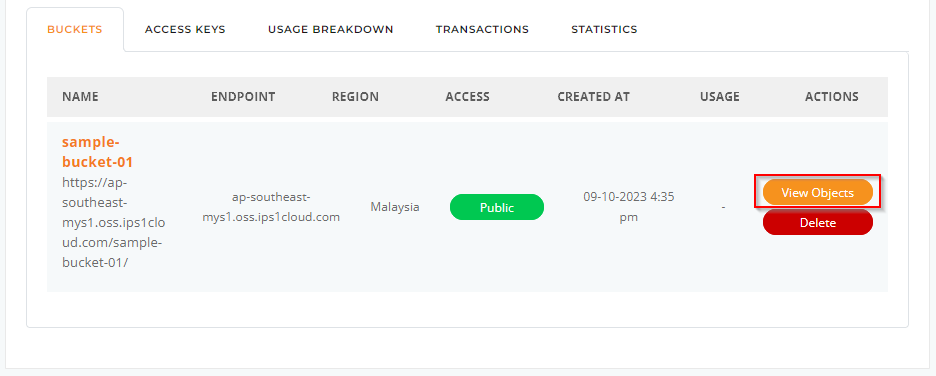
Step 4: Make the Bucket Publicly Accessible
Return to the “Object Storage” tab. Before using your bucket as a CDN, it needs to be made publicly readable. Click on the “Private” access value, triggering a pop-up window that allows you to make the bucket publicly accessible.
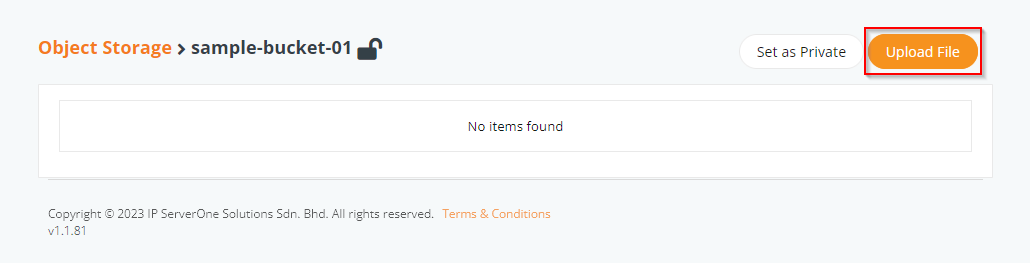
Step 5: Upload Content
Proceed to upload content to your bucket, which you’ll use as a CDN. View the objects in the bucket by clicking “View Objects”.
As an example, let’s upload a PNG image to be used as a CDN. Click “Upload File” and select your file.
After a successful upload, click on the name of the newly created object.
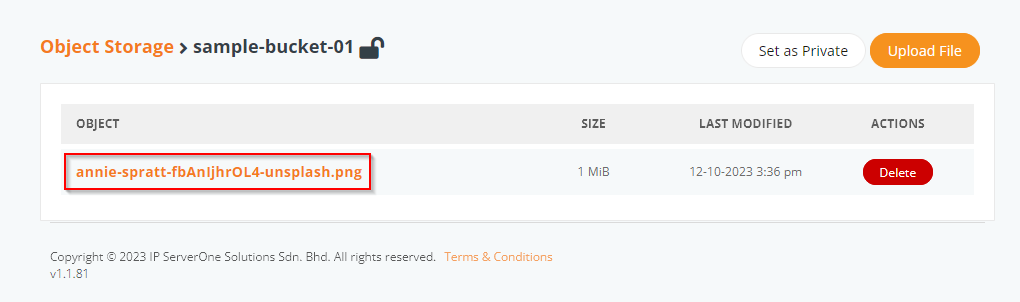
This will generate a URL, enabling you to view the image directly in your web browser. You can use this URL in your web code.
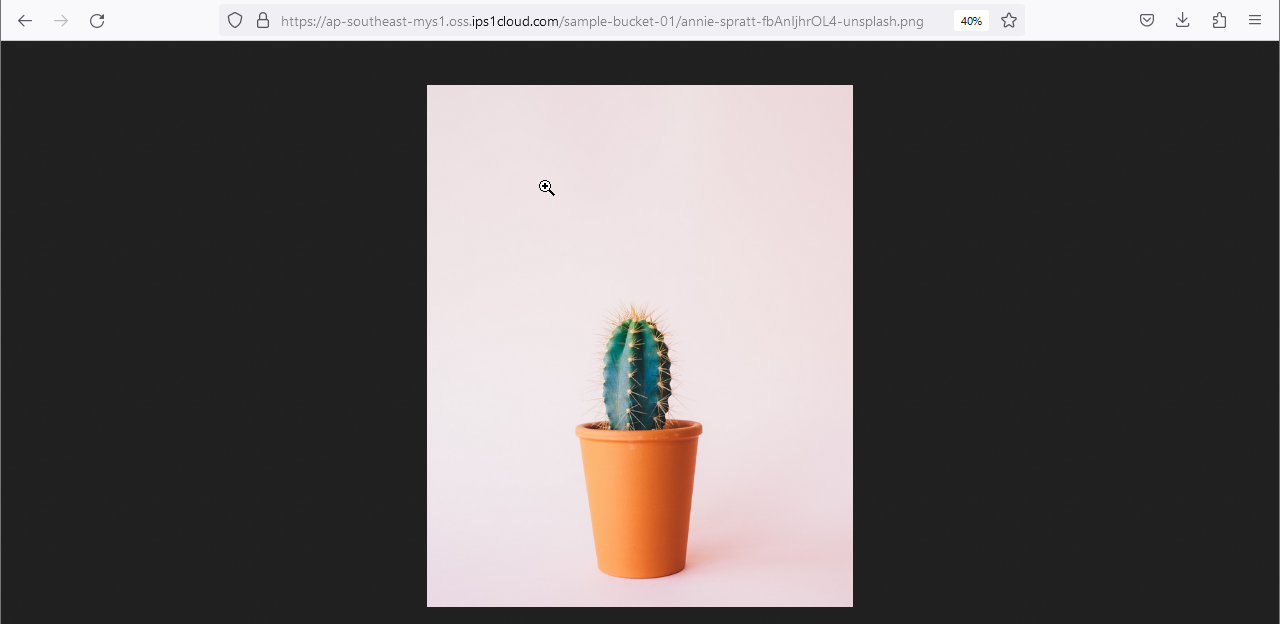
Congratulations! You’ve successfully uploaded your first image to your bucket for use as a CDN, a step that can significantly reduce your cloud computing costs. This efficient setup will enhance content delivery and improve your users’ online experience.
Conclusion
By efficiently utilizing cloud storage for content delivery, you’re enhancing performance, ensuring faster load times, and improving your users’ online experience. This streamlined setup not only optimizes resource usage but also sets the stage for scalable, cost-effective content management in your application.
Should you have any inquiries about the guidelines, please feel free to open a ticket through your portal account or contact us at support@ipserverone.com. We’ll be happy to assist you further.
For comprehensive guides on how to programmatically upload and delete files from buckets using different languages, please access the following URLs:
1. JavaScript
2. PHP