Search Our Database
How to perform backup to IPS1 Object Storage bucket from a CentOS 7 Bash terminal
Introduction
The purpose of this article is to show a way to use bash script to automate the backup upload and restore to IPS1 Object storage from a CentOS 7 SSH terminal. Here’s the step in general:
– Create an Object storage bucket in IPserverone’s customer portal
– Prep your CentOS 7 server by installing necessary package
– Generate GPG keys for backup file Encryption
– Make use of a script to automate the Backup process
– Restore data from object storage bucket
Create an Object storage bucket in IPserverone’s customer portal
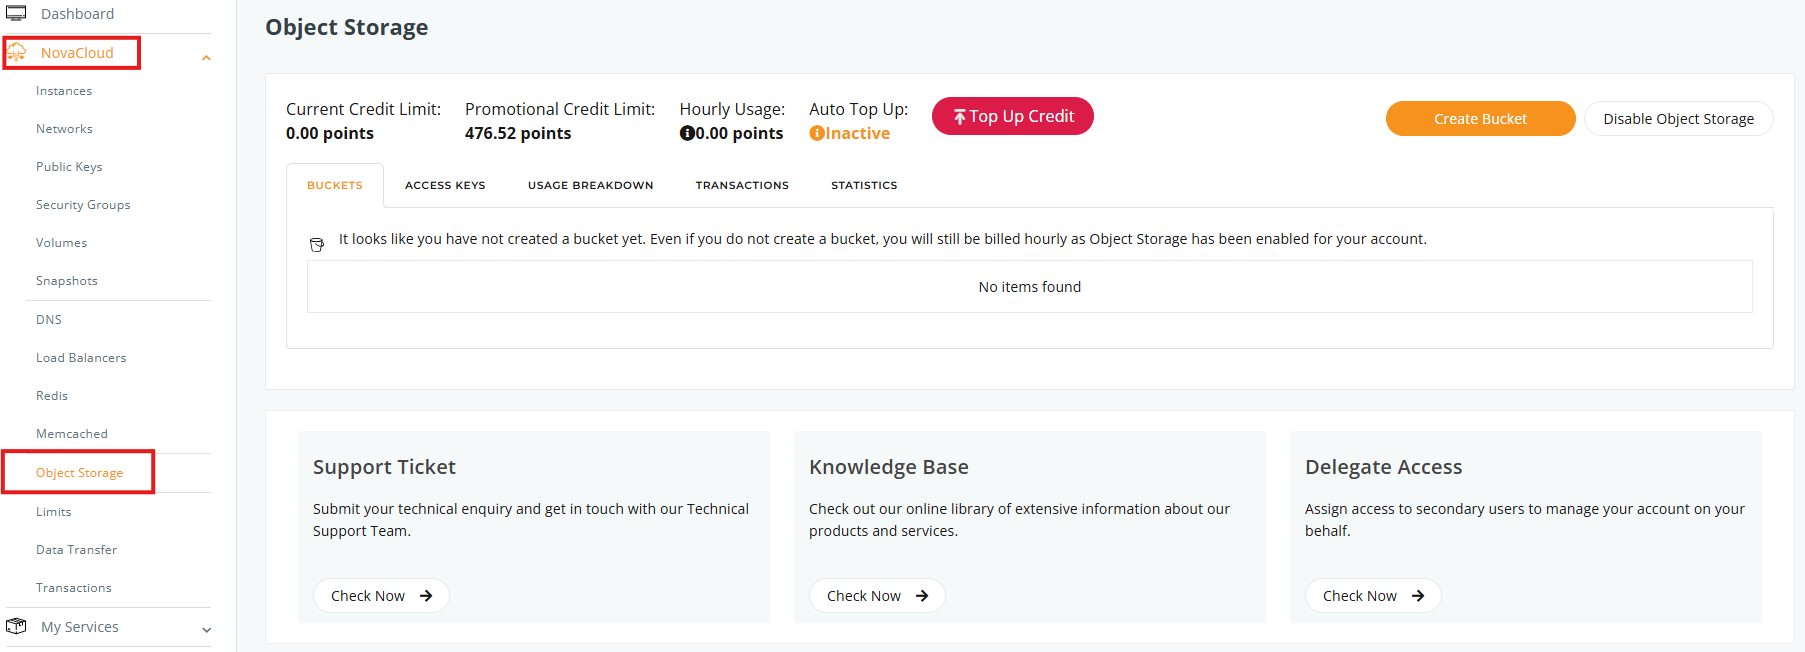
1. Login to your customer portal account and navigate to the “Object Storage” management page:
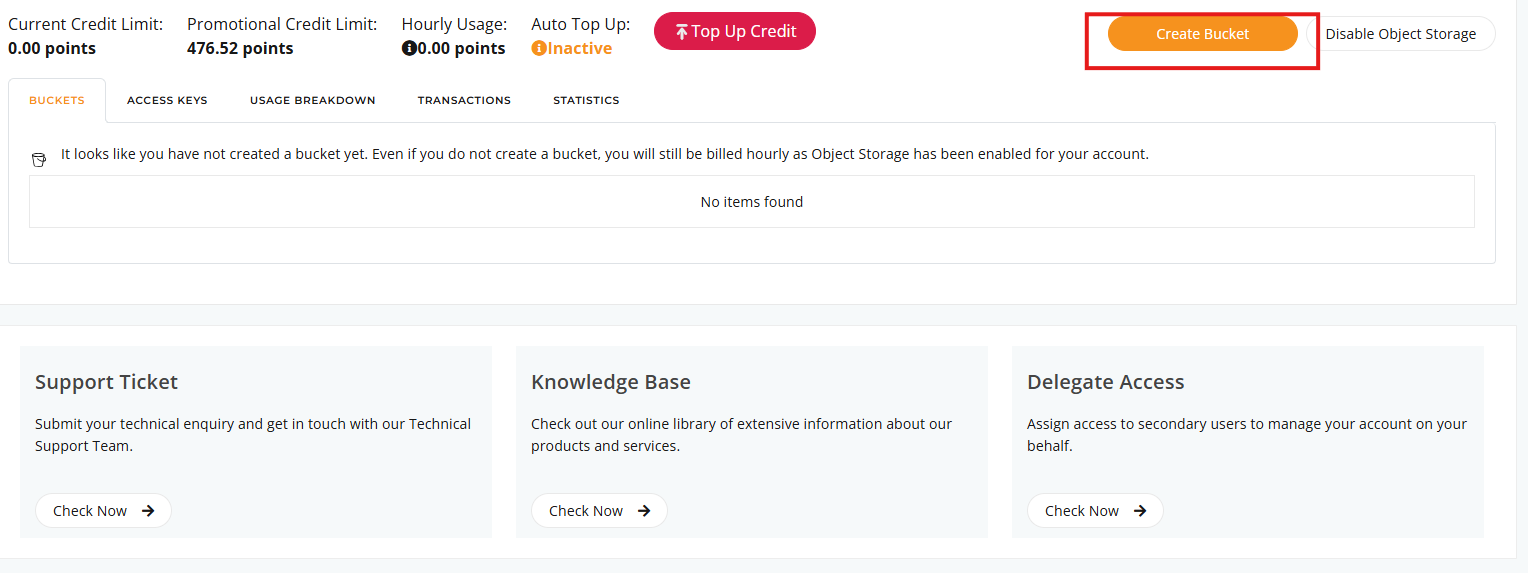
2. Click on ‘Create Bucket’ :
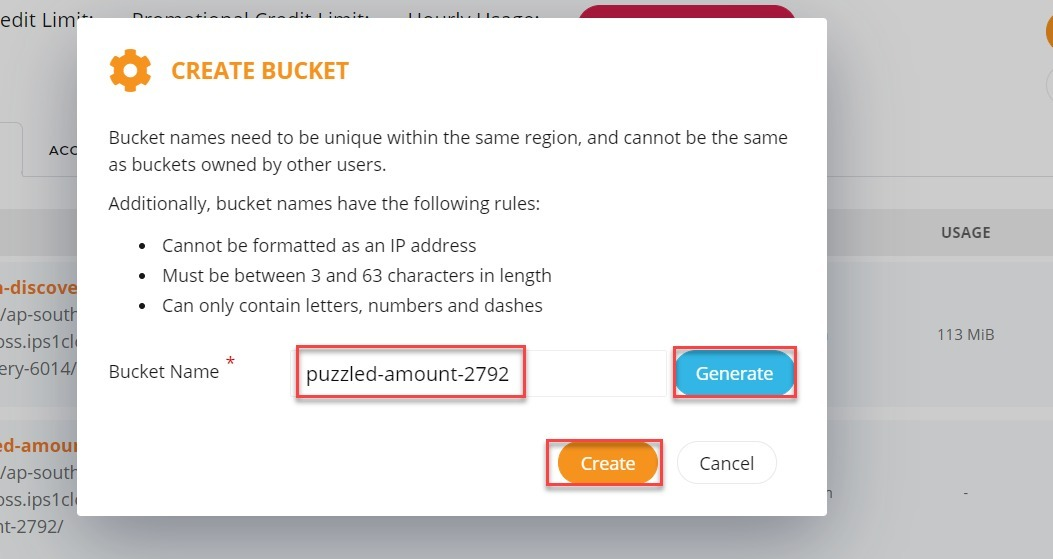
3. You may insert your own bucket name, or generate a random name from the system. Once the name has been keyed in, click ‘Create’ button to create the bucket:
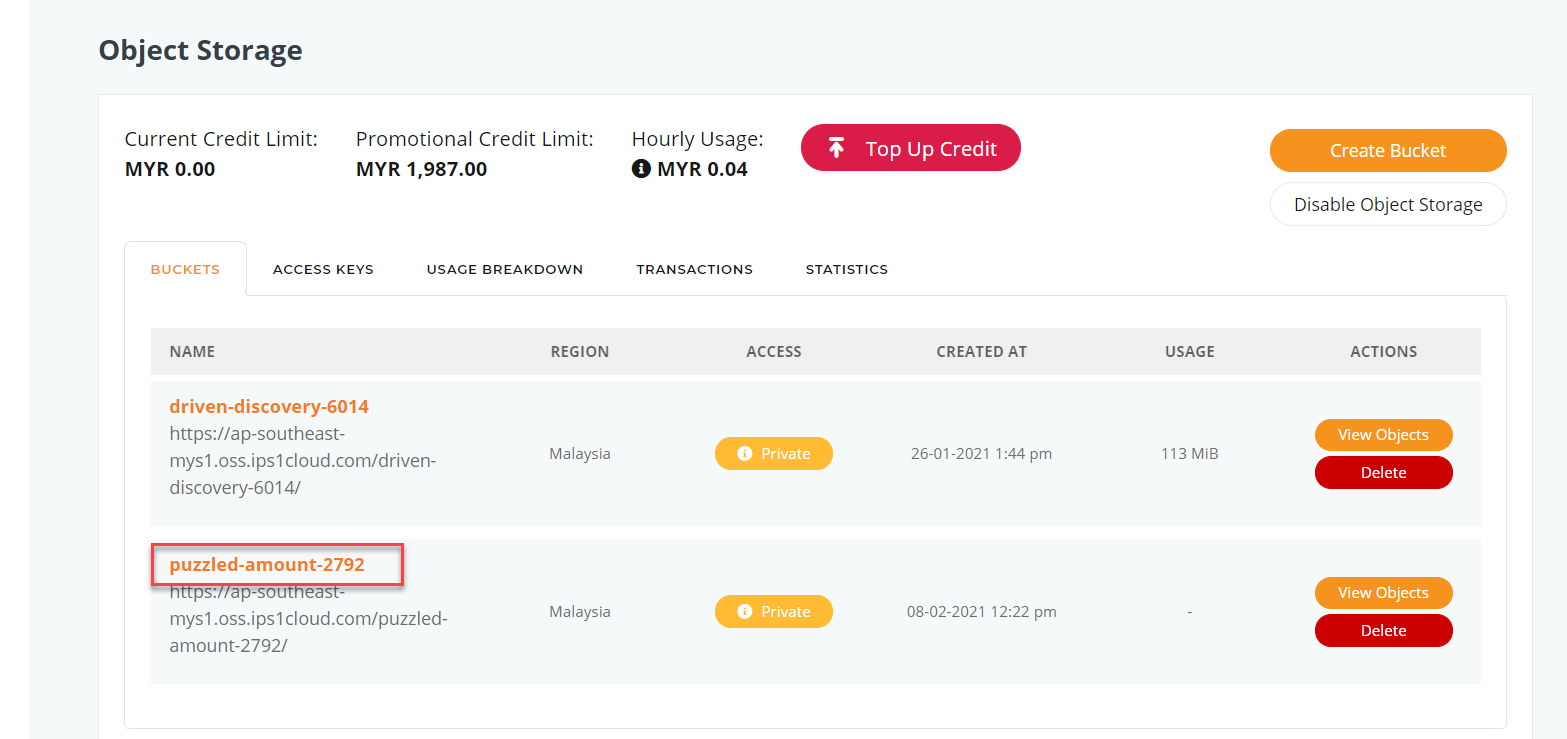
4. The new object storage bucket will be created
5. Next, you will need an access key to access the new bucket. Navigate to “Access Keys” and click on ‘Create Access Key’
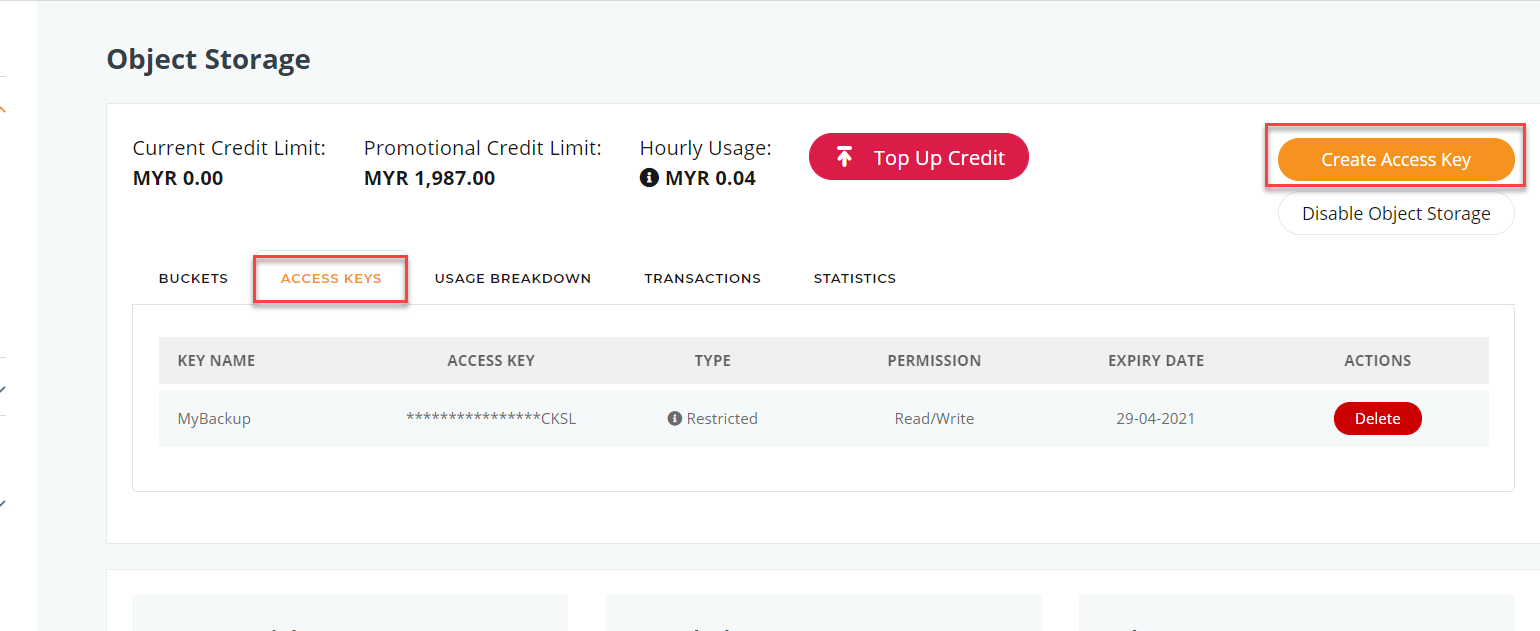
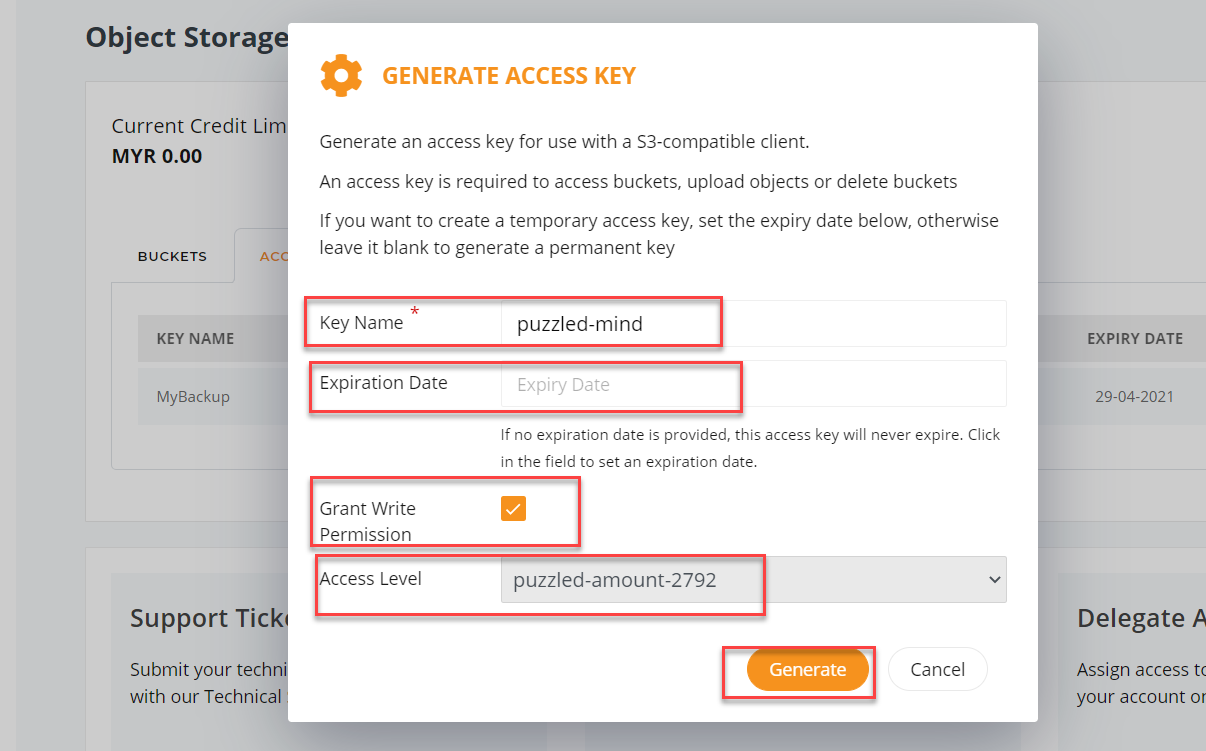
6. Enter the following information:
- Enter the Access “Key name”
- Enter the “Expiration date” of the key,
- “Grant write permission” to this access key for files upload / edit in the object bucket, else if you wish to create a read only key, untick this.
- In Access Level, decide on the bucket that this key can access to (The name of the bucket).
- Once all details inserted, click “Generate” to generate the new access key.
7. You will be given a set of Access key and Secret Key, copy and paste it to somewhere safe and keep it safe. 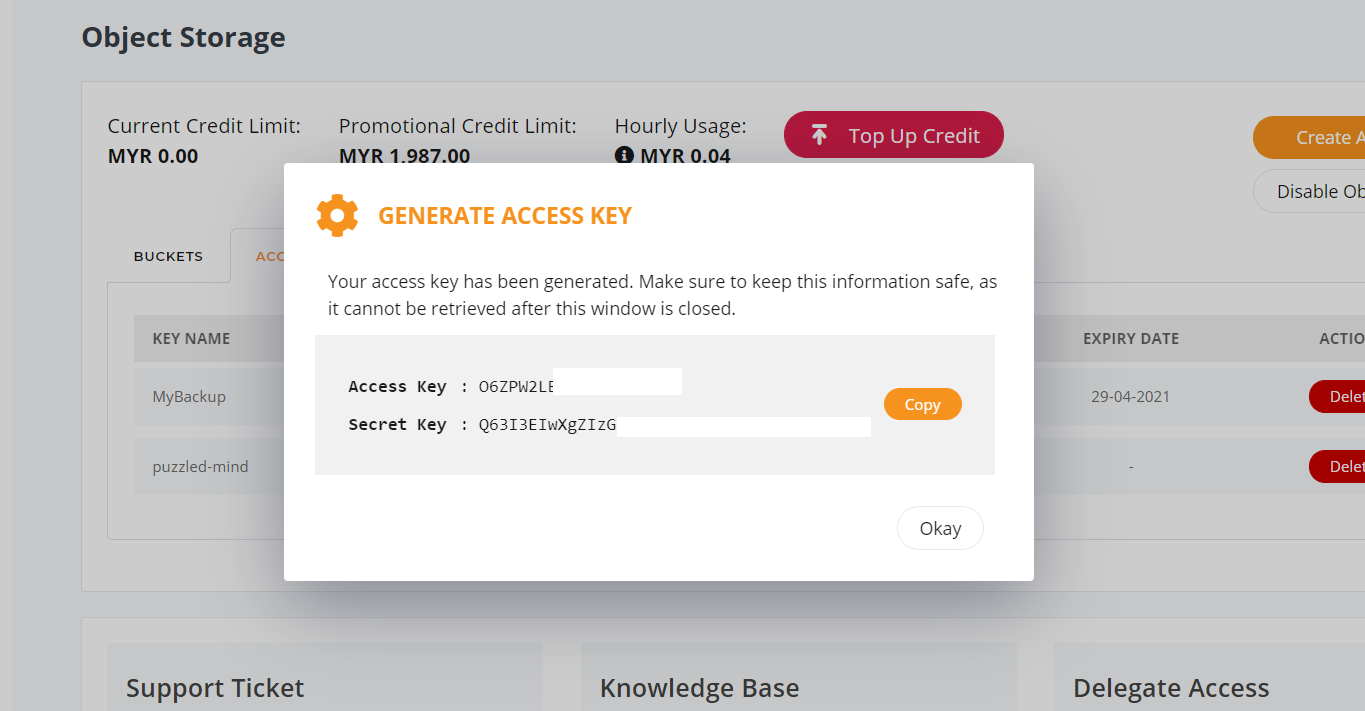
Prep your CentOS 7 server by installing necessary package
1. Enable Epel repository for your CentOS 7 box.
yum install epel-release –y
2. Install the duplicity package and rng-tools
yum install duplicity rng-tools
3. Allowed rng tools to generate random inputs and start the service
"EXTRAOPTIONS="-r /dev/random""
service rngd start
4. Create an ips1 folder in root directory for backup script and gpg key storing purpose
mkdir /ips1
Generate GPG keys for backup file Encryption
1. Generate gpg key, note down the passphrase used to generate the key.
gpg --full-generate-key
Enter and remember a passphrase. You are asked to define the characteristics of your keys. We go with the default settings:
- What kind of key you want: (1) RSA and RSA (default)
- What key size you want: (3072)
- How long the key should be valid: 0 = key does not expire
GPG then asks for a name for your key, an address, and a description.
gpg --full-generate-key

gpg (GnuPG) 2.1.18; Copyright (C) 2017 Free Software Foundation, Inc.
This is free software: you are free to change and redistribute it.
There is NO WARRANTY, to the extent permitted by law.

Please select what kind of key you want:
(1) RSA and RSA (default)
(2) DSA and Elgamal
(3) DSA (sign only)
(4) RSA (sign only)
Your selection? 1

RSA keys may be between 1024 and 4096 bits long.
What keysize do you want? (3072) 3072
Requested keysize is 3072 bits

Please specify how long the key should be valid.
0 = key does not expire
<n> = key expires in n days
<n>w = key expires in n weeks
<n>m = key expires in n months
<n>y = key expires in n years
Key is valid for? (0) 0
Key does not expire at all
Is this correct? (y/N) y

GnuPG needs to construct a user ID to identify your key.

Real name: backups
Email address: me@scaleway.com
Comment: Scaleway Object Storage backups
You selected this USER-ID:
backups (Scaleway Object Storage backups) <me@scaleway.com>

Change (N)ame, (C)omment, (E)mail or (O)kay/(Q)uit? O
We need to generate a lot of random bytes. It is a good idea to perform
some other action (type on the keyboard, move the mouse, utilize the
disks) during the prime generation; this gives the random number
generator a better chance to gain enough entropy.

gpg: key XXXXXXXXXXXXXXXX marked as ultimately trusted
public and secret key created and signed.
pub rsa3072 2020-03-26 [SC]
XXXXXXXXXXXXX-FINGERPRINT-XXXXXXXXXXXXXX
uid backups (Scaleway Object Storage backups) <me@scaleway.com>
sub rsa3072 2020-03-26 [E]
2. Use command below to list all created keys.
gpg --list-keys
3. Export your gpg keys to a file call ‘backups’ and download it to save keep, if in any way you had lost the access to the current server, you can still use this backup key to retrieve the uploaded and encrypted backup file in object storage.
gpg --armor --export backups
gpg --armor --export-secret-key backups
Make use of a script to automate the Backup process
1. Create initial scripts files and log files
cd /ips1/
    touch scw-backups.sh scw-restore.sh .scw-configrc
    chmod 700 scw-backups.sh scw-restore.sh
    chmod 600 .scw-configrc
mkdir -p /var/log/duplicity
    touch /var/log/duplicity/logfile{.log,-recent.log}
2. Add the following contents to .scw-configrc. Make sure you replace the necessary values with the details of your Scaleway API key, Object Storage bucket, and GPG key. You also need to enter a path to the desired backup folder:
# ips1 credentials keys
export AWS_ACCESS_KEY_ID=""
export AWS_SECRET_ACCESS_KEY=""
export SCW_REGION=""
export SCW_ENDPOINT_URL="https://s3.${SCW_REGION}.scw.cloud"
# set SCW_BUCKET as follows for duplicity < 0.8.23
# for higher versions, see below
# export SCW_BUCKET="s3://s3.${SCW_REGION}.scw.cloud/"
# set the next two variables for duplicity >= 0.8.23
# it uses the boto3 library, which uses a different naming scheme for bucket names
export SCW_BUCKET="s3://"
# GPG Key information
export PASSPHRASE=""
export GPG_FINGERPRINT=""
# Folder to backup
export SOURCE=""
# Will keep backup up to 1 month
export KEEP_BACKUP_TIME="1M"
# Will make a full backup every 10 days
export FULL_BACKUP_TIME="10D"
# Log files
export LOGFILE_RECENT="/var/log/duplicity/logfile-recent.log"
export LOGFILE="/var/log/duplicity/logfile.log"
log () {
  date=`date +%Y-%m-%d`
  hour=`date +%H:%M:%S`
  echo "$date $hour $*" >> ${LOGFILE_RECENT}
}
export -f log
3. Add the following contents to ‘scw-backups.sh’
#!/bin/bash
source /ips1/.scw-configrc
    currently_backuping=$(ps -ef | grep duplicity  | grep python | wc -l)
    if [ $currently_backuping -eq 0 ]; then
      # Clear the recent log file
      cat /dev/null > ${LOGFILE_RECENT}
      log ">>> removing old backups"
      duplicity remove-older-than \
        --s3-endpoint-url ${SCW_ENDPOINT_URL} \
        --s3-region-name ${SCW_REGION} \
        ${KEEP_BACKUP_TIME} ${SCW_BUCKET} >> ${LOGFILE_RECENT} 2>&1
      # duplicity >= 0.8.23
      # determine S3_ENDPOINT_URL for scaleway
      S3_ENDPOINT_URL="https://s3.${S3_REGION_NAME}.scw.cloud"
      log ">>> creating and uploading backup to Scaleway Glacier"
      duplicity \
      incr --full-if-older-than ${FULL_BACKUP_TIME} \
      --asynchronous-upload \
      --s3-use-glacier \
      --s3-endpoint-url ${SCW_ENDPOINT_URL} \
      --s3-region-name ${SCW_REGION} \
      --encrypt-key=${GPG_FINGERPRINT} \
      --sign-key=${GPG_FINGERPRINT} \
      ${SOURCE} ${SCW_BUCKET} >> ${LOGFILE_RECENT} 2>&1
      cat ${LOGFILE_RECENT} >> ${LOGFILE}
    fi
4. Run the script
./scw-backups.sh
5. Check the logs for the backup activity reporting in:
cat /var/log/duplicity/logfile-recent.log
6. Add the script running to the server cronjob list so that the backup running can be automated.
crontab -e
then, insert cronjob line below to run the backup upload at 1am daily.
0 1 * * * /ips1/scw-backup.sh > /dev/null 2>&1
Restore a file from Object Storage
1. Insert the content below to ‘obj-restore.sh’
#!/bin/bash source /root/.obj-configrc if [ $# -lt 2 ]; then echo -e "Usage $0
To restore all data uploaded, use command below:
./scw-restore.sh 0D /tmp/restore/
You can also recover one specific folder with the following format from a backup 3 days ago with:
./scw-restore.sh 3D /tmp/restore/
Or recover a specific file from 3 days ago
./scw-restore.sh 3D /path/to/thefile
Source: Store Object with Duplicity
Article posted on 2021-03-03 by yccheong