Search Our Database
How to create Email Filters in cPanel
Introduction
cPanel offers a versatile feature to filter emails based on specific keywords, enhancing your email management and security. This guide will lead you through setting up these filters, either for individual accounts or globally for all users.
Steps to Create Email Filters in cPanel
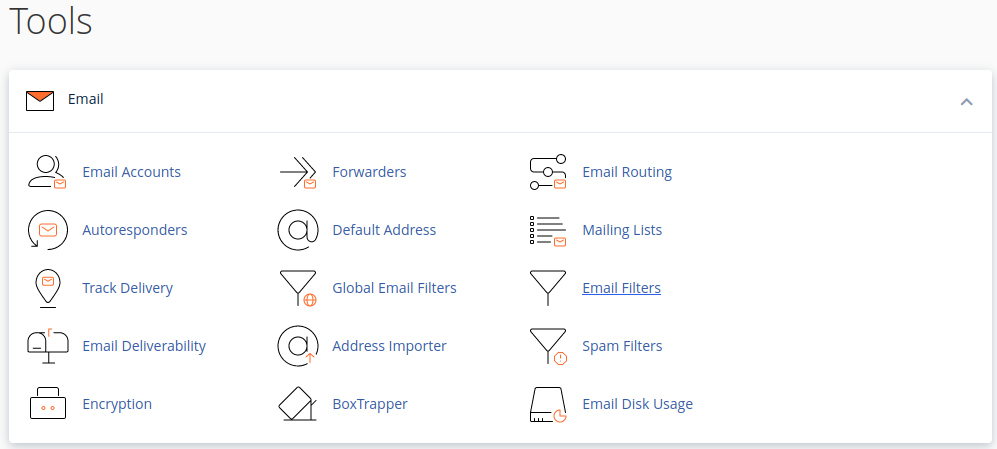
1. login to cPanel and select ‘Email Filters’ under Email section.
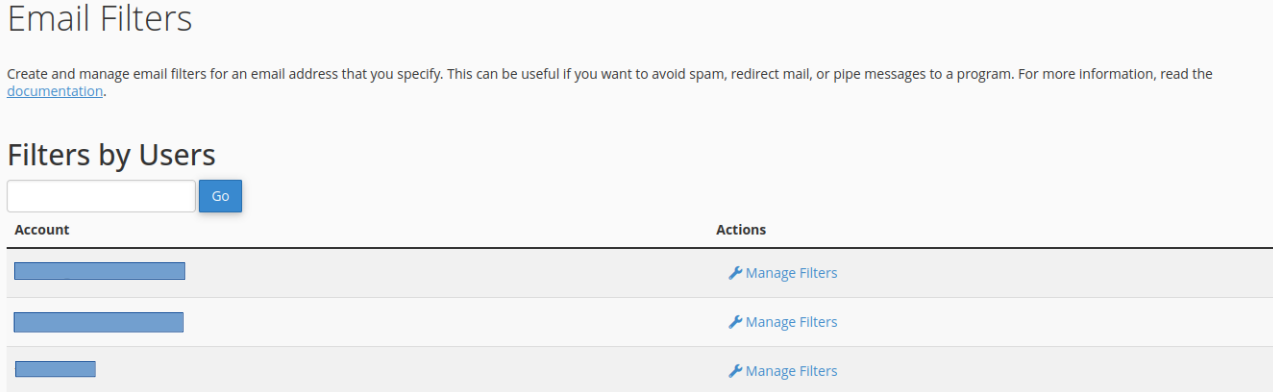
2. this will bring you to the Email Filters menu. Here, you can manage the filters for each individual email account. Click on Manage Filters to bring you to the filter management page.
3. Click on ‘Create a New Filter’ which allows you to create new filters and manage existing filters.

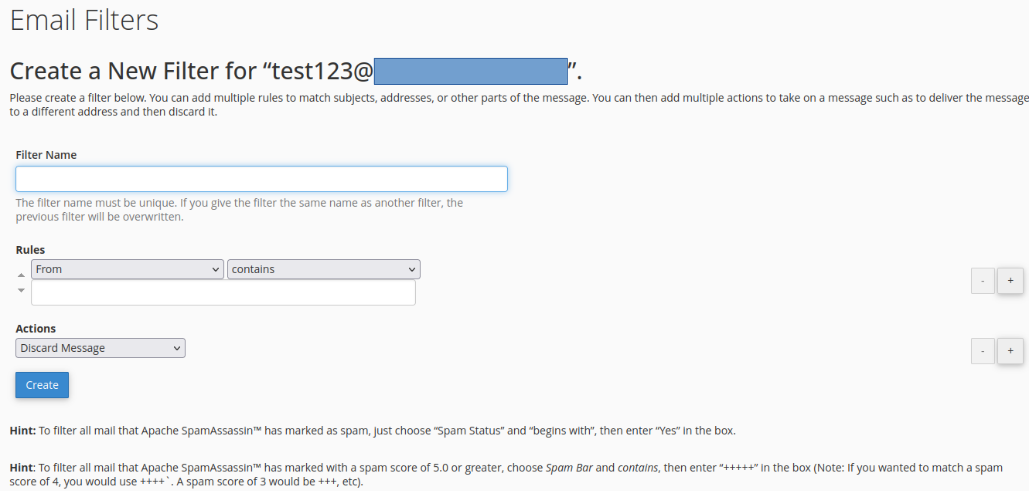
4. The next page will ask you to fill in the Filter Name form with a unique name for your filter.
5. It also allows you to create a rule set for the new filter being created. You can add multiple rules to match subjects, addresses, or other parts of the message.
6. Enter the word or phrase you want to filter on. You can then add multiple actions to take on a message such as to deliver the message to a different address and then discard it.
7. Once you’re happy with the rule-set, click on Create to finalize it.
7. You will be able to view the newly created rule set in the Email Filters page. The newly created filter can also be edited if you would like to make any changes.

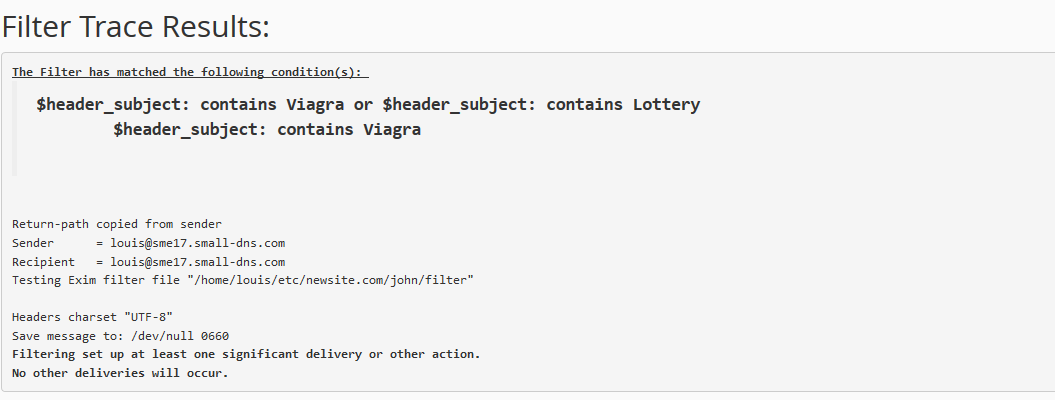
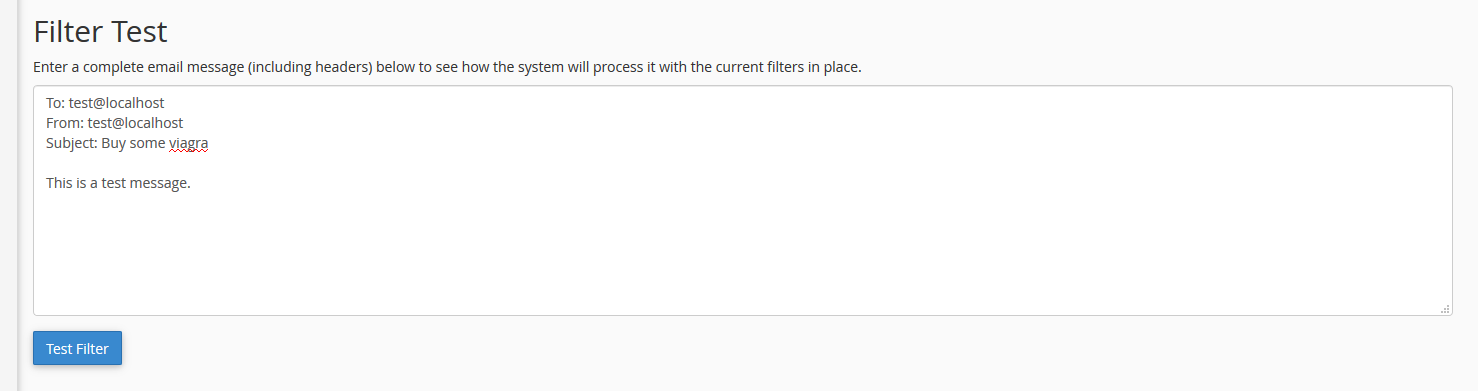
8. You may also use the Filter Test to put the rule sets you’ve generated to the test. This will check for the conditions stated in your rule-set.
9. Done! the new email filter is created. All new incoming emails for the email address you specified will be filtered according to this new rule.
check out our example below! we have successfully created the email filter as the test results have correctly filtered out our test email which contained the term “Viagra”, based on the rule that we have created.