Search Our Database
Whitelisting and Blacklisting Email Addresses on cPanel
Introduction
Effectively managing email communication is critical in maintaining a secure and clutter-free inbox, especially for web hosting environments. In cPanel, administrators and users can leverage built-in spam filtering tools to control which email addresses are allowed (whitelisted) and which are blocked (blacklisted). This feature helps ensure that essential communications are not mistakenly marked as spam while preventing malicious or unwanted emails from reaching user inboxes.
This guide will walk you through the process of configuring both whitelisting and blacklisting rules directly within cPanel’s Spam Filters section. The steps outlined here are suitable for website owners, administrators, and users who manage their email settings in cPanel.
Prerequisites
- Access to cPanel with administrative or user-level privileges.
- Basic understanding of how email whitelisting and blacklisting functions.
- A list of specific email addresses or domains you intend to whitelist or blacklist.
Step-by-step Guide
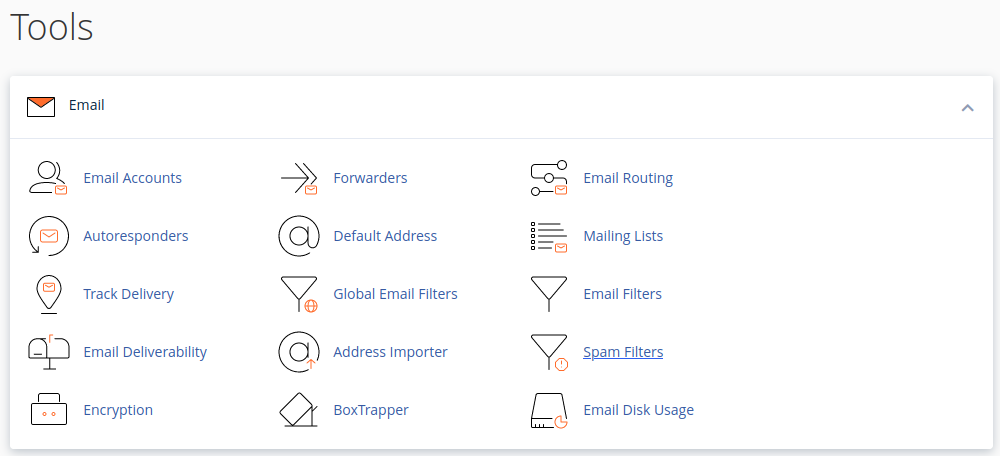
Step 1: Access Spam Filters in cPanel
- Log in to your cPanel account.
- Navigate to the Email section and select Spam Filters.
Step 2: Expand Advanced Configuration Options
- Scroll down to the section labeled Additional Configurations (For Advanced Users).
- Click on Show Additional Configurations to expand advanced options.

From here, you will be able to access settings for both whitelisting and blacklisting email addresses.
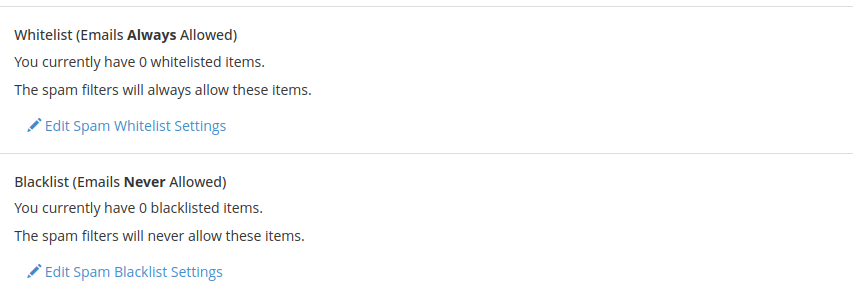
Step 3: Whitelist an Email Address or Domain
- Click Edit Spam Whitelist Settings.

- Select Add A New “whitelist_from” Item.

- Enter the email address or domain you wish to whitelist. Use the following formats:

- user@example.com – Whitelist a single email address.
- *@example.com – Whitelist all email addresses from a domain.
- ?ser@example.com – Whitelist a pattern (e.g., matches user@example.com but not theuser@example.com).
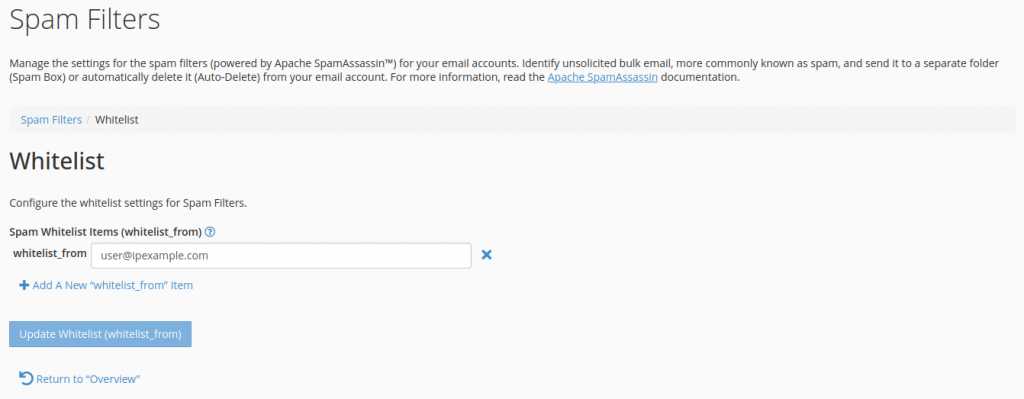
- Click Update Whitelist (whitelist_from) to save your changes.

- A confirmation message will appear once the whitelist is successfully updated.
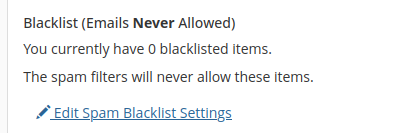
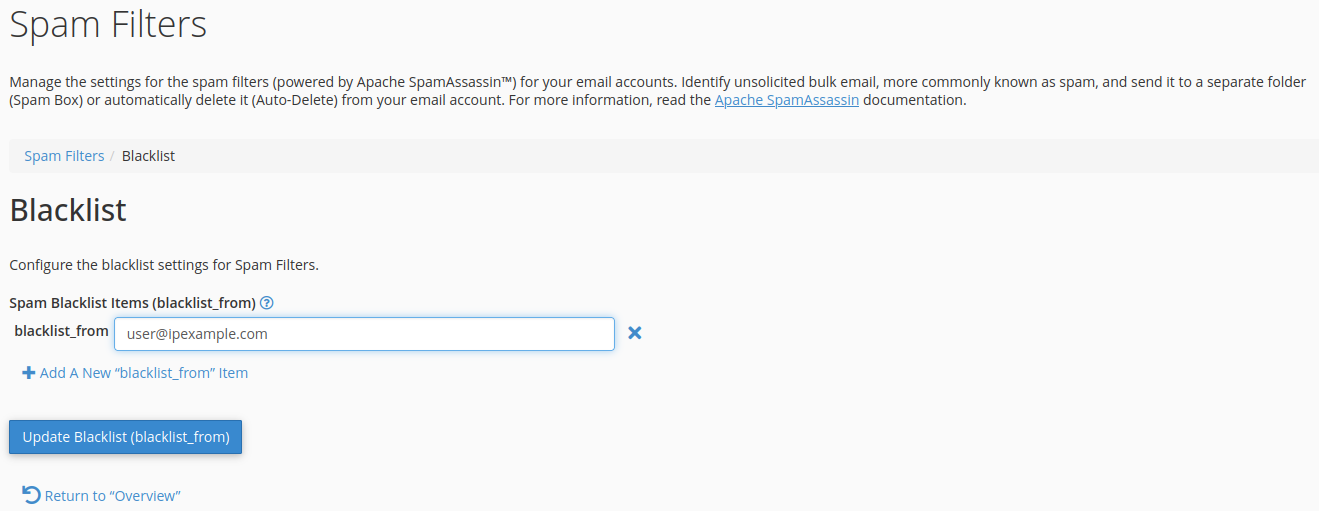
Step 4: Blacklist an Email Address or Domain
- Return to the Additional Configurations section.
- Click Edit Spam Blacklist Settings.
- Select Add A New “blacklist_from” Item.
- Enter the email address or domain you wish to block.
- Click Update Blacklist (blacklist_from) to apply the rule.

- A confirmation message will confirm successful update.

Conclusion
By following this guide, you can effectively control which emails bypass spam filters and which ones are blocked automatically. Implementing whitelists and blacklists in cPanel allows you to minimize spam and enhance your overall email security.
Should you have any inquiries about the guidelines, please feel free to open a ticket through your portal account or contact us at support@ipserverone.com. We’ll be happy to assist you further.