Search Our Database
How to Change Email Quota In cPanel
Introduction
Whether you’re running out of space for your emails or streamlining your email storage, adjusting your email quota is a simple yet effective solution. Increasing your email quota allows for more storage, reducing the need for frequent deletions, while decreasing it helps in managing server resources efficiently. Let’s explore how you can modify the email quota based on your specific requirements.
Steps to Adjust Email Quota in cPanel
Depending on your needs and situation, you might need to increase or decrease your email quota. Increasing your email quota will allow the user to store more emails before they are forced to delete the mails or empty the trash folder.
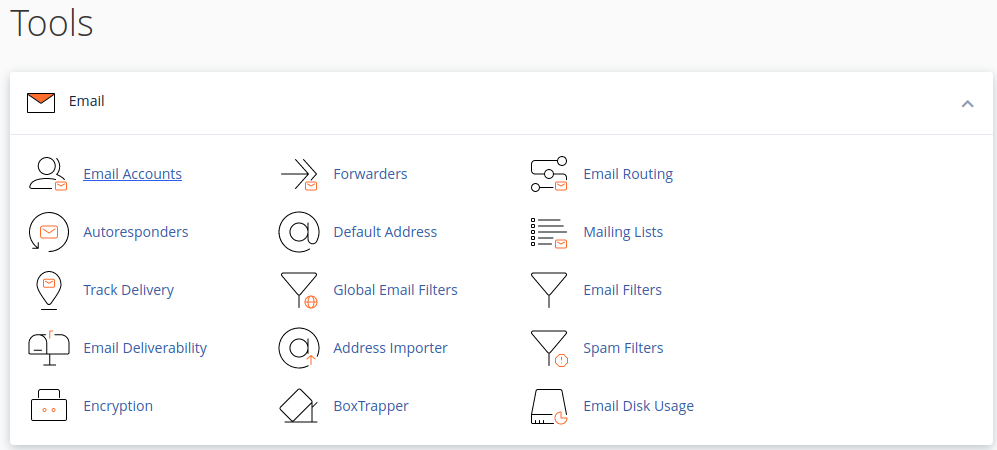
Step 1: Login into cPanel and navigate to the ‘Email’ section and select ‘Email Accounts’.
Step 2: You will see a list of existing mail accounts on this server. Click on “Manage” on the account that you want to make changes to.
Step 3: You may insert the new quota at the ‘Allocated Storage Space’ field. You can choose ‘Unlimited’ but it is not advisable to do so. Proceed to ‘Update Email Settings’ once you have keyed in the new email quota to save and apply changes.
Conclusion
You’ve successfully adjusted the email quota in cPanel! This modification helps in balancing the storage needs of your email account with the overall resource management of your server. Remember, regularly monitoring and adjusting your email quotas can lead to more efficient email management and server performance.
Should you have any inquiries of the guidelines, please feel free to open a ticket through your portal account or contact us at +603 – 2026 1688. We’ll be happy to assist you further.

