Search Our Database
How to install SSL certificates in DirectAdmin
Introduction
Hello users! It looks like you’ve just purchased an Alpha SSL certificate from IPSERVERONE, and you’ve received an email containing a URL and PIN. If you’re not sure what to do next, don’t worry! We’re here to guide you through the process of installing your Alpha SSL certificate using DirectAdmin.
Prerequisite
- Invitation Link and PIN: You should have received an email with an invitation link and a PIN. Keep this information handy as we’ll need it during the process.
- CSR and Key: You’ll need a CSR (Certificate Signing Request) and a Key. Don’t worry if this sounds technical – you can generate these yourself in step 2.
- PEM: After your verification is completed in step 3, you’ll receive a PEM file.
Step-by-step Guide
Step 1: You just receive email from us!
We will utilize the URL and PIN contained in the email to generate the LONG NAME FOR PEM> (PEM). Before you begin clicking on the link, we must first generate the CSR and Key from DirectAdmin.
Step 2: Generating CSR and Key
You must first log in to the DirectAdmin control panel. Then, use the search bar to look for your domain and proceed login as the user where your domain is currently on.
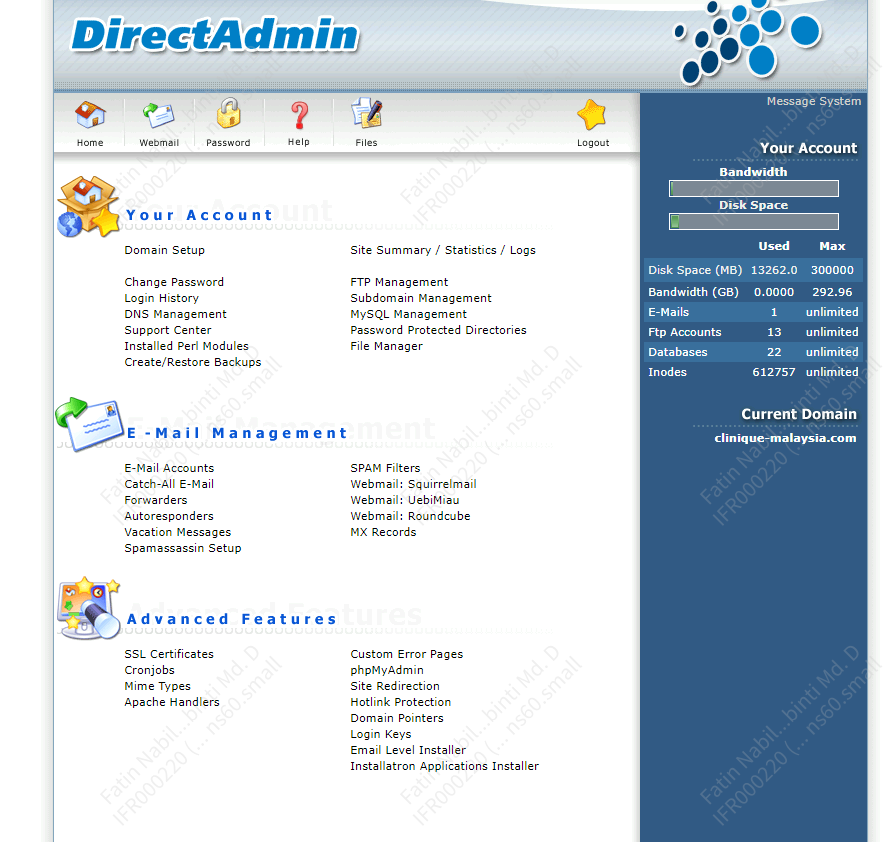
DirectAdmin homepage after user login.
From the section ‘Advanced Features’, click on ‘SSL Certificates’.
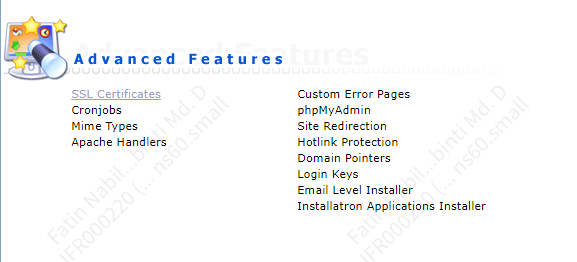
Select SSL Certificates.
Note: Please make sure that your SSL has enabled. If you see the page as below, SSL feature for the domain is not enable. proceed to ‘click here to enable SSL on the domain’ and select Secure SSL and Save.

click on enable SSL on the domain.
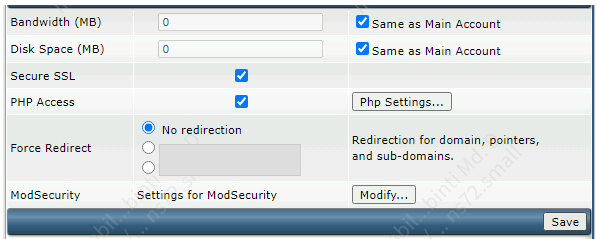
select on Secure SSL and click Save.
Now, we can proceed with generating CSR and Key.
To create a certificate request, select option ‘Create A Certificate Request’ and fill in the details. Example:
*Common Name: www.yourdomainname.com
*E-Mail: hostmaster@yourdomainname.com
*Key Size (bits) :2048
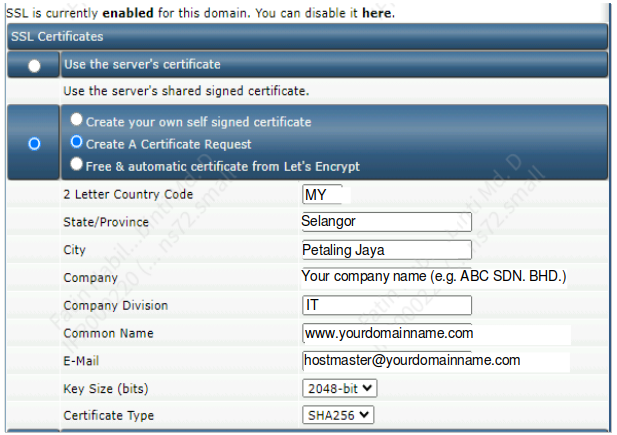
fill in the details.
Once you’ve filled out the details, click on ‘Save’ and the system will generate a CSR code for you. Copy the CSR code on your PC and keep these safe.

CSR code generated.
Step 3: Open the GlobalSign Certificates Link that you purchased and key in the PIN

key in the PIN number.
Proceed to fill in the details and click ‘Continue’.

Paste the CSR Code generated in step 2 earlier and click Continue.

The CSR data that was previously generated will be displayed. Ensure the data is accurate, then proceed.

Choose the Domain Verification you prefer. You can check the KB below as guide:
- If you have access to the email listed by GlobalSign, you can choose Email Verification: https://www.ipserverone.info/knowledge-base/globalsign-domain-verification-method-email-verification/
- If you have access to edit the website’s web file, you can choose HTTP Verification: https://www.ipserverone.info/knowledge-base/globalsign-domain-verification-method-http-verification/
- If you have access to the DNS hosting of the website, you can choose DNS Verification: https://www.ipserverone.info/knowledge-base/globalsign-domain-verification-method-dns-verification/
Step 4: Uploading Certificate to DirectAdmin
Please sign into your email account hostmaster@yourdomainname.com to approve the SSL certificate.
Following approval, another email with the SSL Certificate code will be received.
4.1: copy SSL Certificate from “–BEGIN CERTIFICATE–” UNTIL “–END CERTIFICATE–”
4.2: copy CA Certificate from “–BEGIN CERTIFICATE–” until “–END CERTIFICATE–“
Next, return to panel and click on the ‘SSL Certificates’.

Click on SSL Certificates.
Choose ‘Paste a pre-generated certificates and key’ and paste the SSL certificate code in step 4.1 below “END RSA PRIVATE KEY-“ and then click Save.

Paste the pre-generated certificate and key.
Proceed to ‘Click Here’ to paste a CA Root Certificate.

Make sure to select option ‘Use a CA Cert.’ and click Save.

to enable the newly installed SSL Certificate, click on ‘here’.

Select option ‘Secure SSL’ then click Save.
Note:
Case 1: http:// and https:// show the same content, choose “Use a symbolic link from private_html to public_html – allows for same data in http and https” and click Save.
Case 2: http:// and https:// will show different website, choose “Use a directory named private_html” and click Save.

choose Secure SSL and Save.
Done! All certificates are now installed.
Step 5: Testing Your SSL Certificate
- You can visit SSL checker or open your web browser and enter your website’s URL with “https://” at the beginning.
- If your website loads correctly without any security warnings, congratulations! Your Alpha SSL certificate is now successfully installed.
Conclusion
Congratulations on reaching the final step of installing your Alpha SSL certificate through DirectAdmin! By carefully following the steps outlined in this guide, you’ve taken an important measure to secure your website and protect your visitors’ information. The process of generating a CSR, obtaining the certificate, and installing it might have seemed daunting at first, but we hope our guide made it manageable and straightforward.
Security is an ongoing journey, and installing an SSL certificate is a significant milestone. Remember, SSL certificates do expire, so it’s essential to keep track of your certificate’s validity and renew it before it expires to maintain your website’s security and trustworthiness.
Should you encounter any issues or have any questions about managing your SSL certificate or any other aspect of your web hosting environment, our support team at IPSERVERONE is always here to assist you. Don’t hesitate to reach out to us at support@ipserverone.com for any help you need.