Search Our Database
How to create a sub-domain in cPanel
Introduction
Are you looking to expand your website’s capabilities by adding a subdomain? Subdomains can be incredibly useful for organizing content, creating separate sections of your site, or even hosting entirely different websites. With cPanel, one of the most popular web hosting control panels, creating a subdomain is a straightforward process. In this knowledge base, we’ll walk you through the steps required to create a subdomain in cPanel, empowering you to effectively manage your web presence.
Prerequisite
- cPanel access
- Basic understanding on terms “domain”, “”subdomain” and “root document”
Step-by-step guide
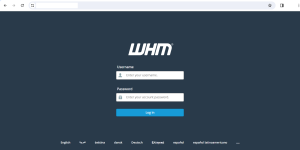
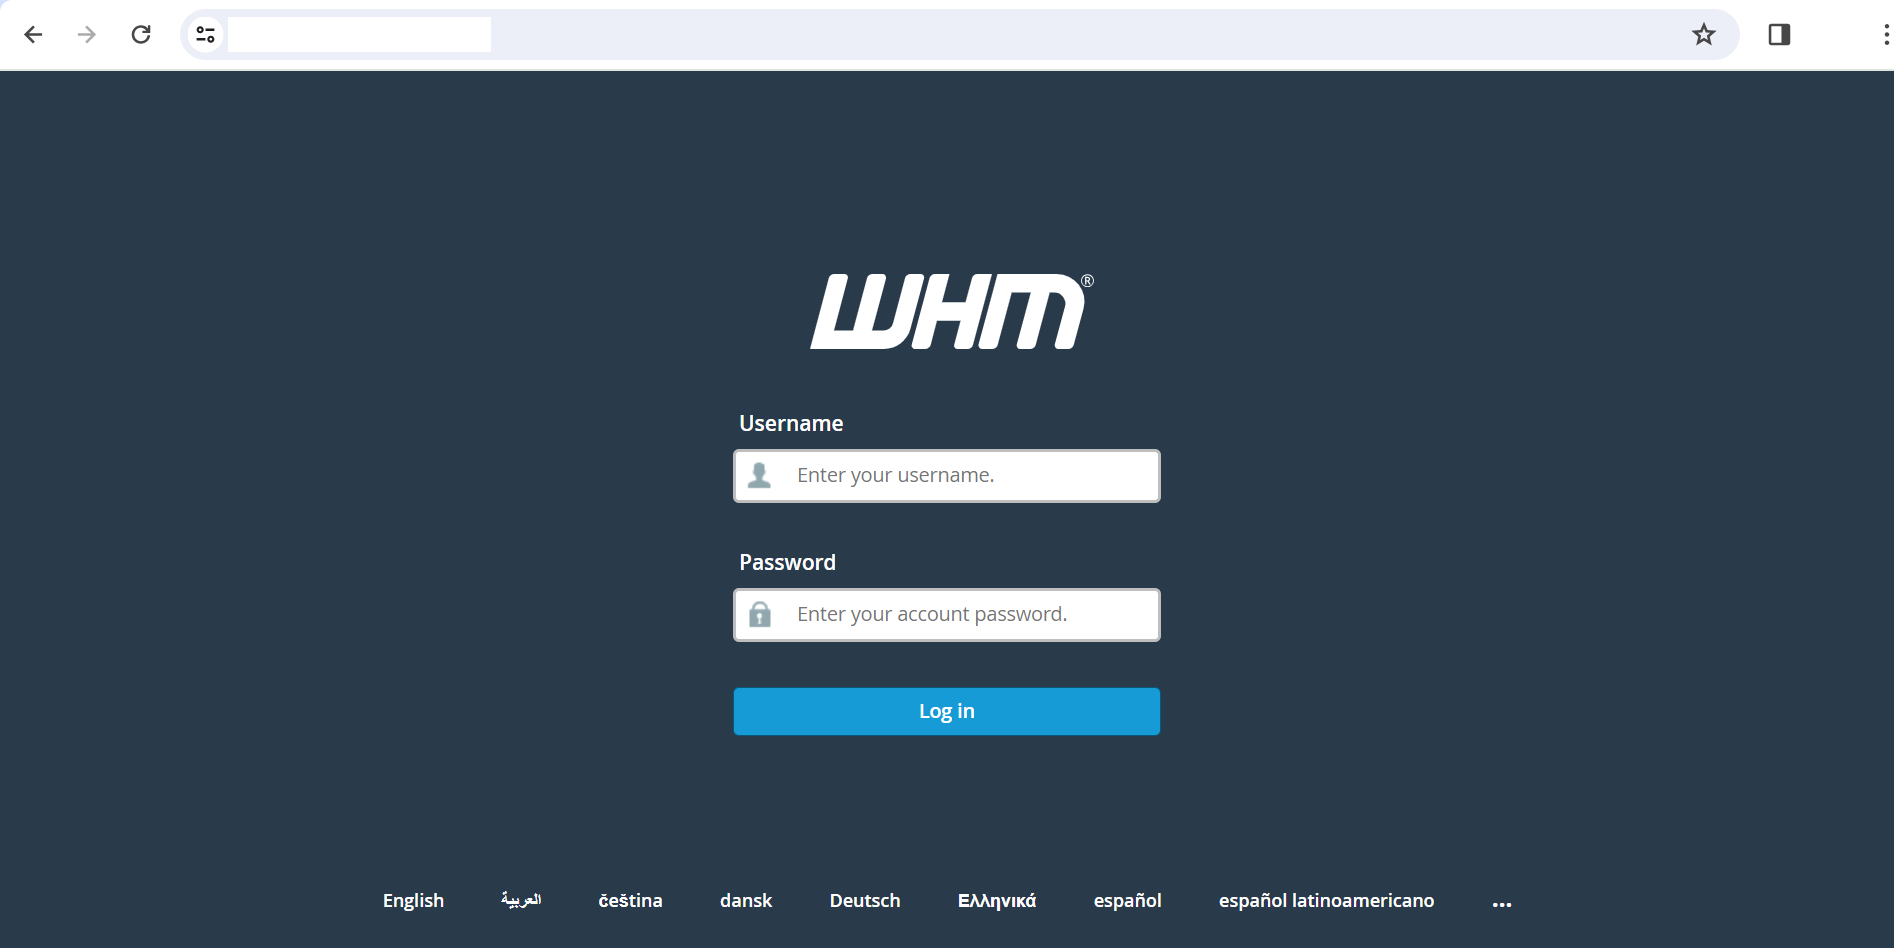
- Login to your VHM account.
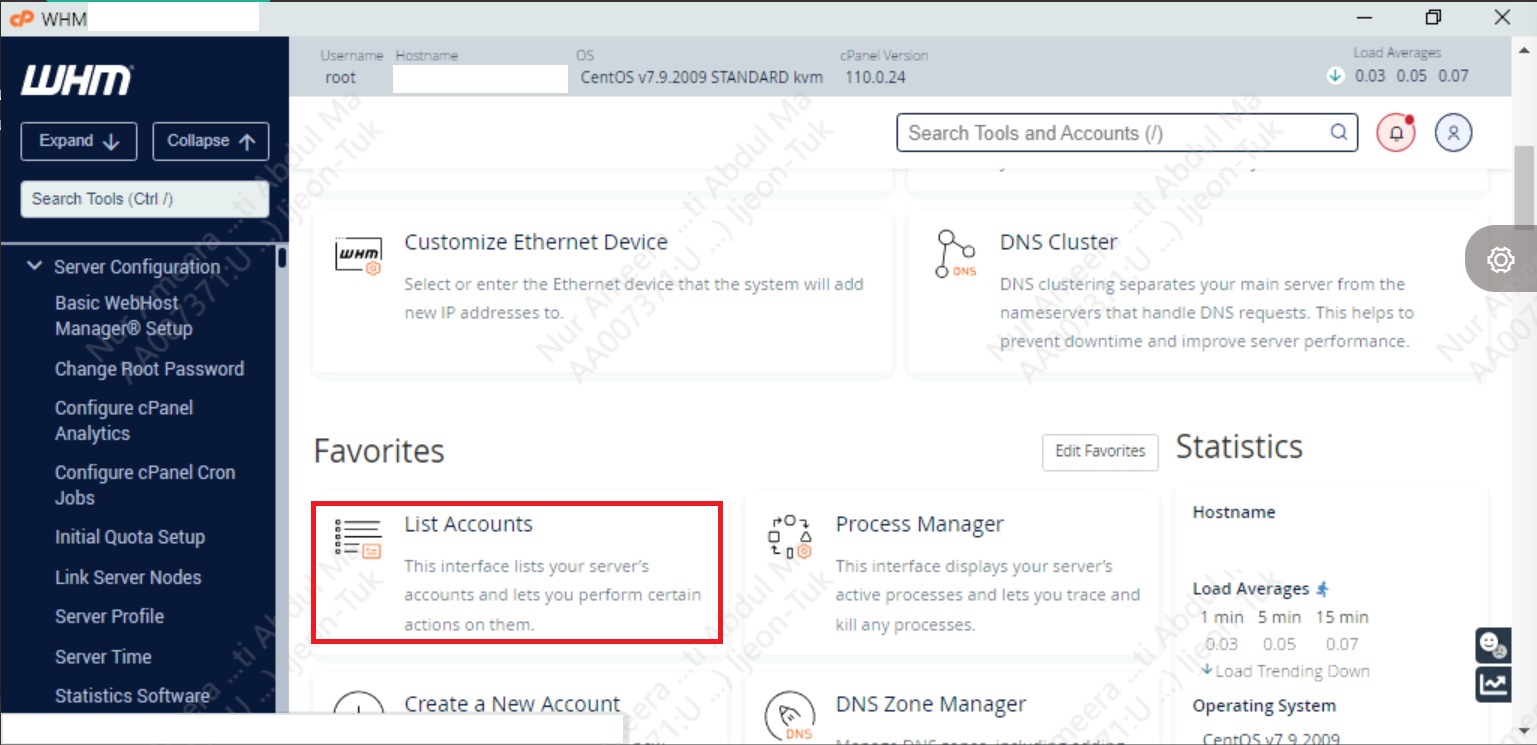
- Click the “List Account ” on the homepage.
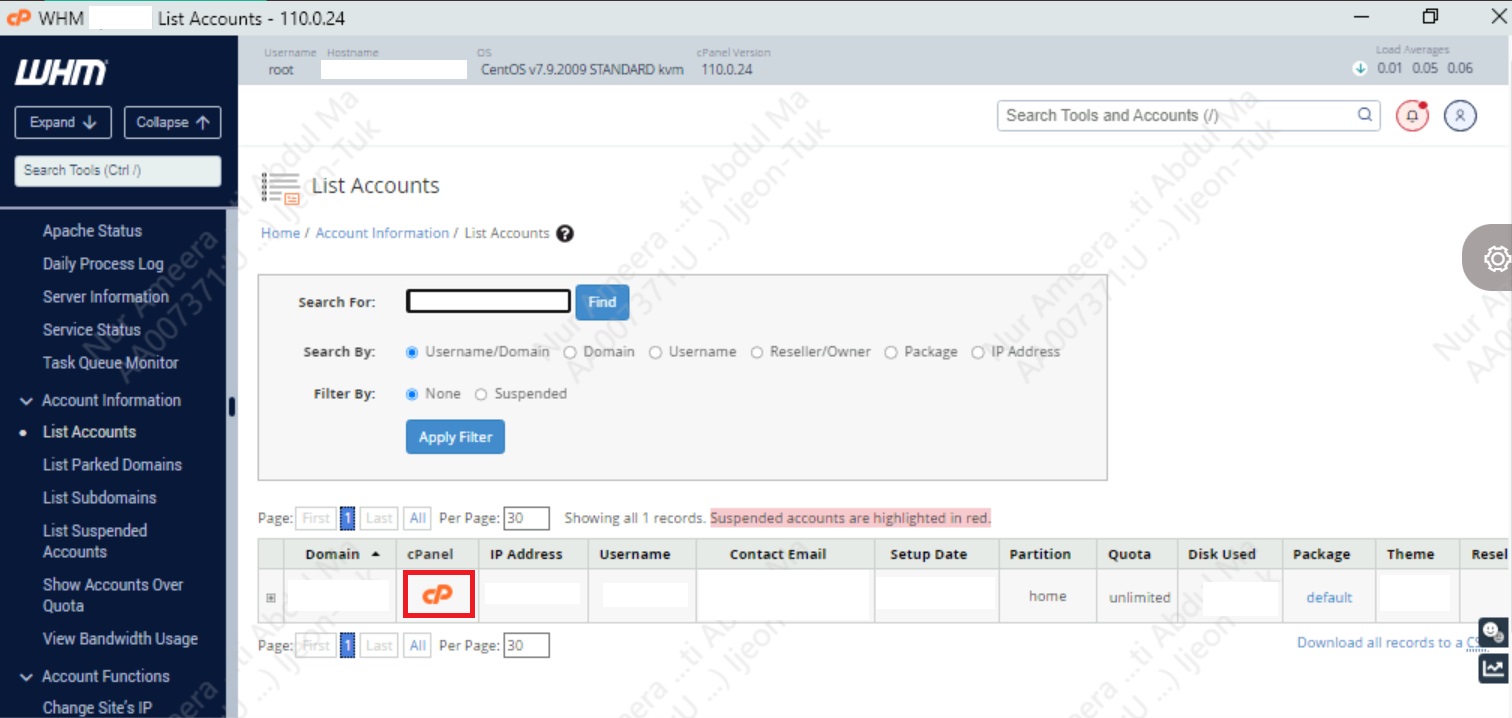
- Then, select the “domain” you wish to create the “subdomain” for. Click on “cPanel” logo shown in figure below to go to the cPanel account.
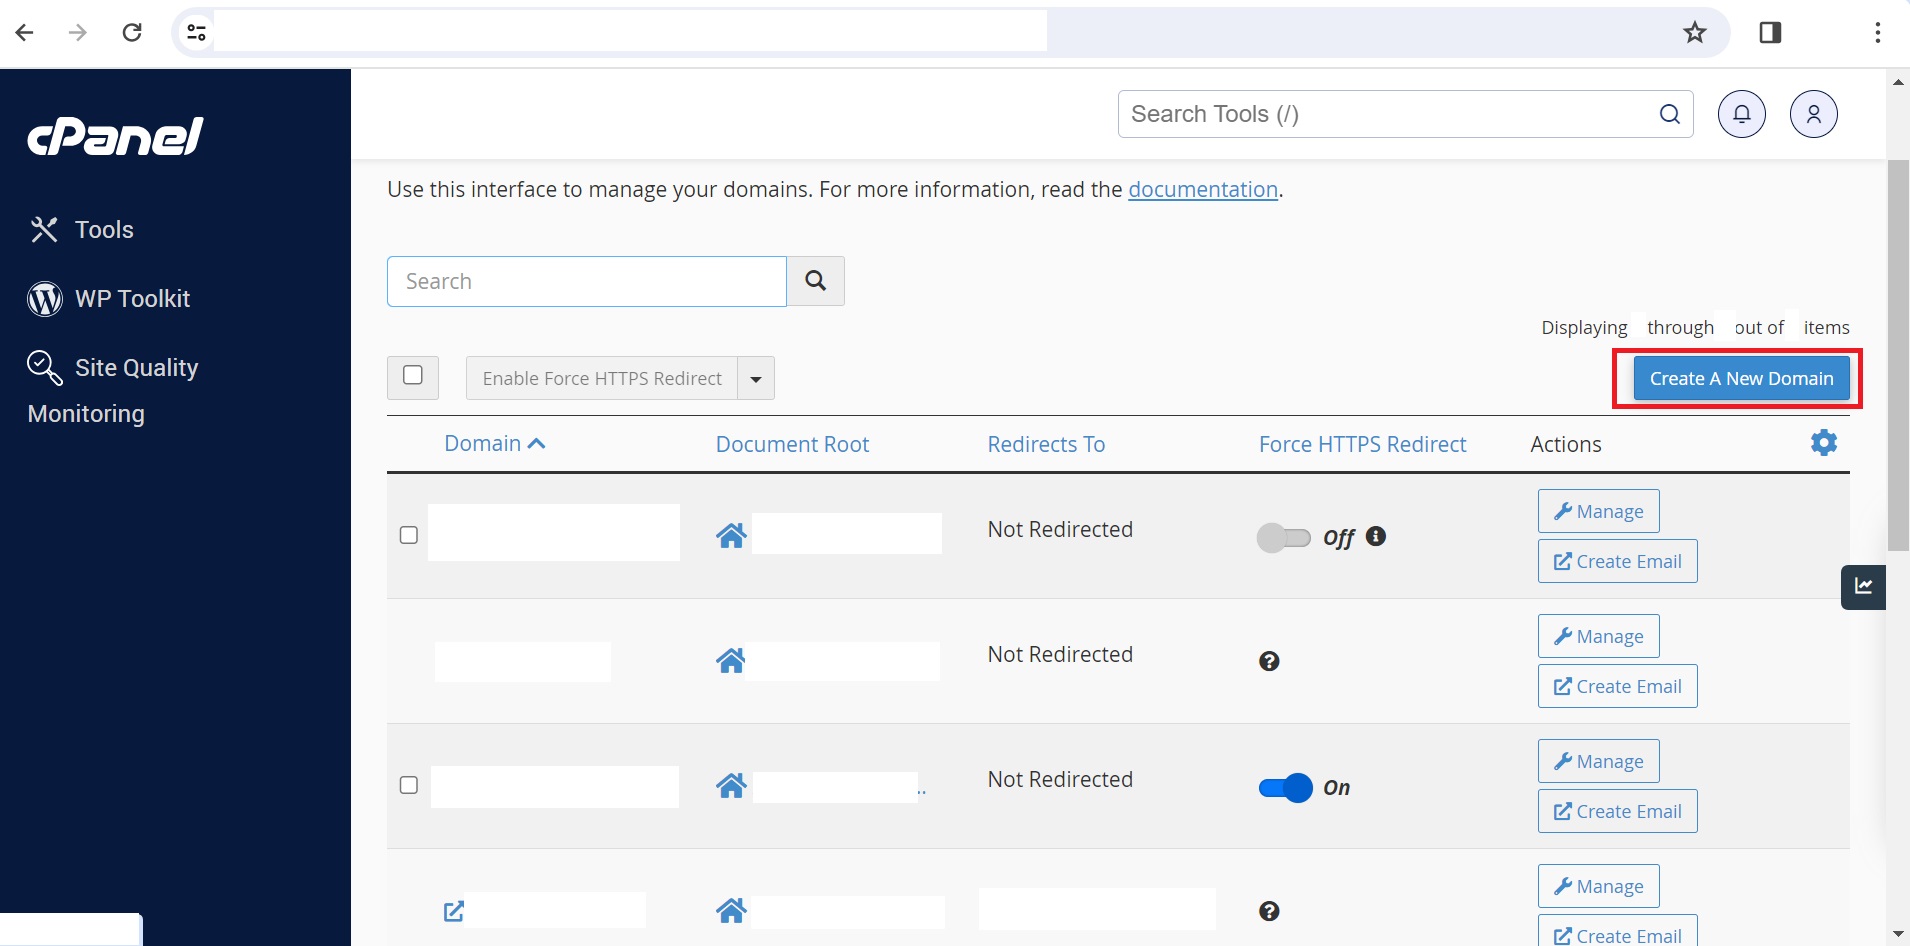
- After entering the cPanel account, you can click the “Domains” icon.

- From here, click the “Create a New Domain” button on top right.
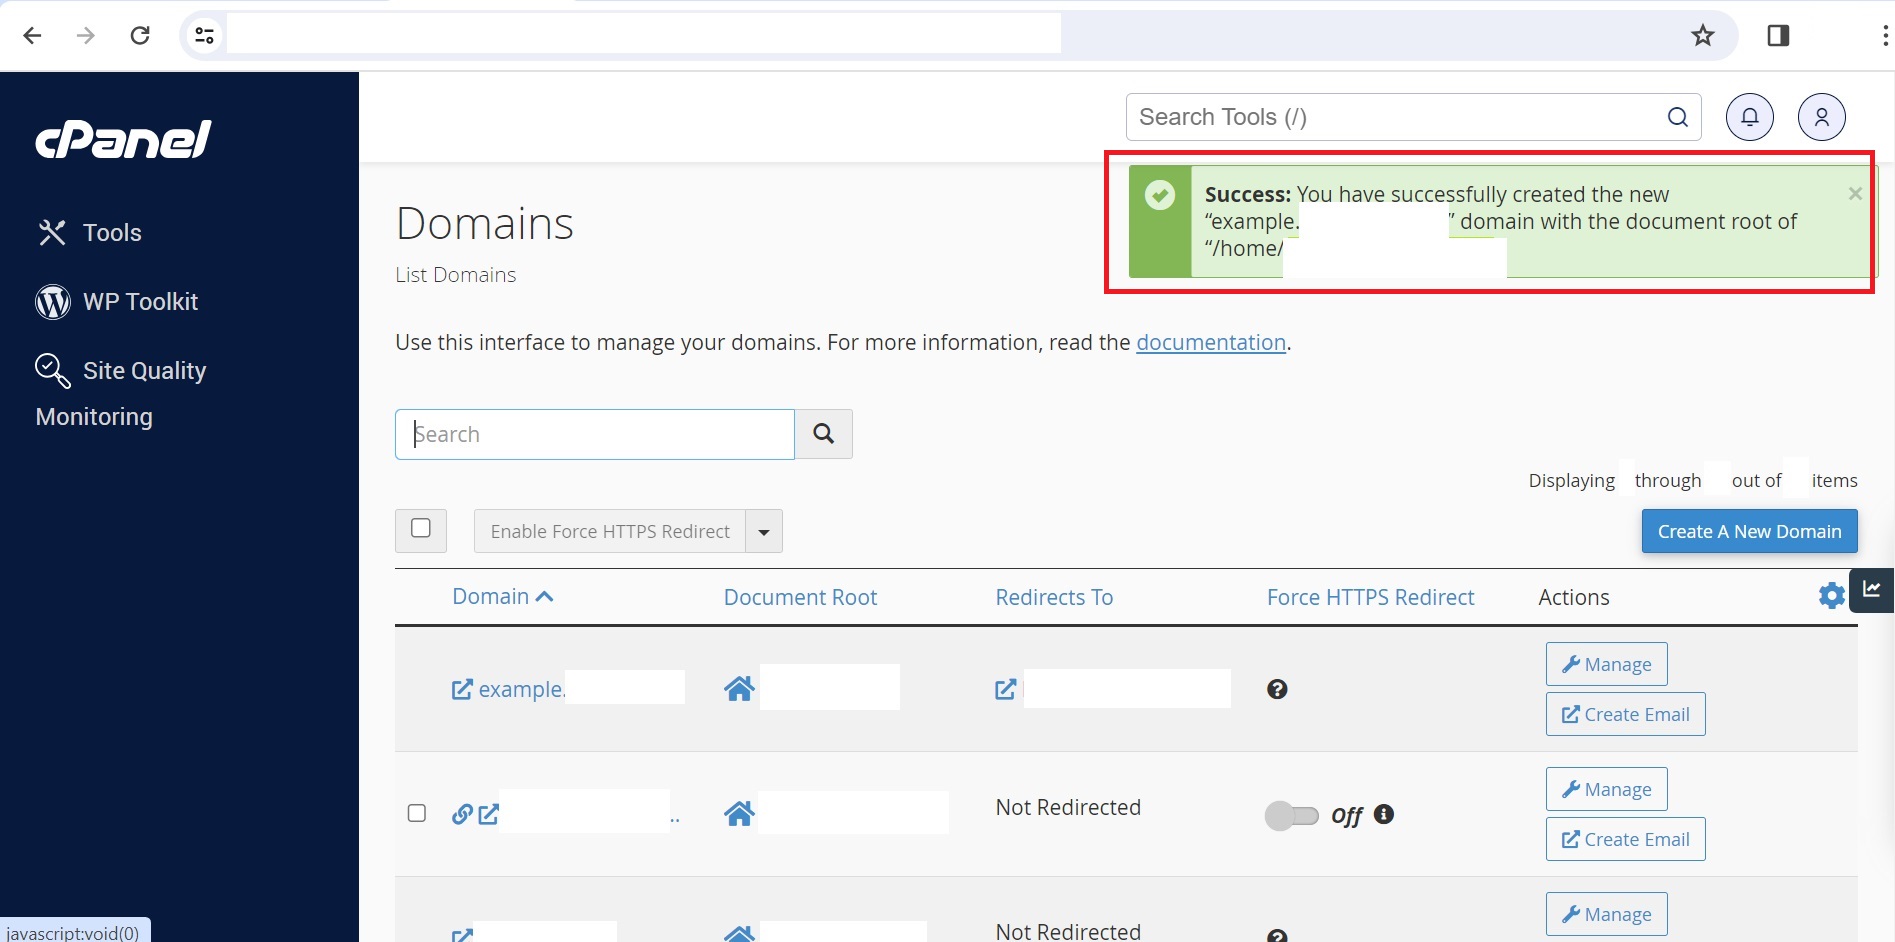
- Then, on the next page, you can enter your “”subdomain” name into the space provided. You also can have the option to include “document root” or select the desired path for your subdomain.
- Congratulations, you have successfully created your subdomain.
Conclusion
By following this guide, you’ll be equipped with the knowledge and skills to create and manage subdomains in cPanel effectively. Whether you’re a beginner or an experienced webmaster, understanding how to leverage subdomains can enhance the functionality and organization of your website. Let’s get started on expanding your online presence with cPanel subdomains!