Search Our Database
How to setup DKIM using DirectAdmin
Introduction
This document provides a step-by-step guide to setting up DKIM (DomainKeys Identified Mail) using DirectAdmin. It covers the process of configuring DKIM for a domain hosted on DirectAdmin. This guide is intended for DirectAdmin users who wish to enhance email security and authentication for their domain.
Prerequisites
- Access to your DirectAdmin control panel.
- DNS management access for your domain.
- Basic understanding of DNS records and email authentication.
Step-by-step Guide
Step 1 – update DirectAdmin
Before you can set up DKIM records for your domains you need to update your DirectAdmin to the latest version. This can be done by click on “Licensing/Updated”.
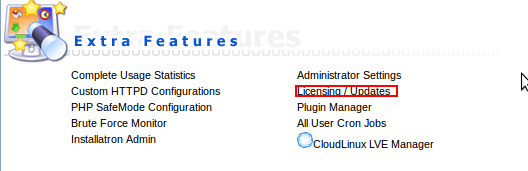
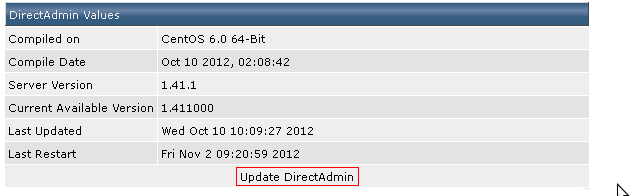
After that click “Update DirectAdmin” button at the bottom of the page, see the image below:
 Step 2 – Configure directAdmin in Linux to support DKIM
- First, you will have to go to the directory “directadmin.conf” file
- vi /usr/local/directadmin/conf/directadmin.conf
- Add line “dkim=1” in “directadmin.conf” file and save
- dkim=1
Step 3 – enable DKIM record set for domains
To setup DKIM record for each new domain, you need to ensure it is an active domain
Run the following command:
- enter the directory where DirectAdmin scripts are located
- cd /usr/local/directadmin/scripts
- run the DKIM record creation script for the existing domain
- ./dkim_create.sh domainame.com
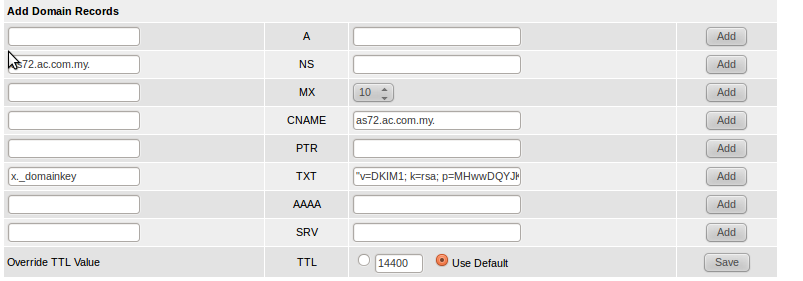
After running the script DirectAdmin will automatically add DKIM records for all new domains. DKIM records can be found in your DirectAdmin users DNS Management section, see the image below:
The record itself should look something like this:

Step 4 – edit your Exim configurations
Note: For shared hosting does not need to follow step 4
First, go to file
- vim /etc/exim.conf
After that find the line that contains text “remote_smtp” and add the following information:
*********************************************************************************
remote_smtp:
   driver = smtp
   dkim_domain = $sender_address_domain
   dkim_selector = x
   dkim_private_key = ${if exists{/etc/virtual/$sender_address_domain/dkim.private.key}{/etc/virtual/$sender_address_domain/dkim.private.key}{0}}
   dkim_canon = relaxed
   dkim_strict = 0
***********************************************************************************
The data in the file should look something like this:

Save the file and restart Exim using following command:
- service exim restart
Step 5: Add dkim in a record
Need to add manually the Dkim record in DNS management record as below:
 Completed!
Conclusion
In conclusion, you have successfully set up DKIM for your domain using DirectAdmin. DKIM helps improve email deliverability and protects against email spoofing. Remember to regularly monitor DKIM configuration and update keys if necessary.