Search Our Database
Setting up Two-Factor Authentication on portal
Introduction
We are pleased to introduce an enhanced layer of security for our customer portal login with the implementation of Two-Factor Authentication (2FA). As part of our commitment to providing the highest level of security, 2FA helps protect your account from unauthorized access by requiring an additional authentication step.
Guideline for Setting Up Two-Factor Authentication (2FA)
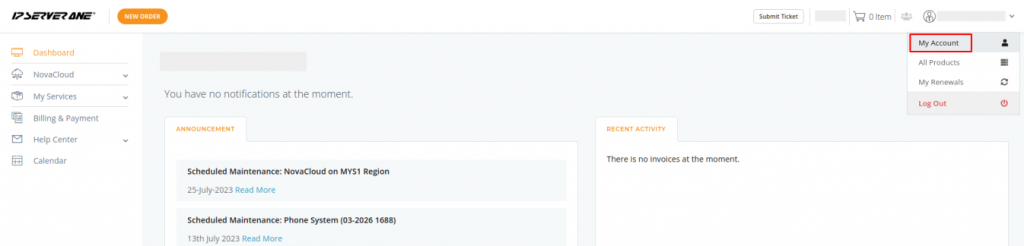
1. Log in to the customer portal at https://portal.ipserverone.com
2. Click on the profile icon in the top right corner and select My Account from the drop-down menu.
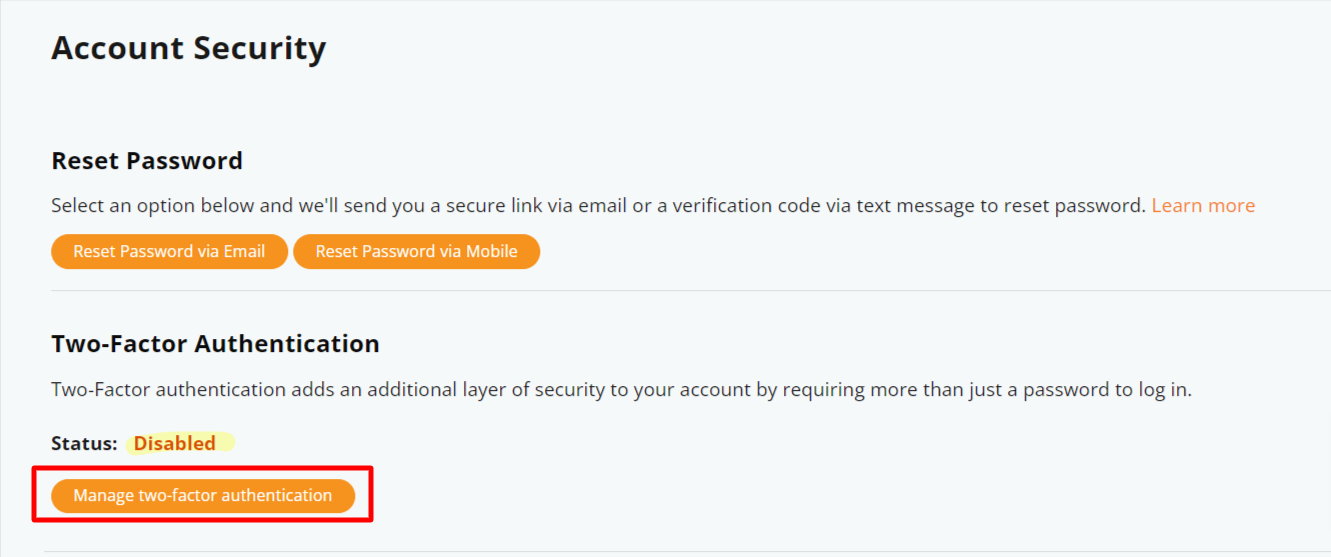
3. On the next page, click on Account Security.

4. Select Manage Two-Factor Authentication to enable 2FA.
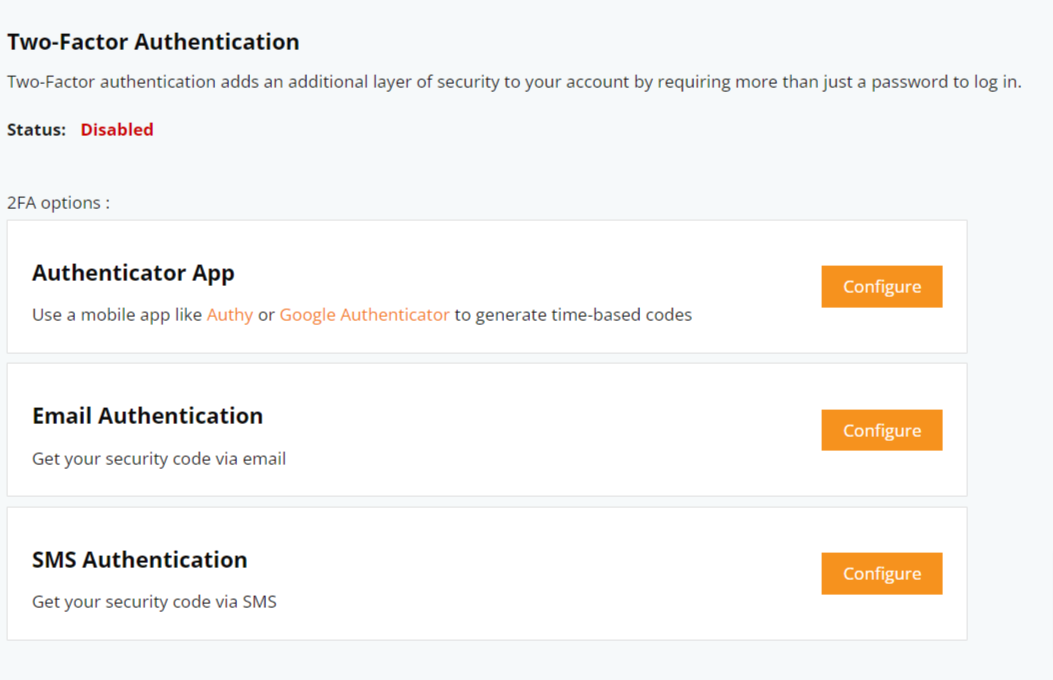
5. Choose one of the following 2FA options and click Configure to proceed:
- Authenticator App: Use an external app like Authy or Google Authenticator to receive security codes.
- Email Authentication: A security code will be sent to your registered email address.
- SMS Authentication: The code will be sent to your registered mobile number.
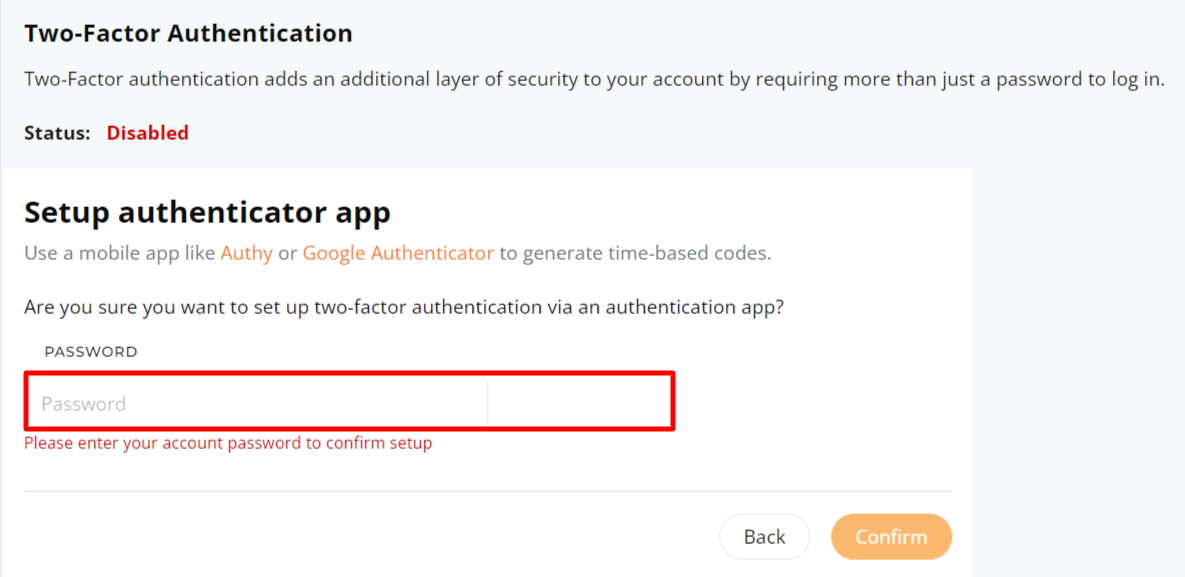
6. After clicking Configure, enter your customer portal password and click Confirm to proceed.
7. Follow these steps based on your 2FA choice:
Authenticator App:
- Download Authy or Google Authenticator.
- Scan the QR code using the app to generate the time-based code.
- Enter the generated code in the designated field and click Verify to proceed.

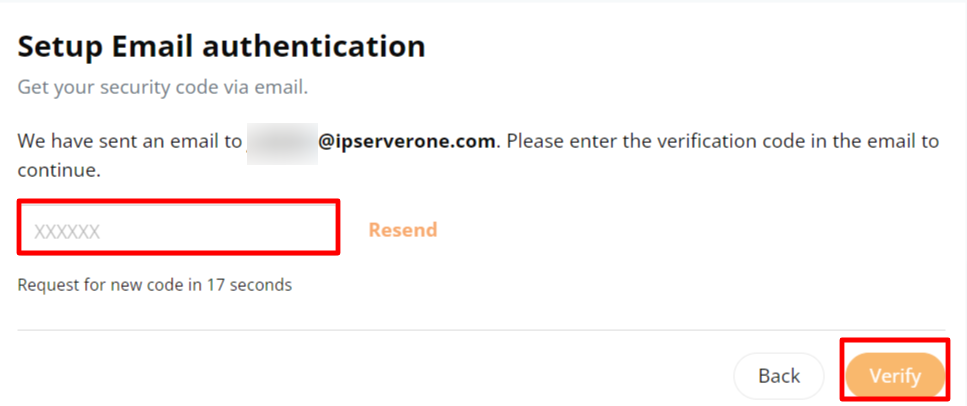
Email Authentication:
- A verification code will be sent to your registered primary email address.
- Copy the code and paste it into the required field.
- Click Verify to proceed.
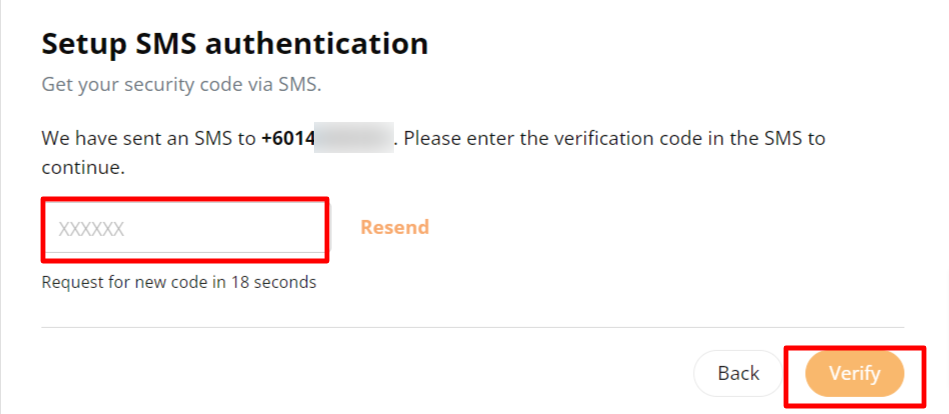
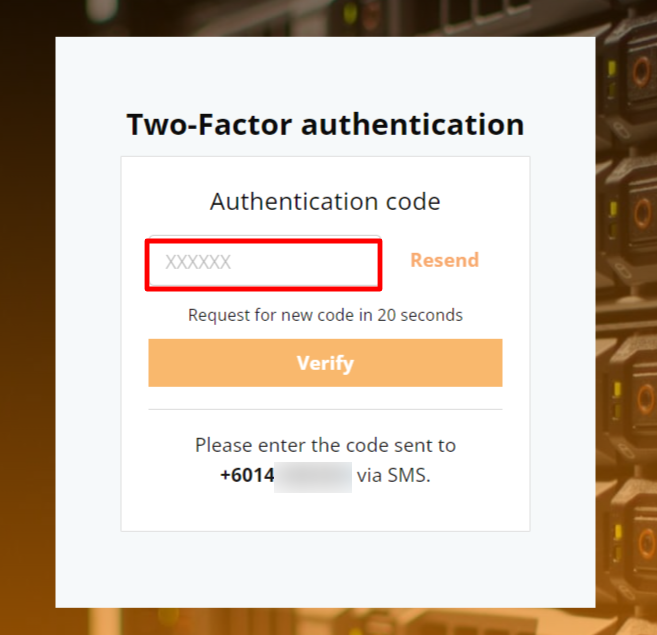
SMS Authentication:
- A verification code will be sent via SMS to your registered mobile number.
- Copy the code and paste it into the required field.
- Click Verify to proceed.
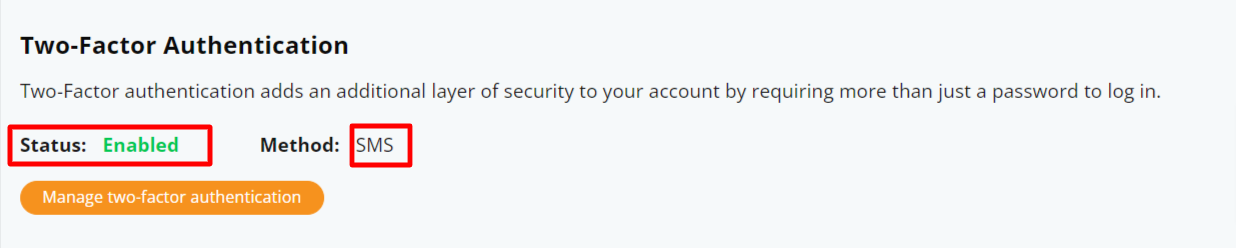
8. Once successfully verified, the status of Two-Factor Authentication will change to Enabled. The selected method of 2FA will also be displayed.
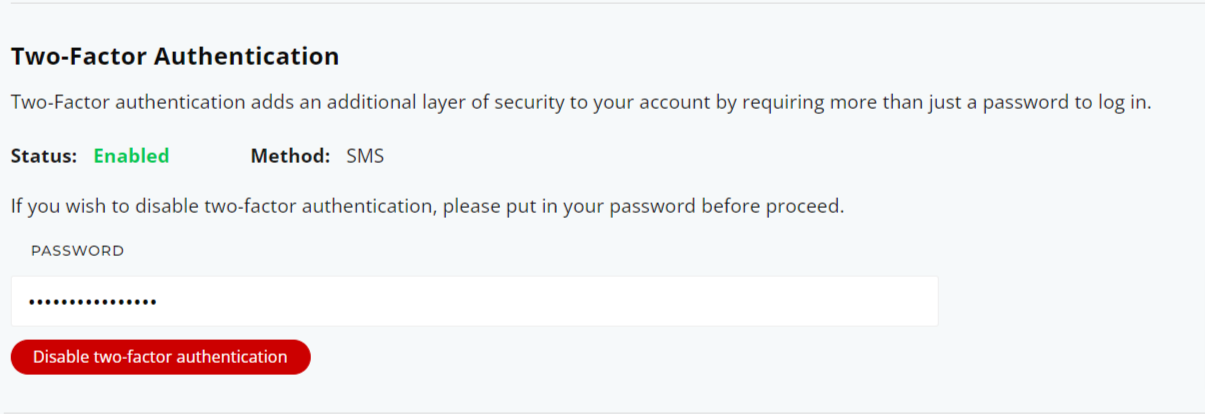
Note: You can disable or change your 2FA method at any time.
- Disable 2FA: Click Manage Two-Factor Authentication, enter your password, and select Disable.
- Change 2FA Method: First, disable the current 2FA method, then follow steps 5 to 8 to set up a new one.
9. To verify the 2FA setup, log out of the customer portal and log back in. The 2FA prompt will appear after you enter your username and password.
Conclusion
In conclusion, enabling Two-Factor Authentication (2FA) adds a vital security layer to your customer portal account. By following the simple steps above, you can easily configure 2FA via Authenticator App, Email, or SMS. This additional step helps safeguard your data while offering flexibility and ease of use. We highly recommend all users to enable 2FA for enhanced protection.
Article posted by Judy Lee on Feb 20, 2023