Search Our Database
How to setup Outlook 2013 using SSL (IMAP)
Introduction
This article is intended for Outlook users who want to configure their email accounts using the IMAP protocol with SSL encryption. It covers the step-by-step process to set up an Outlook account that syncs emails across multiple devices while ensuring a secure connection between the email client and the mail server. Note that IMAP mirrors actions directly on the server. For example, if an email is deleted in Outlook, it will also be deleted on the server/webmail and vice versa. This guide is applicable whenever a new email account needs to be added or an existing account is reconfigured in Outlook. It is especially useful for individuals or businesses who require secure access to their email from multiple devices. The setup process will guide users on how to manually configure the necessary server settings and ensure proper encryption for both incoming and outgoing mail servers.
Prerequisites
- Outlook installed on your computer.
- Email account login details (including password, incoming, and outgoing server settings).
- SSL support for your mail server.
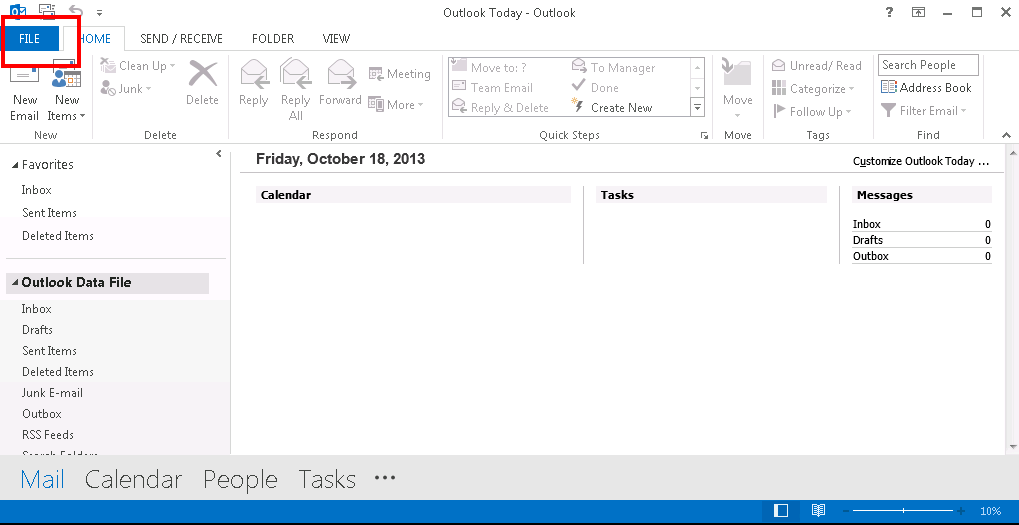
Step 1: Open the File menu
Go to the File menu located in the top-left corner of the Outlook window.
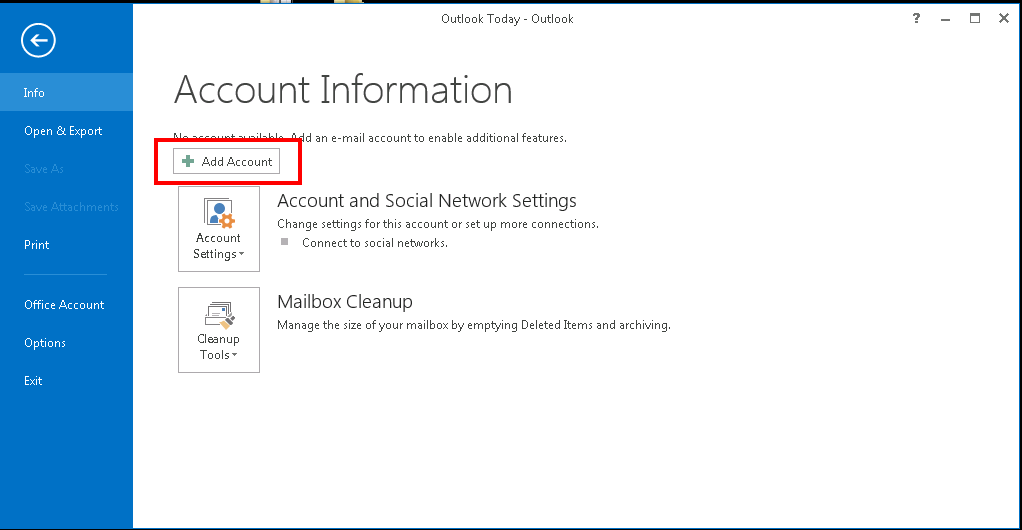
Step 2: Add a new account
Click on Add Account to begin the setup process.
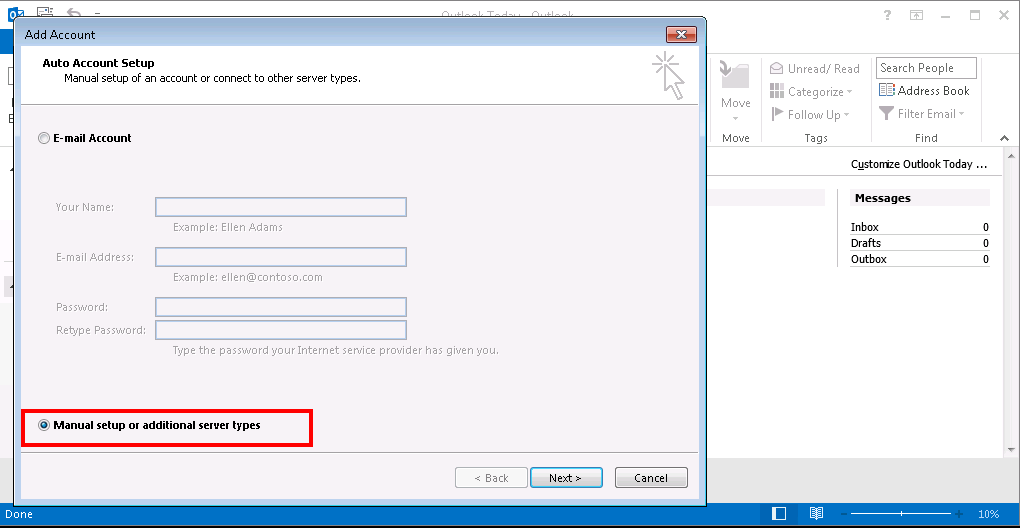
Step 3: Choose manual setup
Select Manual setup or additional server types and click Next.
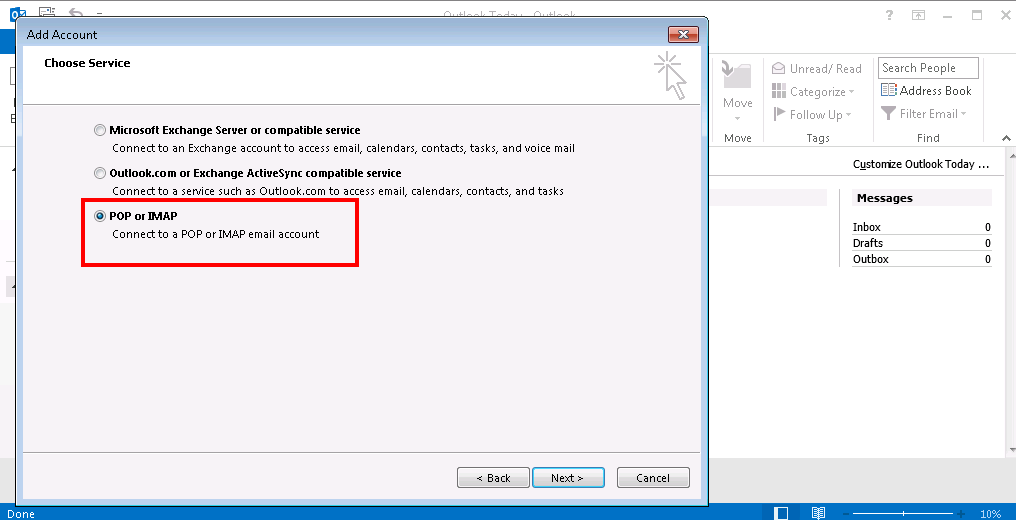
Step 4: Select POP or IMAP
Choose POP or IMAP as the account type and click Next.
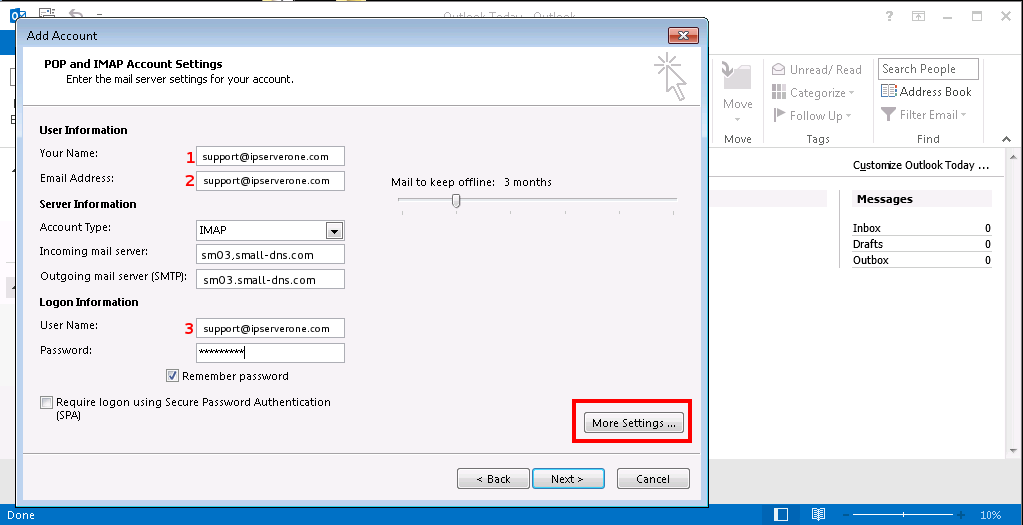
Step 5: Enter your email account details
Fill in your name and email address. For the incoming and outgoing mail servers, enter mail.<yourdomain>. Enter your password, then click on More Settings.
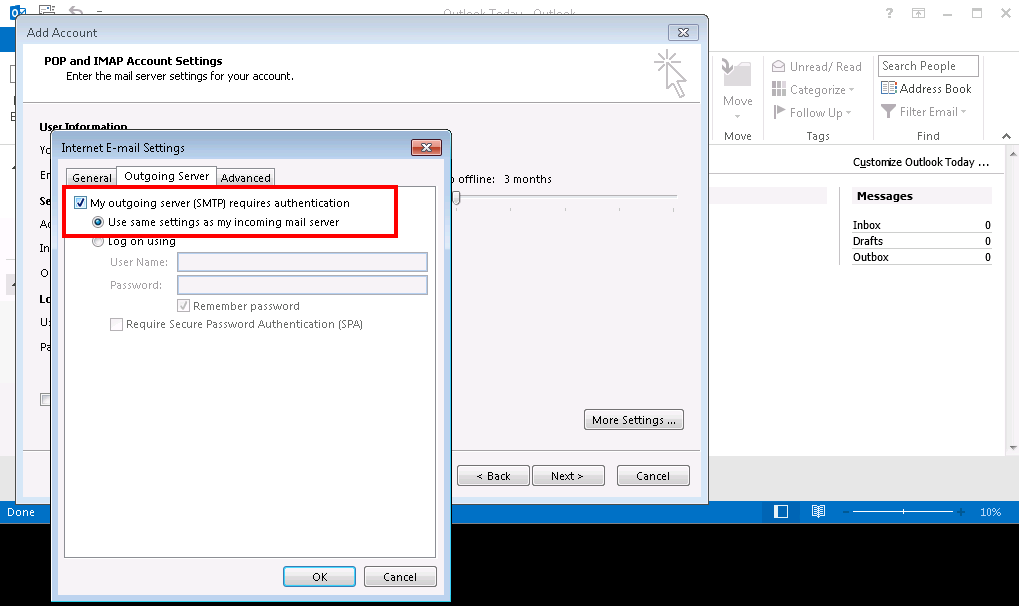
Step 6: Configure outgoing server settings
In the Outgoing Server tab, check the option My outgoing server (SMTP) requires authentication and tick the option Use same settings as my incoming mail server.
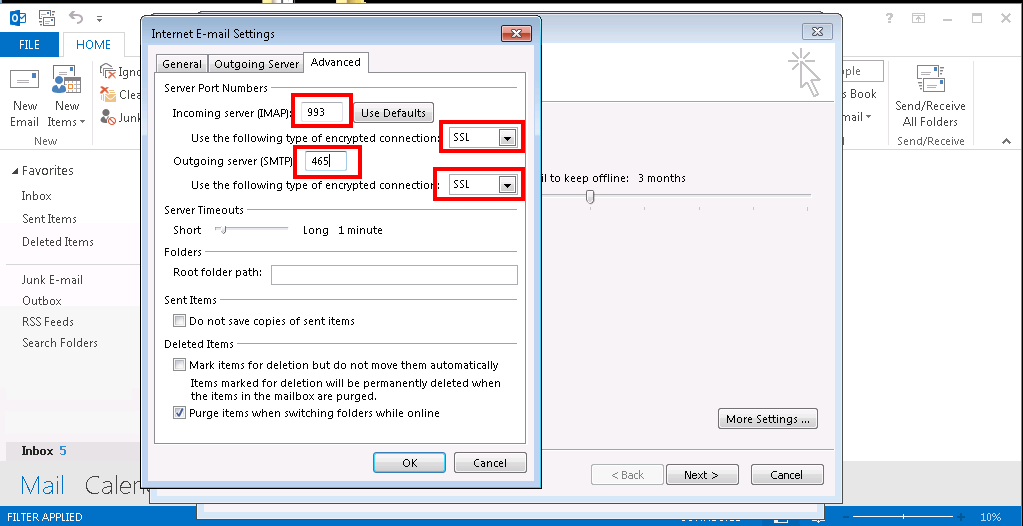
Step 7: Configure advanced settings
Navigate to the Advanced tab and enter the following:
- Incoming server (IMAP): 993
- Outgoing server (SMTP): 465
- Select SSL for both the incoming and outgoing servers.
Click OK to save the changes.
Step 8: Proceed with the setup
Click Next to continue.

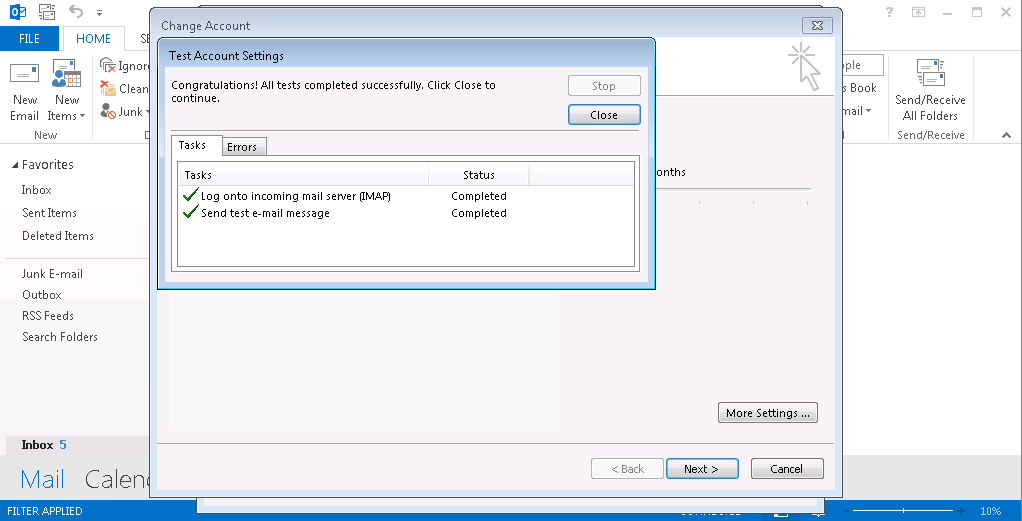
Step 9: Test the connection
Outlook will now test the connection with your email server. If successful, a confirmation message will appear.
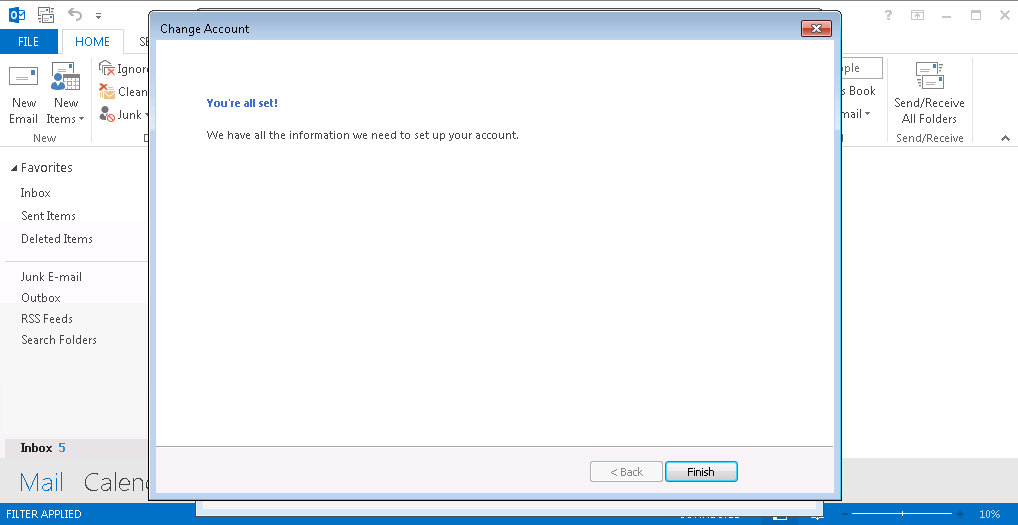
Step 10: Setup complete
Your Outlook account is now ready and will begin syncing emails from the mail server.
Conclusion
To verify that the configuration is correct, send a test email to yourself or another account. Ensure that you can successfully send and receive the email without any errors. Additionally, try replying to the test email to confirm both incoming and outgoing mail functionality is working as expected. If you encounter any issues with sending or receiving emails, double-check the server settings, SSL configuration, and password accuracy. If everything works as expected, your Outlook account is correctly set up and secured using IMAP with SSL.
For additional assistance or if you encounter any issues, please contact our support team at support@ipserverone.com.
Article posted on 20 March 2020 by Louis