Search Our Database
How to setup FileZilla server on Windows
Introduction
FileZilla is a highly trusted FTP server solution that enables you to manage file transfers efficiently. It provides a simple interface for setting up file-sharing capabilities on a Windows server, ensuring secure access for multiple users. Whether you’re setting up a personal FTP server or hosting file access for an organization, FileZilla makes the process straightforward. This guide will take you step-by-step through the download, installation, and secure configuration of FileZilla Server on a Windows machine, giving you a reliable way to transfer and manage files.
Prerequisites
- A Windows server with administrative access.
- A stable internet connection to download the installer.
- Basic knowledge of networking and FTP services.
Step-by-Step Guide
Step 1: Download and Install FileZilla Server
- Visit the FileZilla official website and download the server version.
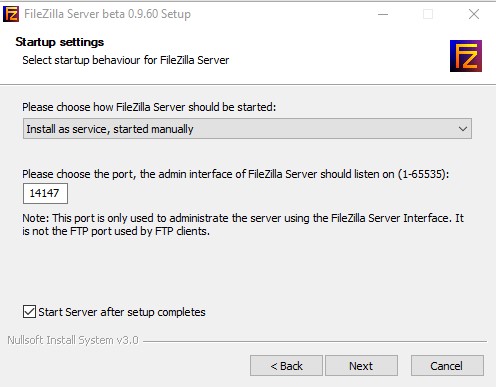
- Run the installer and follow the suggested installation settings.
- FileZilla installs a service that runs by default. For manual control, change the service setting during installation.
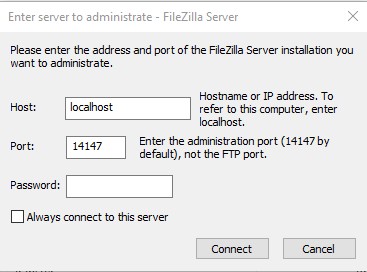
Step 2: Launch FileZilla and Connect
After installation, the FileZilla interface will launch automatically. Click Connect when prompted to establish a connection to your server.
Step 3: Set Up FTP Directory and User Permissions
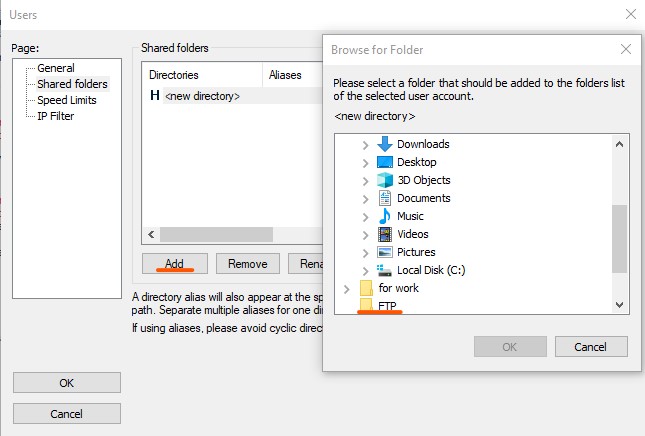
- Create a directory to serve as your FTP repository (e.g., C:\FTP).
- Go to Edit > Users and click Shared folders.
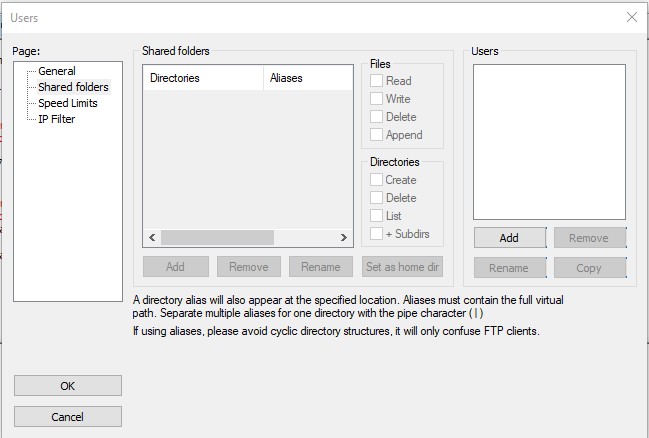
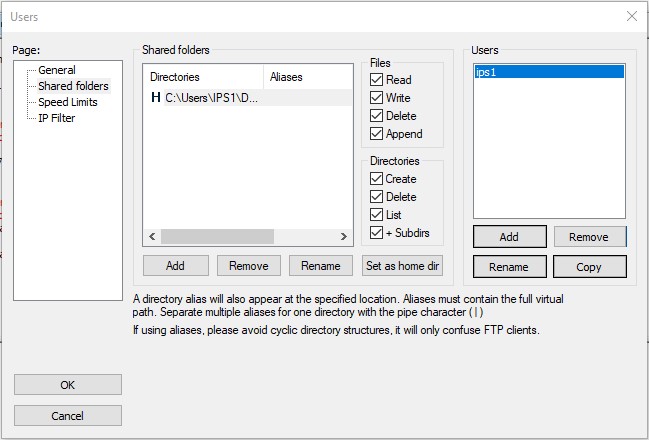
- Click Add under the Users section, create a new username, and assign the folder.
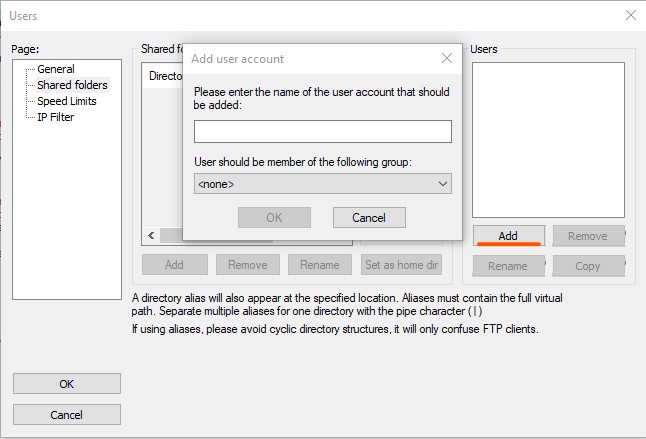
- Configure read/write permissions for the user.
Step 4: Secure Your FTP Server
- Use strong passwords for all users.
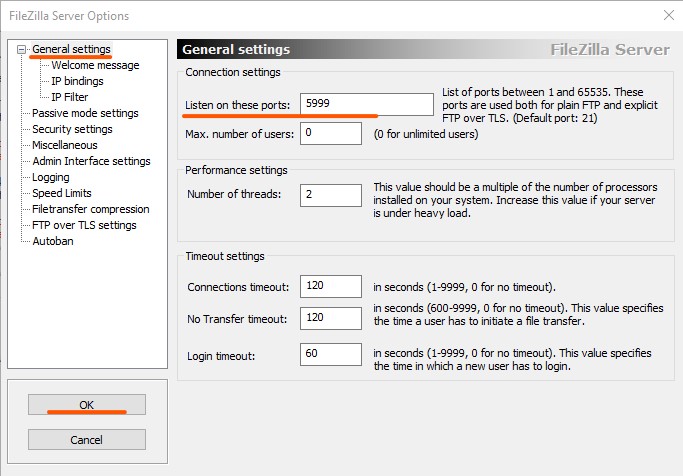
- Change the default FTP port under Edit > Settings > General Settings.
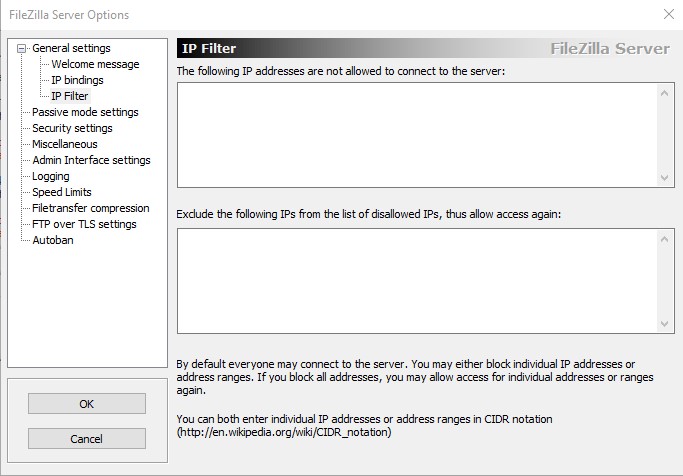
- Limit access to trusted IP addresses using IP Filter under Settings.
Conclusion
Setting up a FileZilla server on your Windows machine provides a simple yet powerful platform for managing file transfers. Ensuring strong passwords, custom port configurations, and limiting IP access significantly enhances the security of your FTP server. By following these steps, you’ll have a secure FTP server ready to manage your file-sharing needs. Whether for personal use or within an organization, FileZilla offers the flexibility and security required for modern file management. For advanced features or troubleshooting, refer to the official documentation or contact support@ipserverone.com.