Search Our Database
How to convert your VM to become a vApp and why is it important to do so
The official vApp explanation from VMware official docs are as below:
“A vApp consists of one or more virtual machines that communicate over a network and use resources and services in a deployed environment. A vApp can contain multiple virtual machines.”
To be able to understand vApp more easily, we can understand it as a manageable platform that VMware launch for the VM, so that more managing features from VMware can be used on a VM that has been converted to a vApp. For example, the vCloud availability (DRaas for vCloud Director) suggested VM to be converted to vApp before it can be failover to another region. It also allows the managing of a few VM together by adding a group of VM under a same vApp, for example, a setup of 2 webs and 1 database host has been grouped together under a same vApp, so that they can be manage (power on/power off) together, and create a vApp network that only useable by this vApp, making the network for the VM in vApp more manageable.
To convert VM to become vApp, follow the steps below:
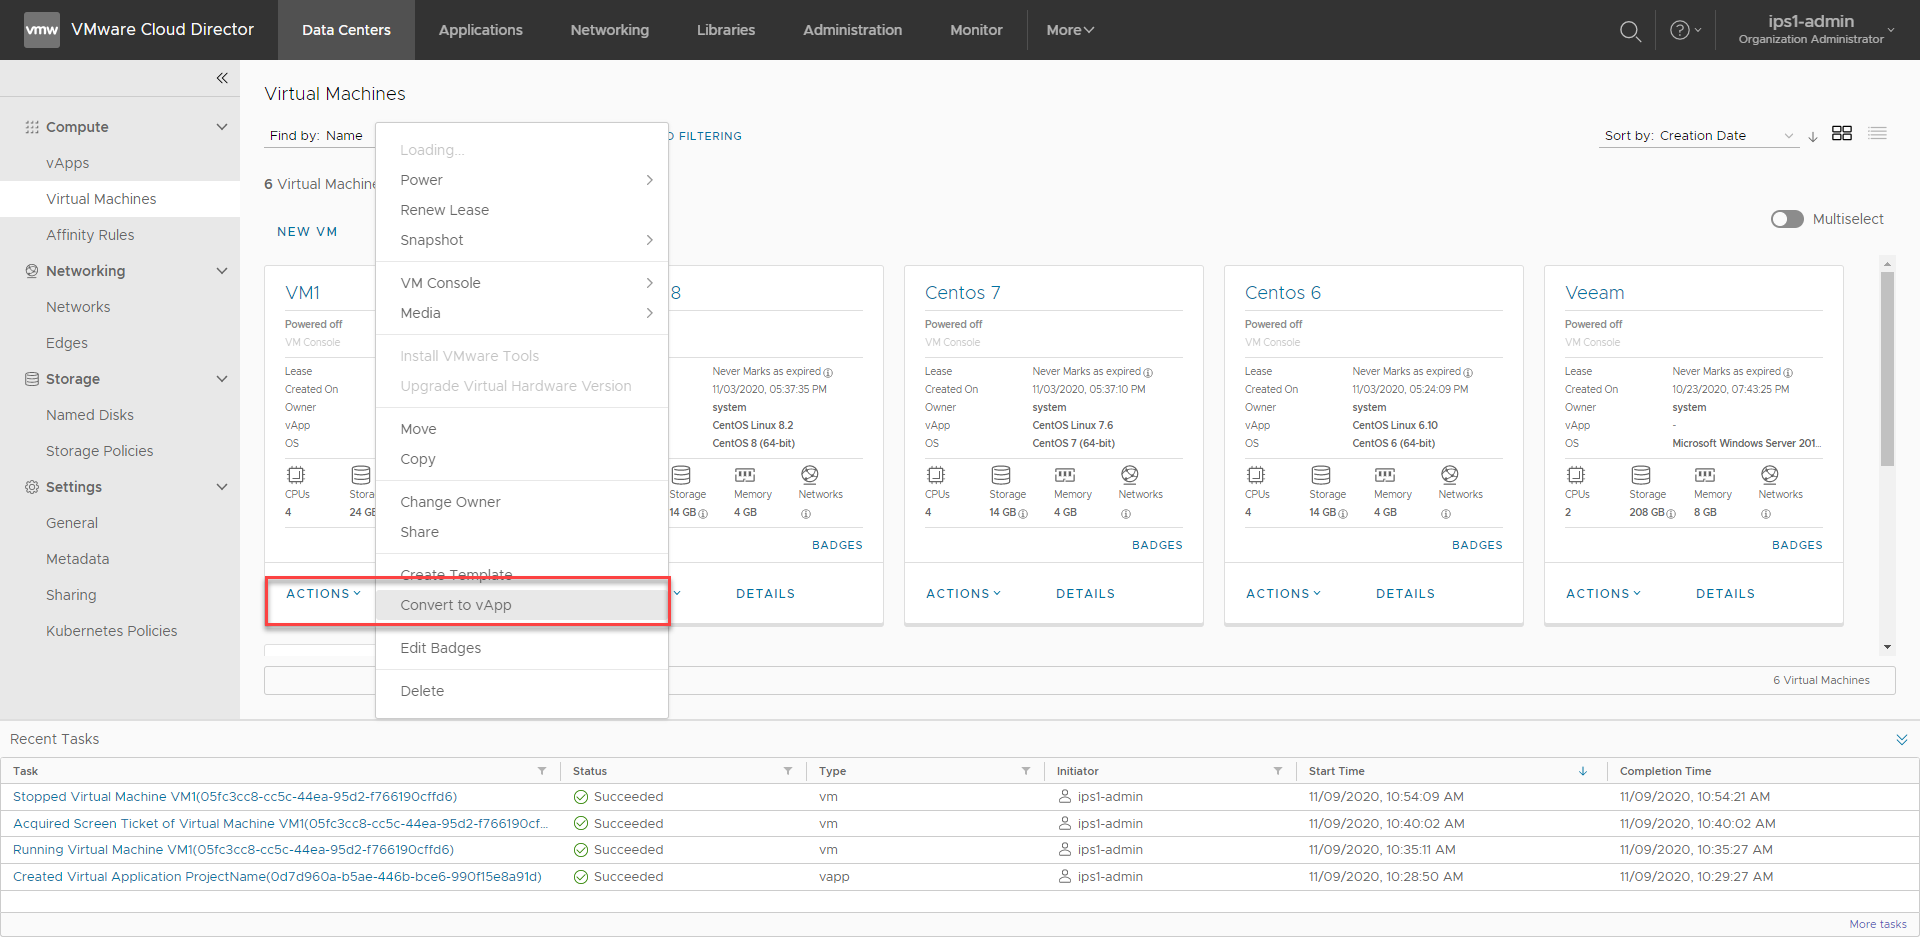
1.Click on ‘Actions’ button on the VM card, click on ‘Concert to vApp’.
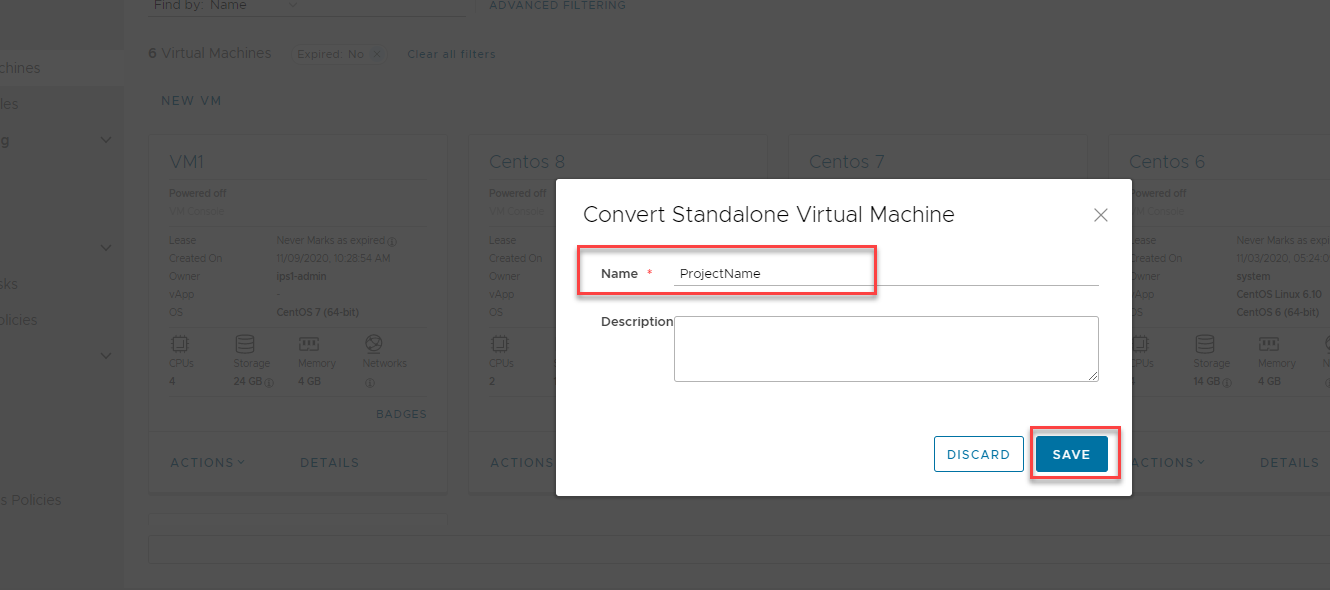
2.Decide a name for the vApp, and click ‘Save’.
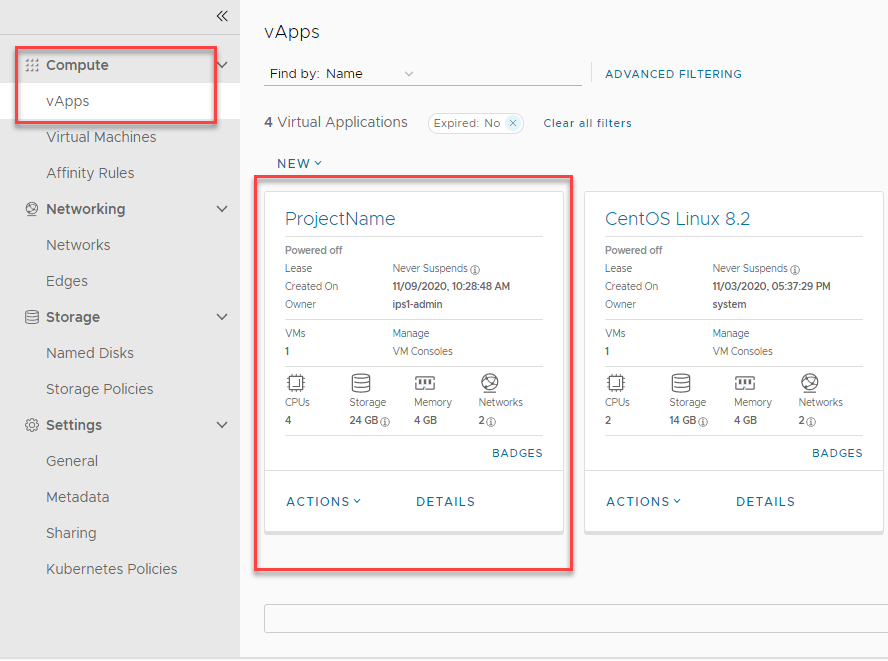
3.Navigate to compute > vApps at the left panel, you will see the vApp created.
You can add more VM to the same vApp to manage them together in a group manner. By using vApp features you can manage their power status and view their connected network in vApp details:
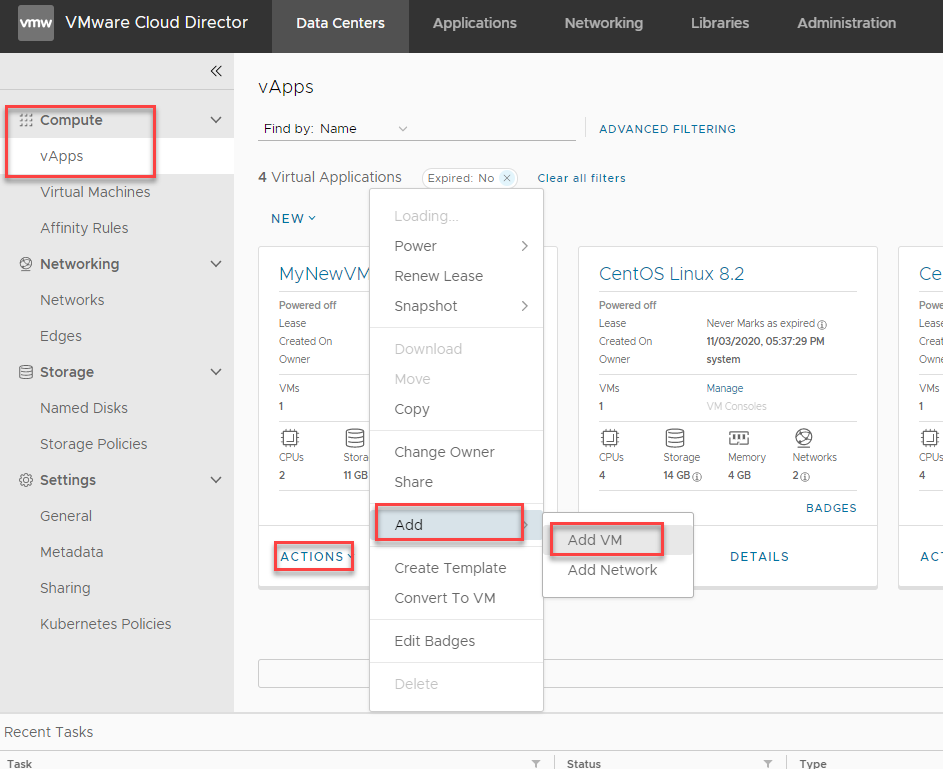
1.Navigate to Compute > vApp, select the vApp card you want to add VM, click on Actions > Add >Add VM
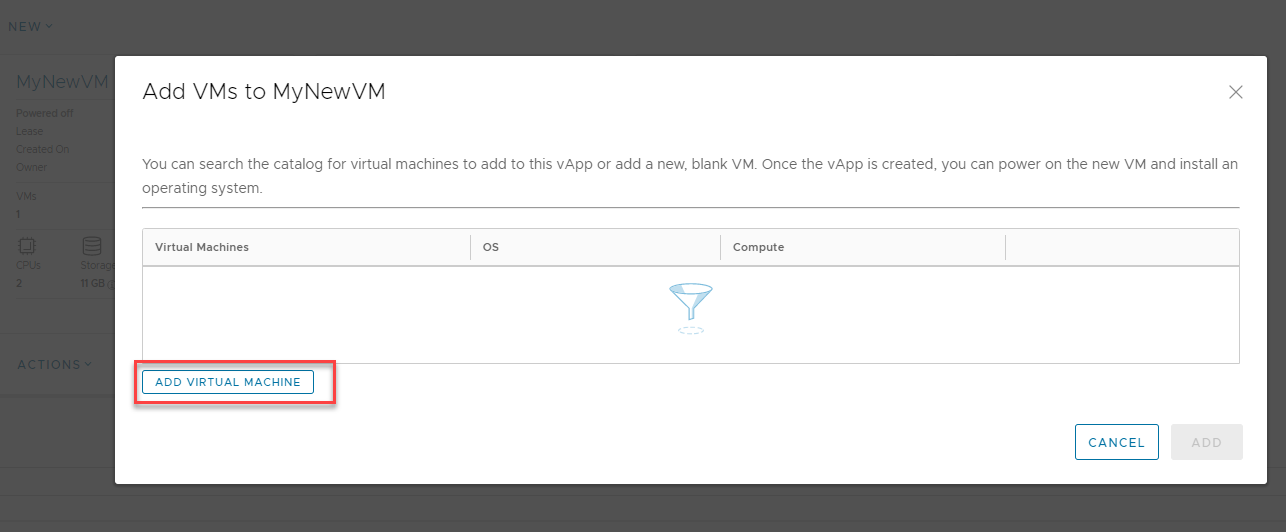
2.Click on ‘Add Virtual Machine’ button.
3.In create new VM wizard page, insert the VM name and computer name first, you get to select whether to create a blank VM and insert your own ISO file to install OS, or deploy the VM from vApp template. The example below is using a vApp Template to deploy a VM.

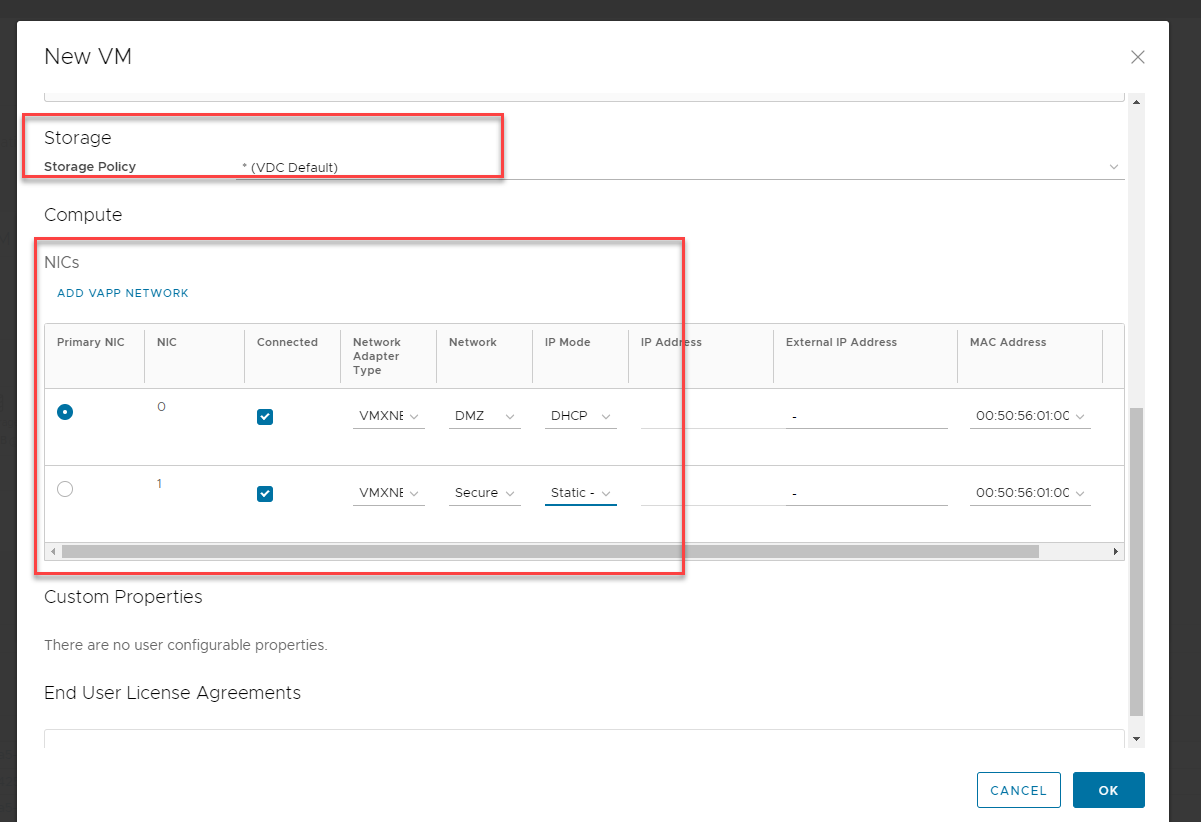
4.After choosing your preferable vApp template, decide your Storage Policy and network interface. And click ‘OK’ to create the VM.
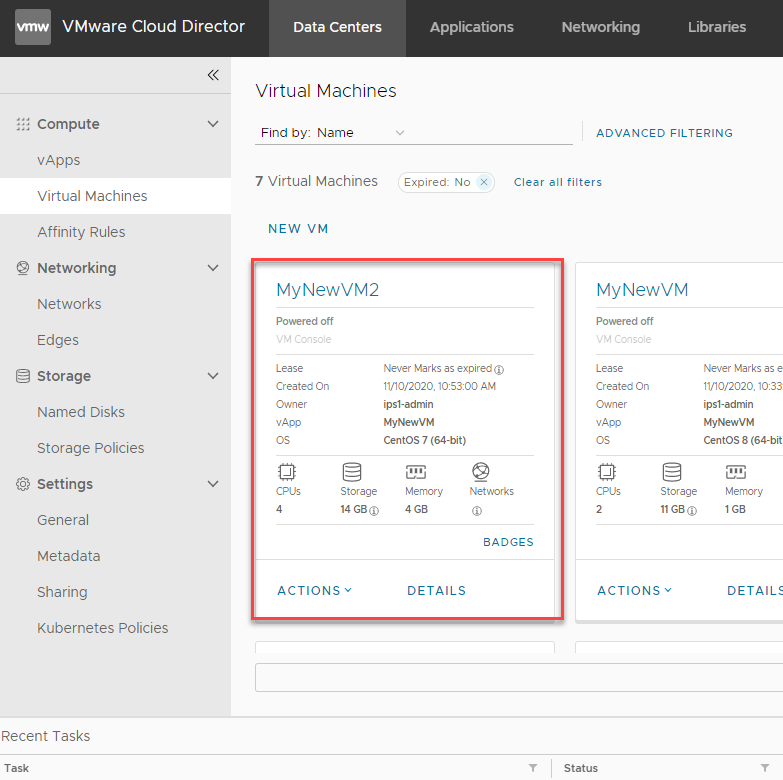
5.After the VM has been created, navigate to ‘Compute’ à ‘Virtual Machines’, ensure the VM you just created is listed in the Virtual Machine list.

The vApp Template OS storage is by default in 10GB size. If you are creating your own new VM, you will get to decide the storage disk space of your new VM. If you are using our vApp template to deploy the VM, you may want to enlarge the hardisk to larger than 10GB. Here ‘s how you can do it by following the steps.
1.Click on ‘Details’ on the new VM card.
2.You will be navigate to the VM details page, click on Hardware > Hard Disks
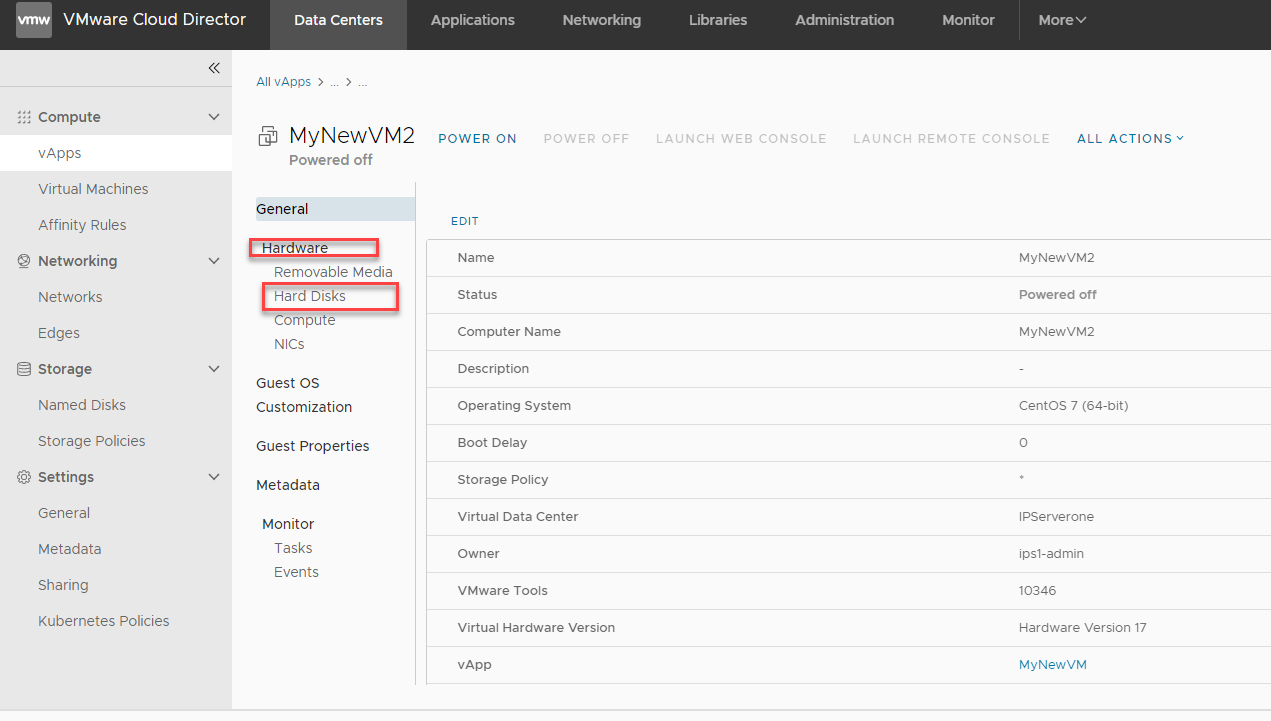
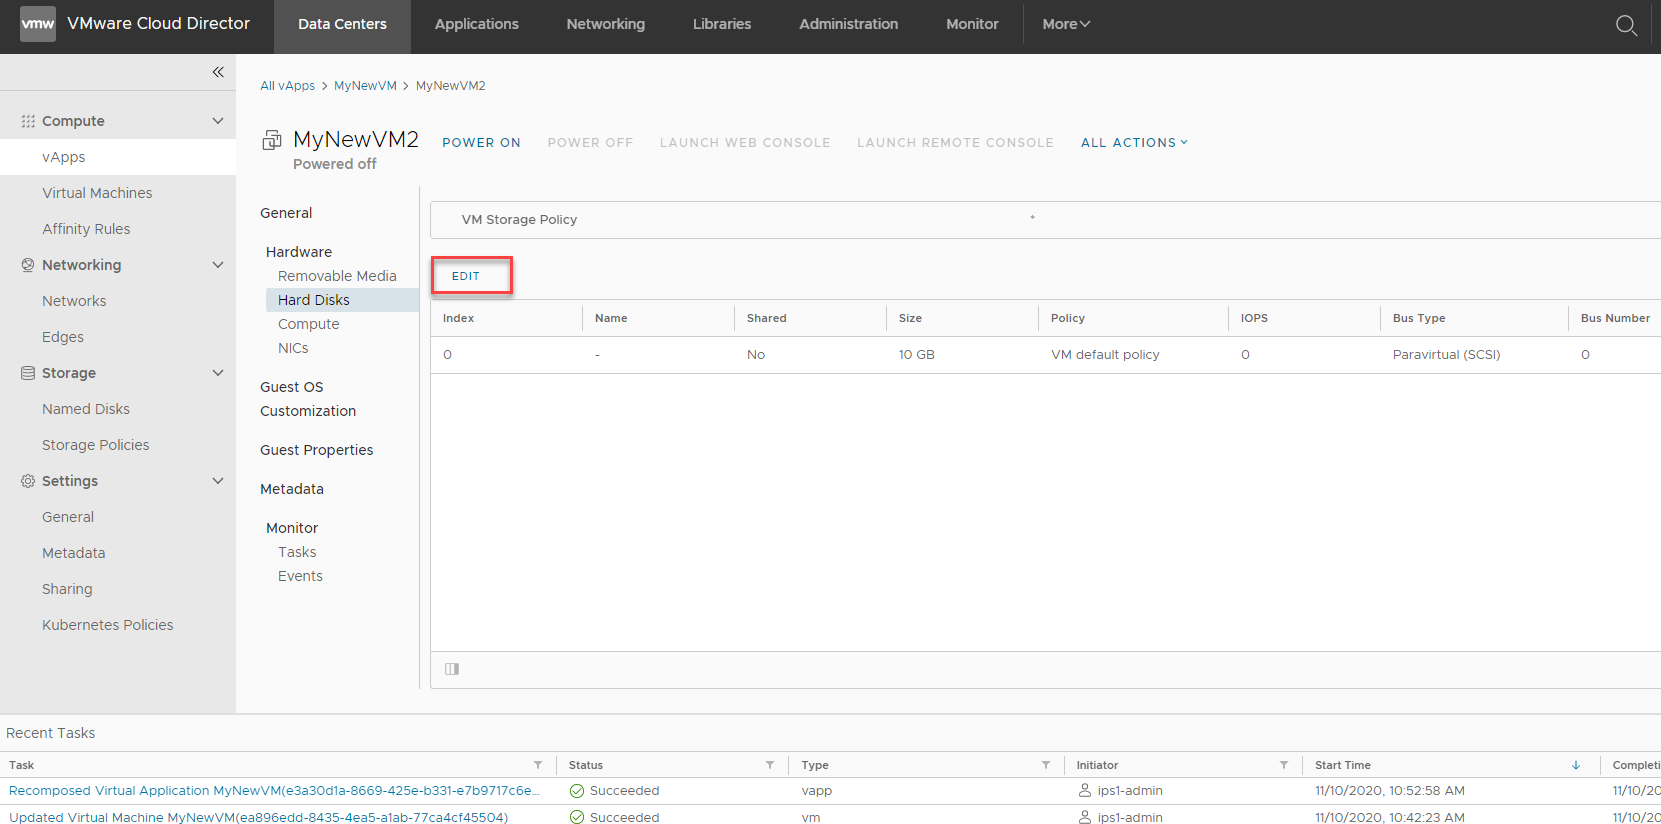
3.You can view the hard disk to be 10GB by default, click ‘EDIT’ button to change it.
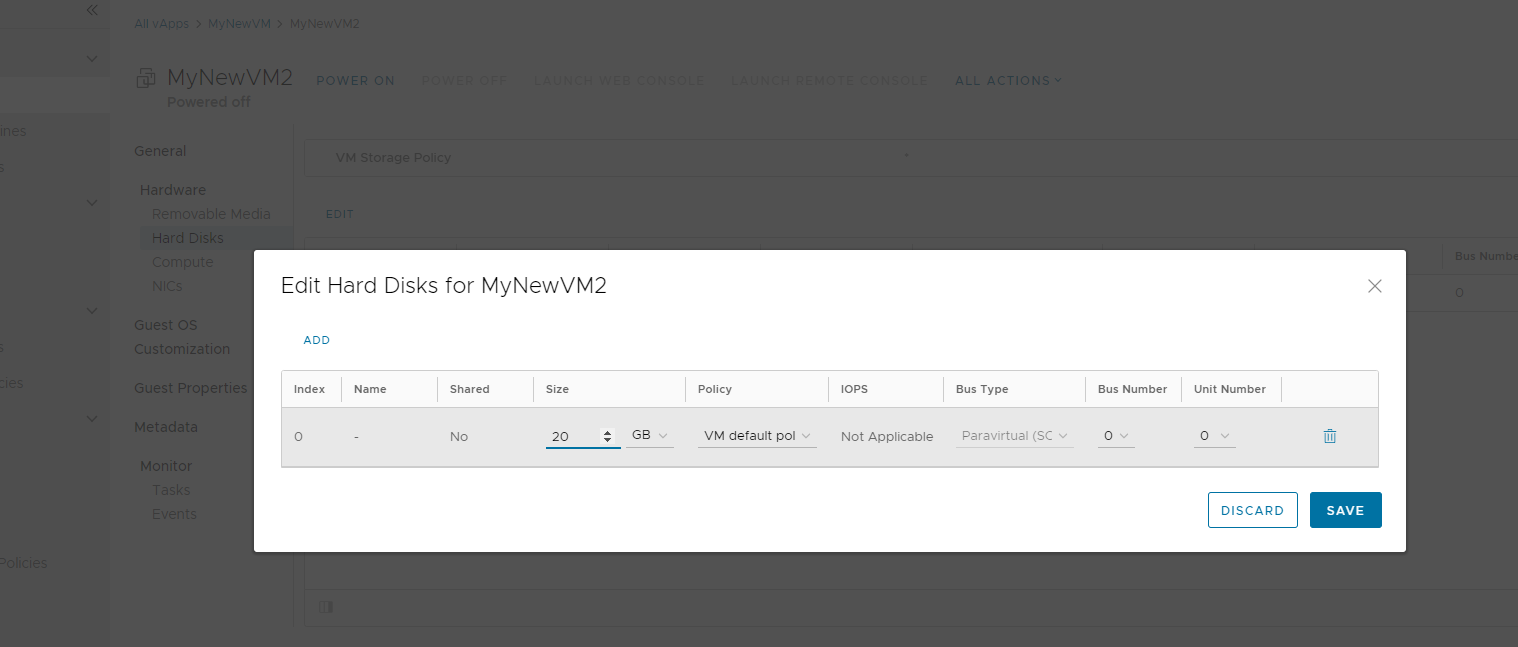
4.Change the value to the disk size that you wish to have. We changed to 20GB as an example. Click SAVE to save the changes.
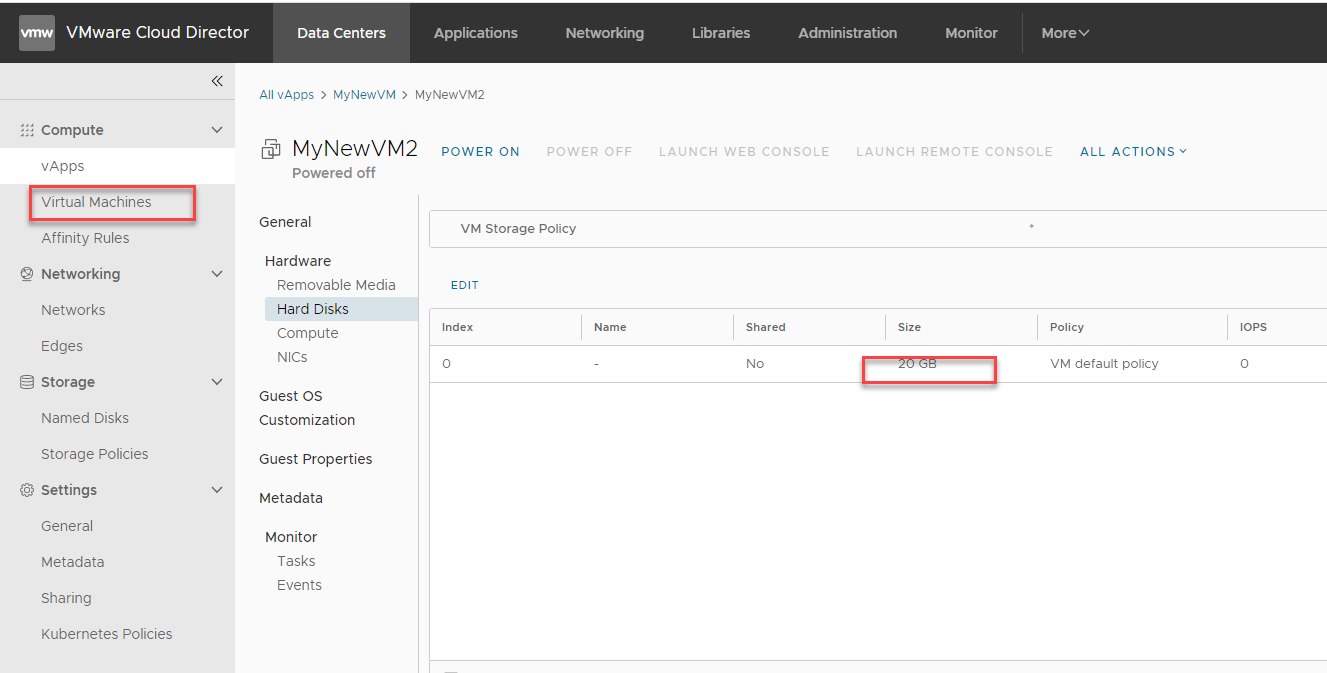
5.It is now showing 20GB hardisk quota. Navigate back to Compute à Virtual Machines now.
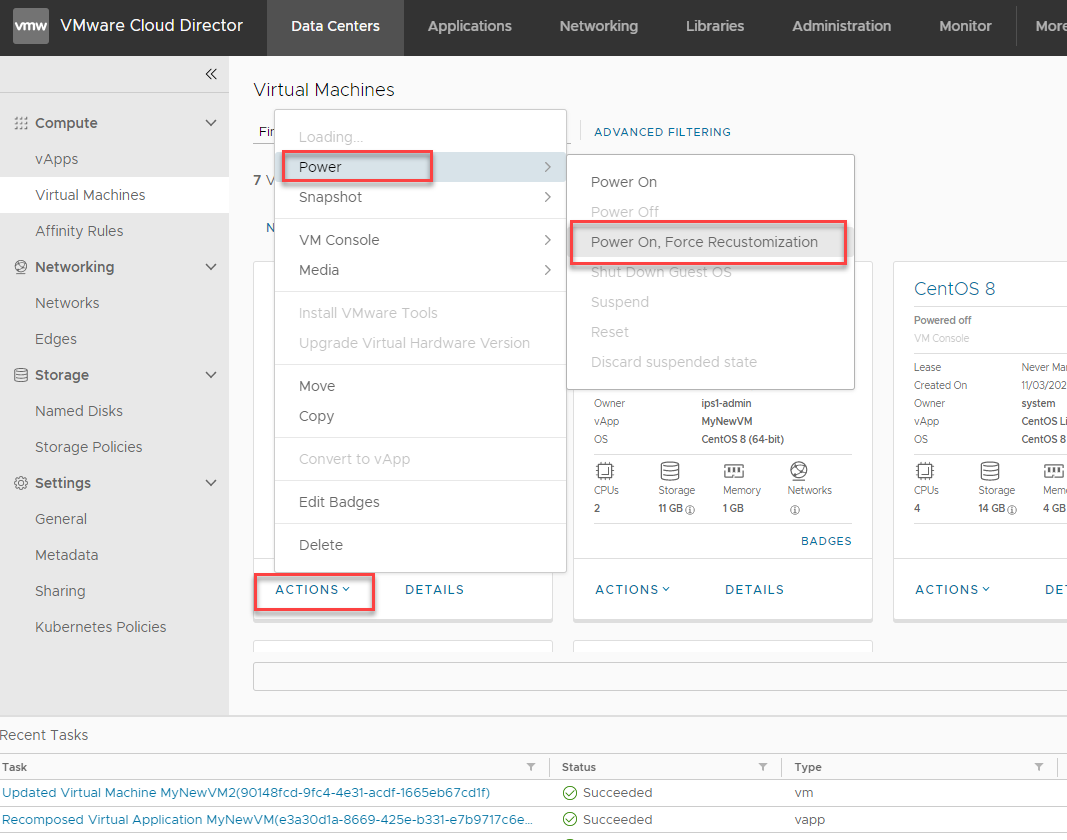
6.Look for the new VM card you just created, click on Actions à Power à Power on, Force Re-customization. The purpose of the re-customization is to resize the hard disk size to any value that you have inserted earlier.
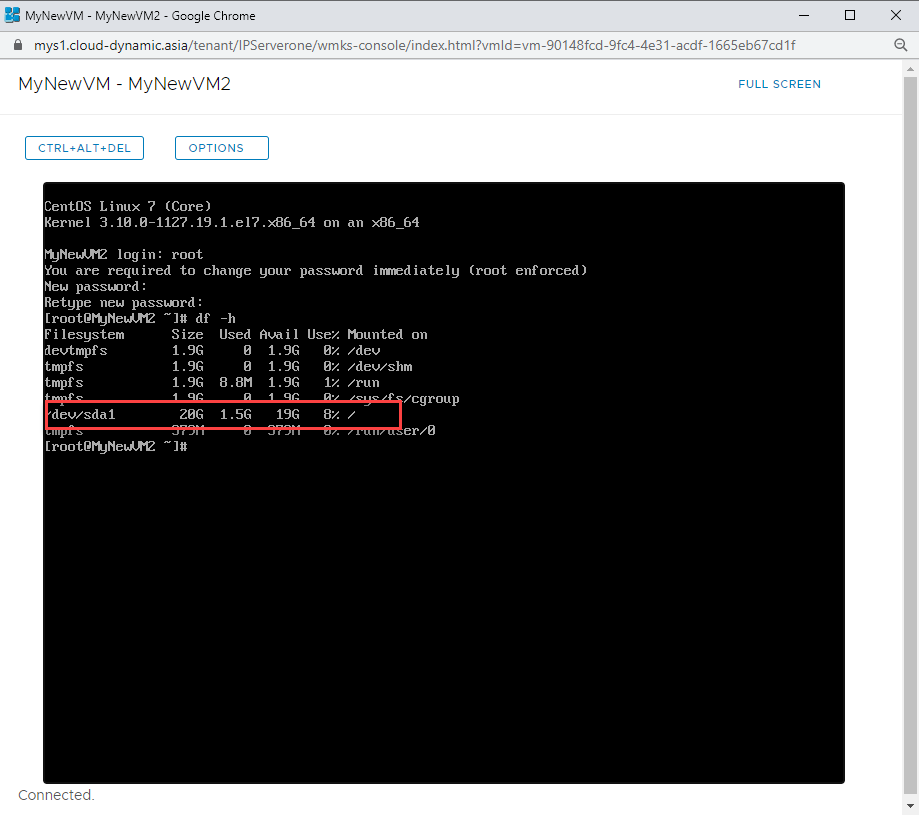
7.Wait for the VM to finish the re-customization and power on, login to the VM via Web console to check the available hard disk space to ensure the resize is working.