Search Our Database
How to configure Smartermail email in iPhone device
Introduction
This article is for users setting up their SmarterMail account on an iPhone or iPad using the native Mail app. It guides you through adding and configuring the account, resolving common server verification and configuration issues. Follow these steps to set up your email or troubleshoot problems with sending or receiving messages. This guide ensures proper configuration with SSL for security on iOS devices.
Prerequisite
- Login Credentials to your SmarterMail account
- Access to your iPhone’s Phone Mail application
Step-by-step guide
Step 1: Adding the SmarterMail account to iPhone’s Mail app.
- Open the Setting application on your iPhone.
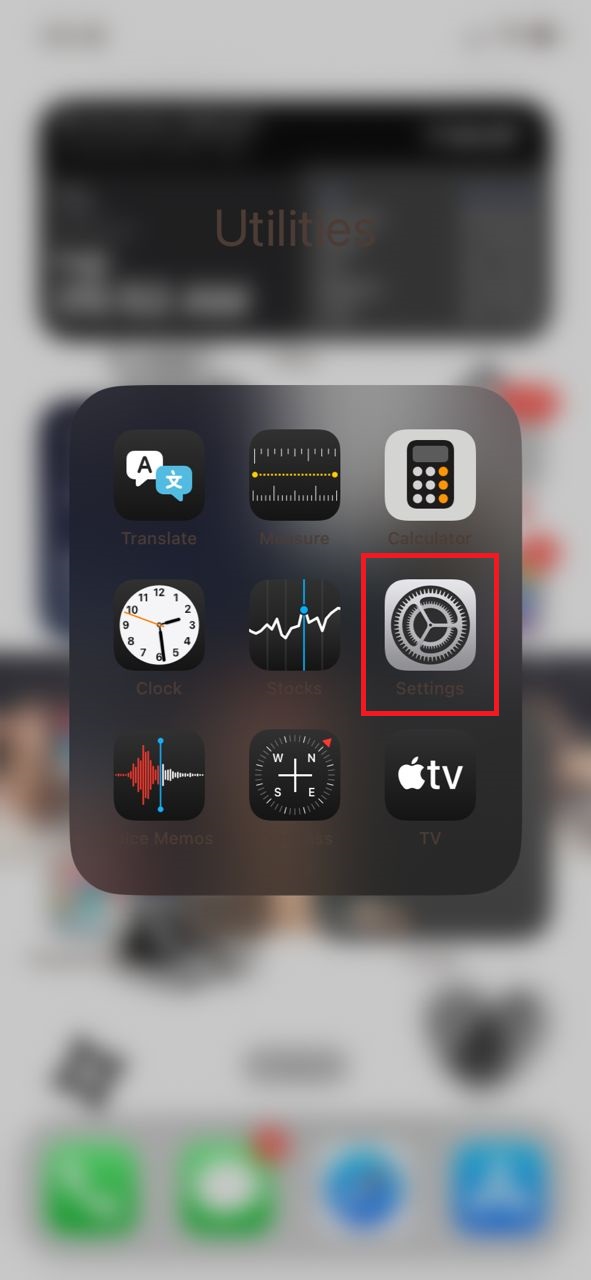
- Navigate to the “App” bar at the bottom of the Setting.
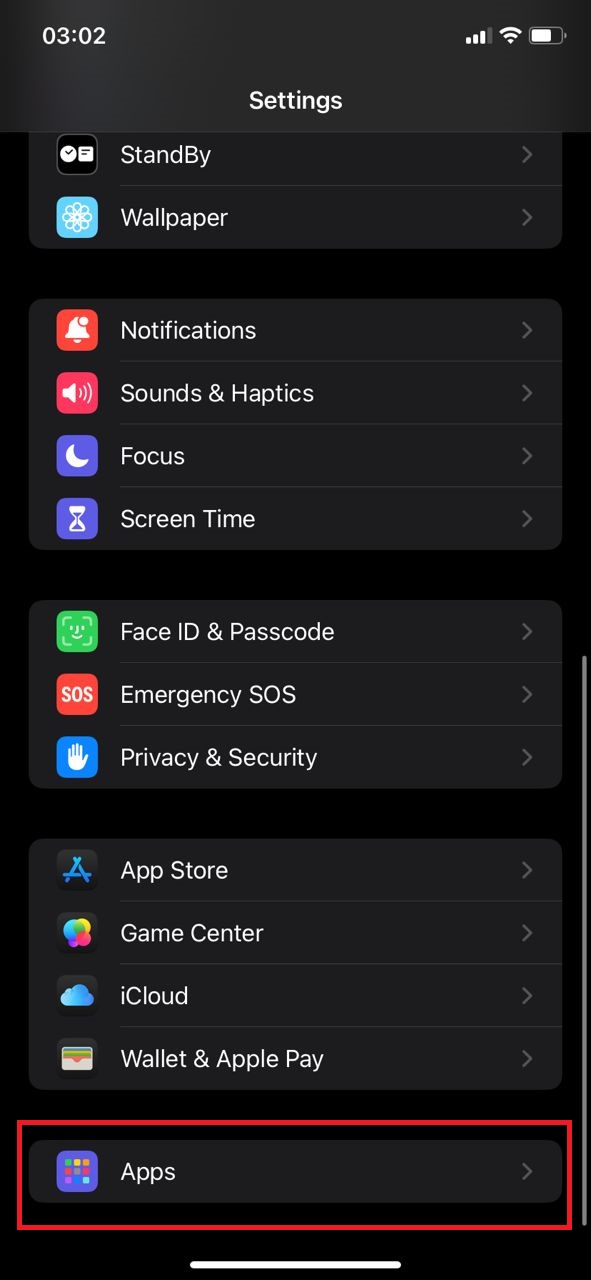
- Search for the Mail application from the list of application. Click on it.
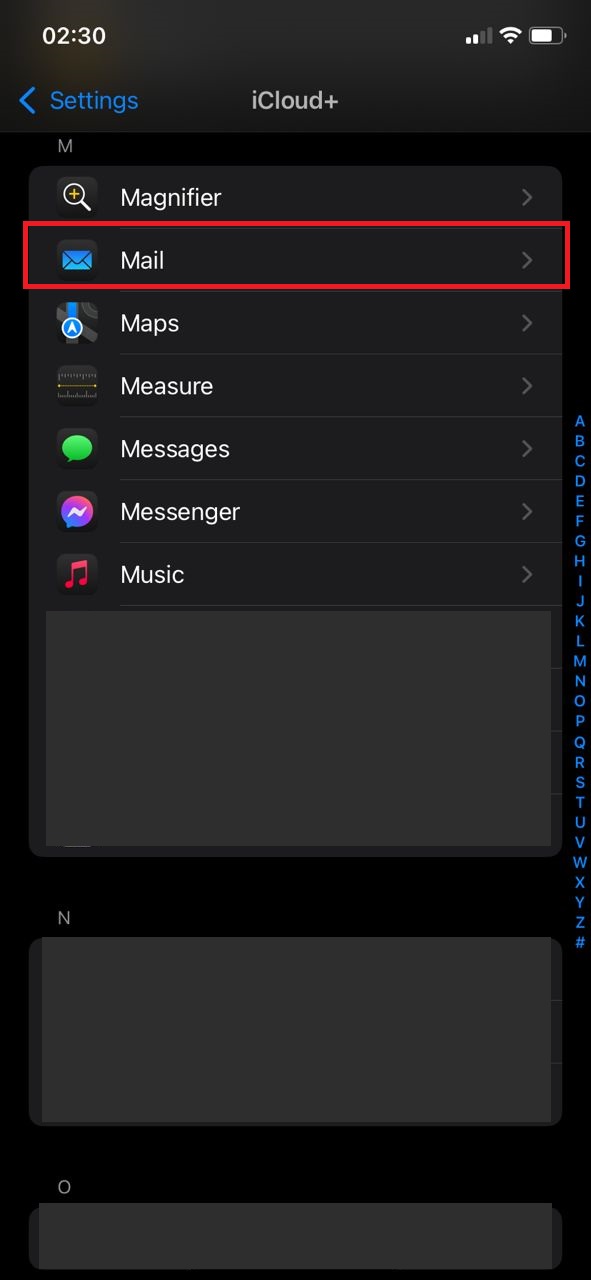
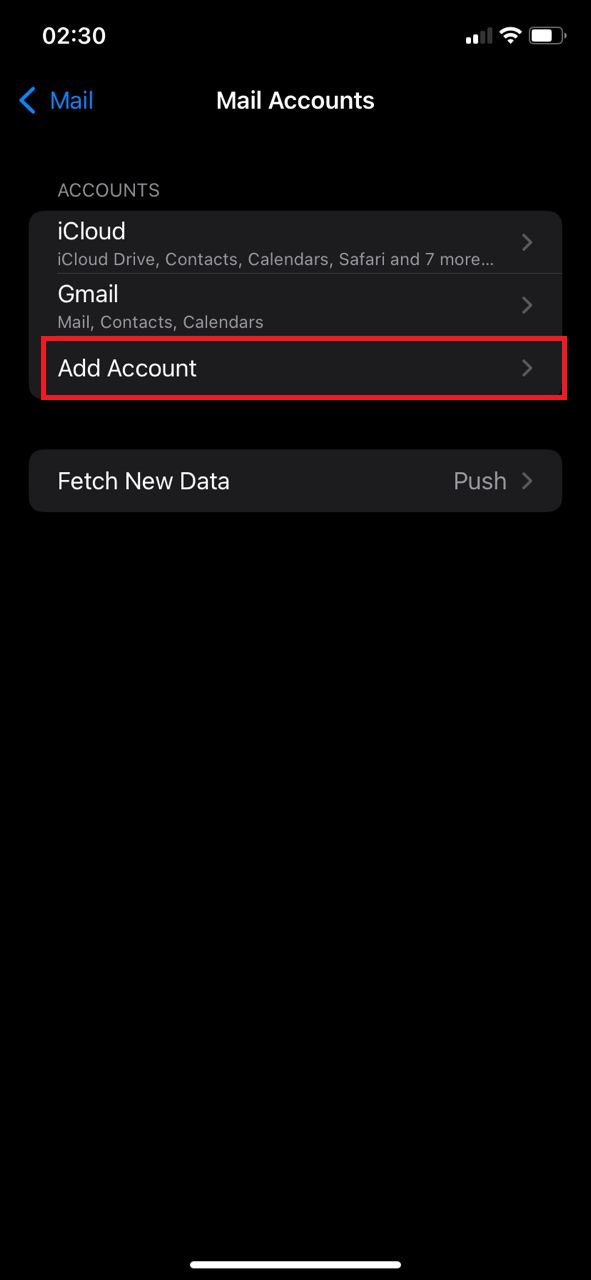
- You will be directed to the page as following, and then you click on the Mail Account.
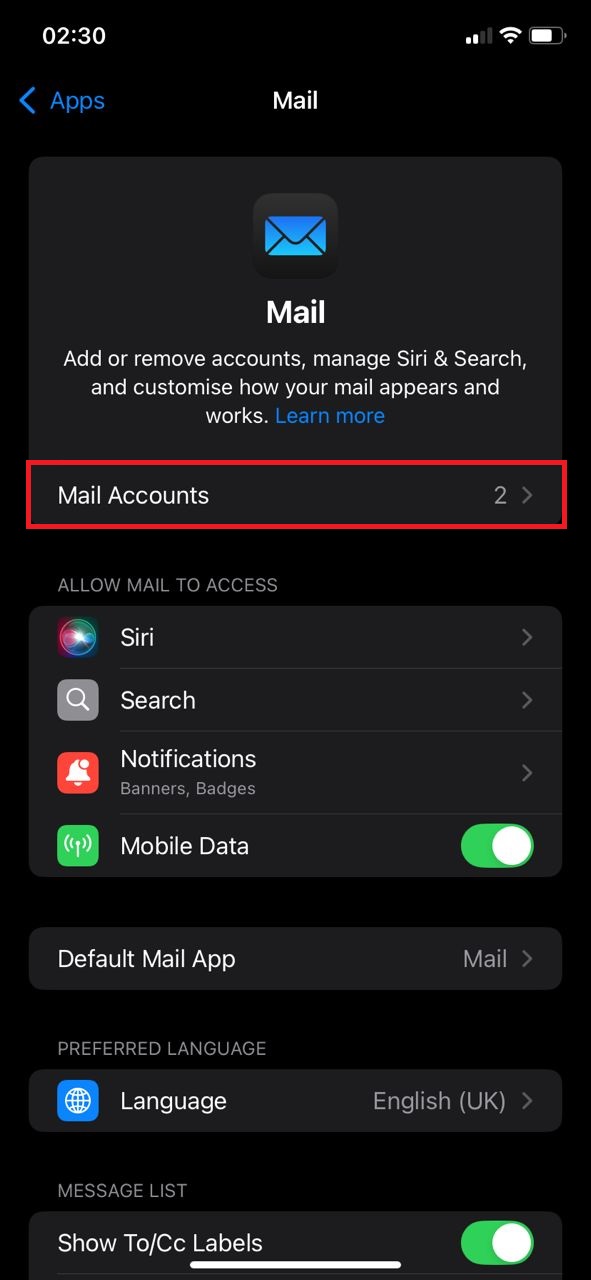
- Next, you will need click on Add Account.
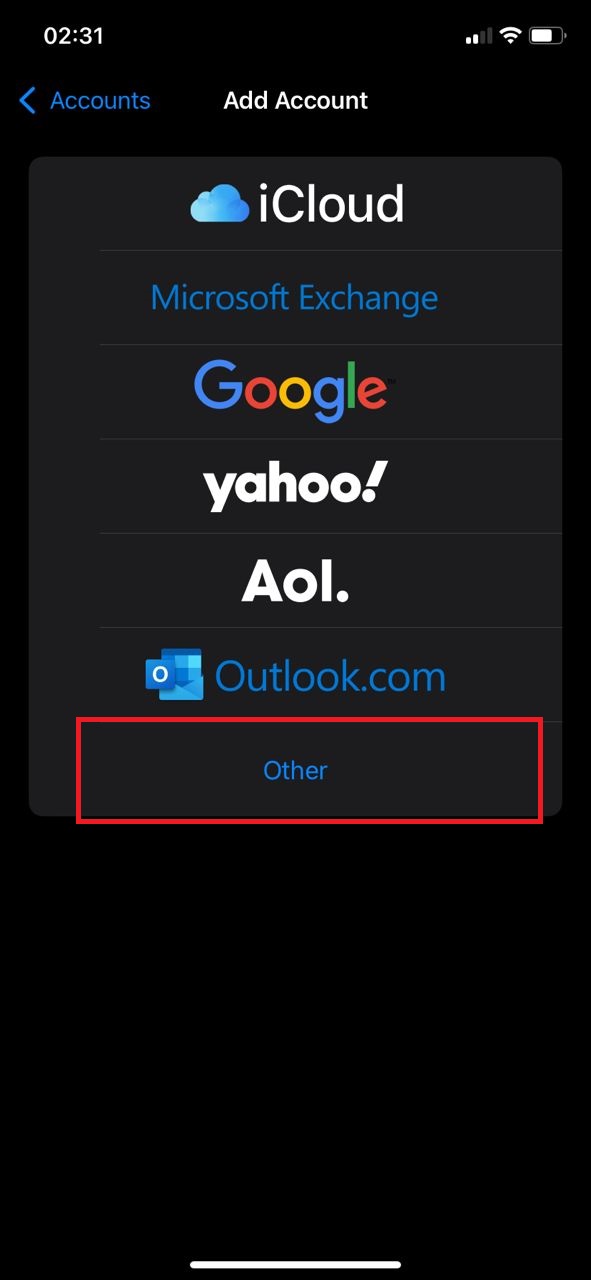
- Click on Other, as we need to add the SmarterMail account to the Mail application.
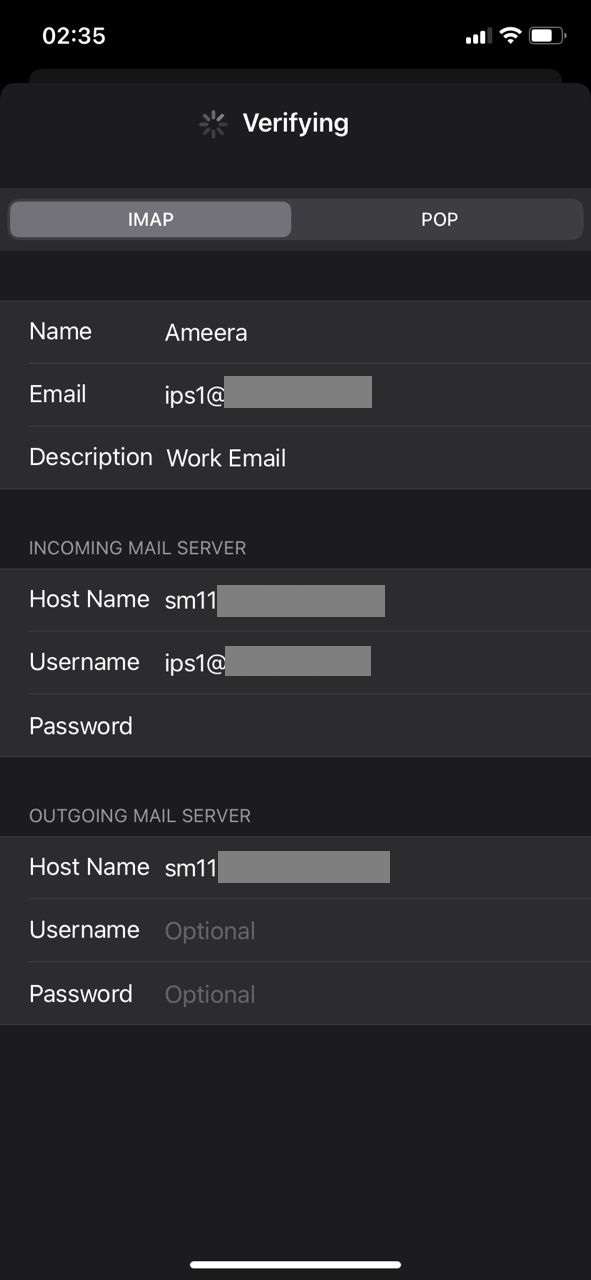
- Next, at the New Account page you need to enter the login credentials to your SmarterMail account. You may as well put the suitable description for the SmarterMail account as well.

- For iPhone user, you can field in the login details for the Incoming and Outgoing mail server for your protocol option. Both IMAP and POP will have the same form to field in.
- Once done, the email account will be added automatically to your Mail application.
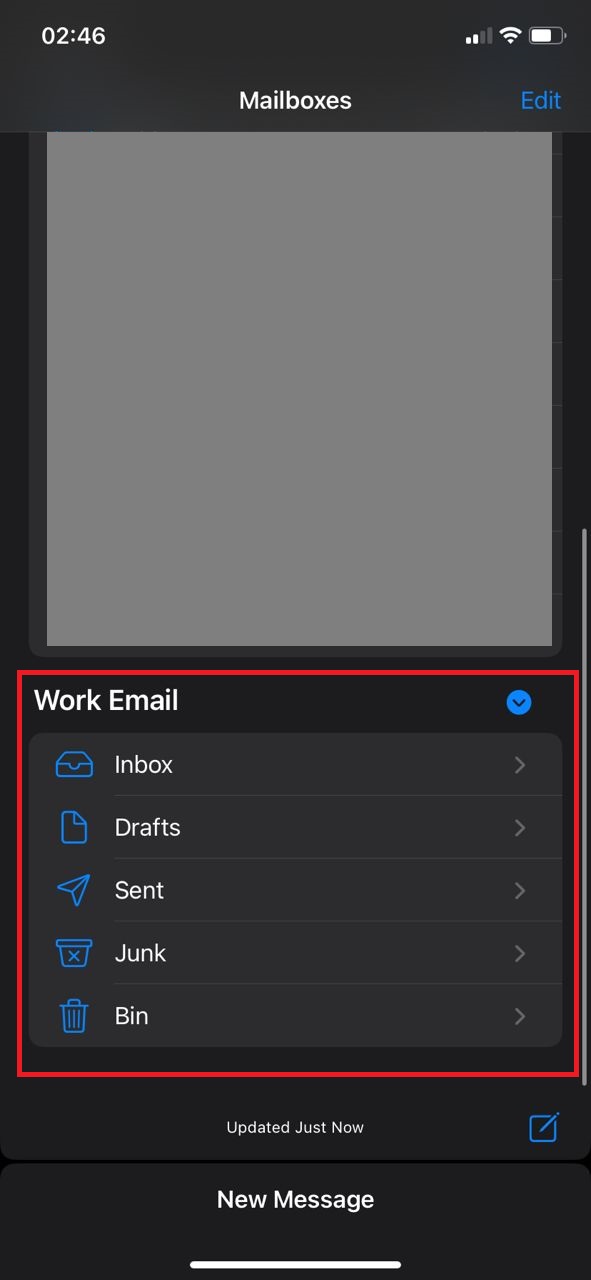
Step 2: Verify if the SmarterMail email added.
- Navigate to your Mail Application in your iPhone.
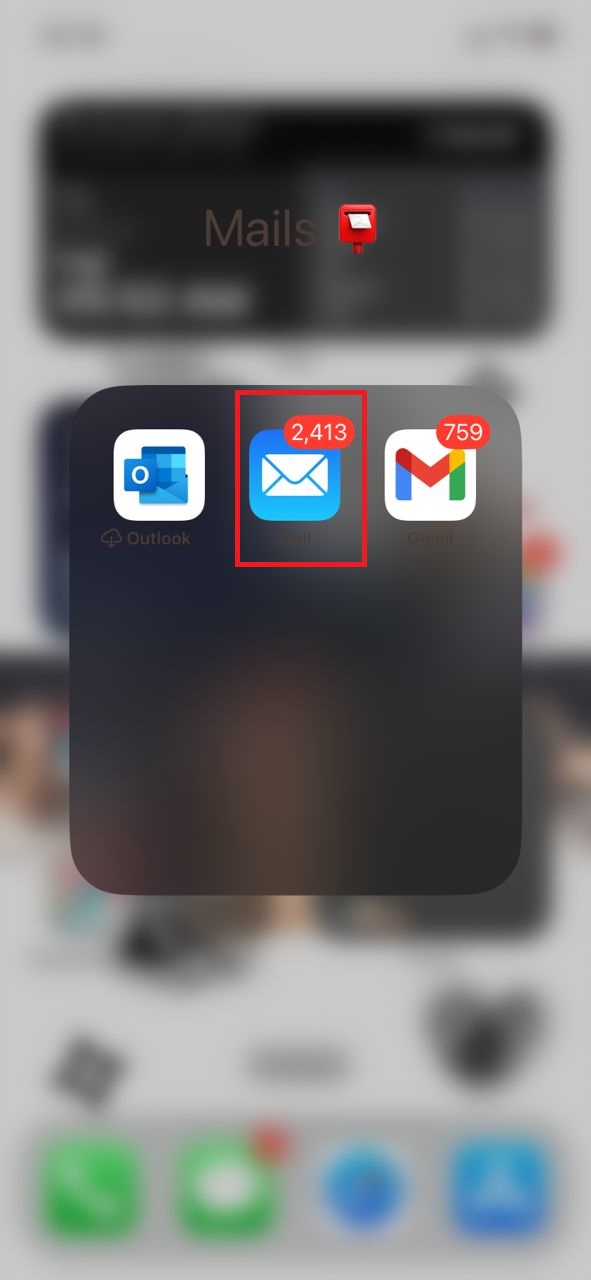
- The SmarterMail account now will appear in the Mail Application.
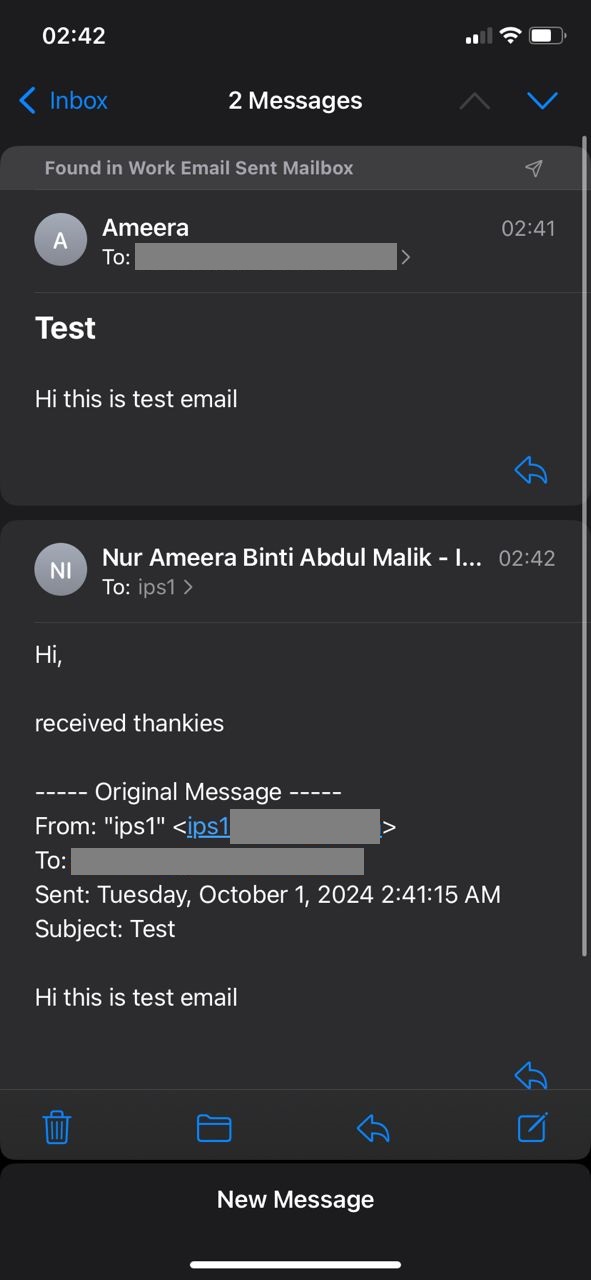
Step 3: Test to send out and receive email
- You can consider to send out and receive test email. If you have successfully send out and receive email, it means that the SmarterMail is configured correctly.
Conclusion
Following this step-by-step guide, you should now have successfully added and configured your SmarterMail account on your iPhone. This ensures you can send and receive emails securely using SSL encryption, and it resolves potential issues related to incorrect settings or server identity verification warnings.
Article posted 24 March 2020.