Search Our Database
How to deploy Next.js website in Linux
Introduction
Deploying a Next.js website on a Linux server gives you full control over your hosting environment, performance, and scalability. Whether you’re building a static site, a server-side rendered app, or a hybrid solution, Next.js works seamlessly on Linux-based platforms. In this guide, you’ll learn how to deploy your Next.js application step-by-step — from setting up your server and environment to running the app in production
Prerequisites
- Able to SSH to remote server with root privilege. If you SSH as non-root user, kindly switch to root with sudo su
- Basic foundation in server configuration
- You are using Debian-based or RPM-based distros
- Have the Next.js website stored in Github and able to clone the website with git.
Step 1: Install node.js
- You need to install node.js from nodesource. You may check the supported version here. In this example, we will be using Node 18x.
- For Debian-based distro, you may install node.js with:
curl -fsSL https://deb.nodesource.com/setup_18.x | sudo -E bash -
apt install -y nodejs
- For RPM-based distro, you may install node.js with:
curl -fsSL https://rpm.nodesource.com/setup_18.x | sudo bash -
dnf install -y nodejs
Step 2: Clone your project
- You can use git clone to fetch your project onto your remote server. After finished cloning, cd to your project.
git clone https://github.com/[username]/[your-project].git
cd [your-project]
Step 3: Build with npm
- Next, we will be using npm to install dependencies for your website. If you do not have npm installed, install it with apt install npm or dnf install npm.
- Install dependencies and build
npm install
npm run build
Step 4: Launch your website
- Finally, we can launch your website with pm2. Install pm2 with:
npm install -g pm2
- Launch your website with pm2:
pm2 start npm --name "project-name" -- start
pm2 save
# pm2 start npm --name "test02" -- start
[PM2] Starting /usr/bin/npm in fork_mode (1 instance)
[PM2] Done.
┌────┬────────────────────┬──────────┬──────┬───────────┬──────────┬──────────┐
│ id │ name               │ mode     │ ↺    │ status    │ cpu      │ memory   │
├────┼────────────────────┼──────────┼──────┼───────────┼──────────┼──────────┤
│ 0  │ test02             │ fork     │ 0    │ online    │ 0%       │ 12.5mb   │
└────┴────────────────────┴──────────┴──────┴───────────┴──────────┴──────────┘
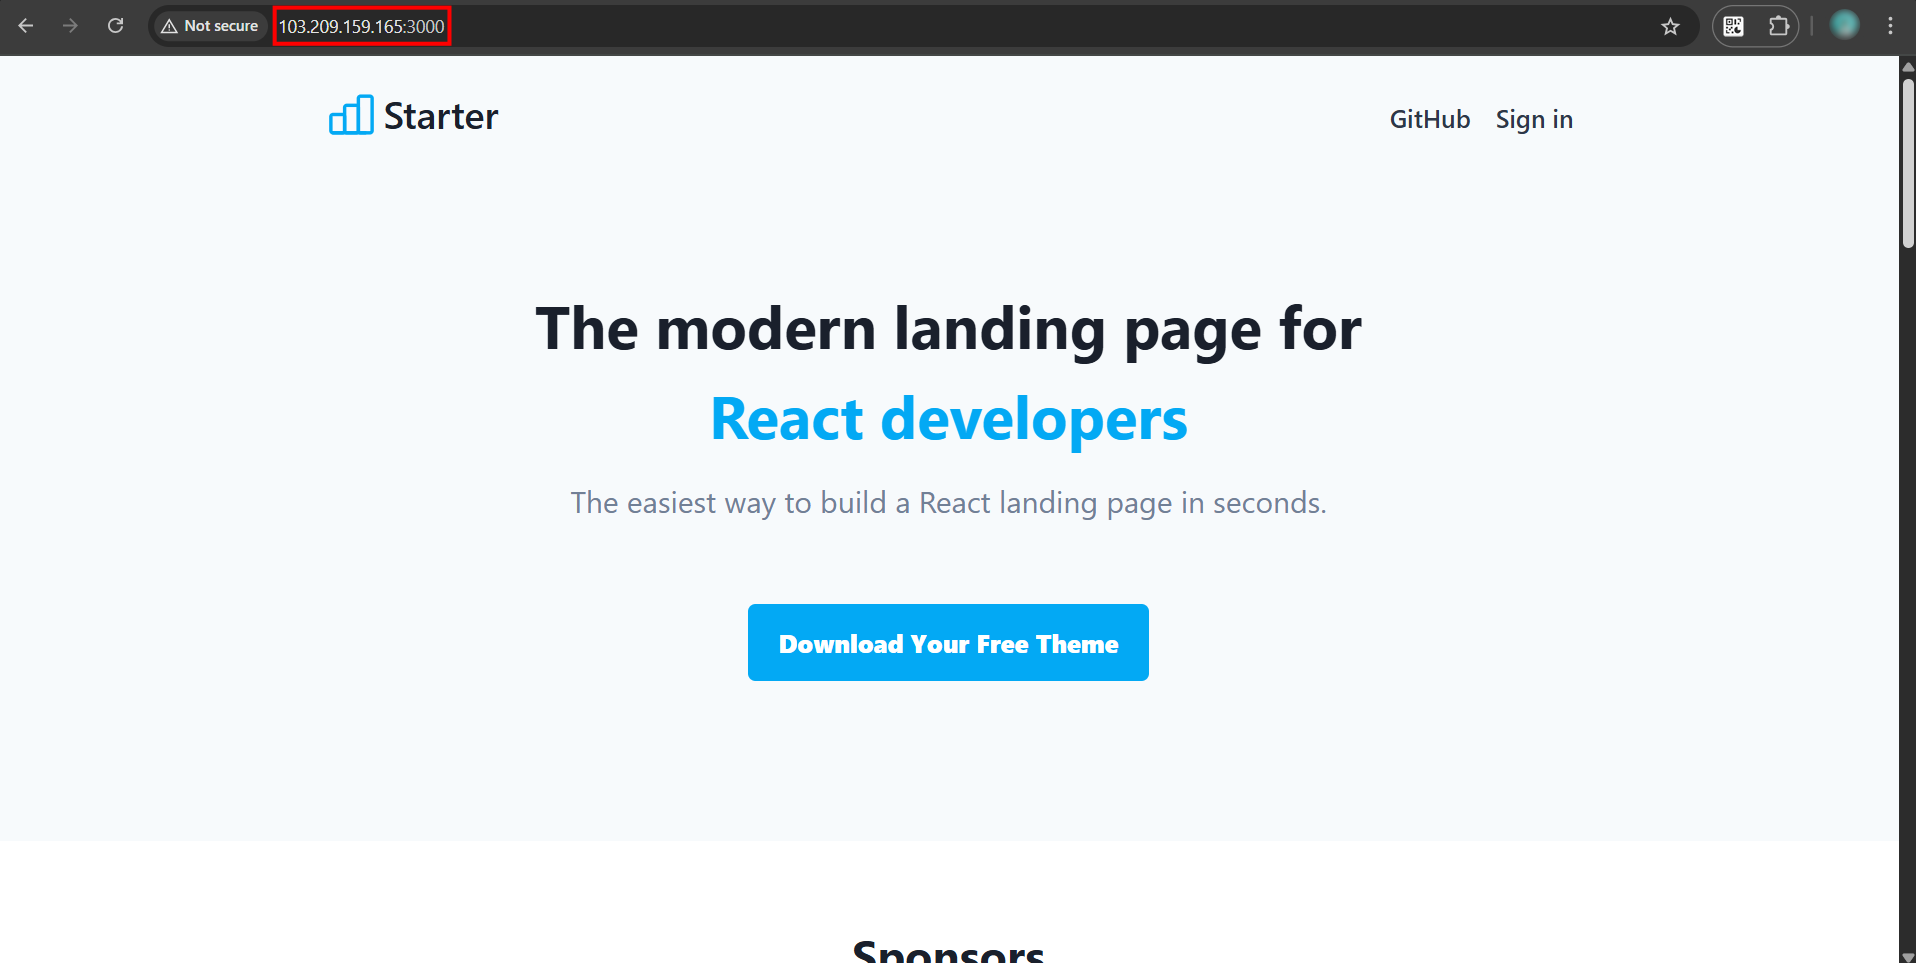
- By default, the website is hosted on port 3000. You may check the website at http://[ip-address]:3000
Conclusion
With your Next.js website successfully deployed on Linux, your application is now live and ready to serve users. You’ve configured the necessary environment, installed dependencies, and used PM2 to keep the app running in the background. Whether you’re managing updates, scaling your app, or securing your server, this Linux-based deployment offers flexibility and reliability for production use. You can now focus on building new features while your infrastructure runs efficiently.
Should you have any technical inquiries, feel free to contact us at support@ipservervone.com