Search Our Database
How to Install CentOS 7
Introduction
CentOS 7 is a robust, community-driven Linux distribution known for its stability and reliability. This guide will walk you through the process of installing CentOS 7 on your system.
Steps to Install CentOS 7:
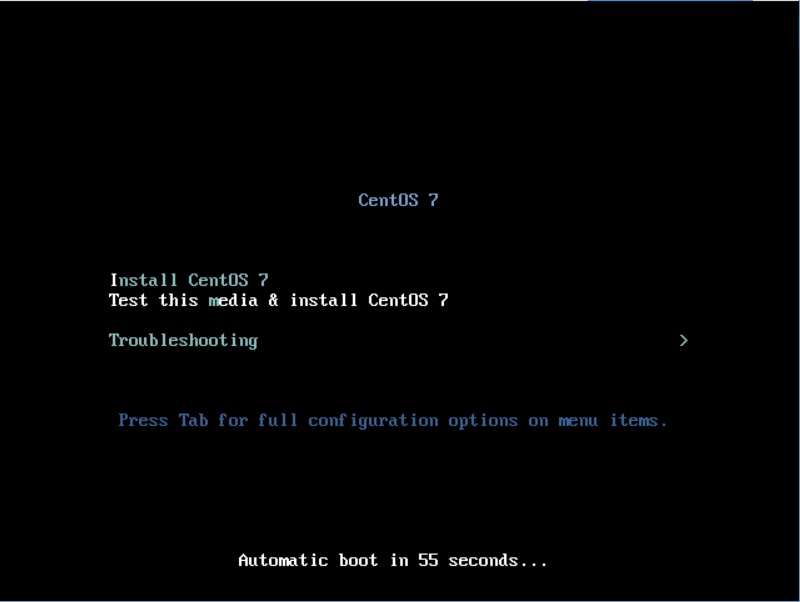
1. Boot the System
On the system boot-up screen, select the option “Test this media & install CentOS 7”. This will initiate a hardware detection process to ensure compatibility with CentOS 7.
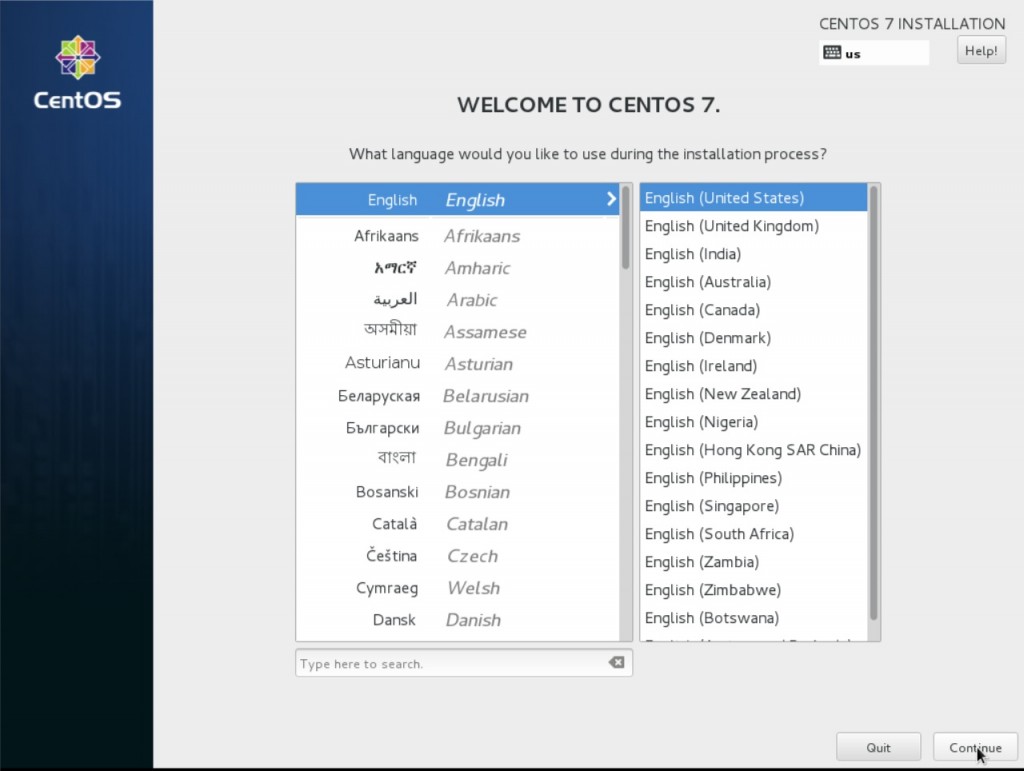
2. Select Language
Select your preferred language for the installation. Once selected, click “Continue” to proceed.
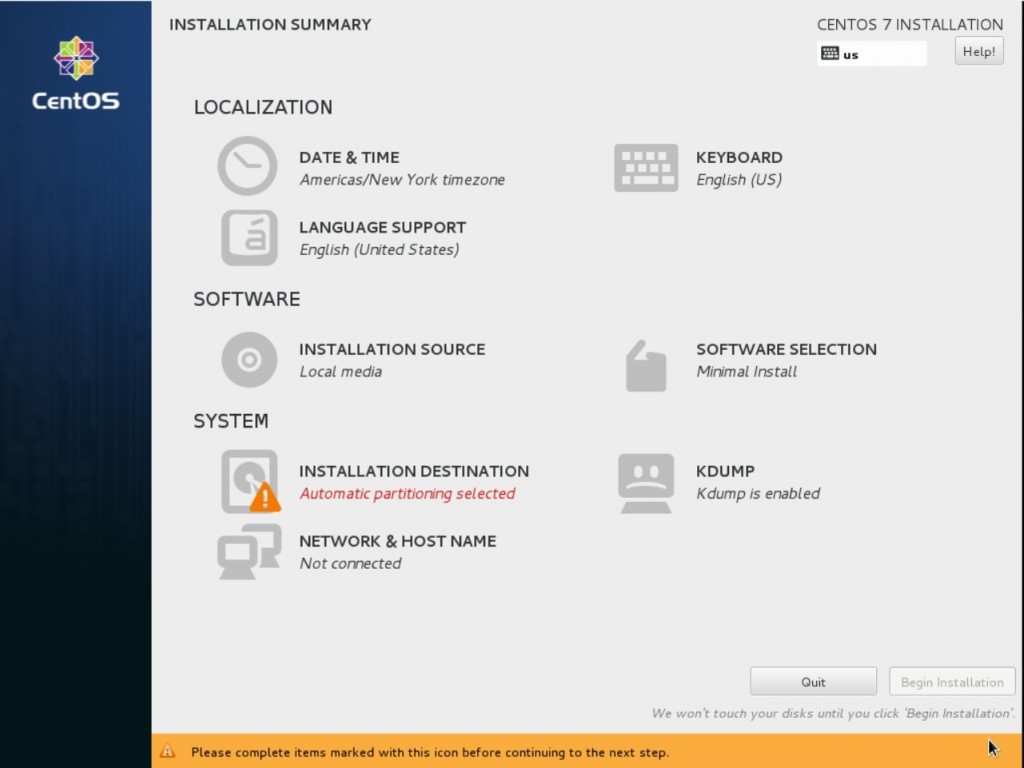
3. Resolve Installation Destination Warning
If a warning icon appears under the “Installation Destination” section, click on it to resolve the issue.
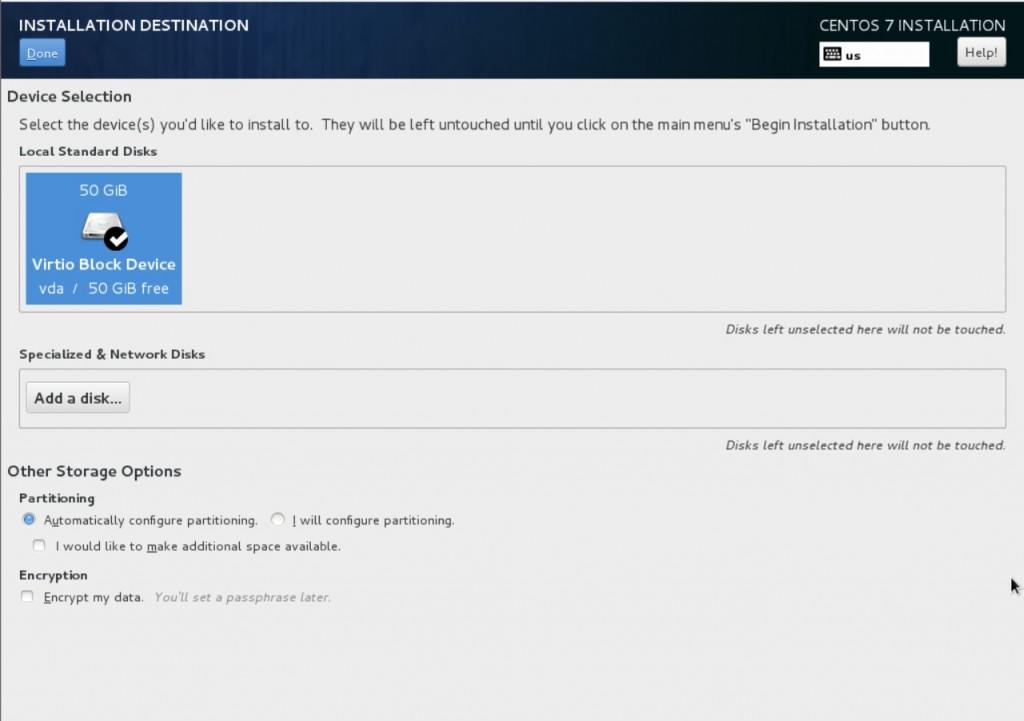
4. Choose Installation Drive
Select the drive where you want to install CentOS 7. Ensure the selected drive is ticked, then click “Done” in the top-left corner to return to the previous page.
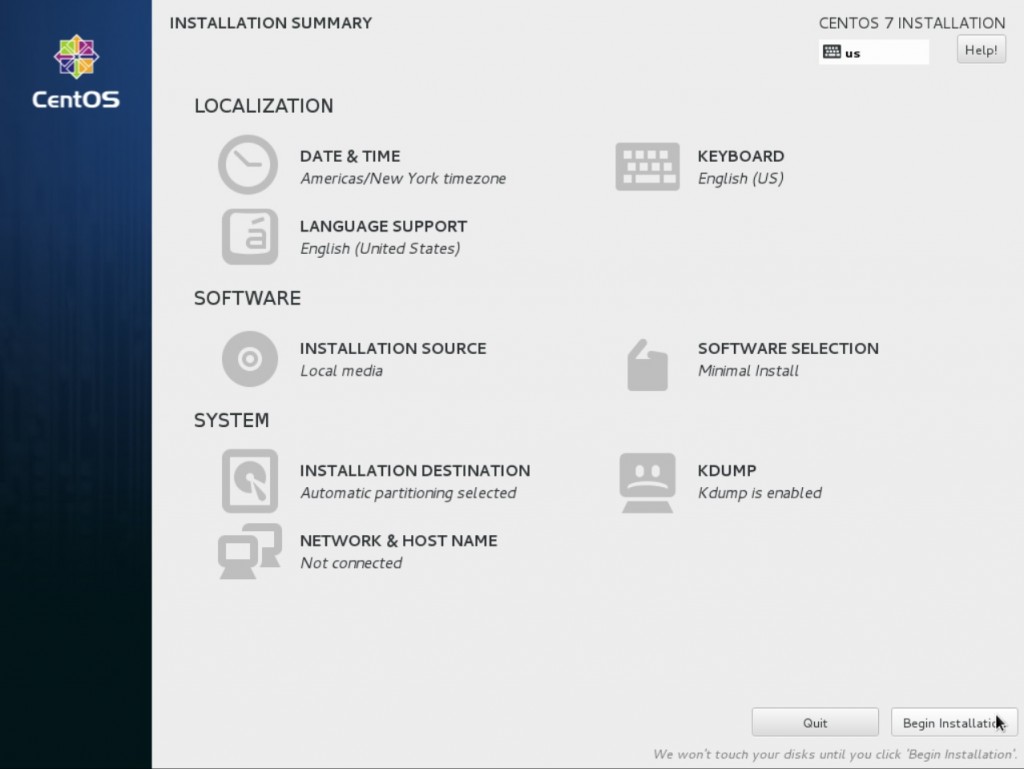
5. Fix Any Additional Warnings
If additional warning icons are present, click on each section to resolve the issues. Once all warnings are cleared, click “Begin Installation”.
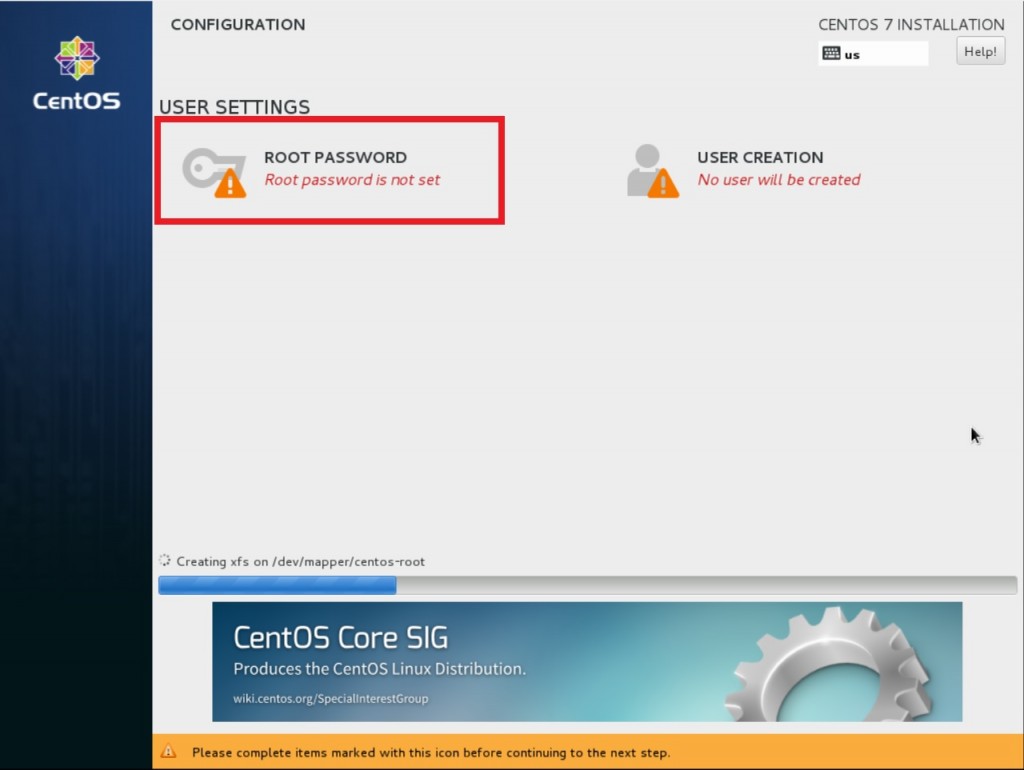
6. Set Root Password
Click on the “Root Password” option to create a password for the root account. This is essential for system administration.
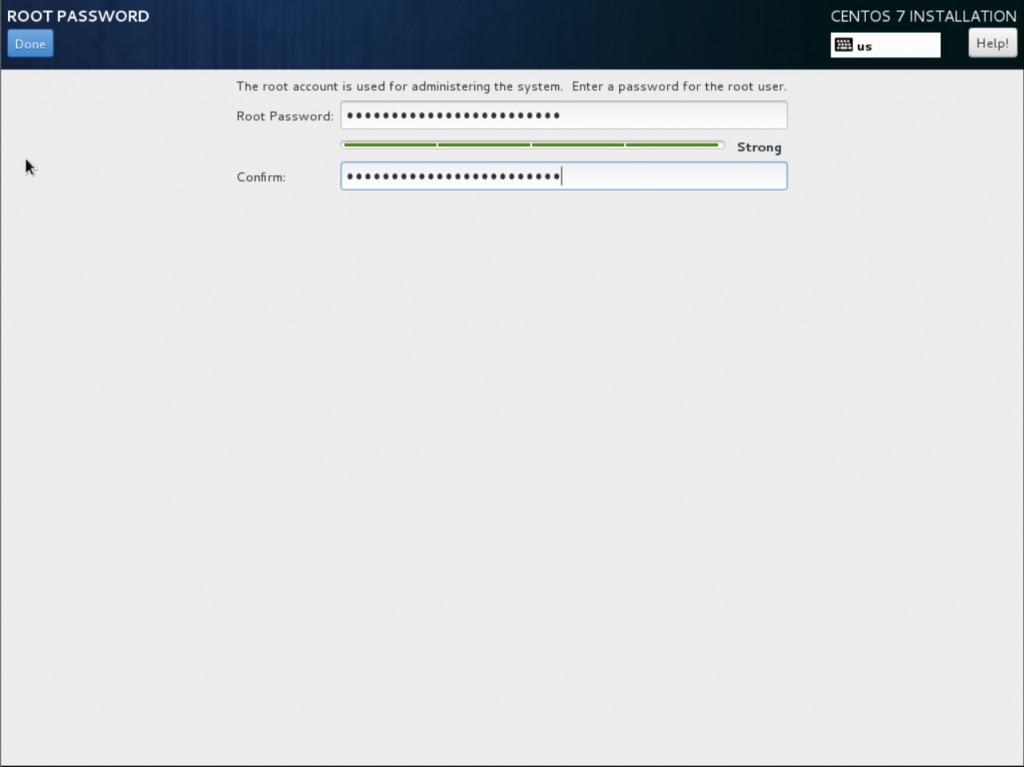
7. Confirm Root Password
Enter the password, then re-enter it to confirm. Once completed, click “Done” at the top-left corner to proceed.
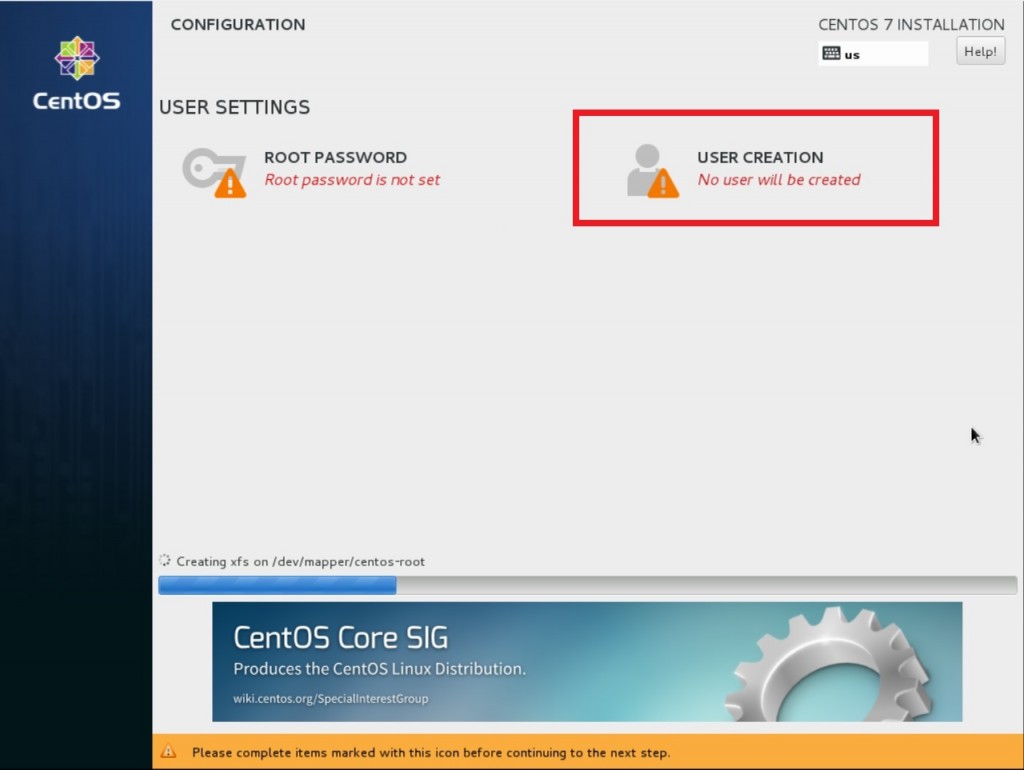
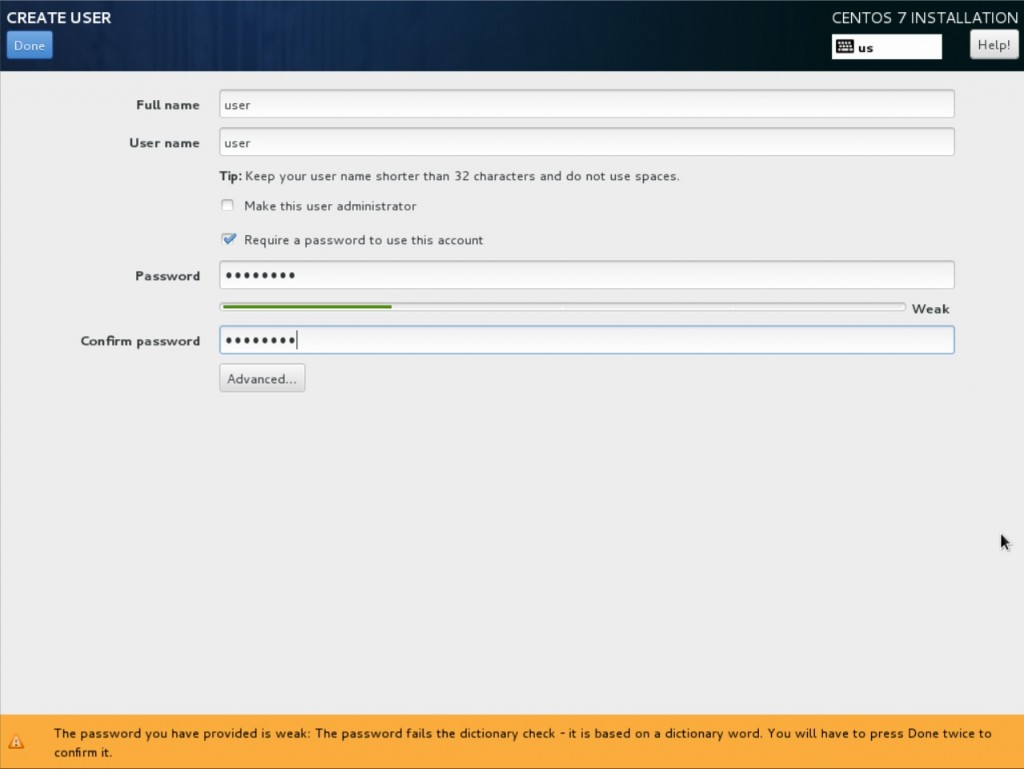
8. Create a User Account (Optional)
If you want to create a user account for the server, select “User Creation”.
9. Set User Account Details
Type in the details for the user account, then click “Done” to proceed.
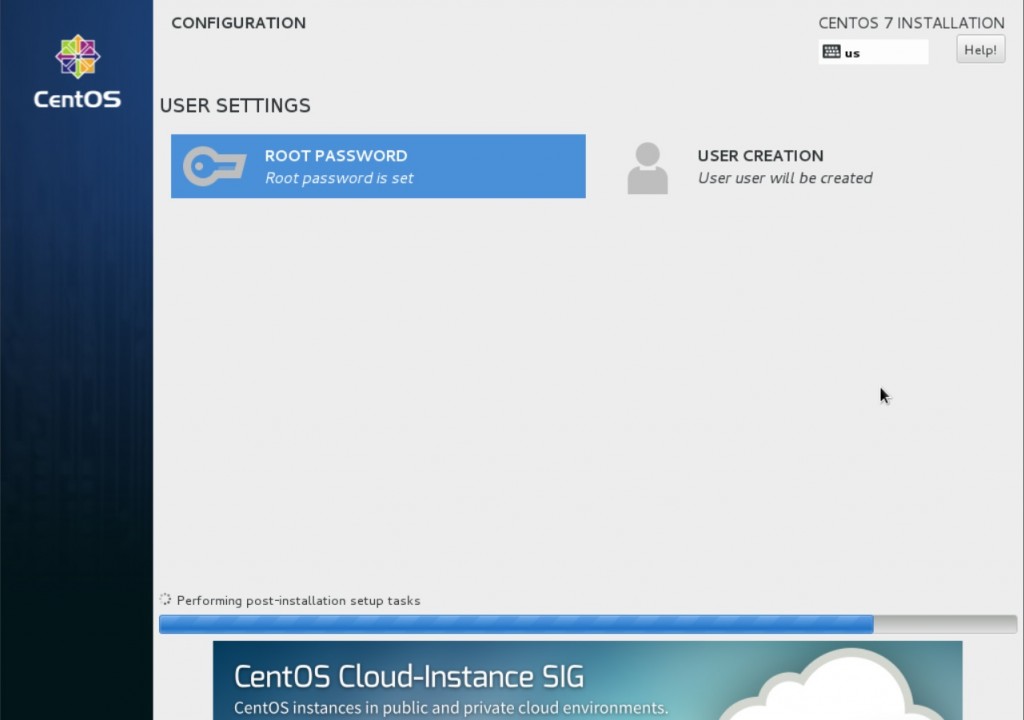
10. Monitor Installation Progress
Observe the installation progress bar at the bottom of the screen. Wait for the process to complete.
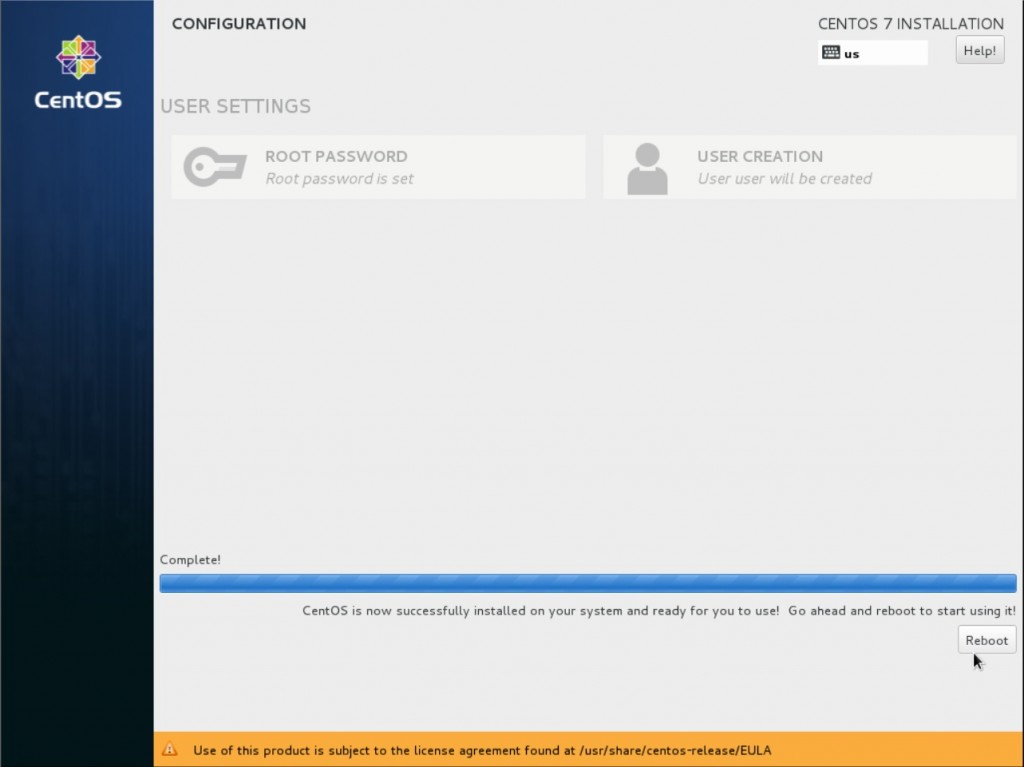
11. Reboot the System
Once the progress bar is fully completed, CentOS 7 will be installed on your system. Click “Reboot” to restart your system and complete the installation.
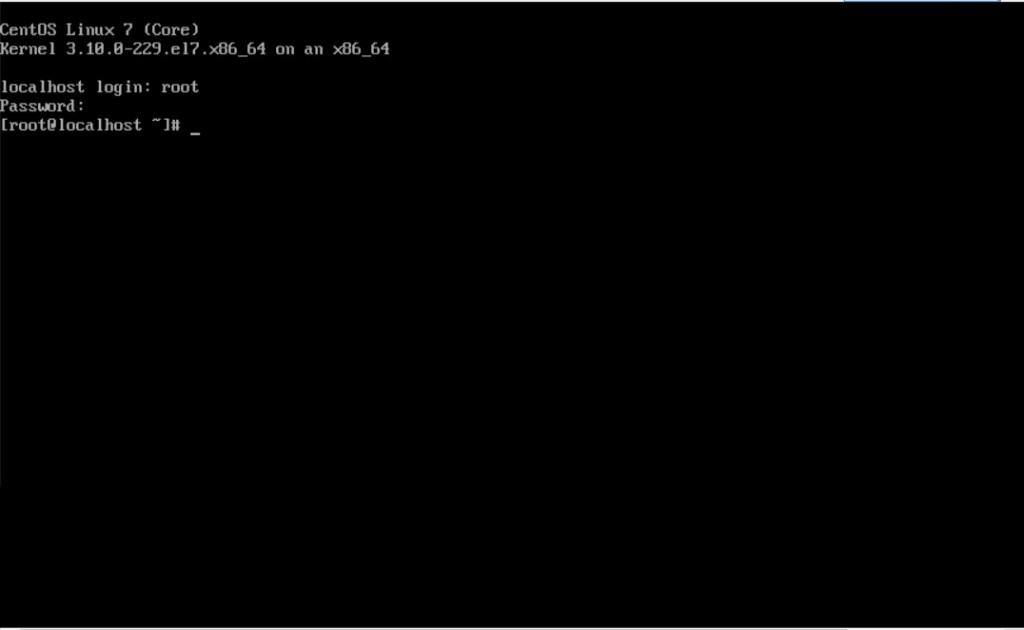
12. Final Login
After the system reboots, enter your login credentials. You have successfully installed CentOS 7.
Post-Installation: Network Configuration
Before proceeding with any system updates, it’s important to configure your network settings. For detailed instructions on how to do this, refer to this article.
Article posted on 08 December 2015 by Khairul