Search Our Database
How to Set Up SmarterMail in Gmail on Android
Introduction
SmarterMail users can easily manage their email accounts from the Gmail app on Android devices by configuring their account using the IMAP or POP protocol. This allows users to send and receive emails without switching between multiple apps.
Prerequisites
- A working SmarterMail email address (e.g., user@yourdomain.com)
- Your email password
- Access to SmarterMail server settings
- The Gmail app installed and updated on your Android device
Step-by-Step Guide
Step 1: Open the Gmail App
- Launch the Gmail app on your Android device.
- Tap the profile icon in the top right corner.
- Tap Add another account.
Step 2: Choose Email Type
- On the “Set up email” screen, select Other.

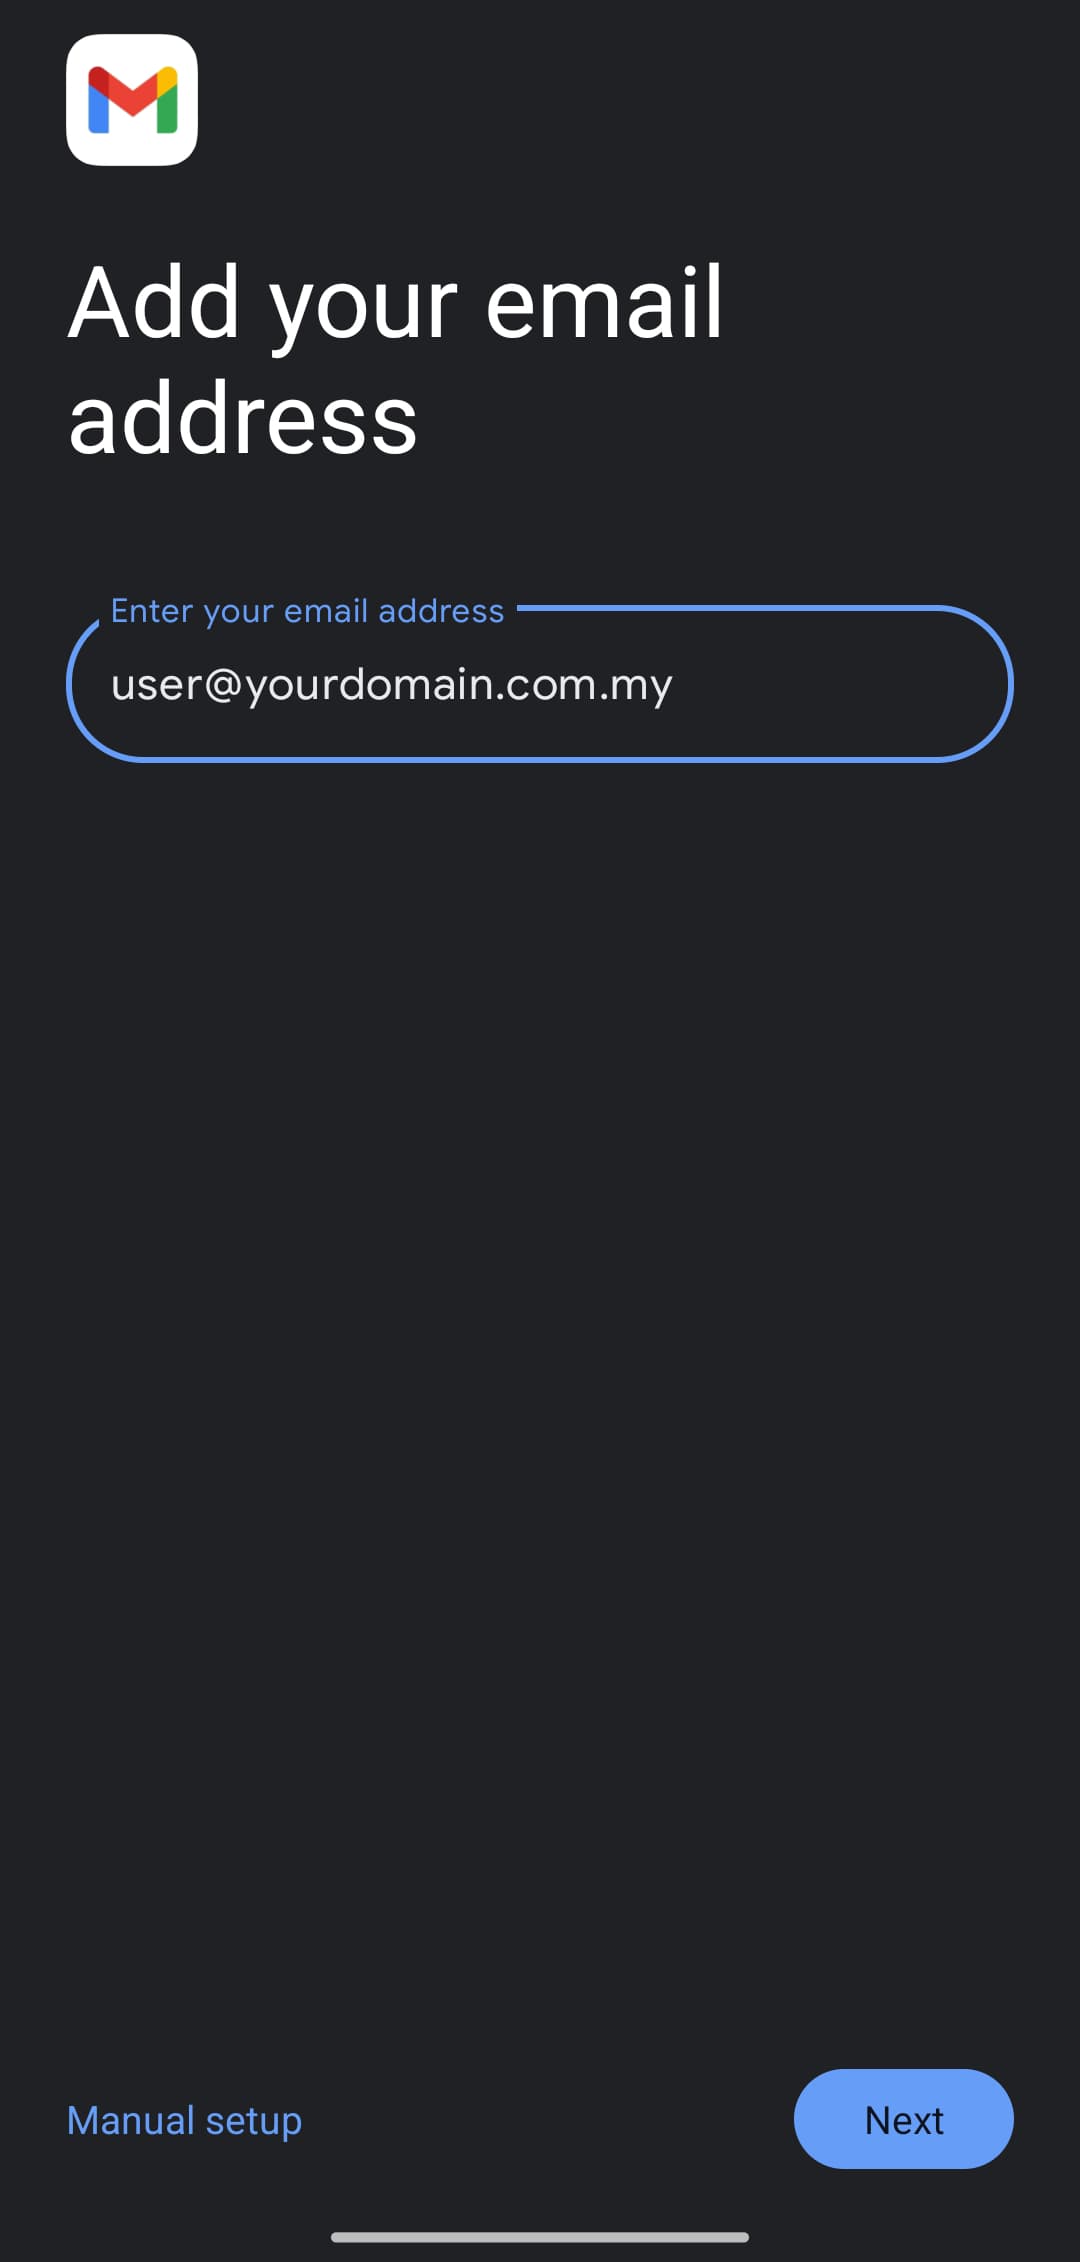
Step 3: Enter Your Email Address and Password
- Type your full SmarterMail email address (e.g., user@yourdomain.com).
- Tap Next
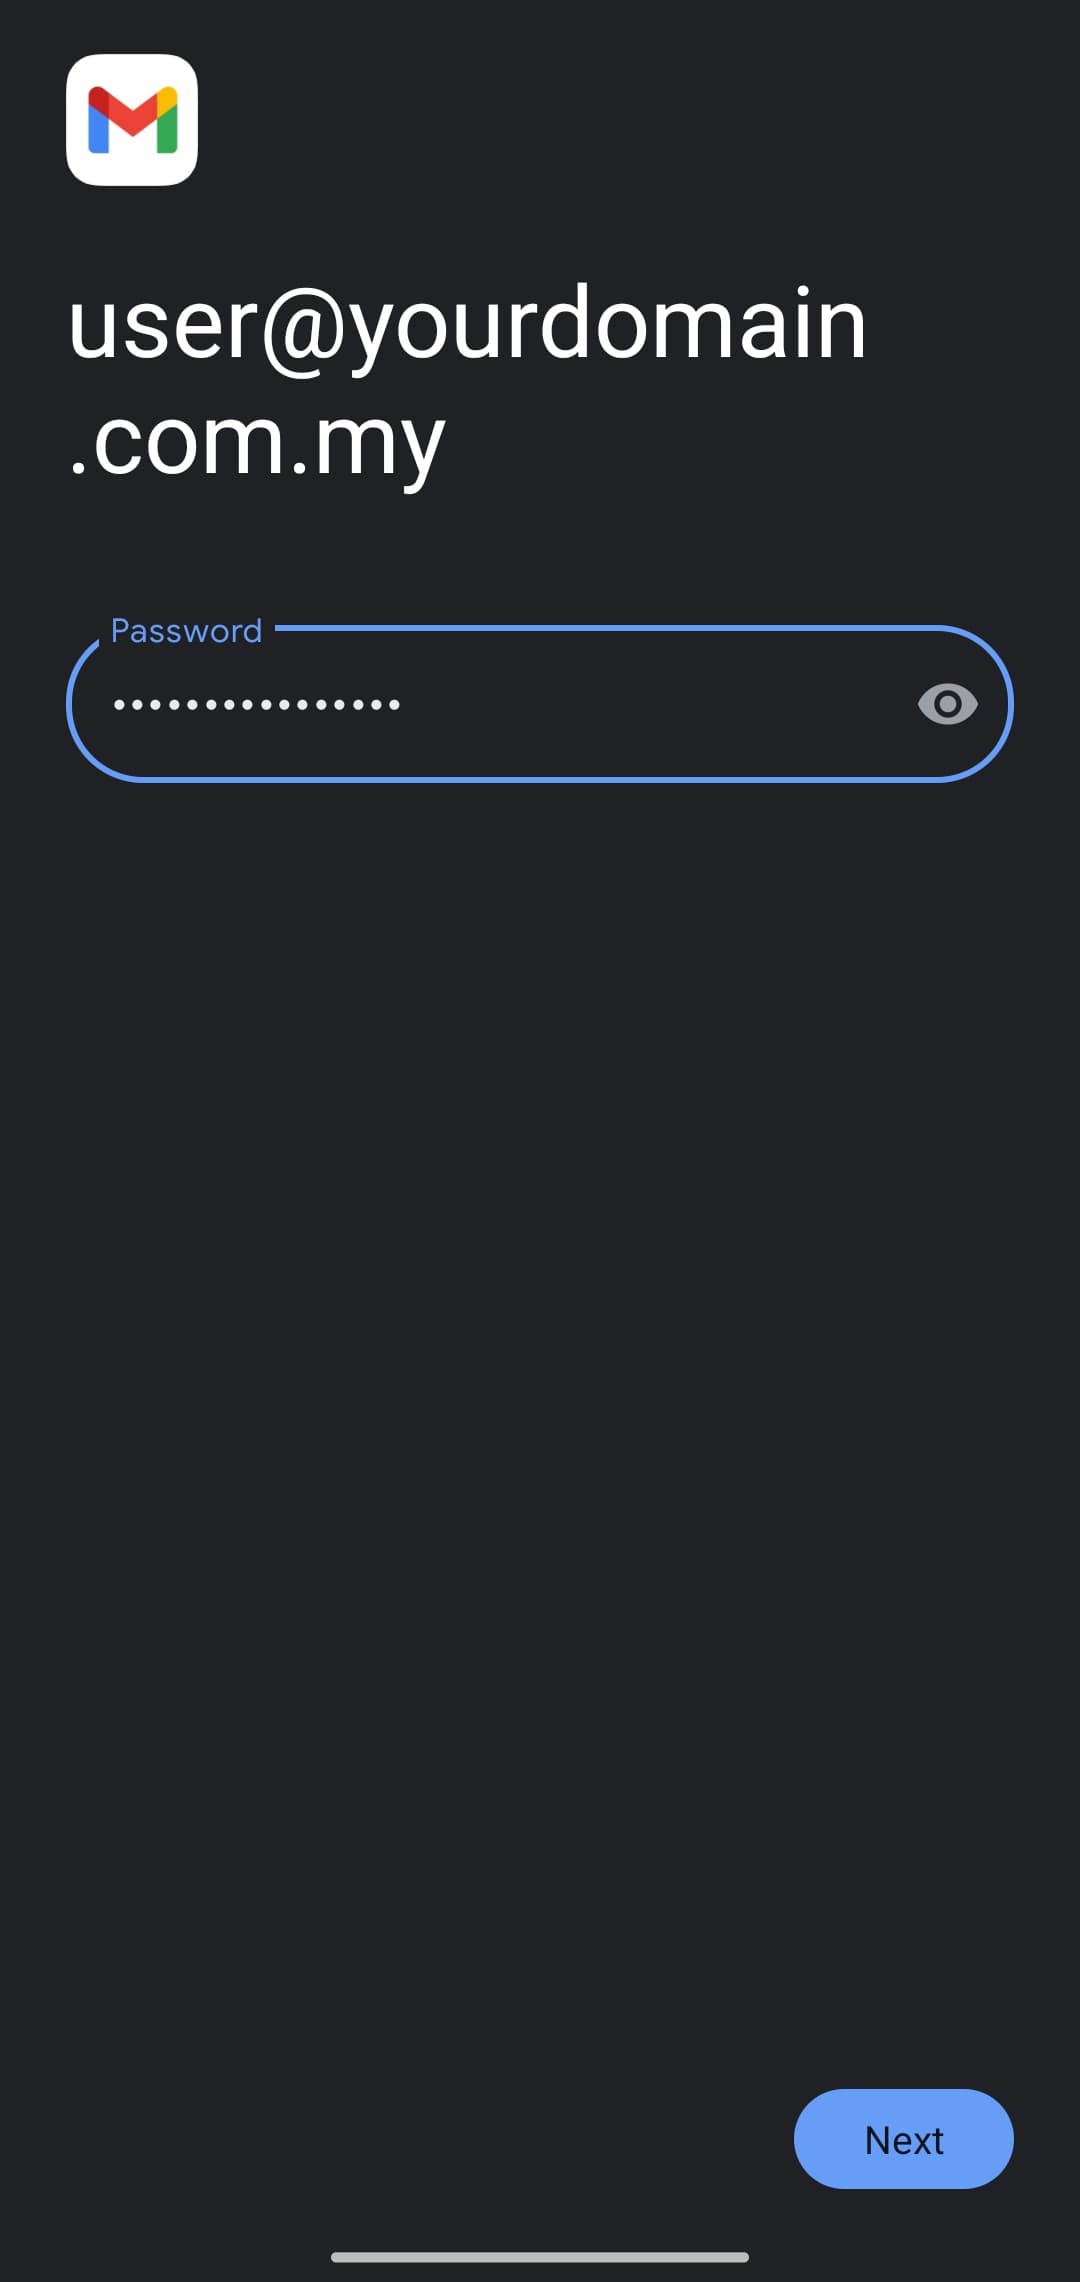
- Enter your password.
- Tap Next
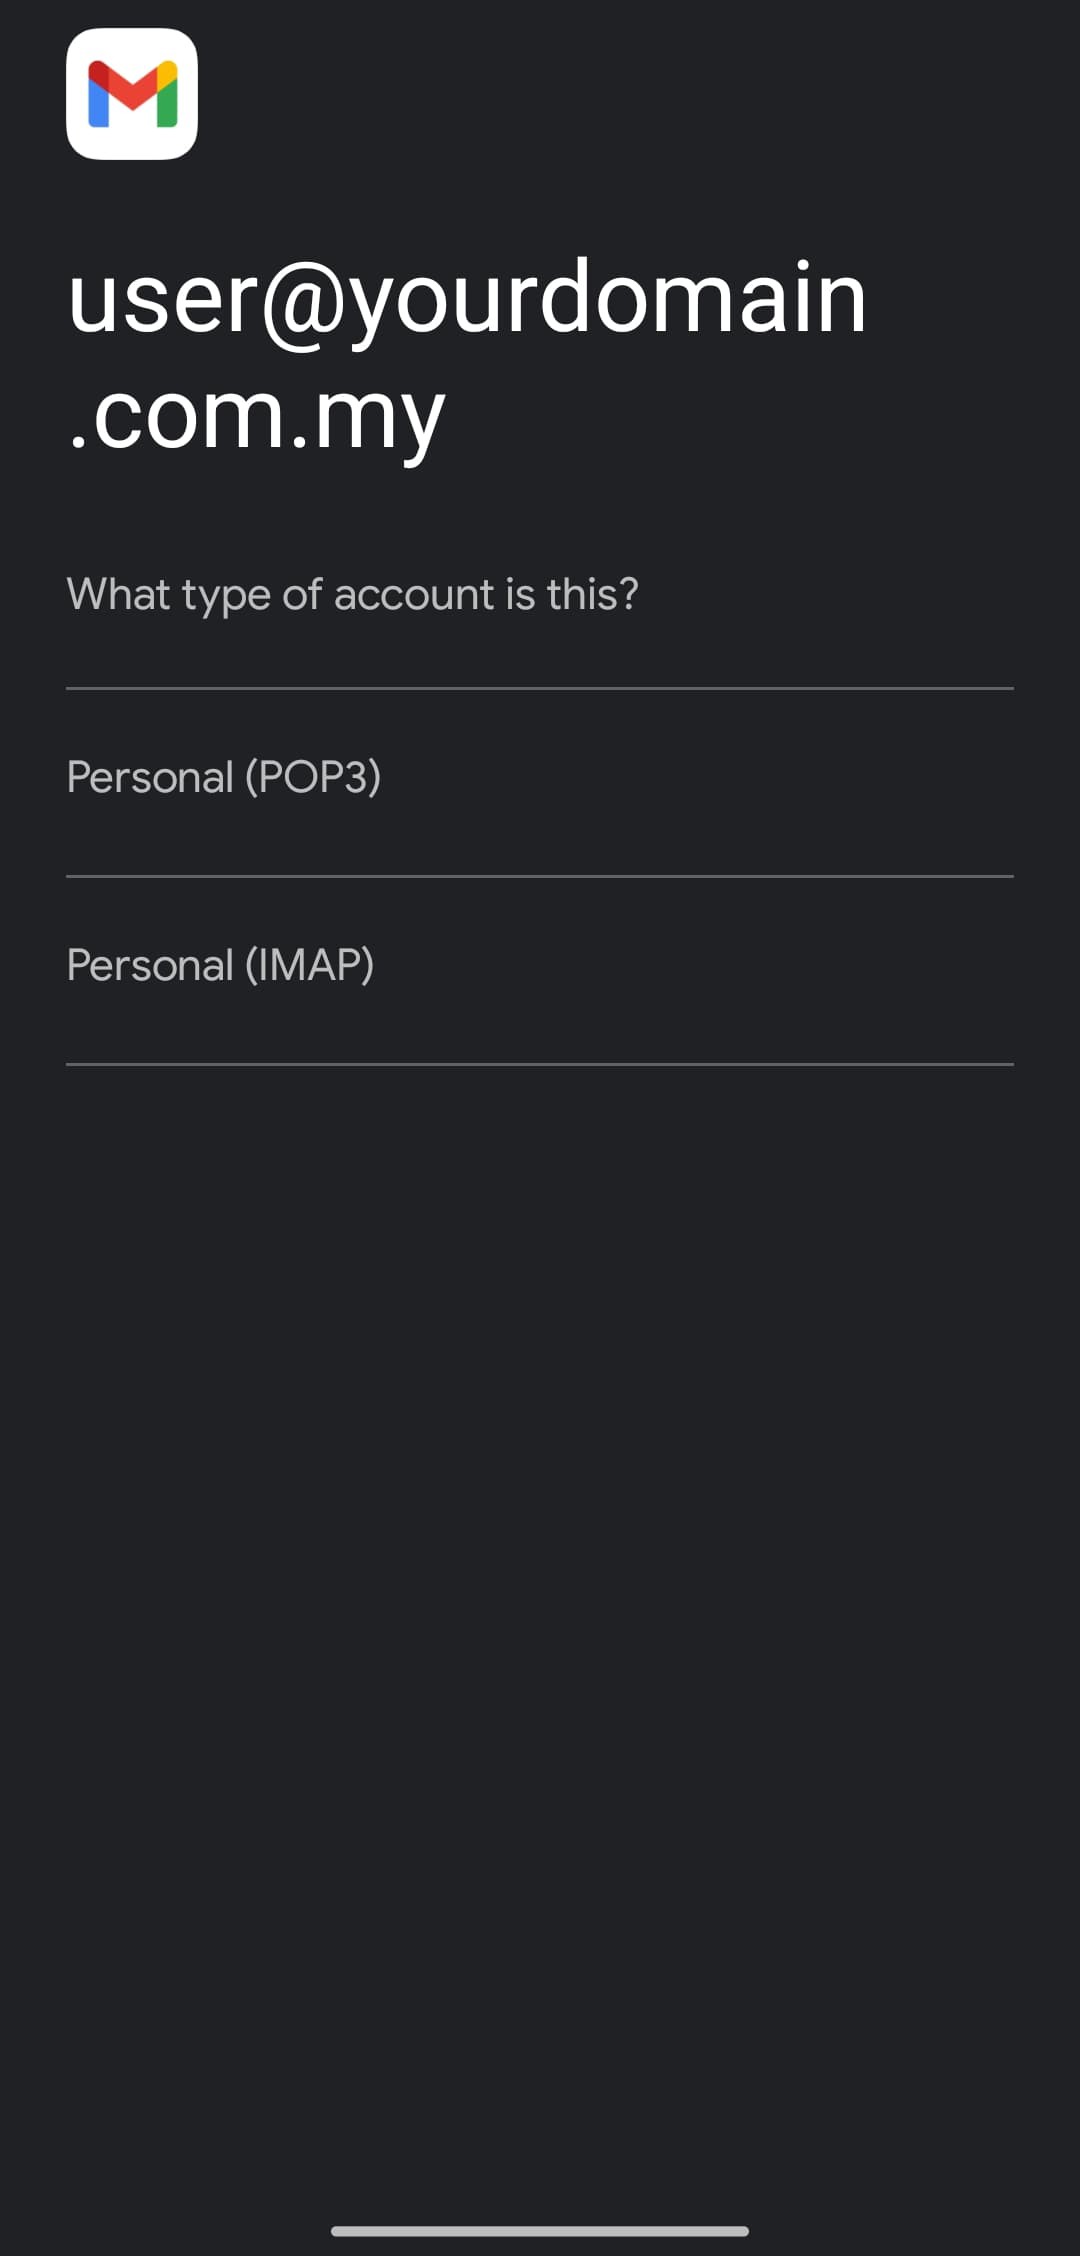
Step 4: Choose Account Type
- Select either IMAP or POP3.
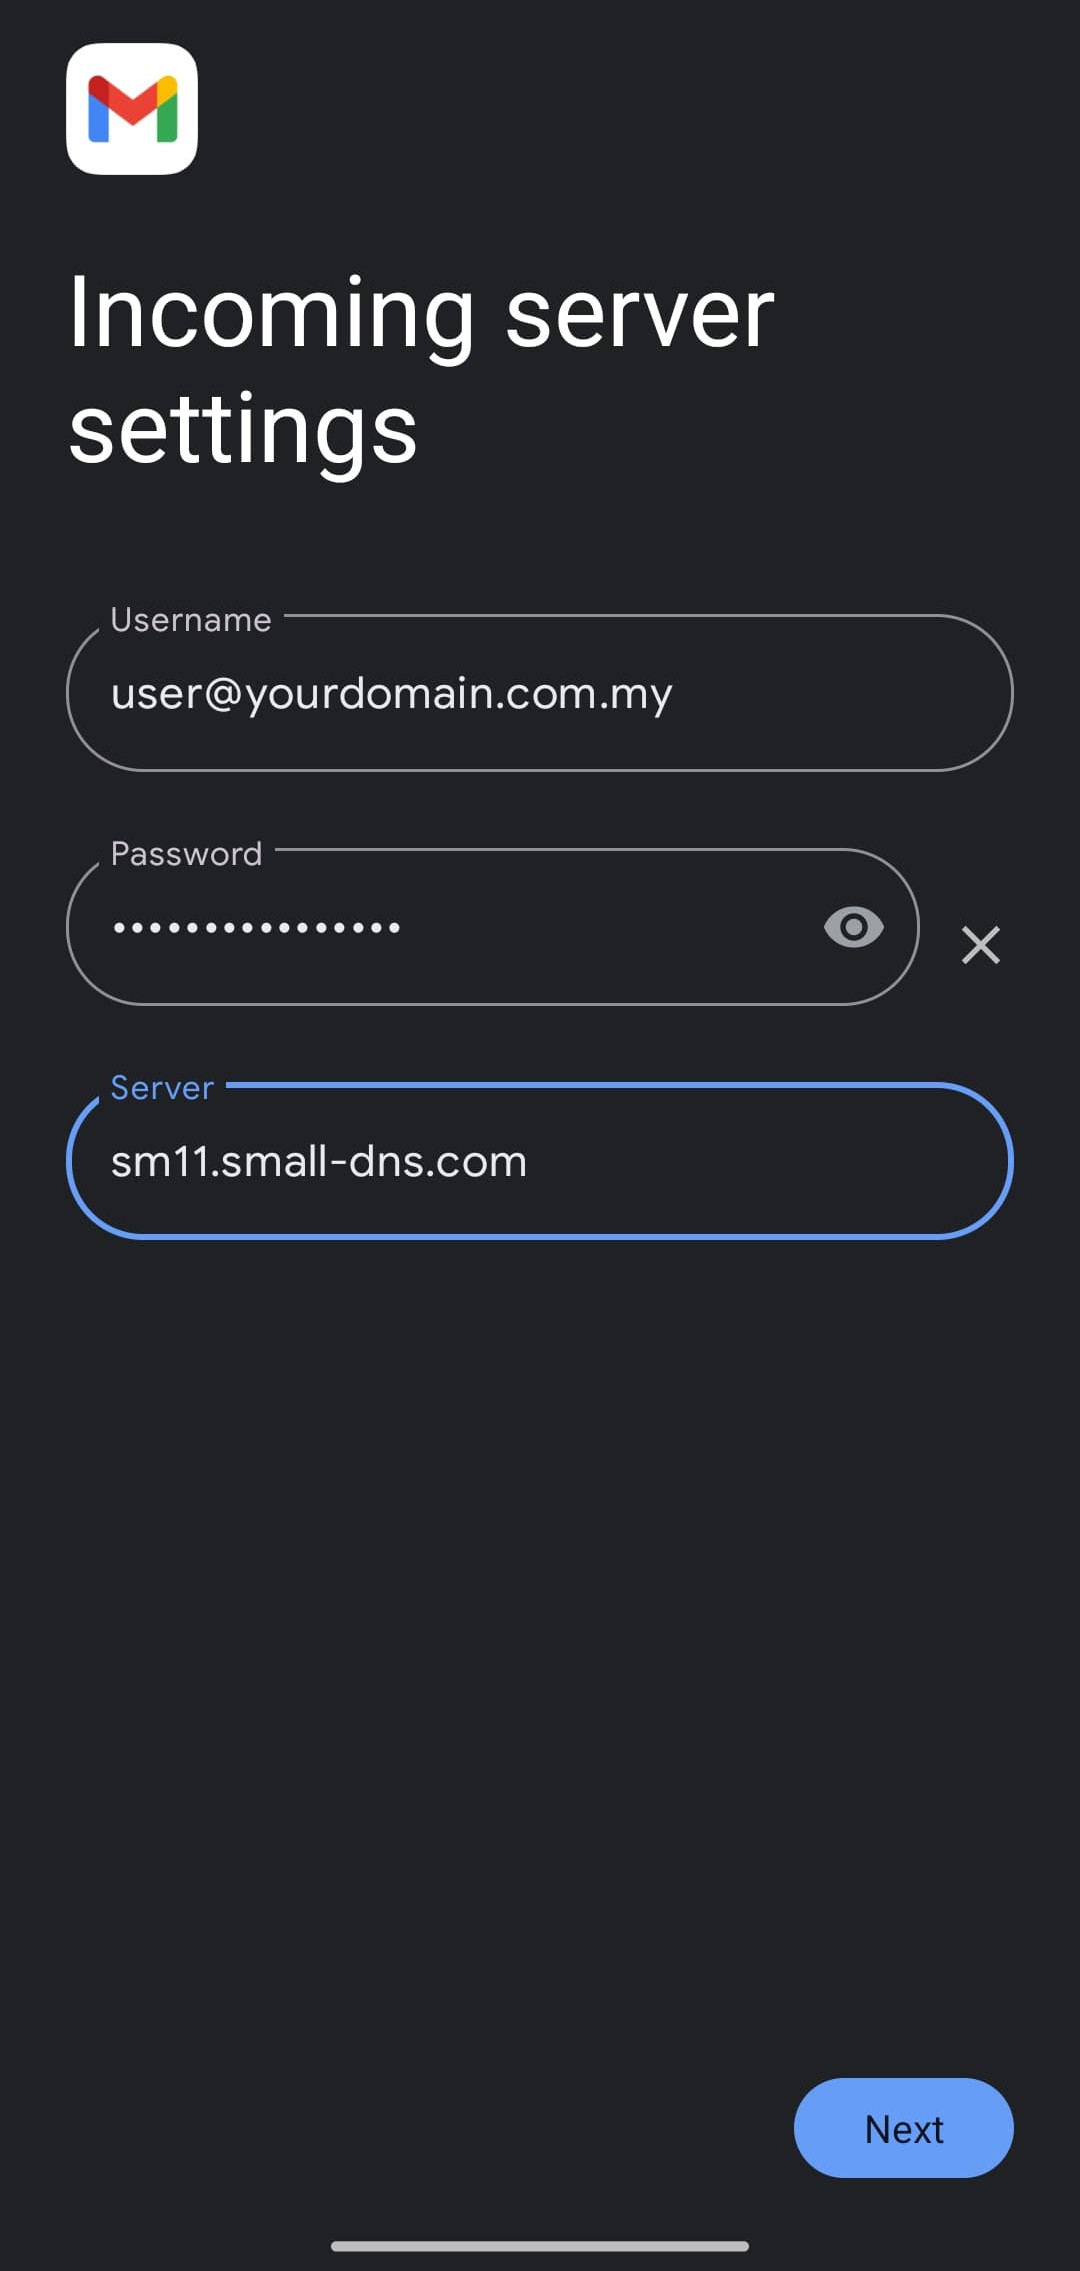
Step 5: Enter Incoming Server Settings
- Username: your full email address
- Password: your email password
- Server: smXX.small.dns.com (XX change to your assigned Smartermail server, e.g: sm09)
Tap Next.
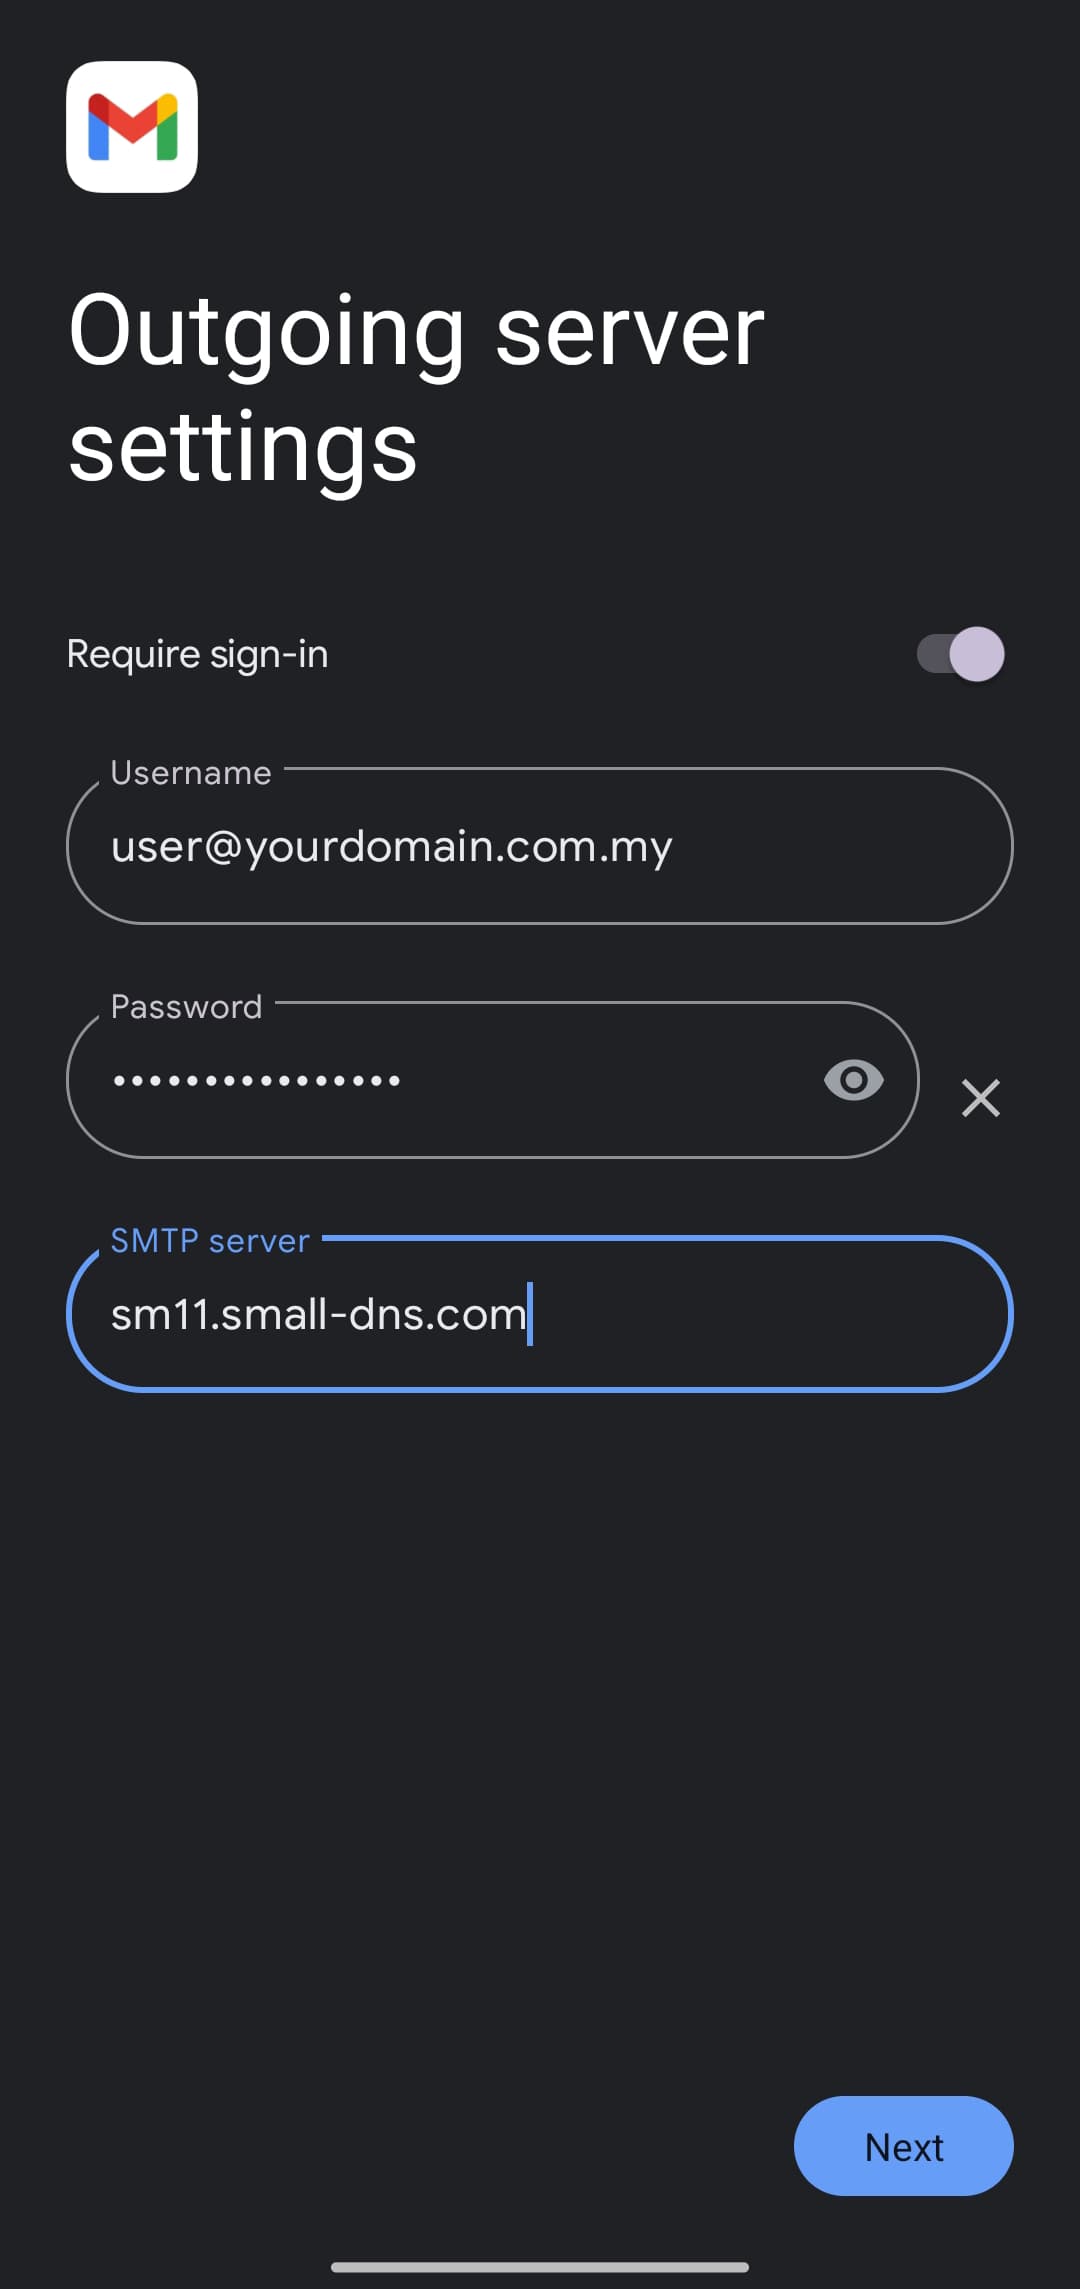
Step 6: Enter Outgoing Server Settings (SMTP)
- SMTP Server: smXX.small.dns.com (XX change to your assigned Smartermail server, e.g: sm09)
- Require sign-in: Yes
- Username: Your full email address
- Password: Your email password
Tap Next.
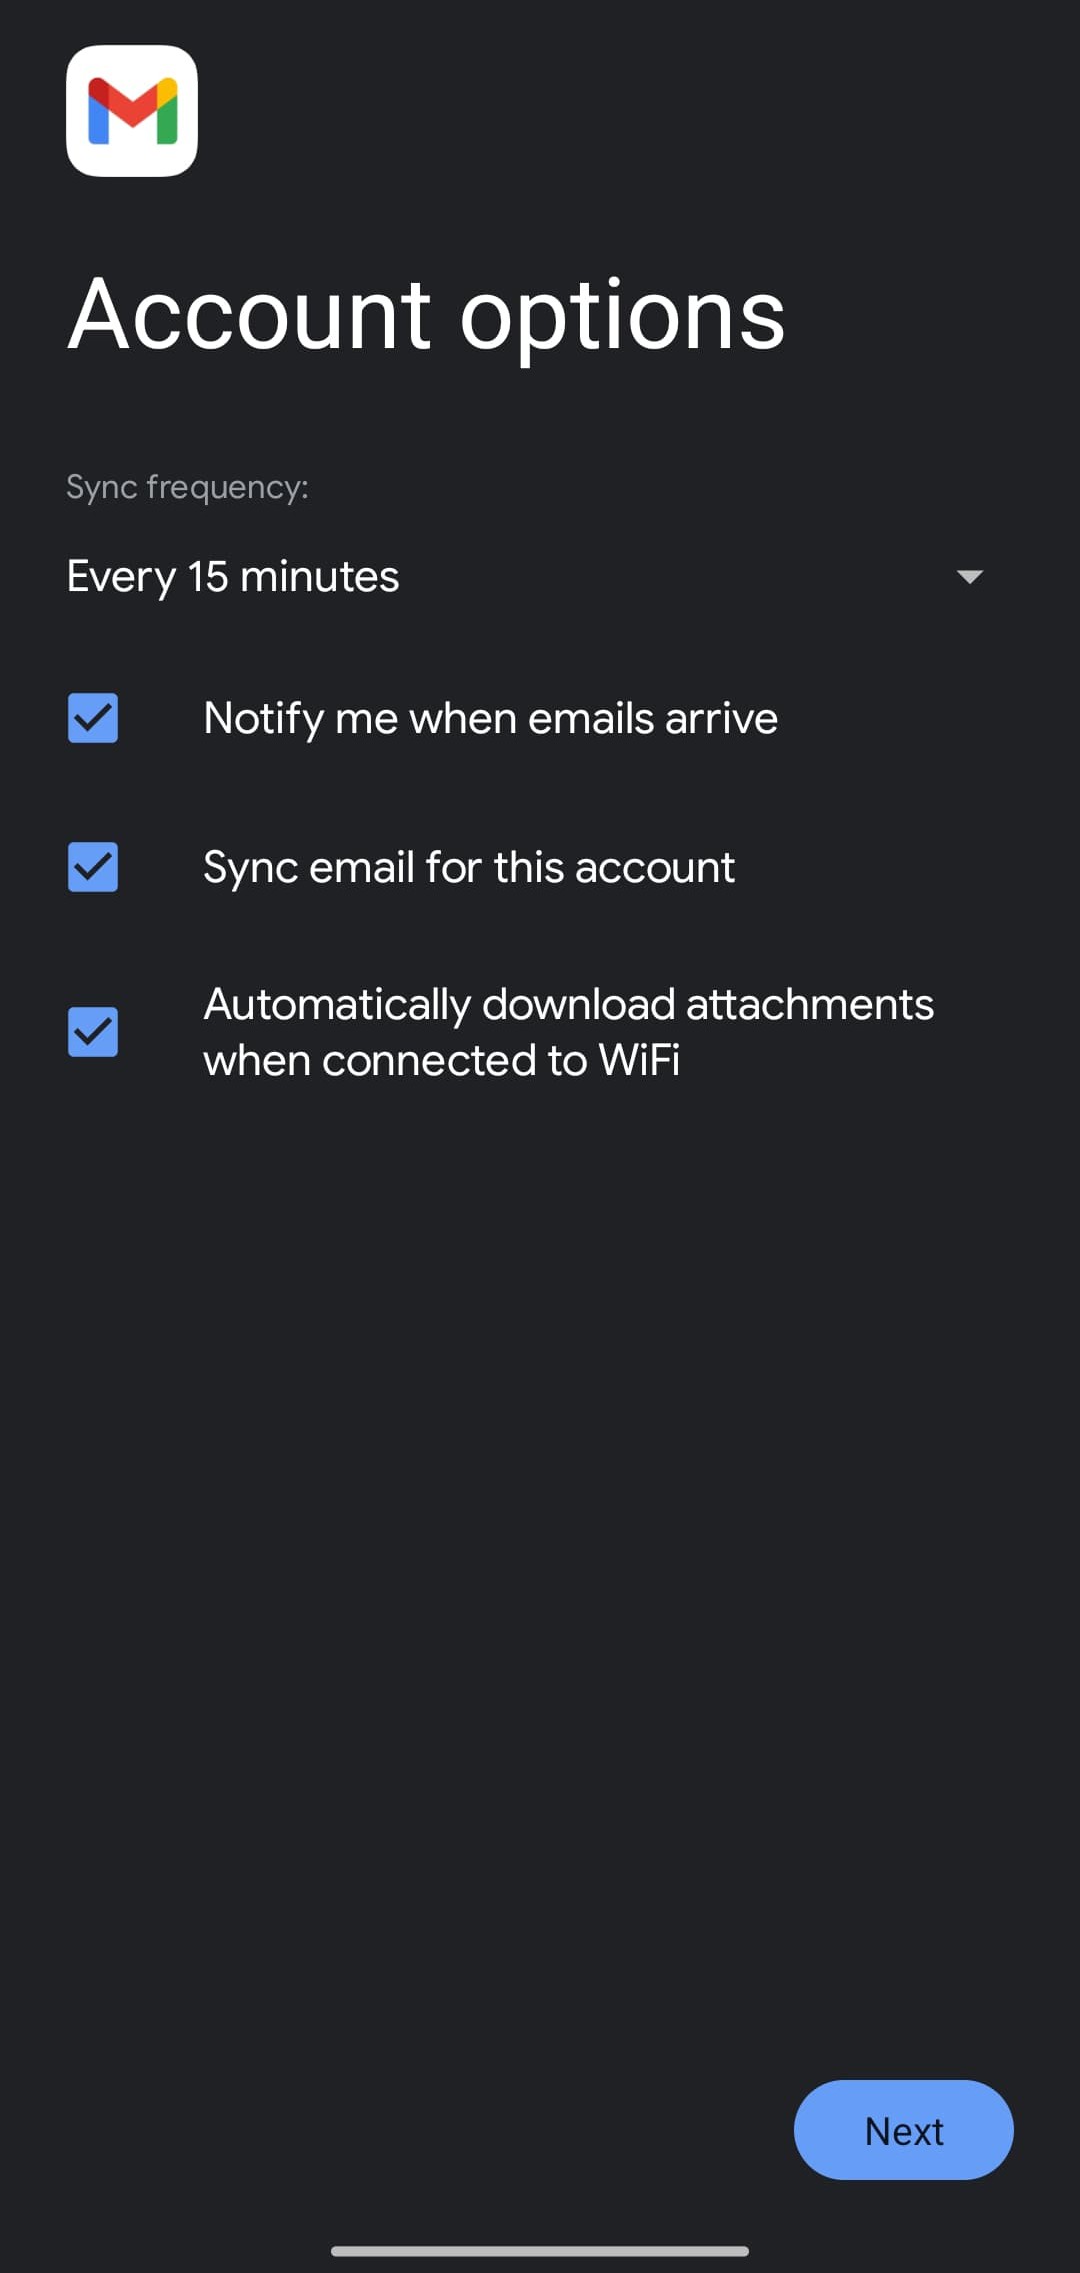
Step 7: Finalize Setup
- Choose your sync frequency and other preferences.
- Tap Next.
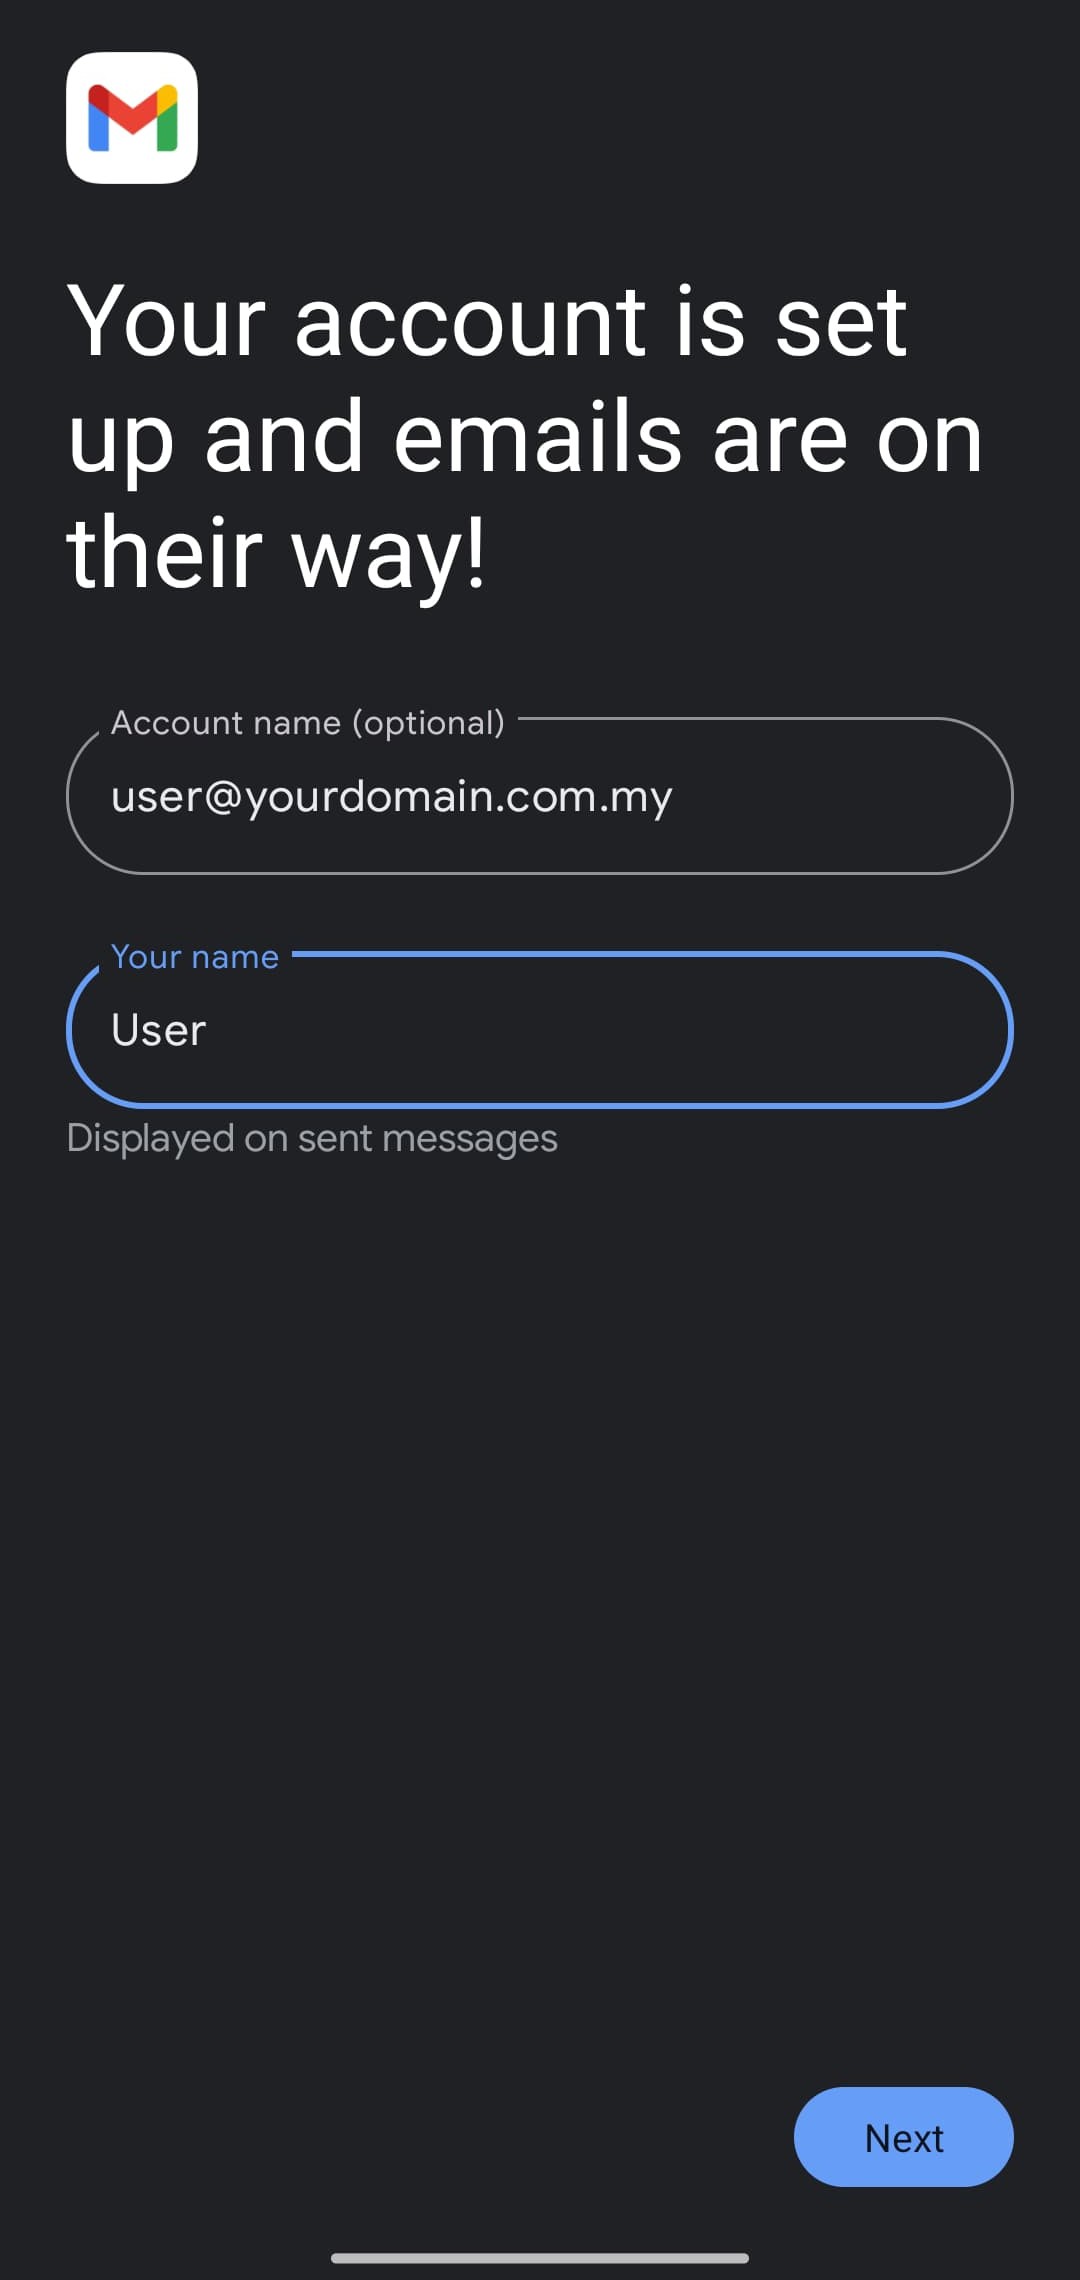
- Give your account a name and enter your display name.
- Tap Done.
Conclusion
You’ve successfully added your SmarterMail email address to the Gmail app on your Android device. Your emails should now sync, and you can send and receive messages directly from Gmail.
If you face any issues, please contact support@ipserverone.com.
Article posted on 6 May 2025 by s.clem.