Search Our Database
How to Install a PHP Plugin in WHM (cPanel)
Introduction
This knowledge base guide is designed to help system administrators and website owners seamlessly install PHP plugins in WHM (cPanel). PHP plugins are essential for extending the functionality of your websites, and installing them correctly ensures your web applications run efficiently and securely. Whether you’re looking to add new features or enhance the performance of your PHP applications, this guide will walk you through the process step-by-step.
Prerequisites
- Access to the WHM (WebHost Manager) with root access.
- The PHP version for which the plugin is intended is installed and active on your server.
- Basic understanding of WHM and cPanel operations.
- Backup of your website and database, to prevent data loss in case of any mishaps during the installation process.
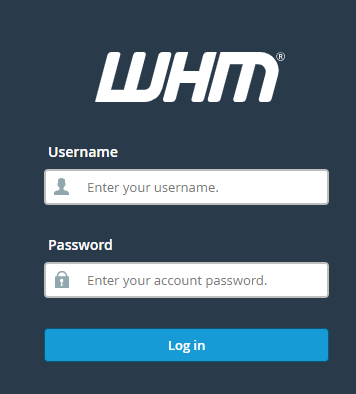
1. Login into your WHM by using https://<ip-address>:2087 or https://<domain-name>:2087
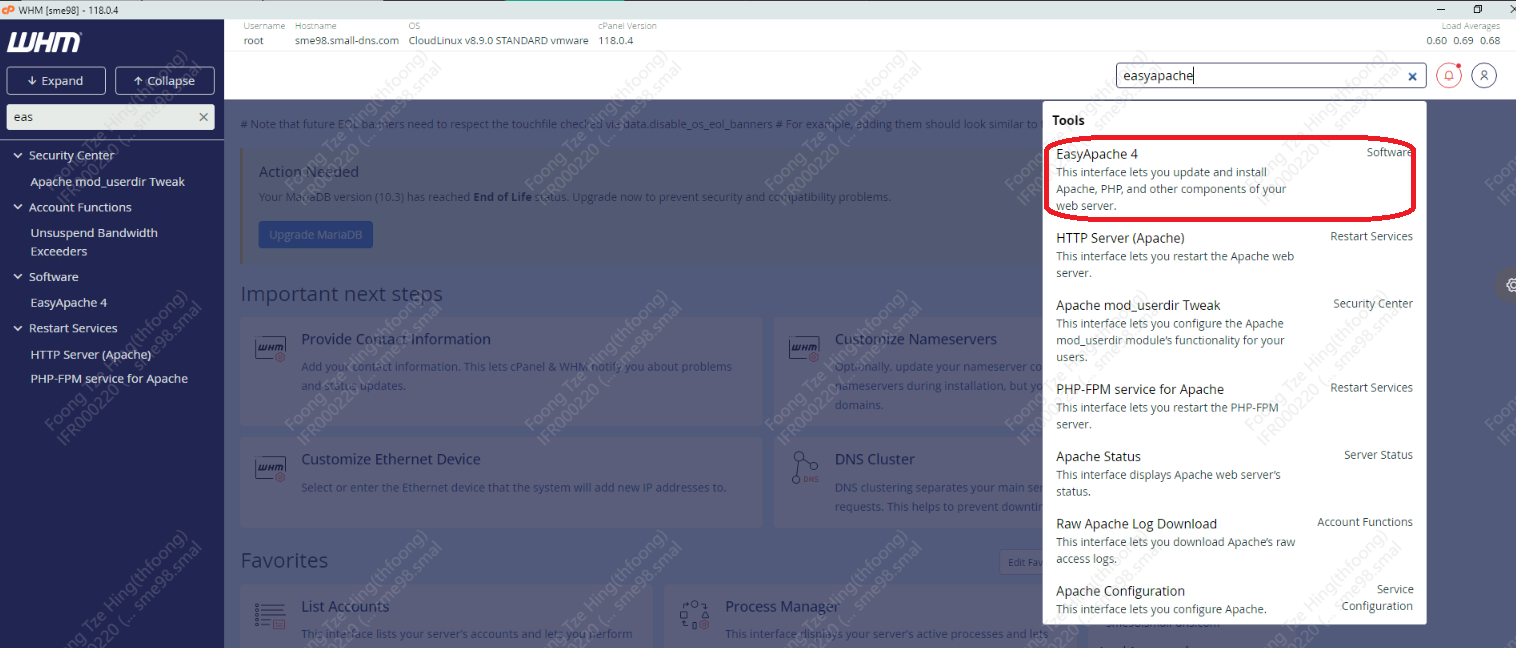
2. In the search bar, search EasyApache 4 and click on it.
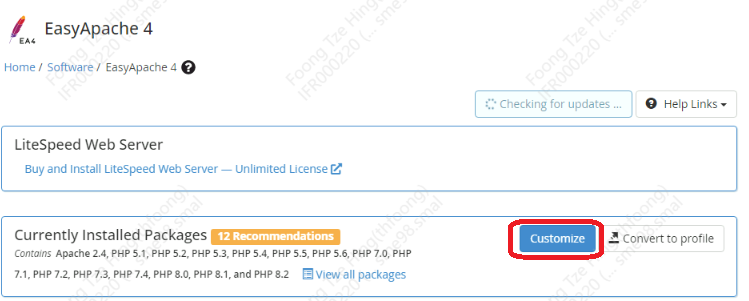
3. Click Customize to customize your current package.
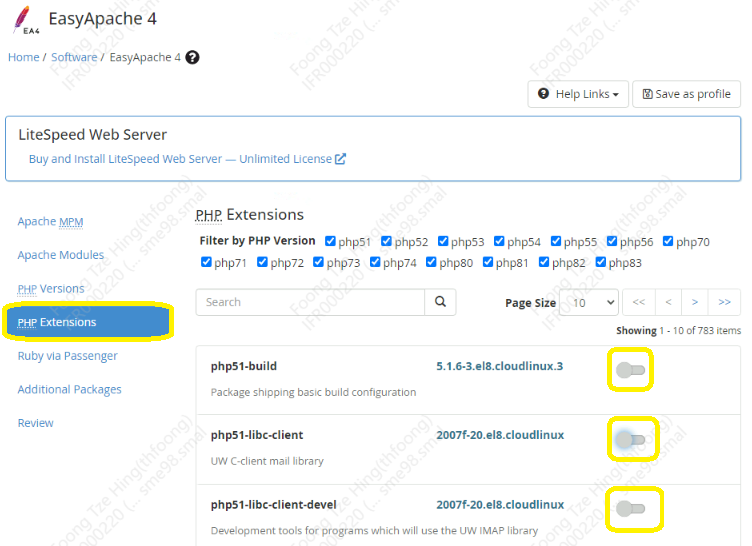
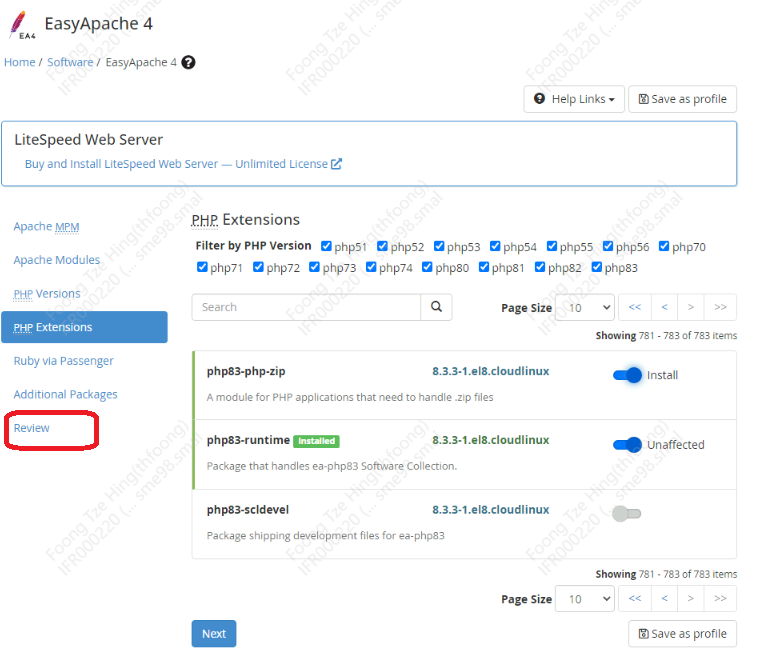
4. Click PHP Extensions, and choose the extension you wish to install.
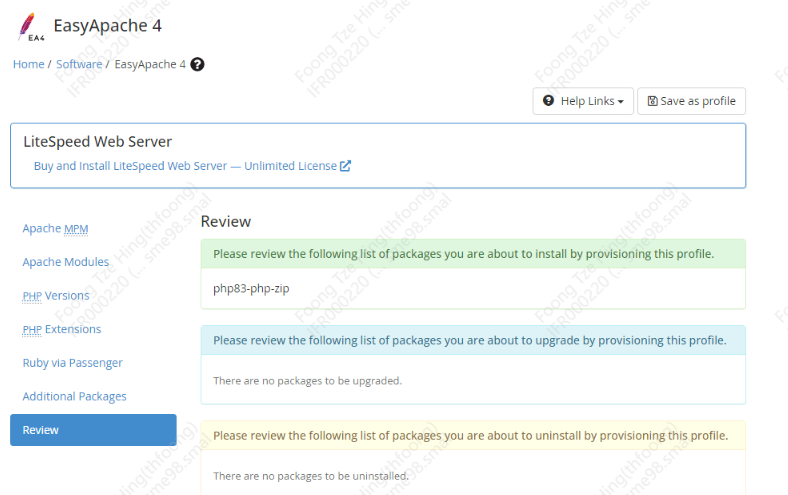
5. After choosing the extensions, click Review.
6. Review all the settings. After that, scroll down and click Provision.
Conclusion
Installing a PHP plugin in WHM (cPanel) is a straightforward process that significantly enhances the functionality and performance of your web applications. By following the steps outlined in this guide, you can ensure that your PHP plugins are installed correctly and securely. Remember to back up your data before beginning the installation process and verify the installation upon completion.
For additional assistance or if you encounter any issues, please contact our support team at support@ipserverone.com.