Search Our Database
How to Install a New PHP Version in WHM (cPanel)
Introduction
This knowledge base will help you install a new PHP version in WHM (cPanel). Keeping your PHP version up to date is important for keeping your website secure, fast and compatible and with the latest software. With WHM’s EasyApache4 Tools, updating PHP is quick and easy – even if you’re not an IT Expert.
Prerequisites
- Login credentials with root privileges to the WHM.
- Ensure you have a backup of your server or website. While updating PHP is generally safe, having a backup is a wise precaution.
- Familiarize yourself with EasyApache 4 in WHM, as it’s the tool you’ll use for this process.
Step-by-step guide
Step 1: Login to the WHM
- Open your browser and navigate to the WHM login page. You may as well use this link: https://your-server-ip:2087
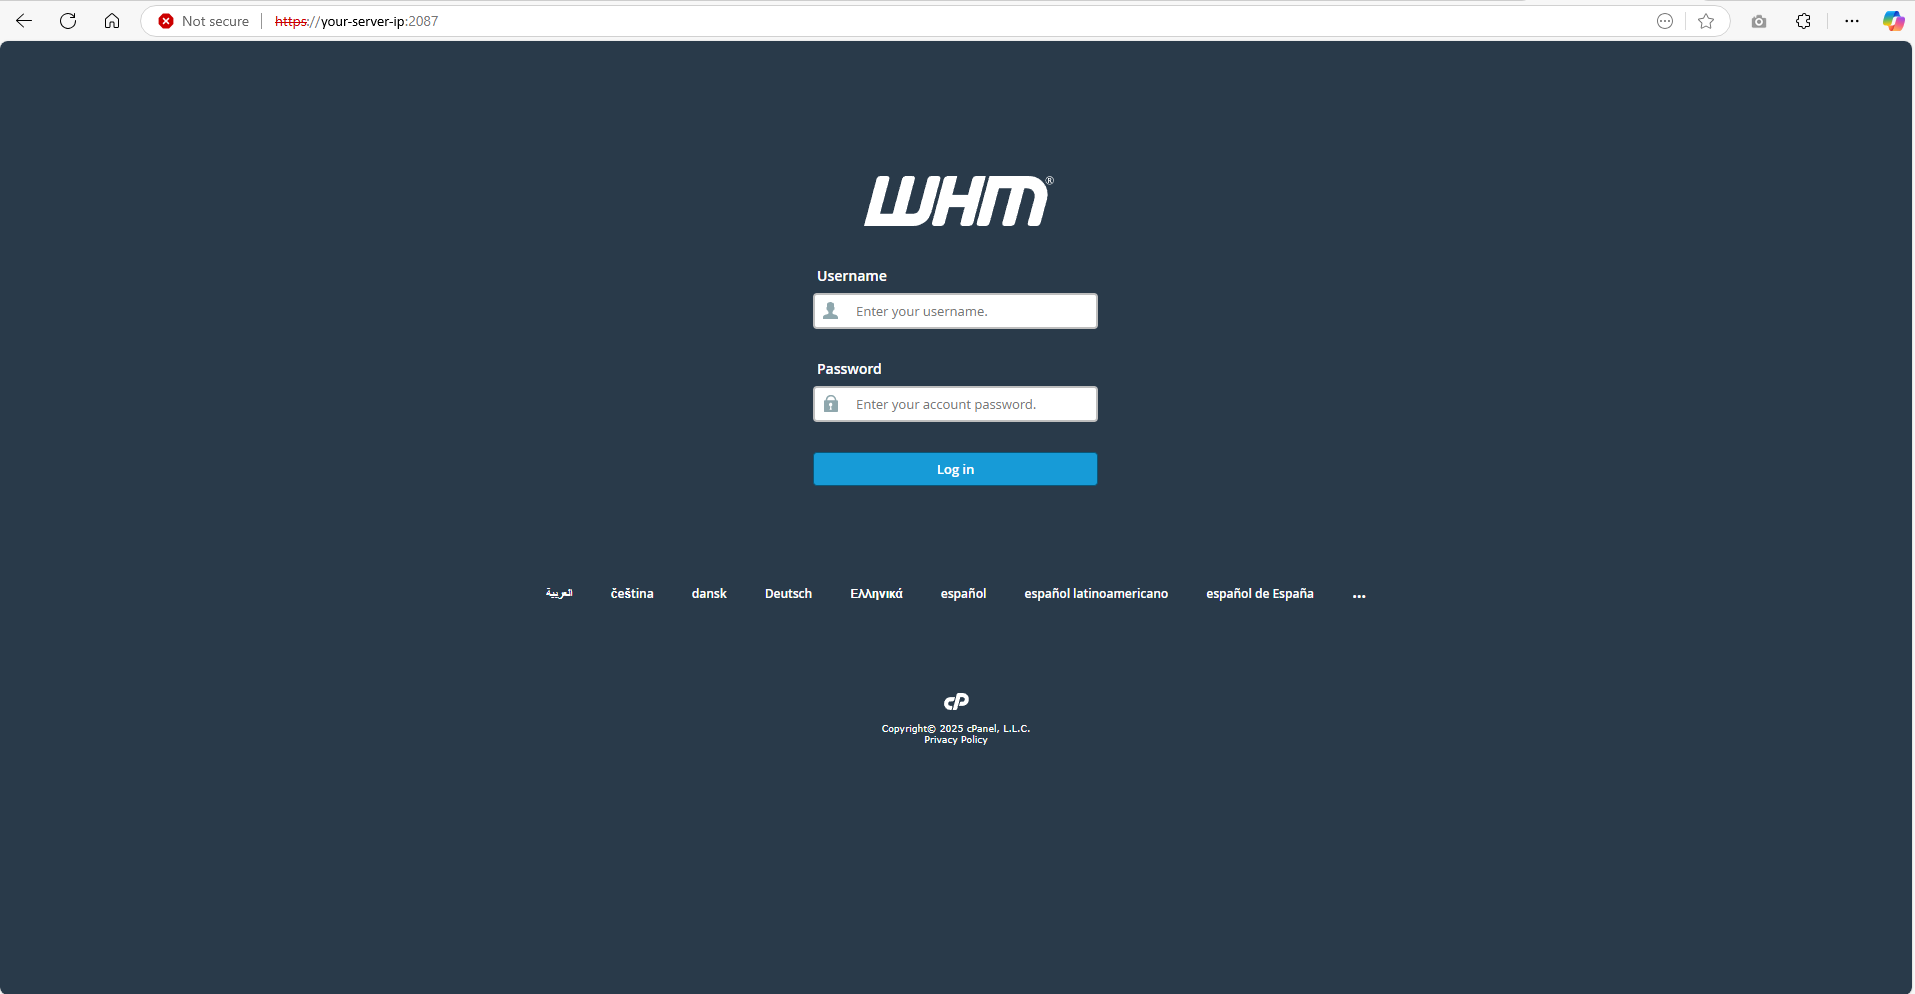
- Login to the WHM using your credentials
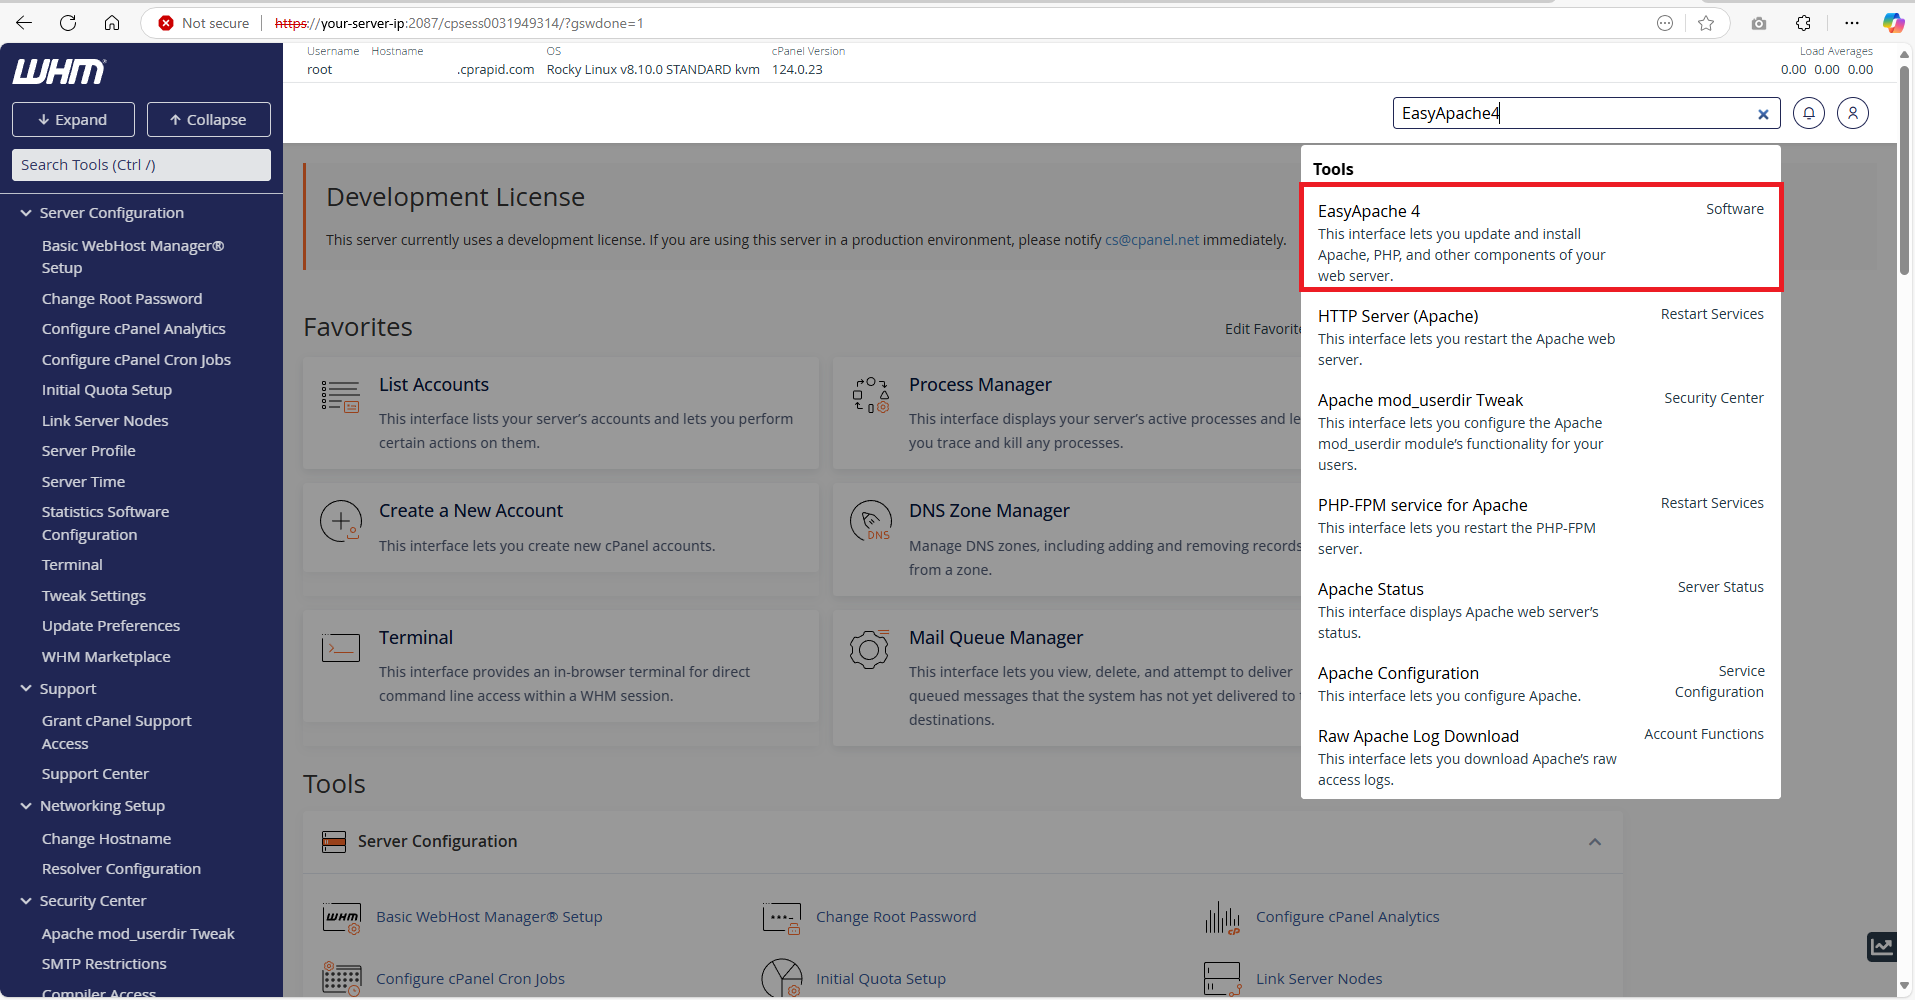
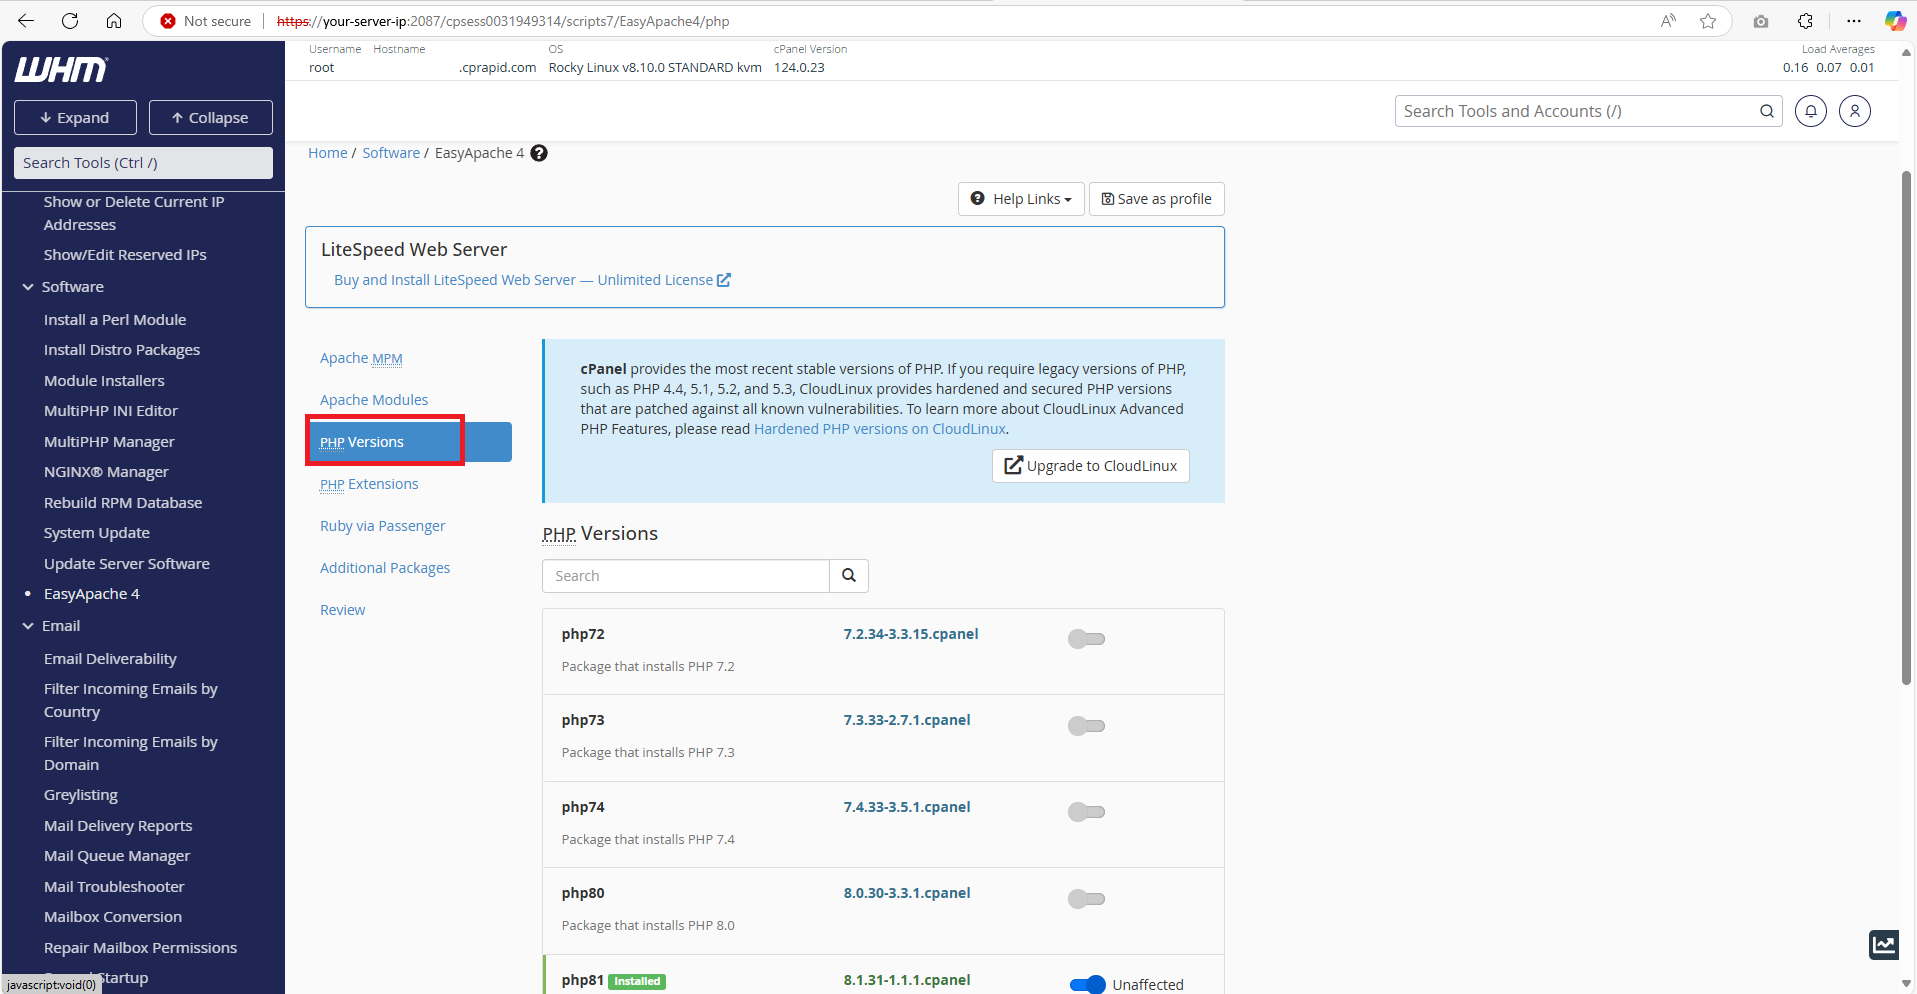
Step 2: Access to EasyApache4
- Once you have logged in to the WHM, navigate to the search bar on the right top corner.
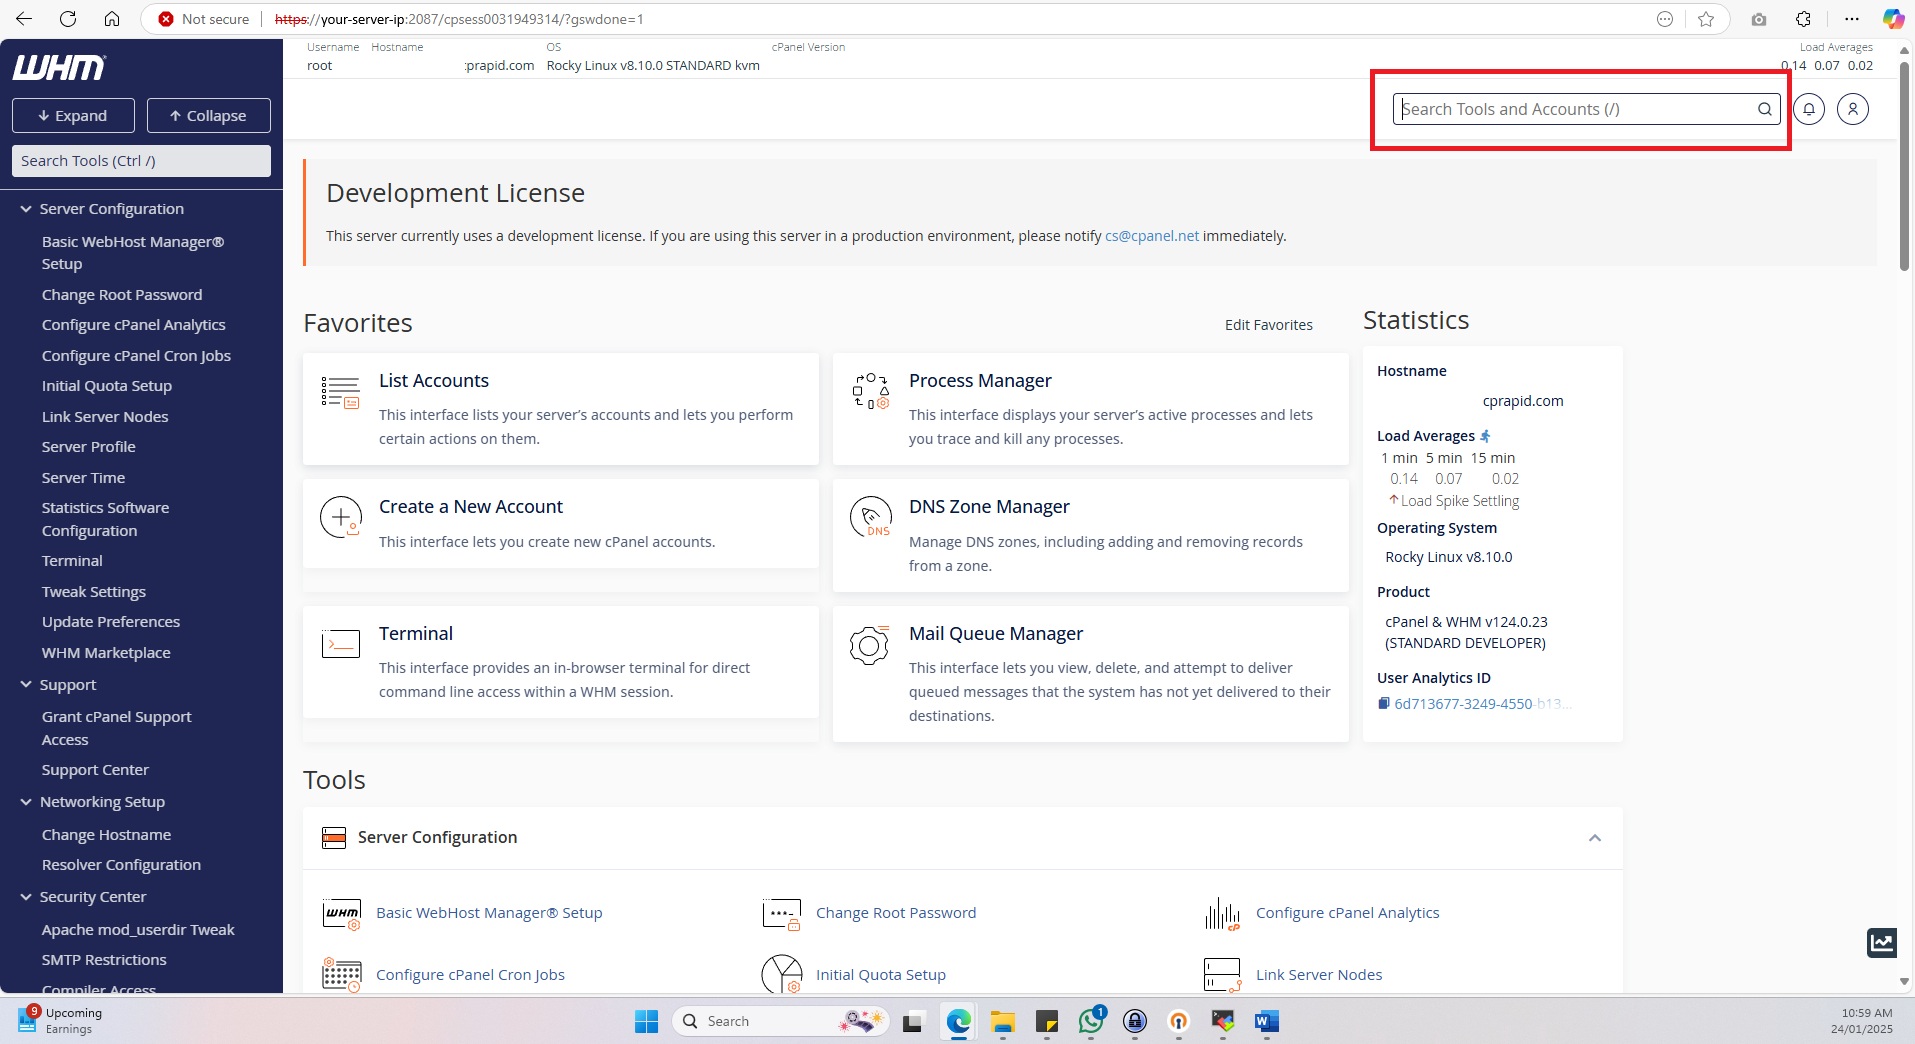
- Search for EasyApache4 and click on it.
Step 3: Customize your profile
- In EasyApache4, navigate on the Currently Installed Packages. This package ensures that the configuration start with your server’s existing setup. Then, click on Customize.
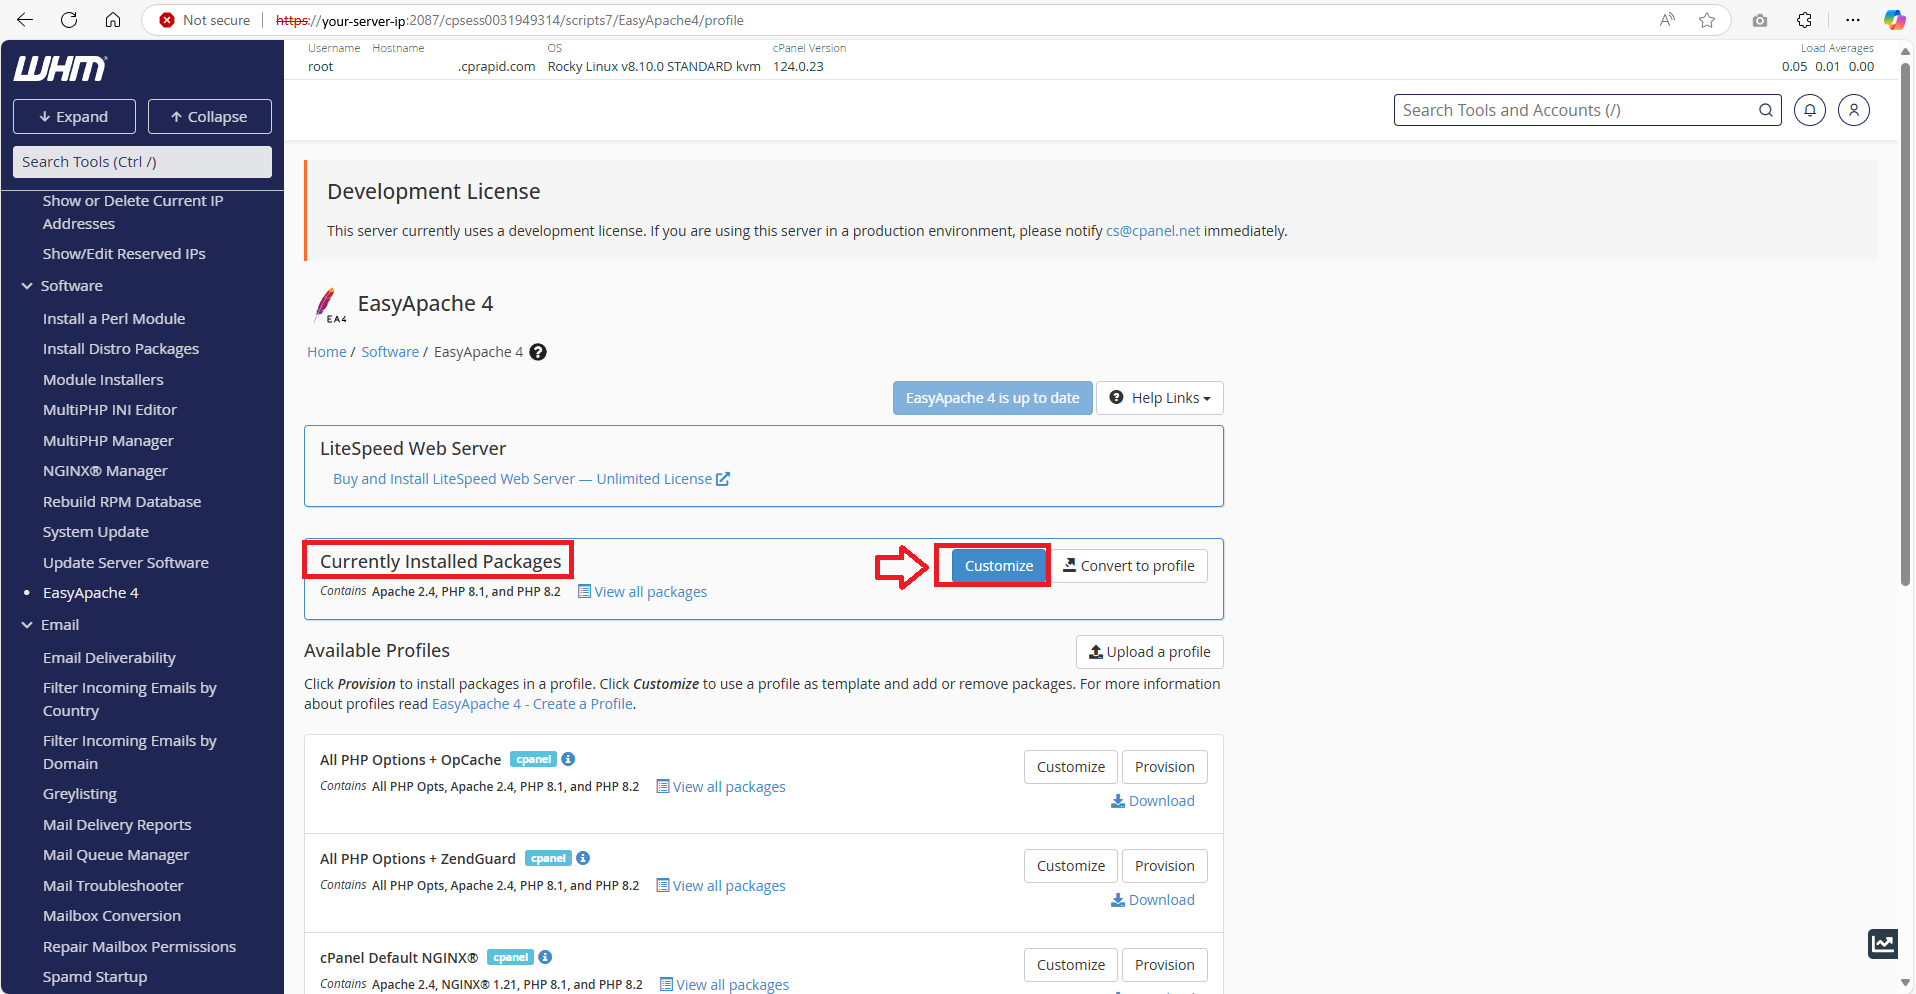
- Navigate to PHP Version tab, and click on it, and it will show the list of PHP version available.
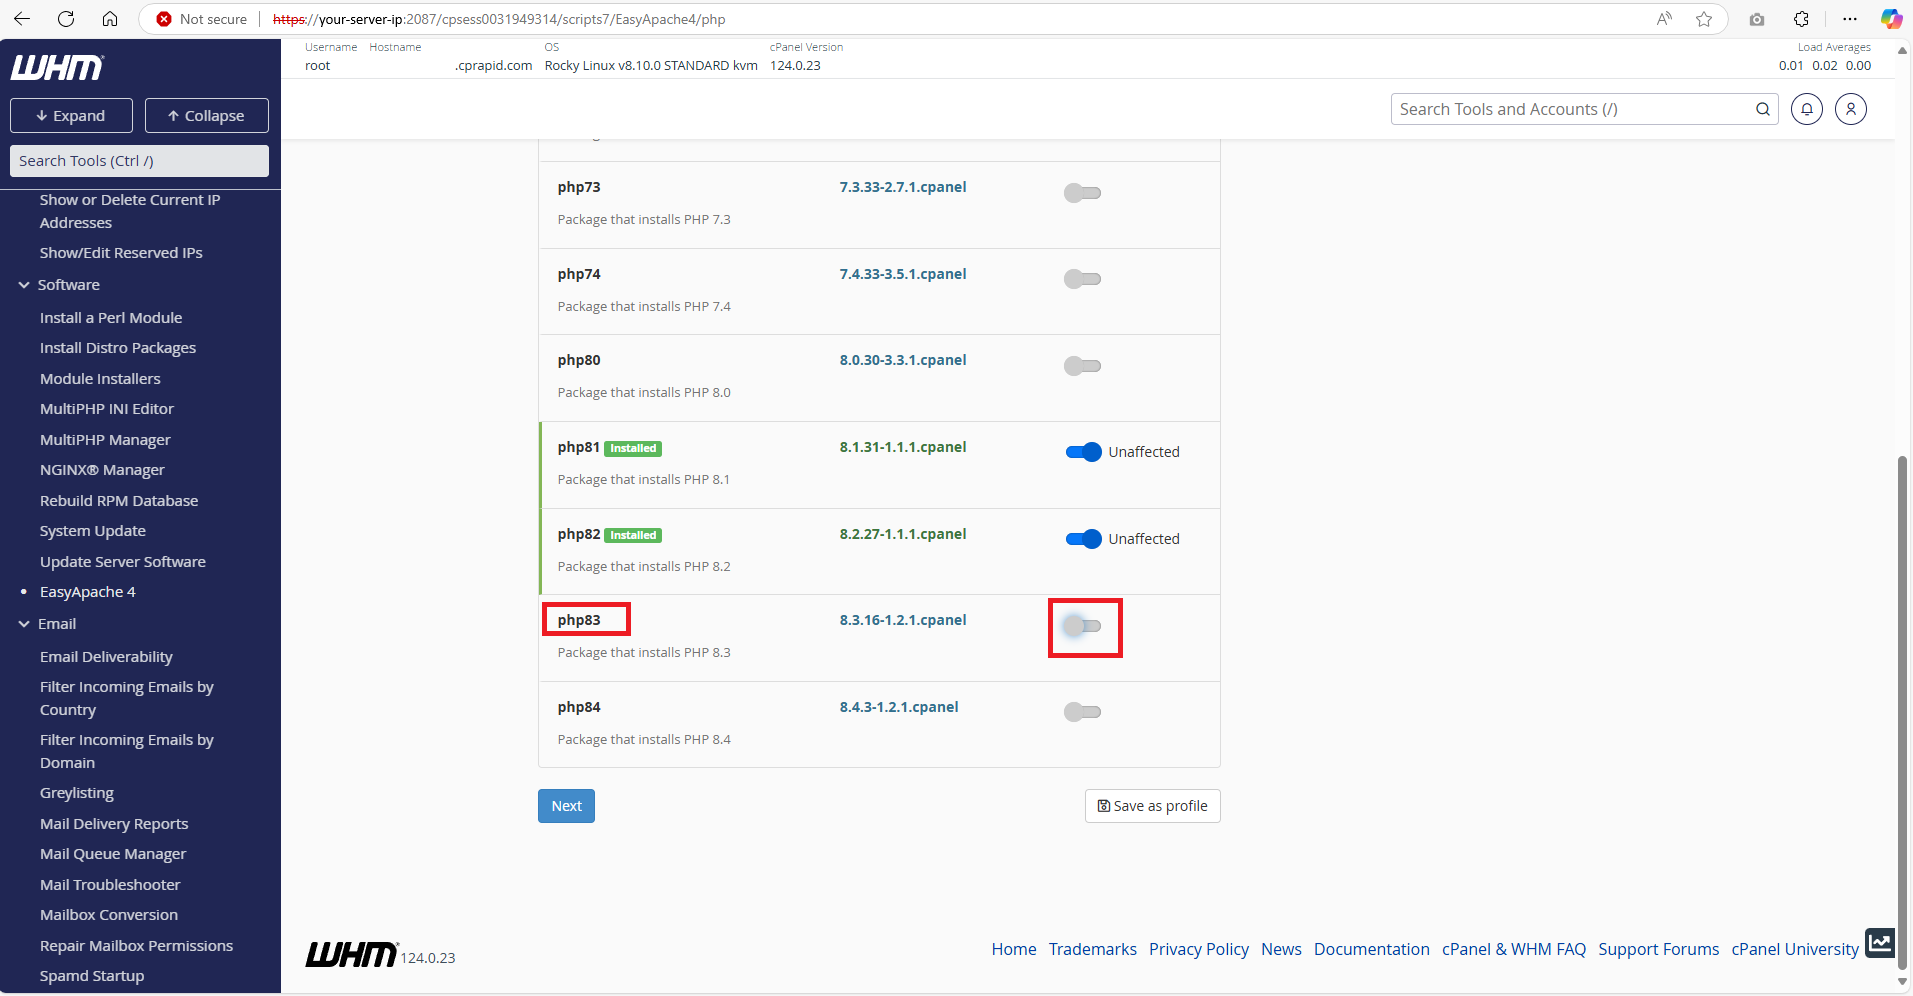
Step 4: Select for the PHP version
- Look for the PHP version you want to install (in this case, we will be installing the PHP 8.3)
- Toggle the switch next to the PHP version to enable it.
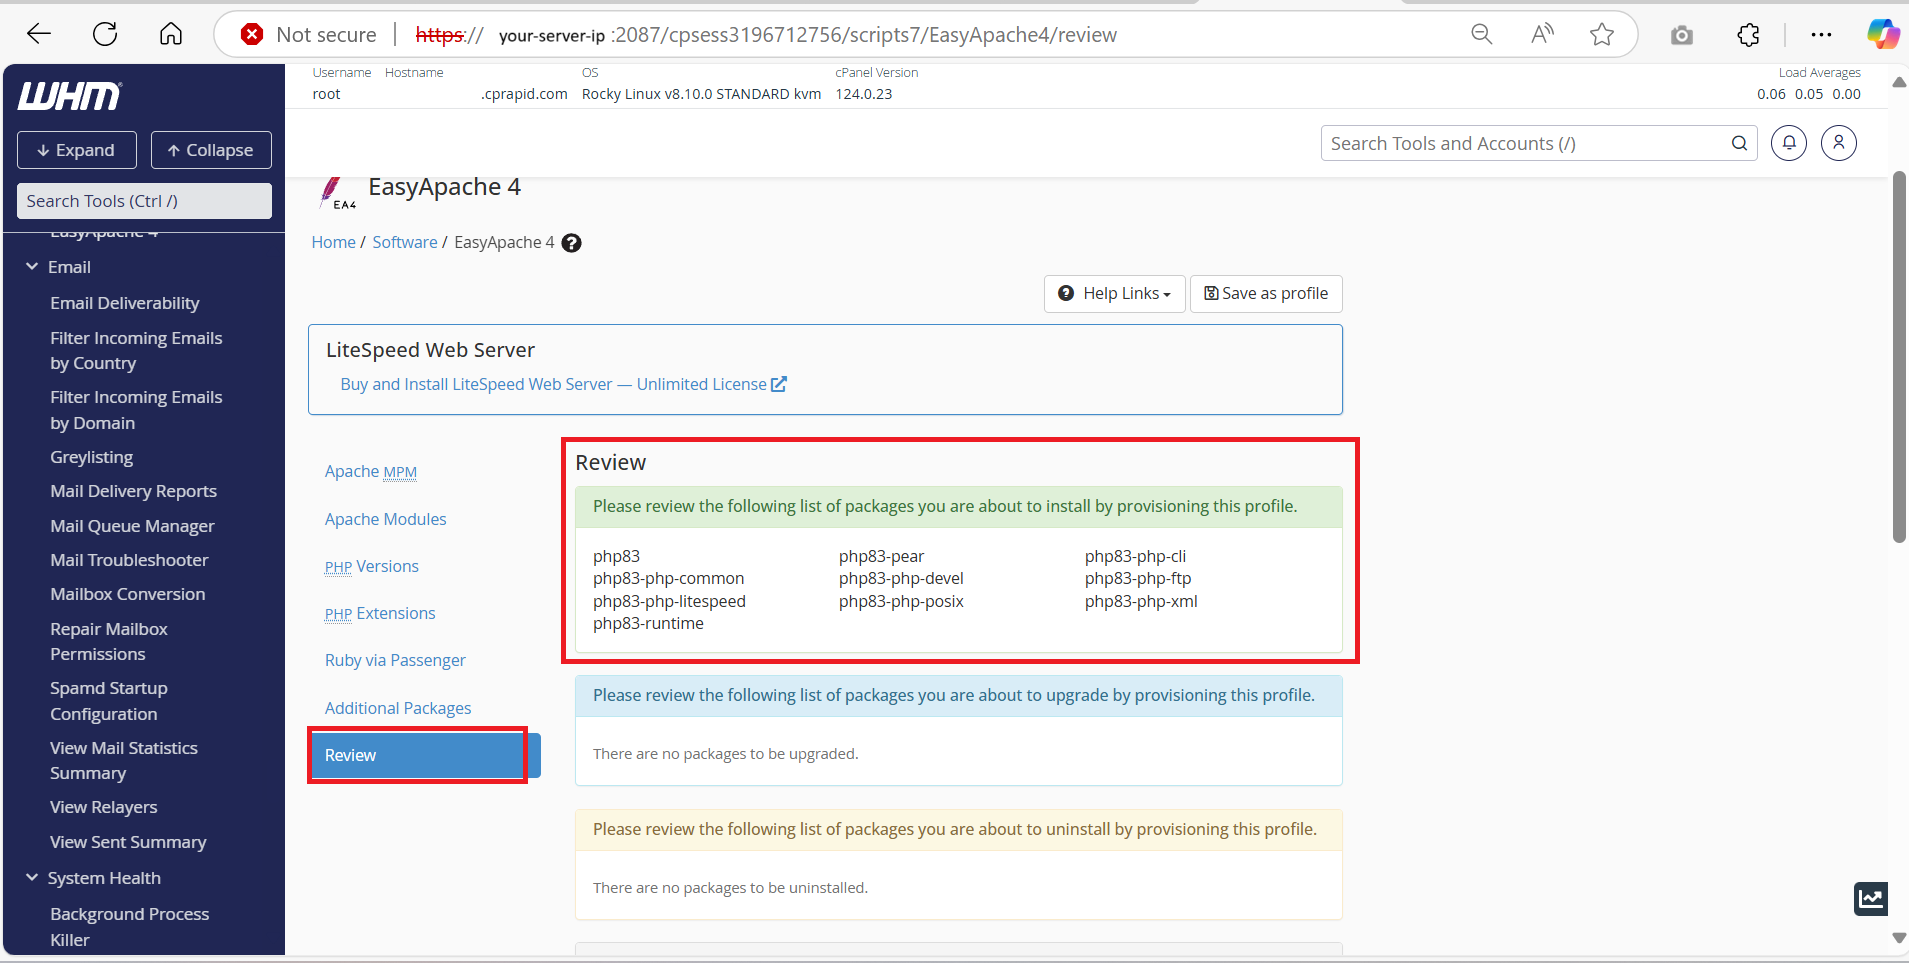
Step 5: Review and Provision
- Once you have selected the desired PHP version, WHM gives you the option to install the PHP 8.3 and extension or PHP 8.3 only.
- Here is what option means:
- PHP 8.3 and Extensions: This option installs PHP 8.3 along with a set of common extensions that are frequently used by websites and applications. This is recommended for the most users if you’re unsure about which extensions your applications might need, it’s safer to choose this option. It covers most use cases and ensures compatibility with common software.
- PHP 8.3 only:
- This option installs only the core PHP 8.3 without any additional extensions. This option is recommended for advanced users choose this if you want a minimal installation and plan to manually add only the specific extensions you need later.
- After that, you click on the Review button to review the configuration. On the Review box, you may also see the extension that will be installed alongside the PHP you selected.
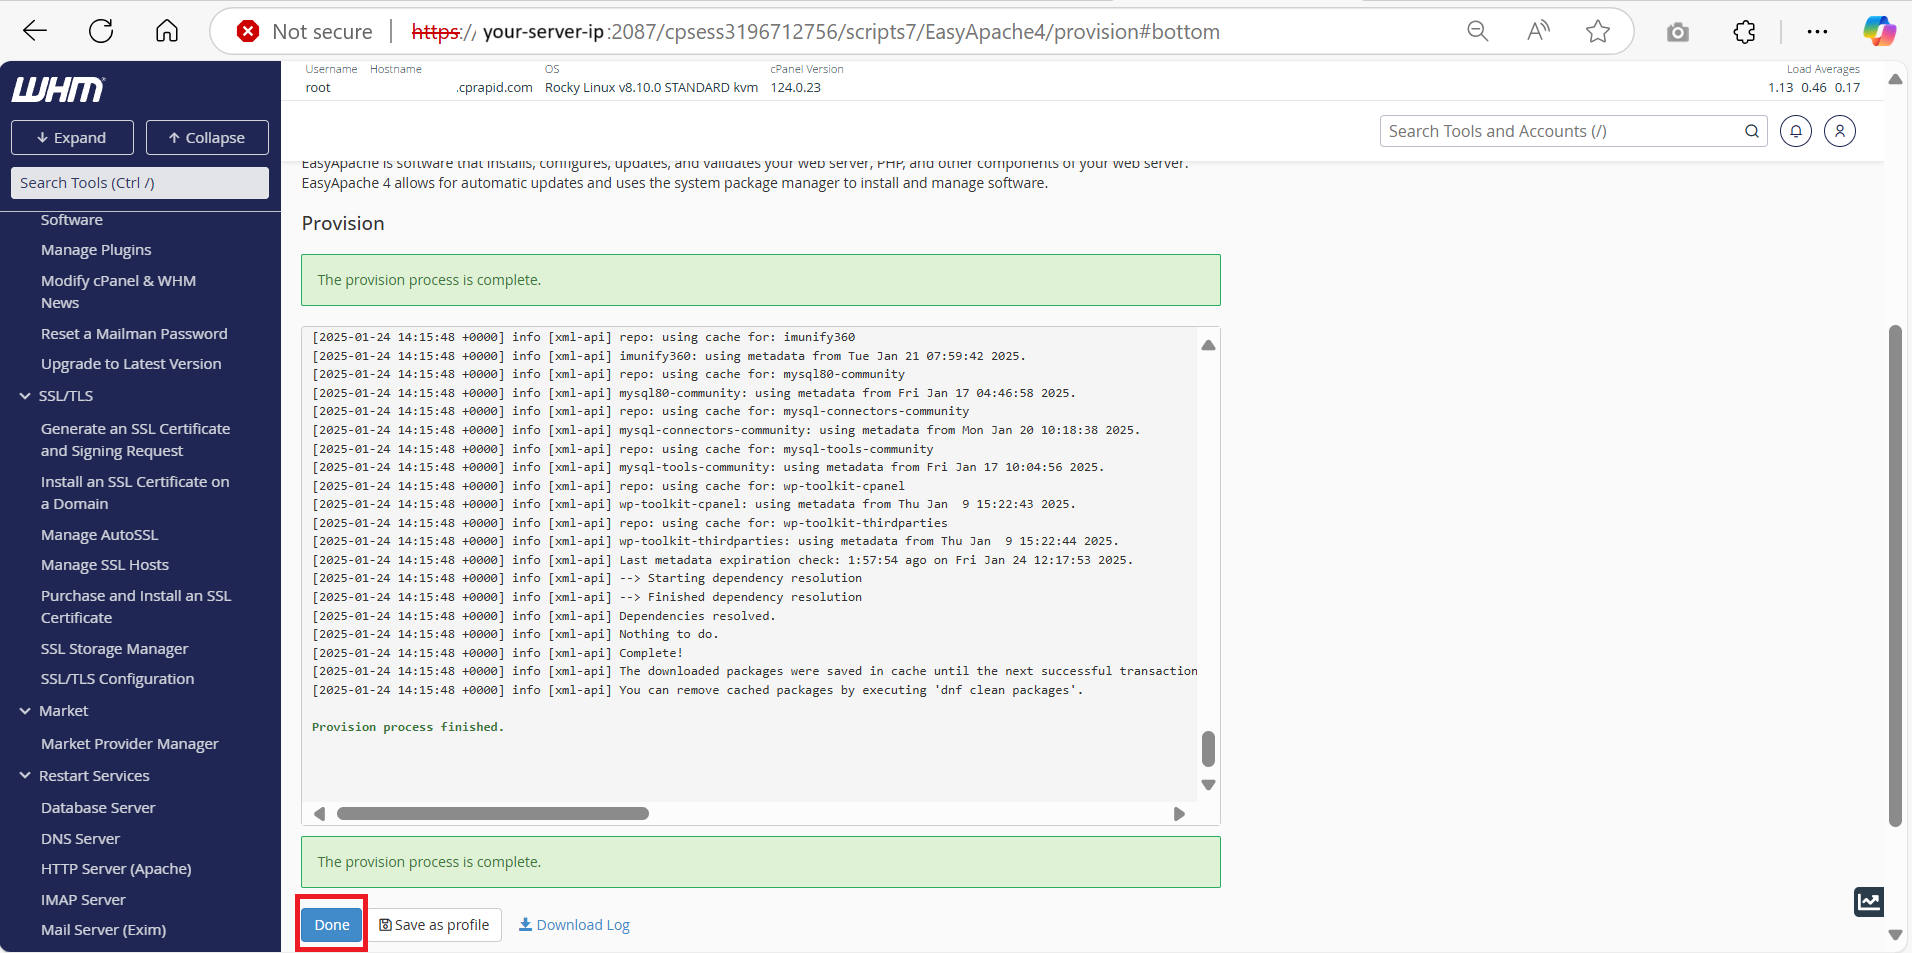
- Once you have satisfied, you may navigate the Provision button and click on it.
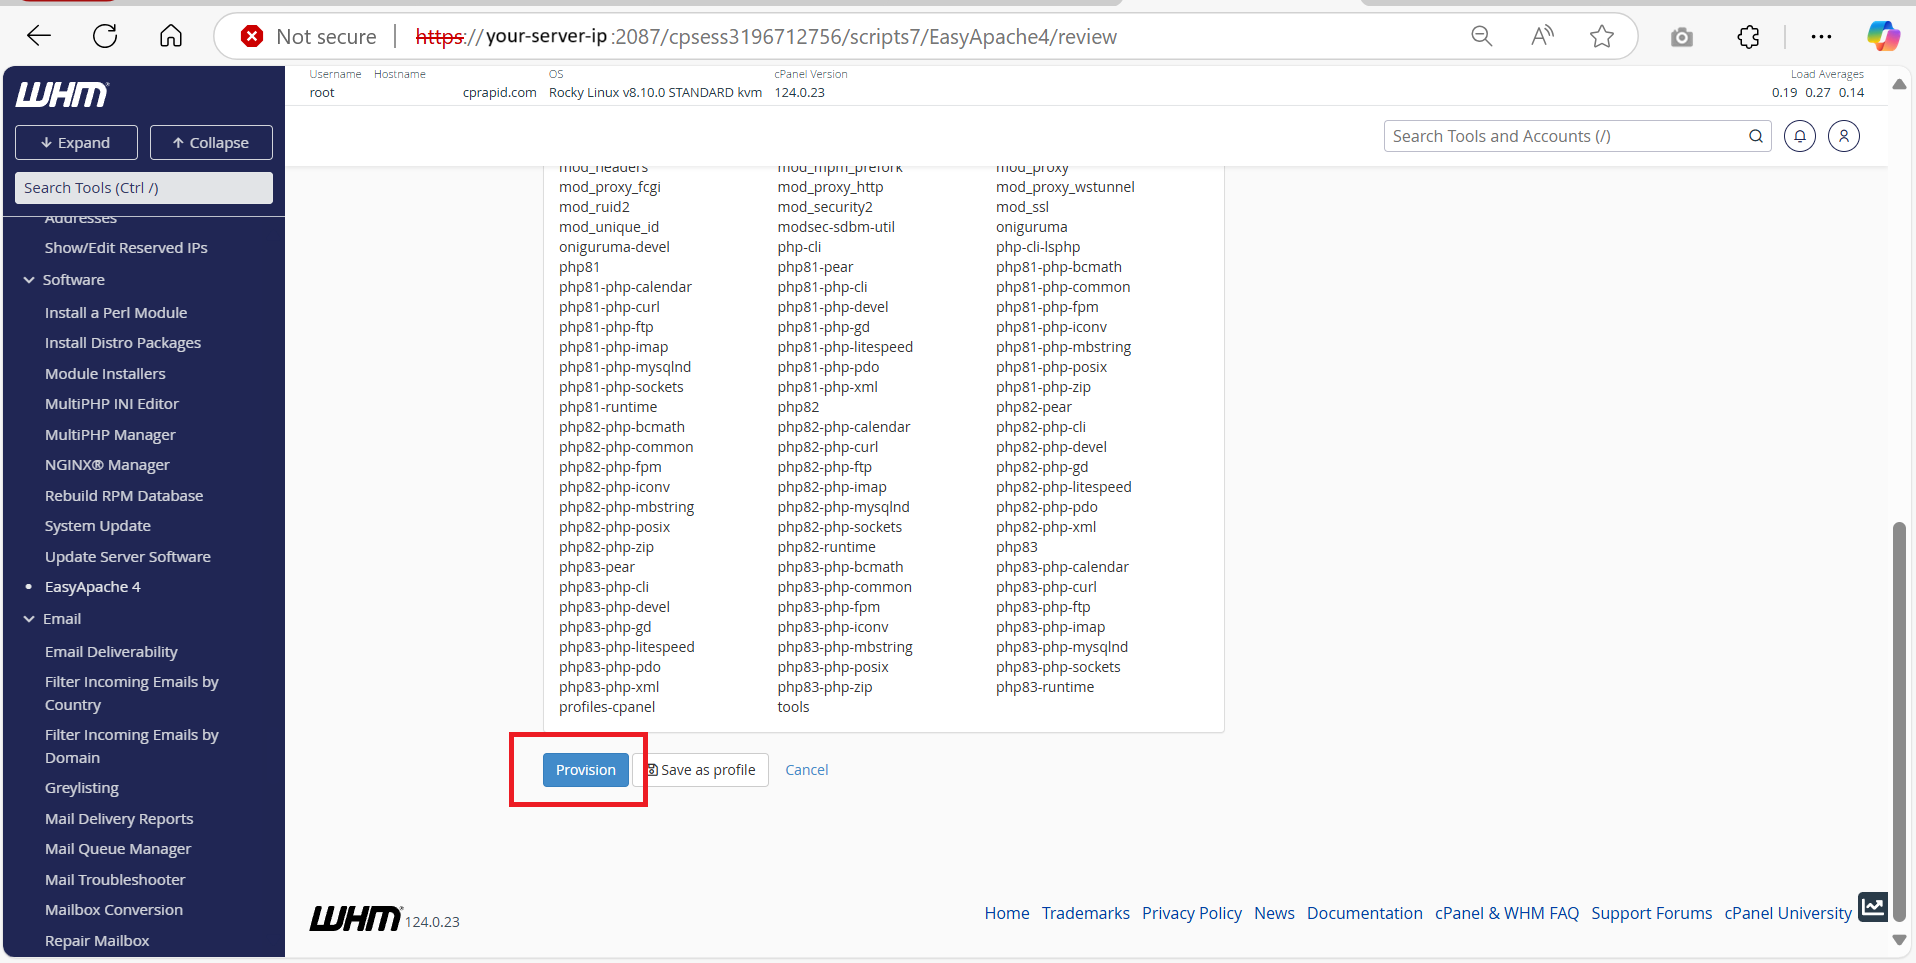
- The Provision usually will take some time, once it finished you can click Done.
- After the PHP version is installed, you can follow this guide to change your domain’s PHP version: https://www.ipserverone.info/knowledge-base/change-the-php-version-for-the-cpanel/
Conclusion
You have successfully installed a new PHP version in WHM using EasyApache 4. This process allows you to keep your server and websites secure and efficient by utilizing the latest PHP features and improvements. Regularly check for PHP version updates to ensure optimal performance and security.
For additional assistance or if you encounter any issues, please contact our support team at support@ipserverone.com.