Search Our Database
How to flush DNS cache on macOS
Introduction
Flushing the DNS cache on macOS can help resolve domain name resolution issues, such as when websites fail to load correctly or when DNS records have changed but your system is still using outdated information. This guide walks you through the steps required to clear the DNS cache on various versions of macOS.
Prerequisites
- A Mac computer running macOS
- Administrator access
- Terminal access
Step-by-Step Guide
Step 1: Open the Terminal
- Click on Launchpad or press Command + Space to open Spotlight Search.
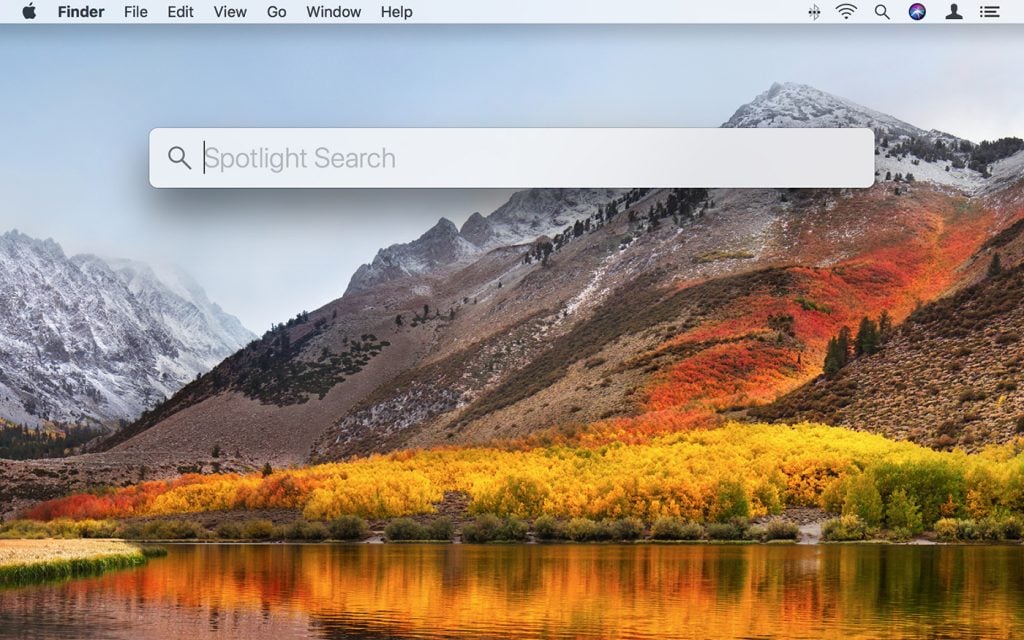
- Type Terminal and press Enter.
Step 2: Run the DNS Flush Command
Depending on your macOS version, the command to flush the DNS cache varies slightly.
Use the appropriate command below:
sudo dscacheutil -flushcache; sudo killall -HUP mDNSResponder
Step 3: Enter Your Password
After running the command, you will be prompted to enter your administrator password. Type it in and press Enter.
(Note: The password will not be visible as you type.)
Step 4: (Optional) Confirm the Flush Was Successful
While macOS does not display a confirmation message, you can try revisiting a website to test DNS resolution.
Conclusion
Flushing the DNS cache on macOS is a quick and effective way to resolve many name resolution problems. If the issue persists after clearing the cache, consider checking your network settings or contacting your DNS provider.
For further assistance, please contact our support team at support@ipserverone.com.
Article posted on 25 September 2025