Search Our Database
How to create a Mailing List in SmarterMail
Introduction
This guide provides detailed instructions on creating a mailing list in SmarterMail, a useful feature for distributing information to specific groups within an organization. Mailing lists can streamline communication for both small teams and large organizations by enabling administrators to send updates and announcements efficiently.
Prerequisites
- Domain administrator access in SmarterMail.
- Basic understanding of SmarterMail’s user interface.
- Mailing list functionality enabled in the domain settings.
Step-by-Step Guide
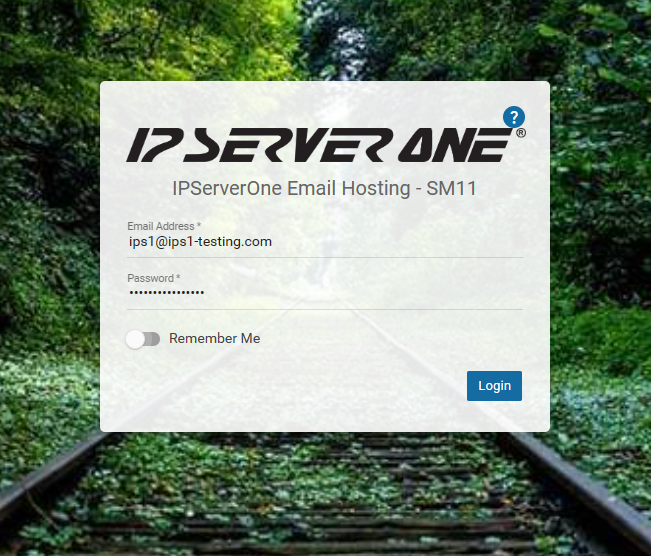
Step 1: Log in to SmarterMail as the Domain Administrator
- Access SmarterMail using an account with domain administrator privileges.
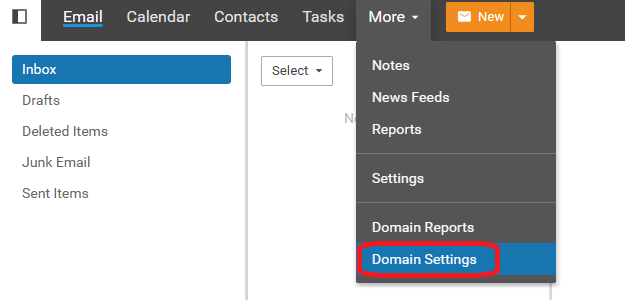
Step 2: Navigate to Domain Settings
- Once logged in, select More in the main menu, and then click Domain Settings.
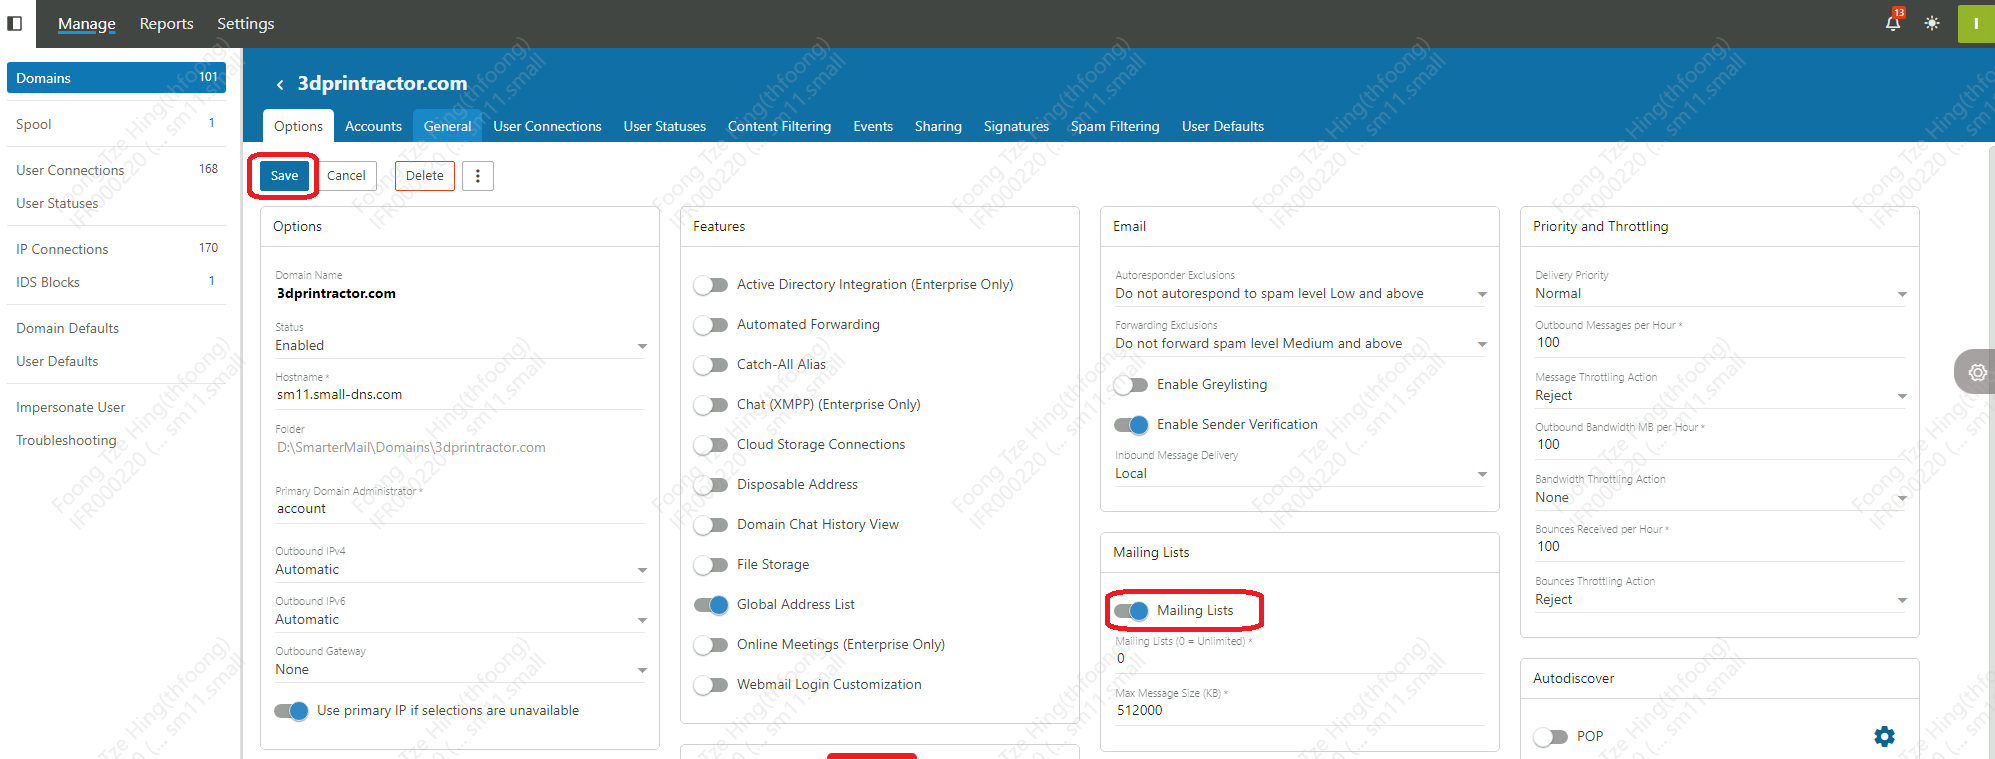
Step 3: Open Mailing Lists
- Under Domain Settings, select Mailing Lists.

Important Note: If Mailing Lists does not appear, the feature may not be enabled for your domain. Contact your server administrator to activate it. If using IPSERVERONE mail hosting (e.g., on smXX servers), reach out to the support team at support@ipserverone.com to enable the mailing list function for your domain.

Tip: Administrators can enable mailing lists by logging in, selecting the domain, and activating Mailing Lists under the Options tab.
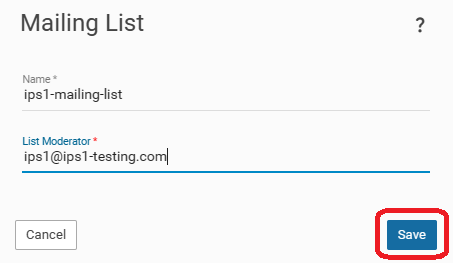
Step 4: Create a New Mailing List
- Click Create to start a new mailing list.

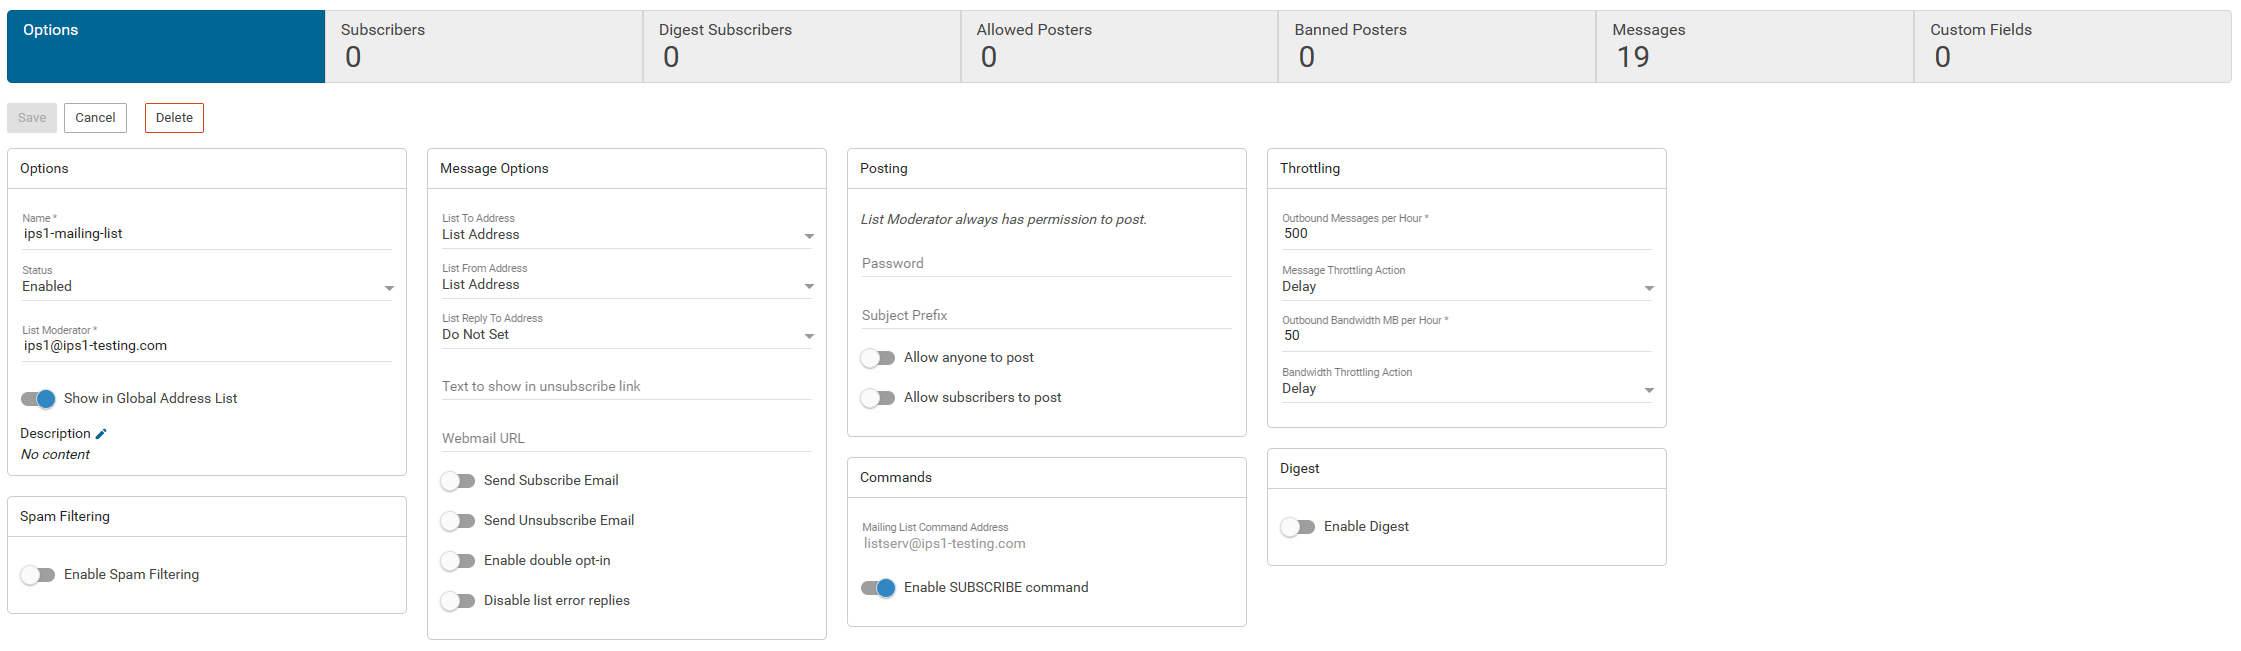
Step 5: Configure the Mailing List
- Enter the name of the mailing list and designate a list moderator. Click Save to confirm.
Step 6: Manage the Mailing List
- Once saved, you can manage the mailing list settings, including adding subscribers and setting permissions for allowed posters.
Conclusion
Following these steps, you have successfully created a mailing list in SmarterMail, enabling easier communication with group members. You can now manage the list’s subscribers and posting permissions according to your needs. For further assistance or troubleshooting, please contact the support team at support@ipserverone.com.