Search Our Database
How to change skin in DirectAdmin
Introduction
This guide provides a step-by-step process for changing your DirectAdmin control panel to the Evolution skin. In DirectAdmin, the “skin” refers to the interface’s visual appearance and layout, and switching to the Evolution skin brings a modern, streamlined look with enhanced usability. This skin is especially beneficial for users looking for a fresher and more intuitive control panel design that can improve productivity and make administrative tasks more engaging.
By following this guide, you will learn how to apply the Evolution skin to your account or to all user accounts. This change can make navigating DirectAdmin easier and more visually appealing.
Prerequisites
Before beginning, confirm the following requirements are met:
- Access to a DirectAdmin account with Reseller Level privileges. This level of access is necessary to modify the control panel’s skin.
Steps to Change Your DirectAdmin Skin to Evolution:
Step 1: Log in to DirectAdmin
- Access your DirectAdmin account and log in using your Reseller Level credentials.
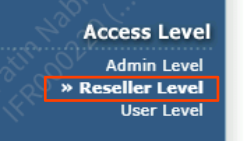
- Once logged in, ensure you are in the Reseller Level view.
Step 2: Open the Skin Manager
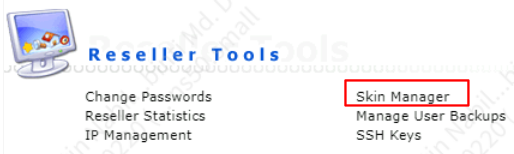
- In the left-hand menu, locate and click on Reseller Tools.
- Within this section, select Skin Manager. This page will display available skins, including the option to apply, edit, or delete them.
Step 3: Change to the Evolution Skin
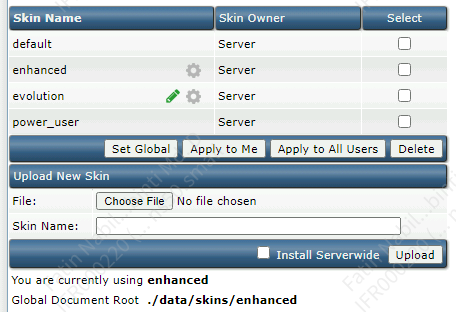
- On the Skin Manager page, locate the Evolution skin row.
- If switching from another skin, such as Enhanced, select the checkbox next to the Evolution skin.
- Choose one of the following options to apply the skin:
- Apply to Me: This option changes the skin only for your own account.
- Apply to All Users: This option applies the Evolution skin across all user accounts associated with your reseller account.
Conclusion
Upgrading to the Evolution skin in DirectAdmin is a straightforward process that significantly improves the visual appeal and functionality of your control panel. By following these steps, you can efficiently make the switch and enjoy a more modern and intuitive interface. Remember, customization options are available to further tailor the skin to your preferences. Happy administering!
Article posted on 21 September 2023 by fatin