Search Our Database
How to install Certify The Web on Windows Server
Introduction
Certify The Web is a powerful application for Windows Servers that simplifies the process of obtaining and managing free SSL/TLS certificates from Certificate Authorities like Let’s Encrypt. It automates certificate issuance, renewal, and deployment to ensure your websites are always secured with HTTPS. This guide will walk you through the steps to install and configure it on your Windows Server.
Prerequisite
- Access to a Windows Server with administrative privileges.
Step-by-step guide
Step 1: Download Certify The Web
- Access to Certify The Web website: https://certifytheweb.chttps://certifytheweb.com/om/
- Download the latest stable version of the Certify The Web installer.


Step 2: Install Certify The Web
- Locate the downloaded installer file and run it to start the installation. There aren’t any changes need to be made during the installation, you can just press on Next till the end.
- Follow the on-screen prompts to complete the installation:
- Accept the license agreement.
- Choose the installation path (the default path is usually fine).
- Click through the setup wizard to create shortcuts and proceed with the installation.
- Once the installation is complete, you can check the box to launch the application immediately.
Step 3: Initial Configuration and Requesting a Certificate
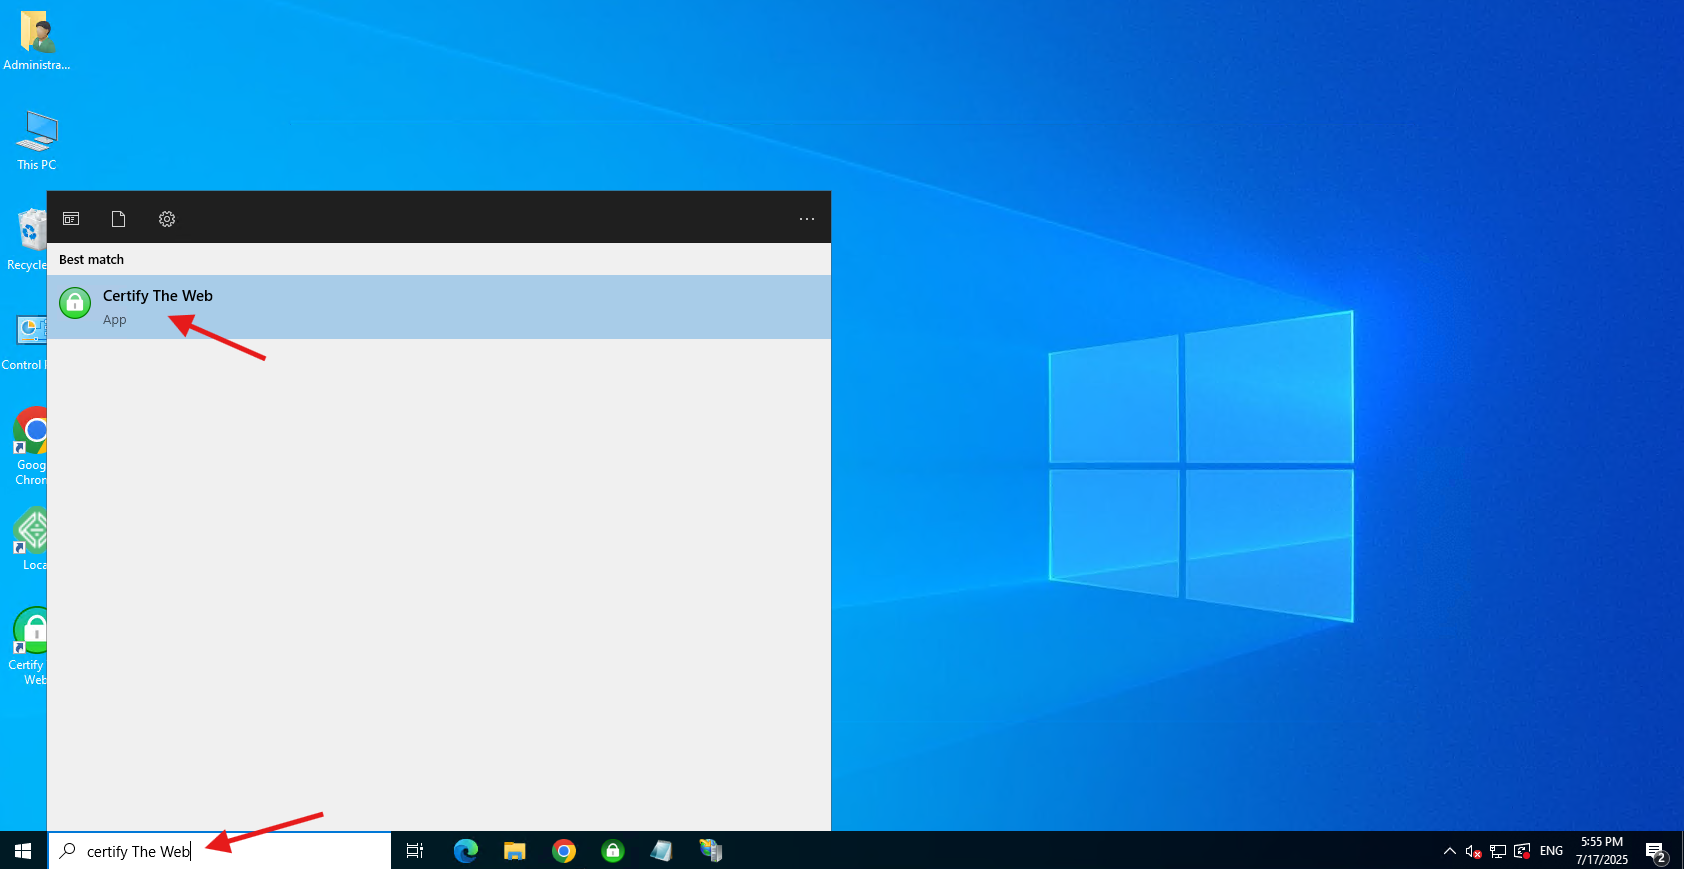
- Launch Certify The Web by find “Certify The Web” in your Start Menu and open it.

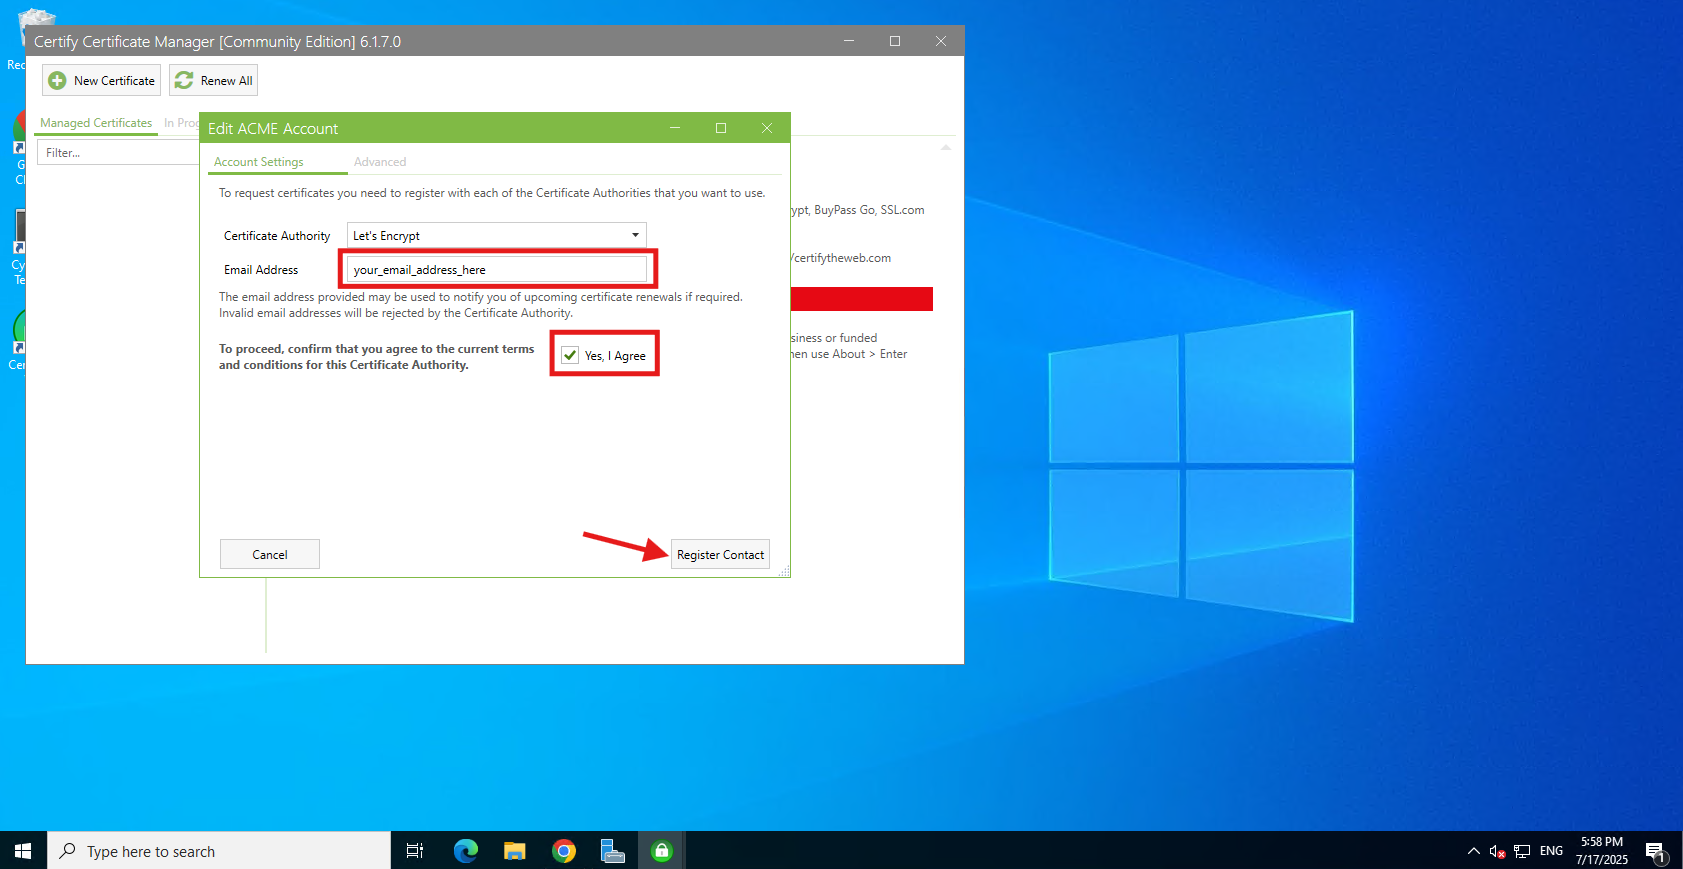
- Upon the first launch, you’ll likely be prompted to register a contact with Let’s Encrypt (or your chosen Certificate Authority).
– Enter a valid email address. This email will be used for important notifications, such as certificate expiration warnings.
– Agree to the terms of service and click Register Contact.

Conclusion
By following this guidance, you can successfully install Certify The Web on your Windows Server, obtain free SSL/TLS certificates, and automate their renewal, ensuring your websites remain secure with HTTPS.
For additional assistance or if you encounter any issues, please contact our support team at support@ipserverone.com.