Search Our Database
How to launch GPU instance from snapshot
📘 Introduction
This article guides you on how to launch a GPU Cloud Instance using a previously created snapshot via the IPServerOne Customer Portal. This is useful if you want to recover or replicate an environment with GPU computing capabilities, such as for machine learning, 3D rendering, or CUDA processing.
✅ Prerequisites
Make sure the following conditions are met before you begin:
-
A GPU snapshot already exists in your account.
-
You have sufficient cloud credits and quota for GPU instances.
🧭 Steps to Launch GPU Instance from Snapshot
Step 1: Log in to the IPServerOne Customer Portal
-
Log in with your credentials.
🔹 Step 2: Verify the existence of GPU Instances
-
Once logged in, from the left-hand menu, click NovaCloud > GPU Instances
-
You’ll see a list of your existing GPU instances

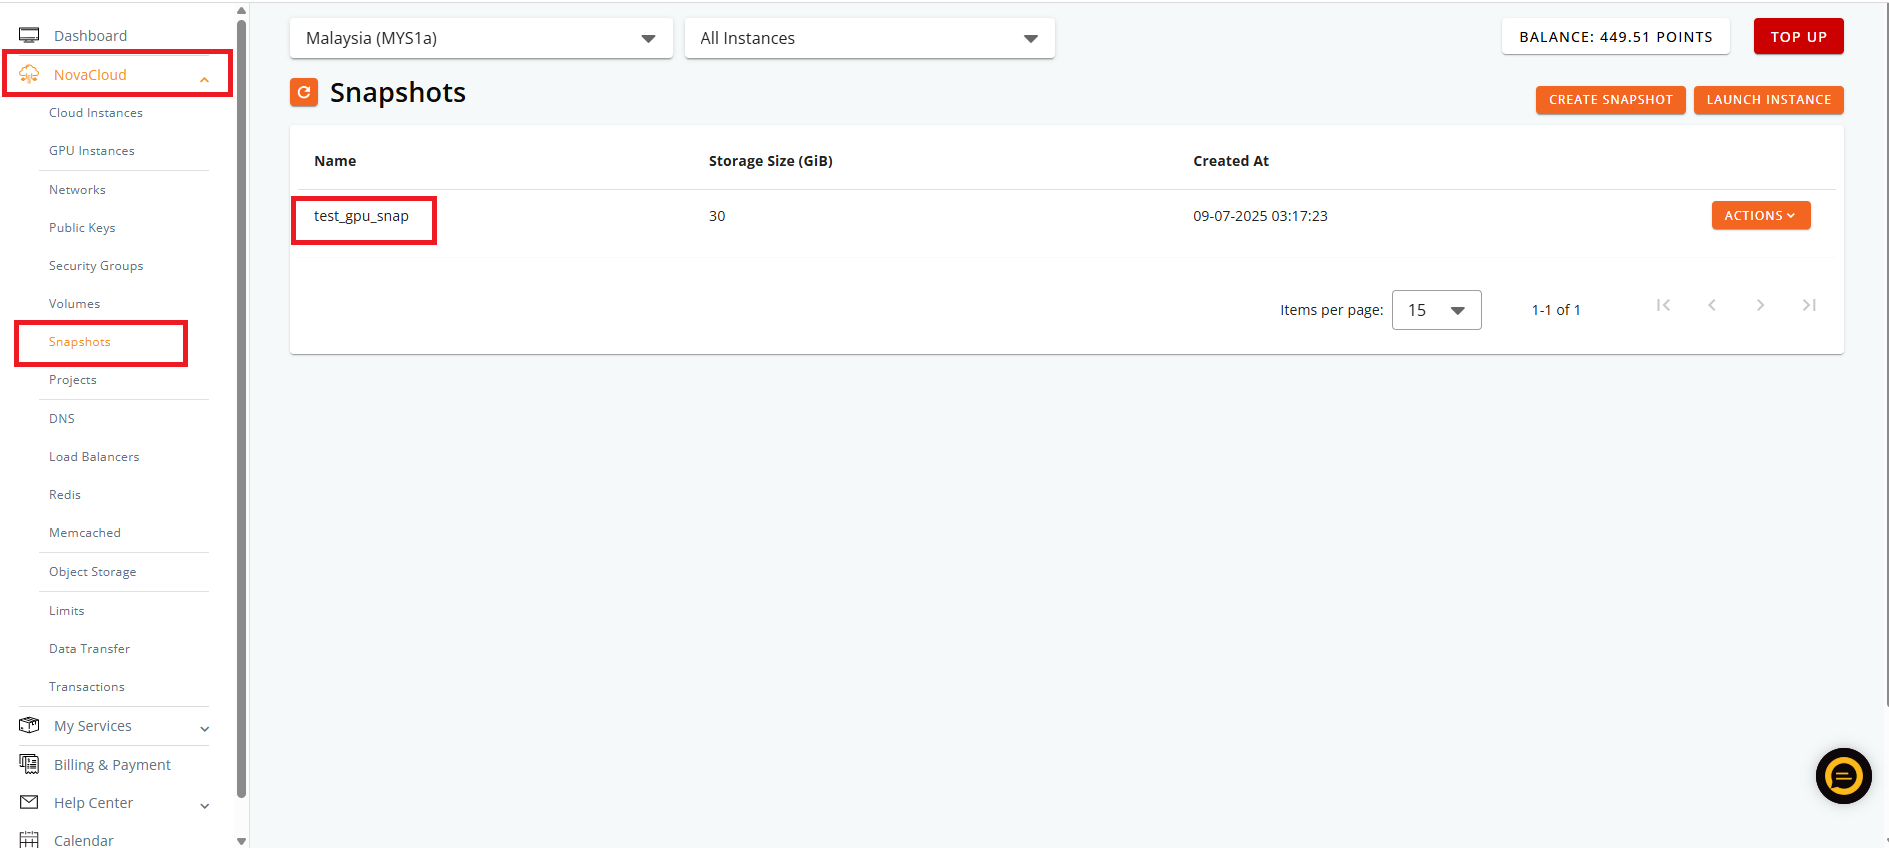
Step 3: Access the Snapshots Section
-
In the left-hand menu under NovaCloud, click on Snapshots
-
Look for the snapshot you previously created from a GPU instance which you want to use to launch the instance.
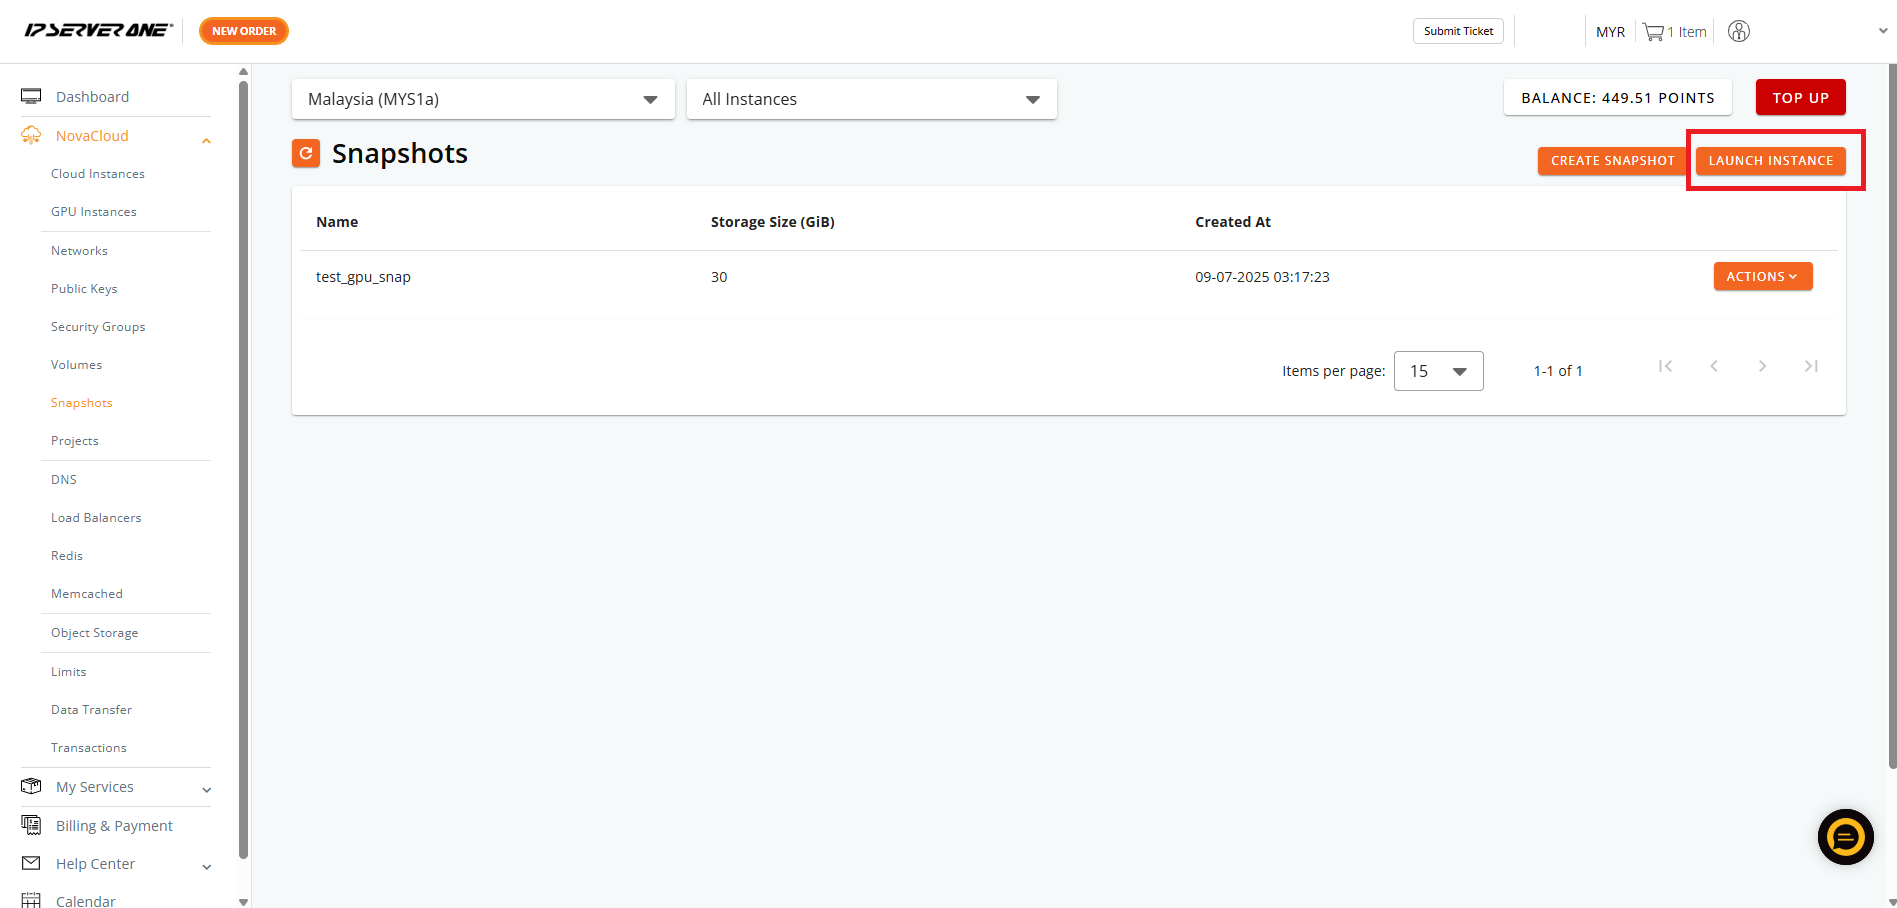
Step 4: Click “Launch Instance” and Select “Create Instance from Snapshot”
-
At the top-right corner, click the “LAUNCH INSTANCE” button
-
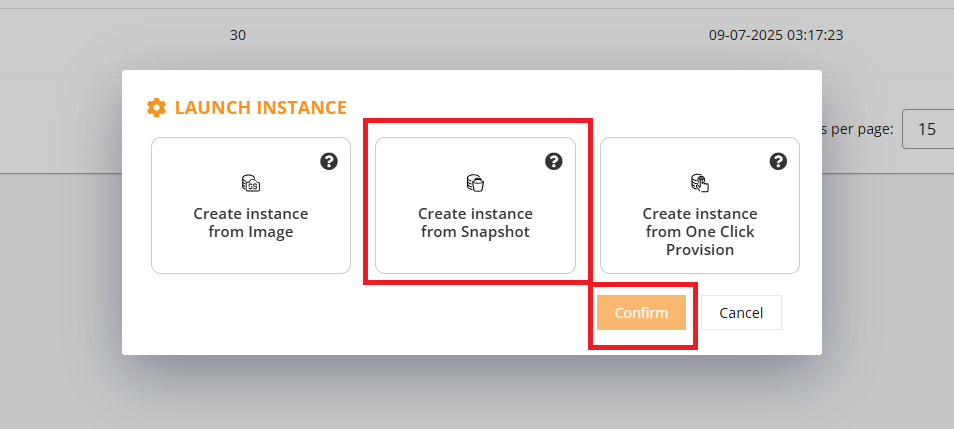
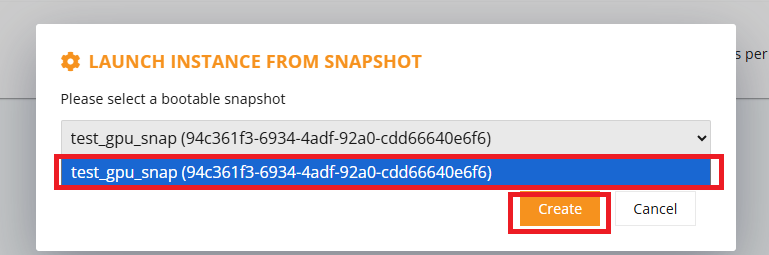
A popup will appear asking for the launch source
-
Select “Create instance from Snapshot”, then click Confirm
- Select your desired snapshot from the dropdown option and click create.
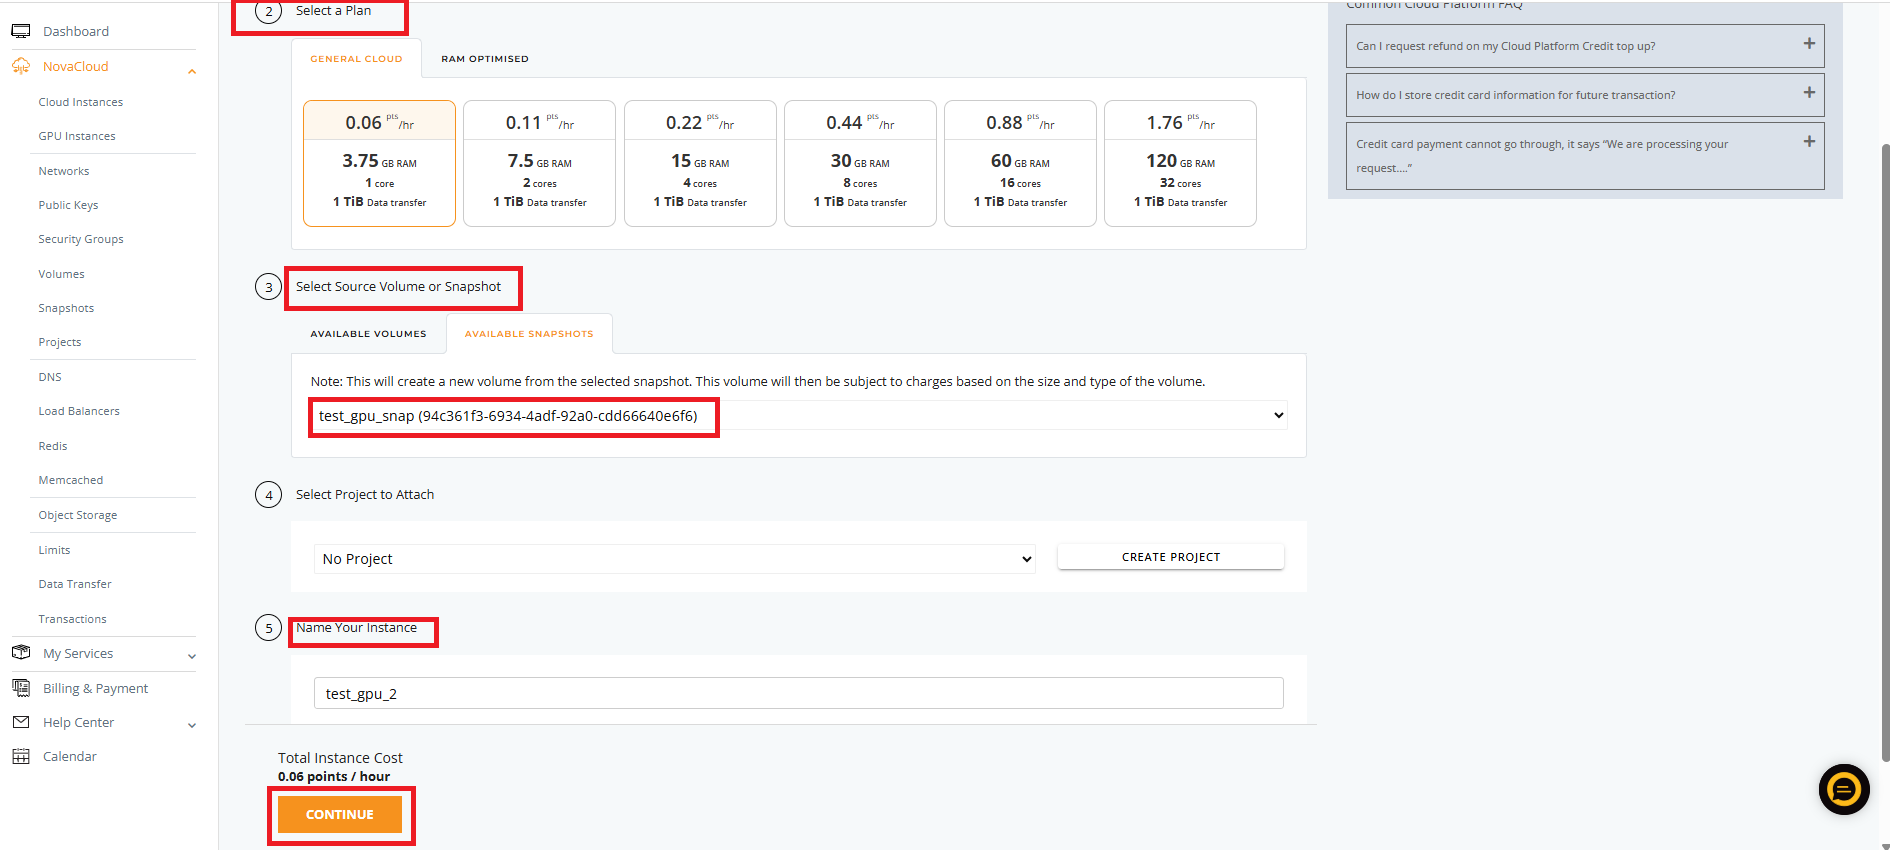
Step 5: Configure the GPU Instance
You will be taken to the instance creation wizard.
Fill in the following:
-
Select a Plan: Choose a GPU-compatible plan according to your need.
-
Select Source Snapshot: Ensure the correct snapshot is selected under Available Snapshots
-
Project: Select or create a project to attach the instance
-
Instance Name: Enter a valid name (letters, numbers, dashes or underscores only)
- After reviewing all inputs, click “Continue”
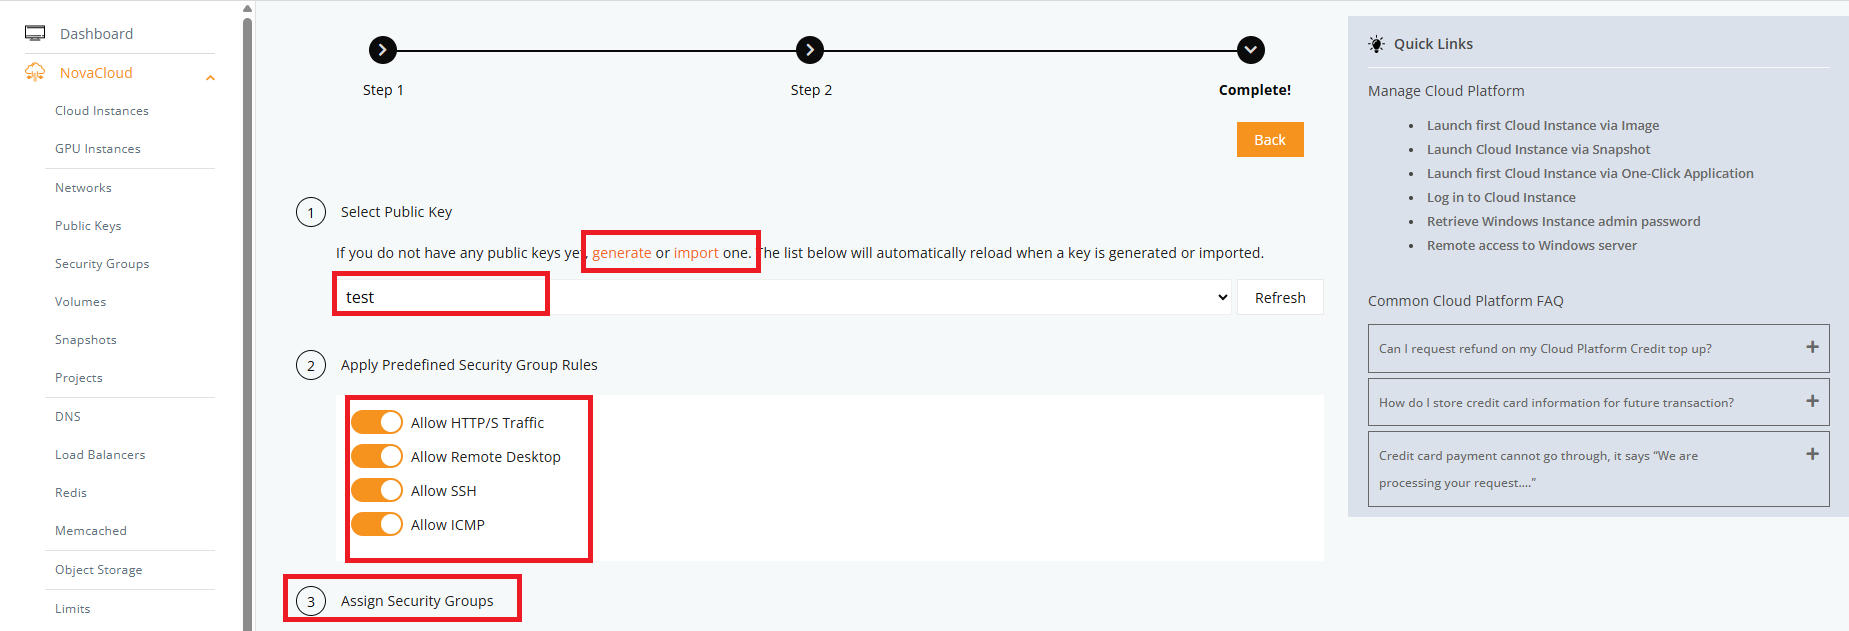
Step 6: Configure Access, Security, and Network
Next, you’ll need to define access and connectivity settings:
🔑 Select Public Key
-
Choose an SSH key from the list (e.g., test)
-
If you haven’t added any, generate or import a key first
🔐 (Optional) Apply Predefined Security Group Rules
-
Allow SSH – for remote terminal access
-
Allow HTTP/S – if you plan to host a website
-
Allow ICMP – for ping responses
-
Allow Remote Desktop – only if needed (for GUI-based OS)
🌐 (Optional) Assign Security Groups
-
Choose existing or create a new one with necessary ports
📡 Select Networks to Attach
-
Select the Public Network to allow internet access
✅ Click create
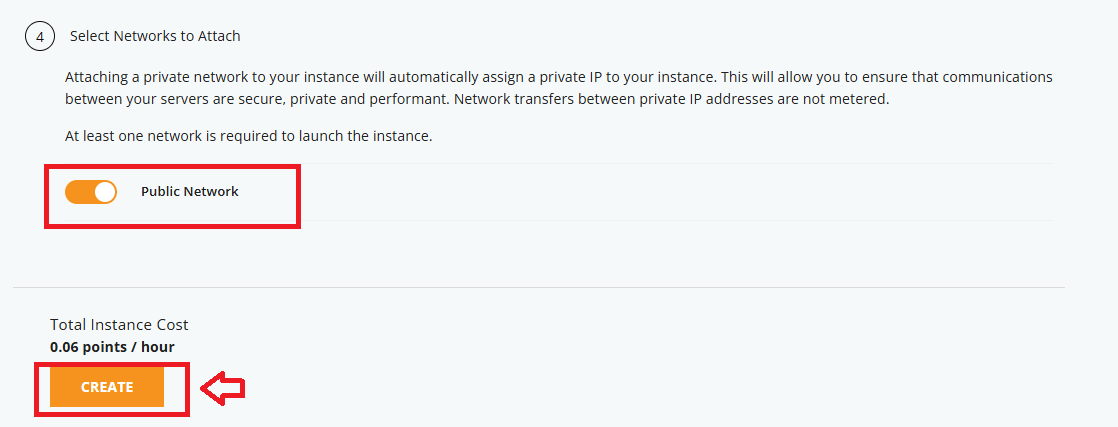
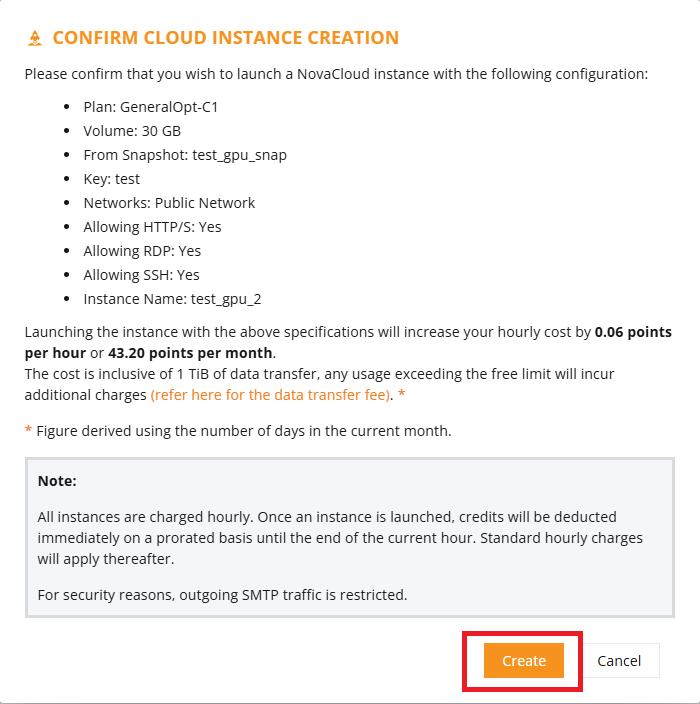
Step 7: Verify the cost of your Instance
Make sure you have sufficient credit in your account before launching an Instance.
Afterwards, click create
Step 8: Monitor the Instance Status
- Click on View Instances to view your newly launched instance.
- Please wait while your Instance is being created. You may refresh this section to view the preparation status
- Your Instance will be in Active status once the launch is successful.

🏁 Conclusion
Launching a cloud instance from a snapshot is a quick and reliable way to restore a previous configuration or duplicate an existing environment. This method saves time and ensures consistency across instances, especially for GPU workloads.
For additional assistance or if you encounter any issues, please contact our support team at support@ipserverone.com.