Search Our Database
How to Check Data Transfer for Each Instance in the Customer Portal (NovaCloud) ?
📘 Introduction
Monitoring your instance’s bandwidth usage helps ensure you stay within your monthly data transfer limits and avoid overage charges. This guide explains how to check incoming and outgoing data transfer for each instance under NovaCloud via the IPServerOne Customer Portal.
✅ Prerequisites
Before you begin, ensure:
-
You have access to IPServerOne Customer Portal.
-
Your account includes an active NovaCloud instance.
-
You are logged in with the necessary permission to view instance details.
🔧 Steps to Check Data Transfer per Instance
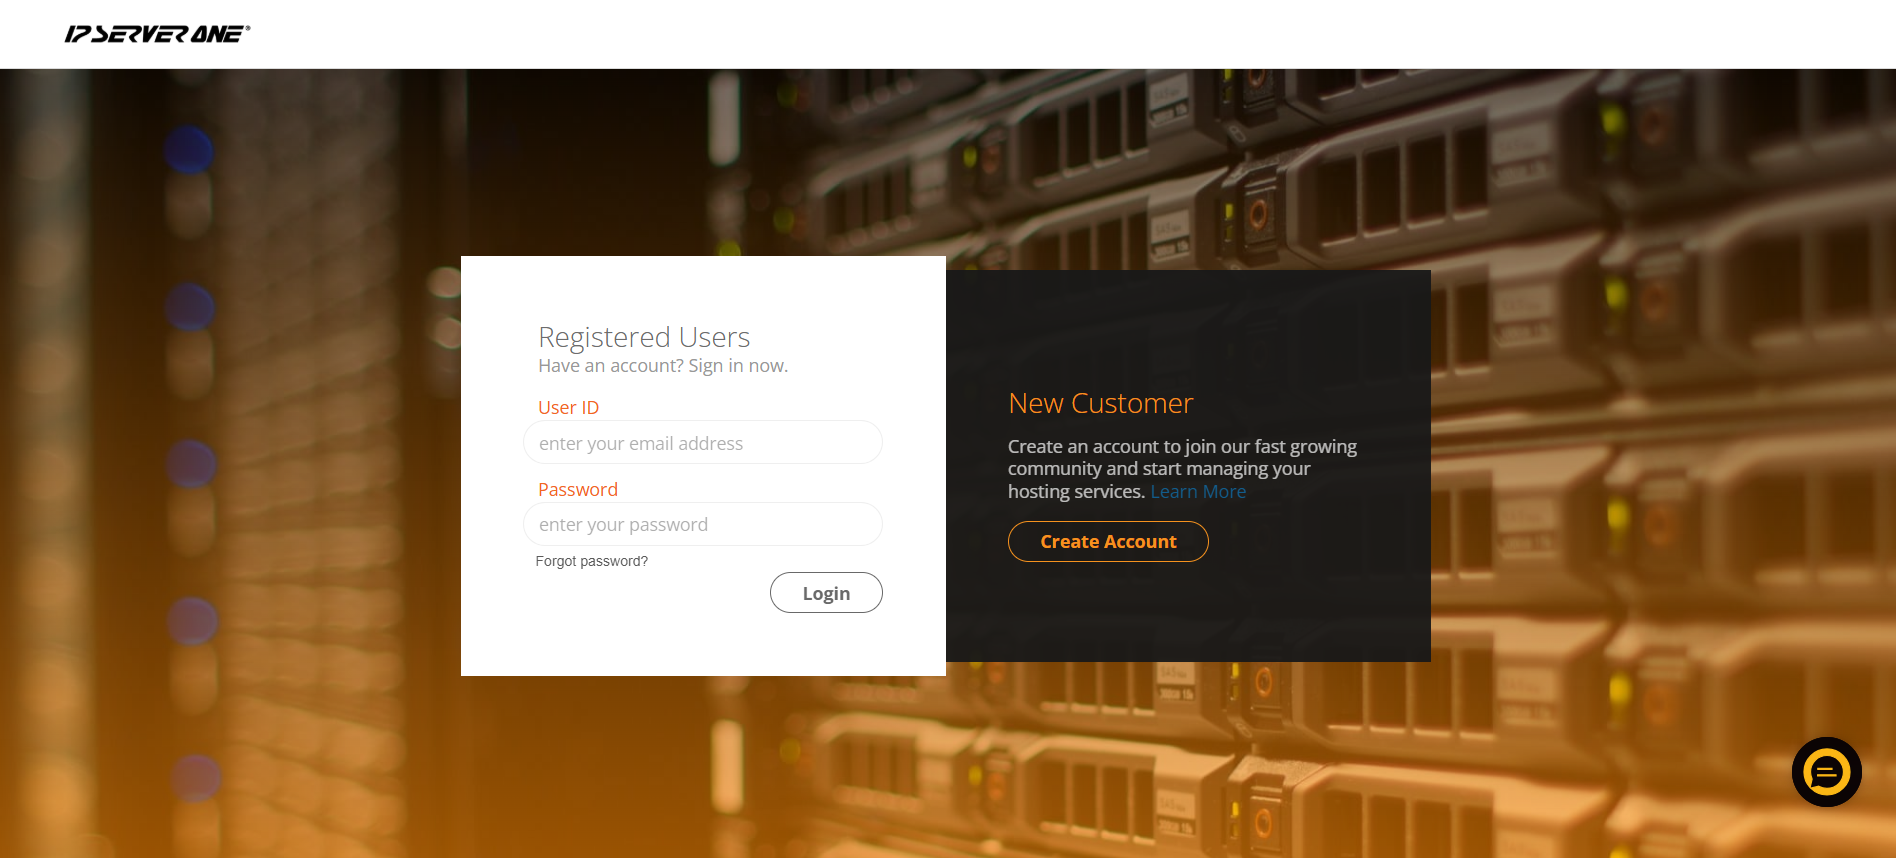
- Login to the Customer Portal
Go to https://portal.ipserverone.com and sign in.
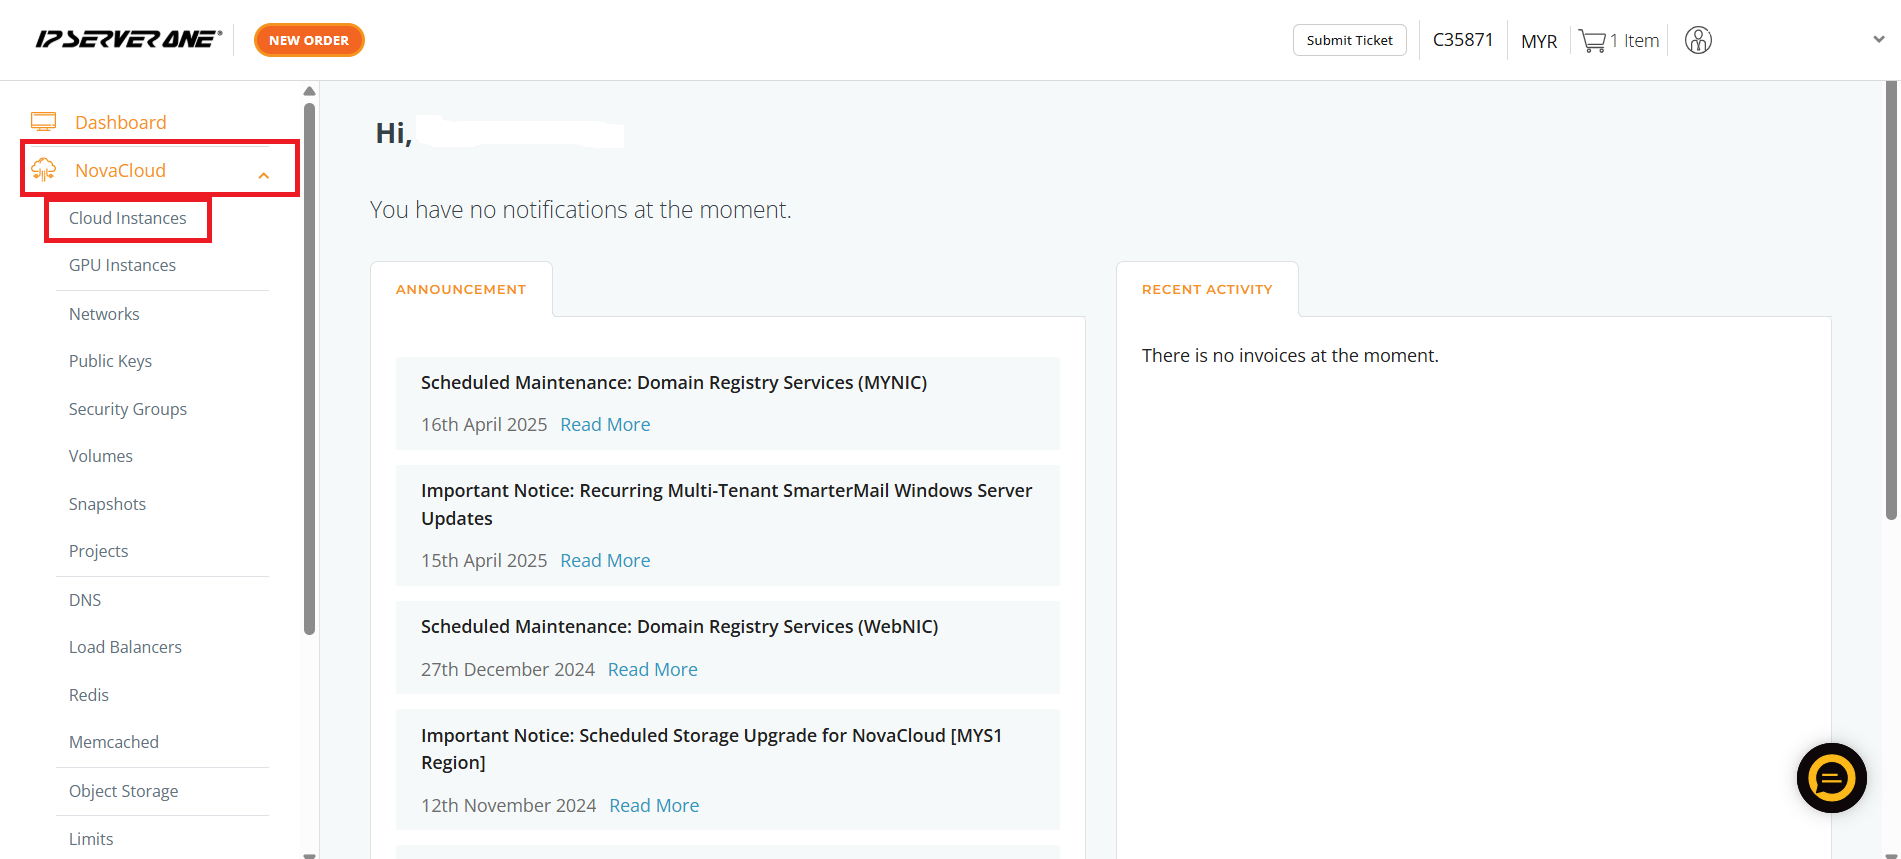
2. Navigate to NovaCloud
In the left sidebar, click on NovaCloud, then from the dropdown options select Cloud Instances.
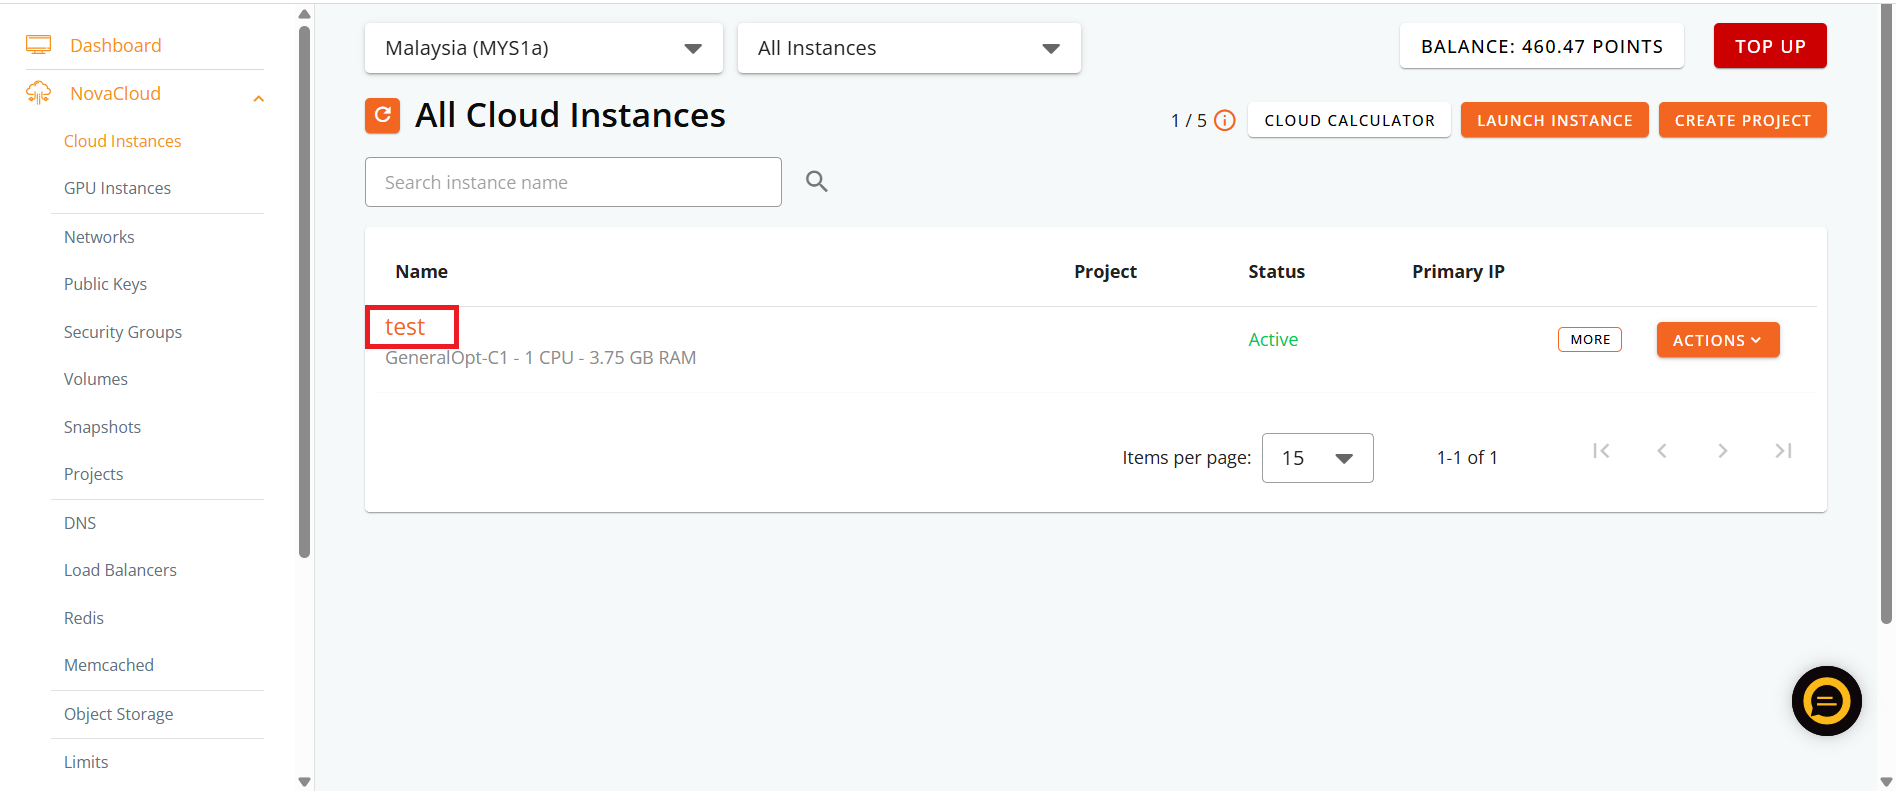
3. Select the Instance
Click on the Instance Name (e.g., test for which you want to view bandwidth usage.
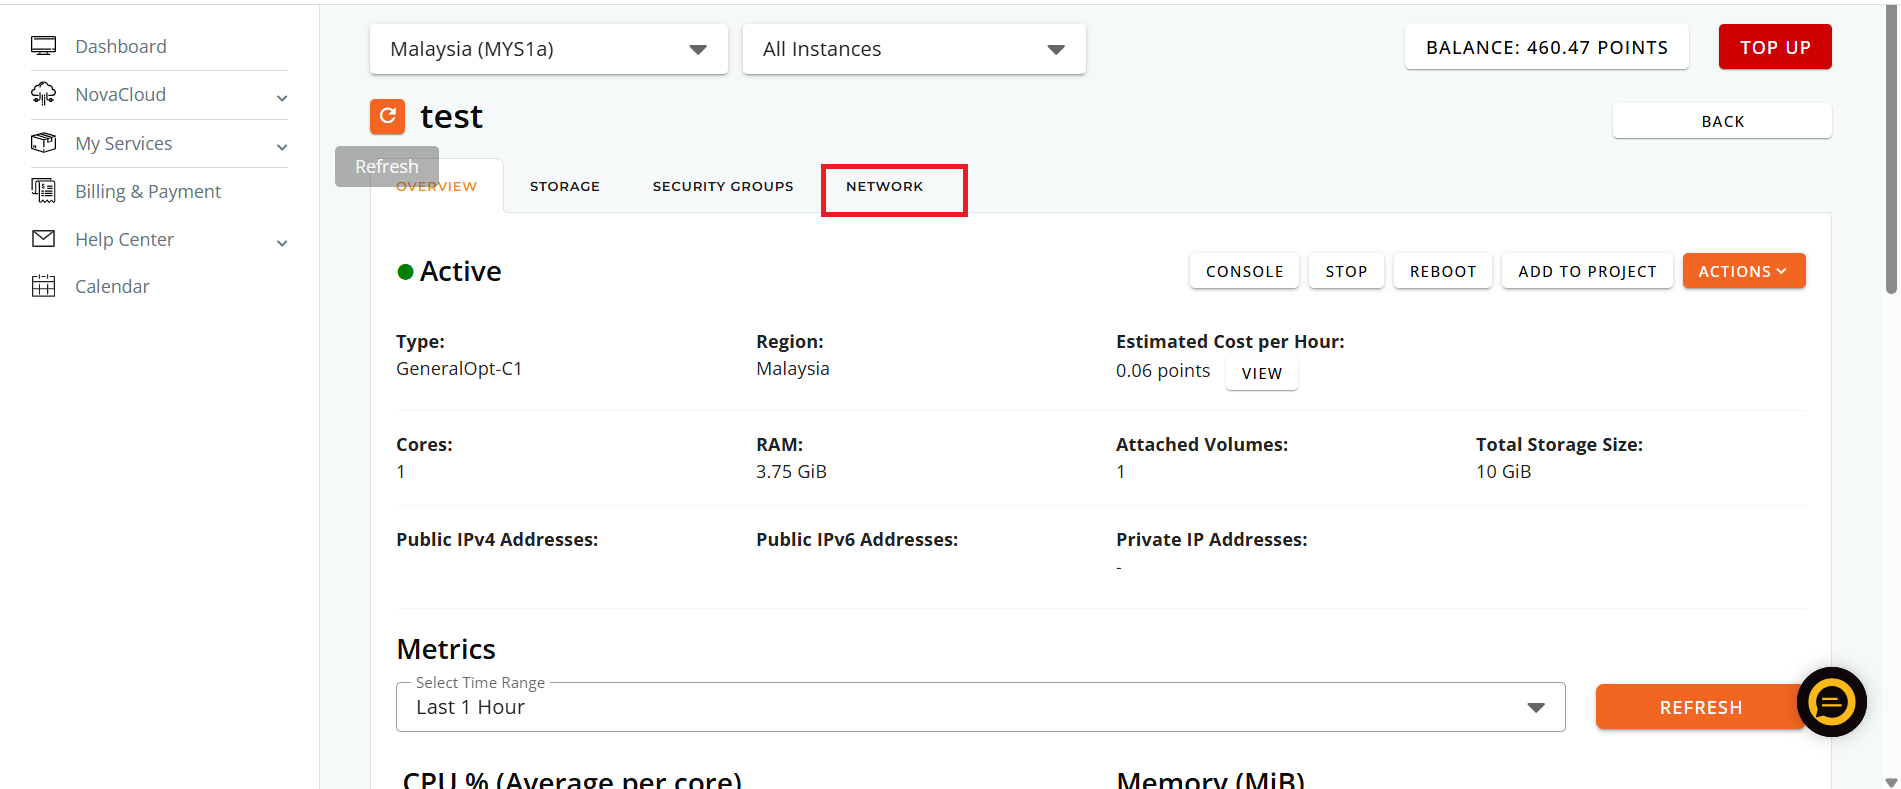
4.Click the “Network” Tab
From the top navigation tabs of the instance panel, select Network.
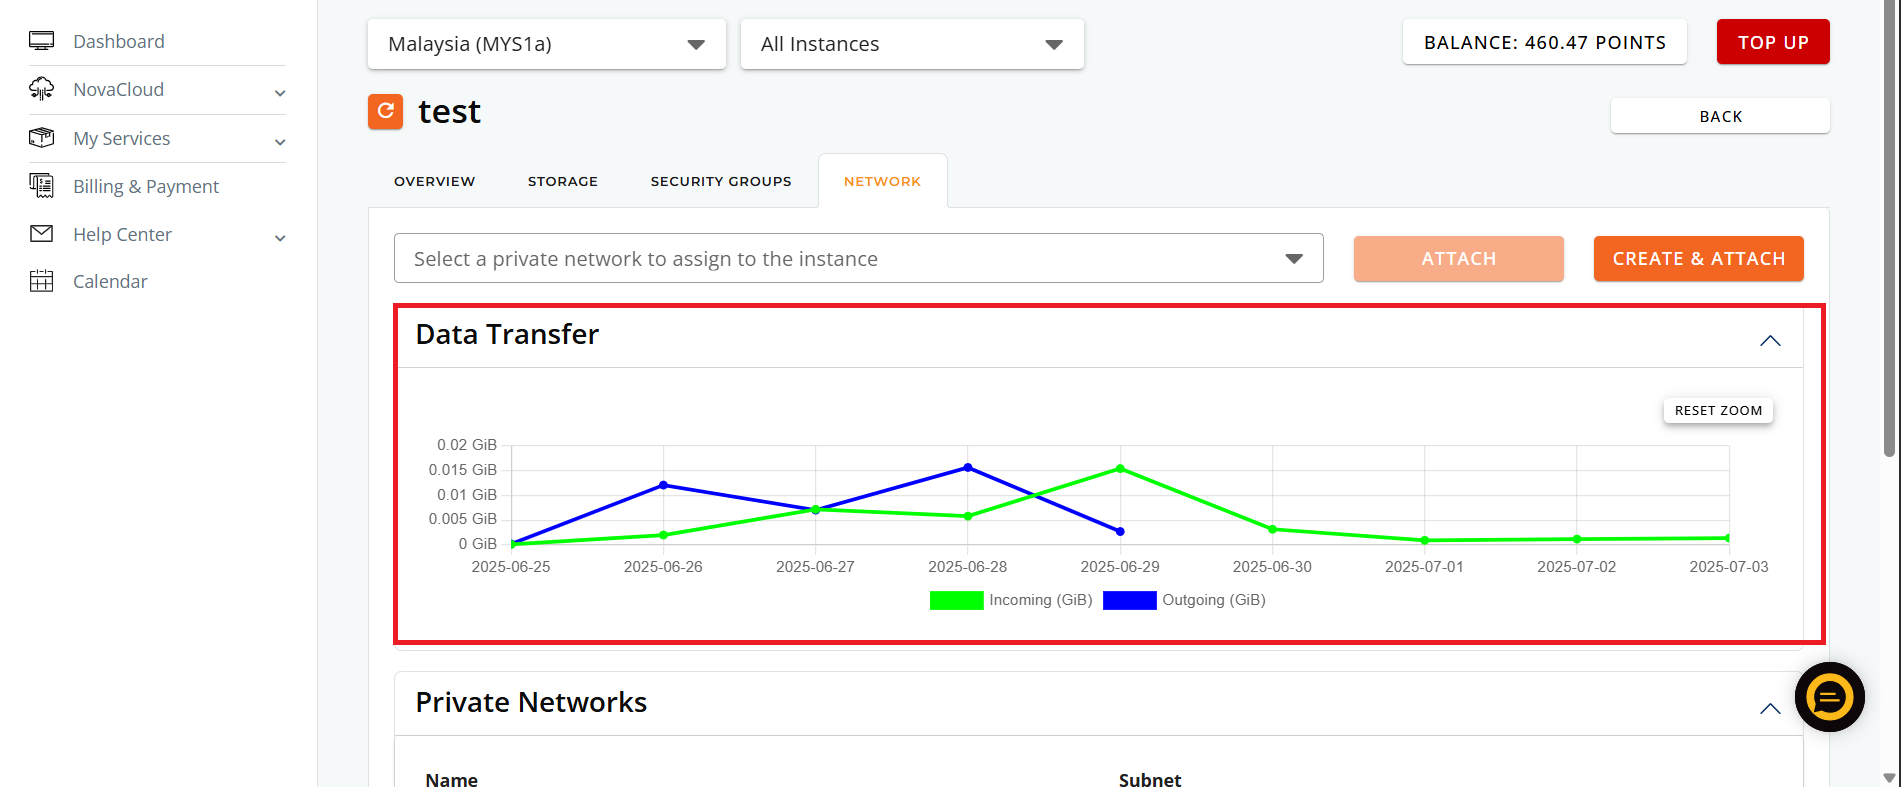
5.View the Data Transfer Graph
-
A graph labeled Data Transfer will appear, showing:
-
Green Line = Incoming data (GiB)
-
Blue Line = Outgoing data (GiB)
-
-
You can hover over the graph to see daily values.
-
Click Reset Zoom if you zoomed in and want to return to the full view.
📌 Conclusion
Checking your data transfer usage regularly helps prevent unexpected charges and improves visibility over your instance’s network activity. The Network tab in each instance under NovaCloud provides a clear view of both inbound and outbound usage trends.
If you face any issues or have any questions, our support team at IPSERVERONE is always ready to assist you. Feel free to contact us at support@ipserverone.com for any assistance.