Search Our Database
Create Domain in WebsitePanel
Introduction
Creating a domain in WebsitePanel is a straightforward process that allows users to manage their web presence effectively. This updated guide provides you with a step-by-step approach to adding a domain to your WebsitePanel account, including the option to create a website for your new domain immediately.
Prerequisites
- Active WebsitePanel account
- Basic understanding of domain management
Guide
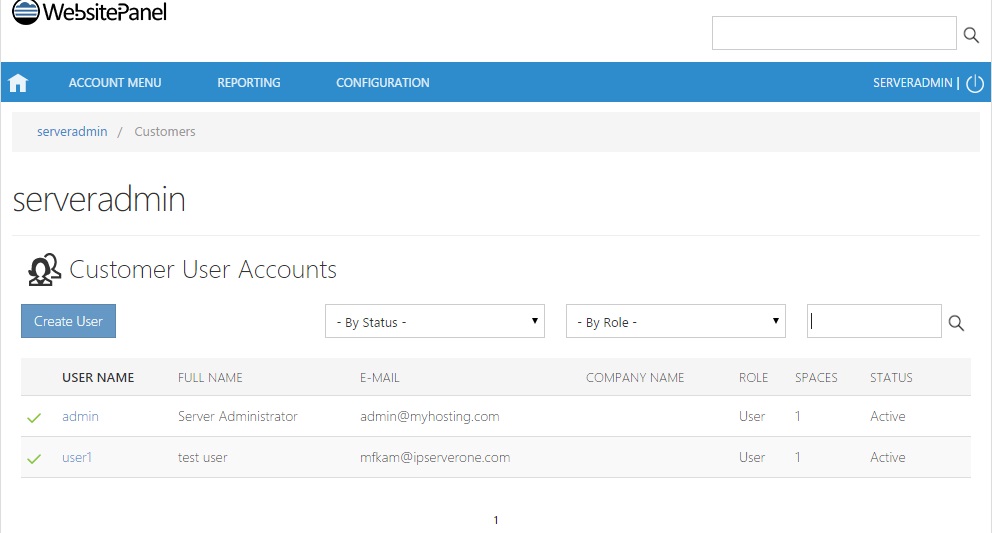
Step 1: Select the user account that you wish to add the domain to.
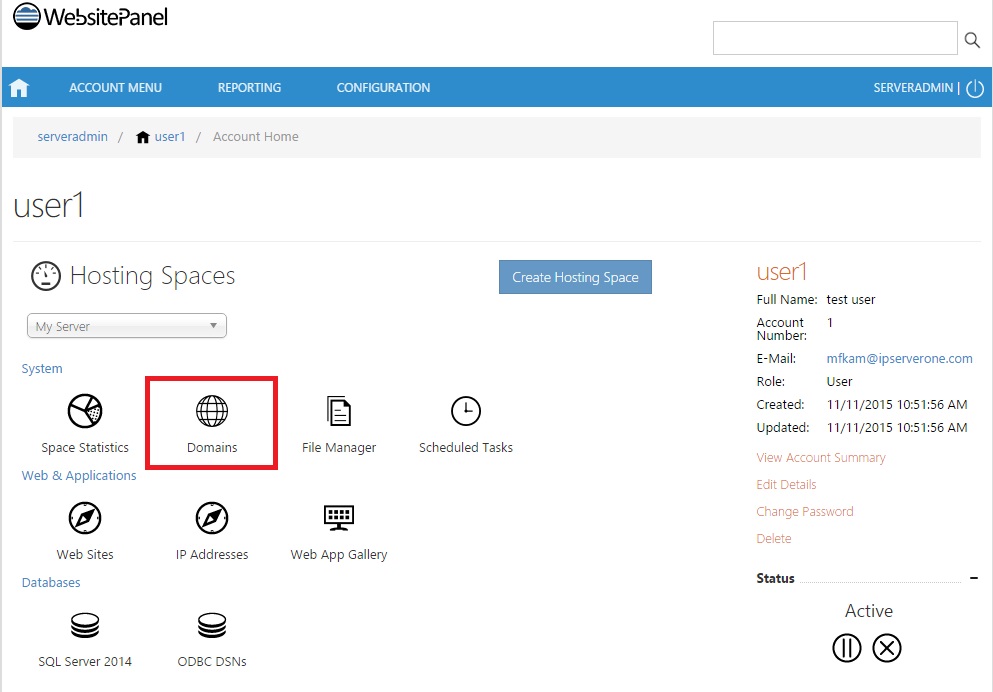
Step 2: Select the “Domains” icon.
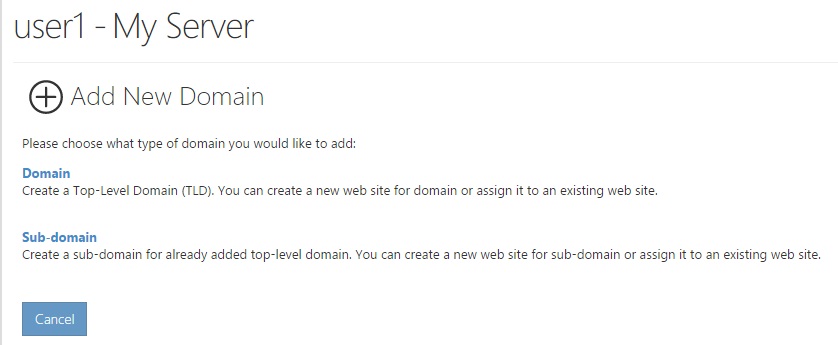
Step 3: Click the green “Add Domain” button.

Step 4: Select which type of domain you wish to add, here we choose to create a top-level domain since we are doing it for the first time.
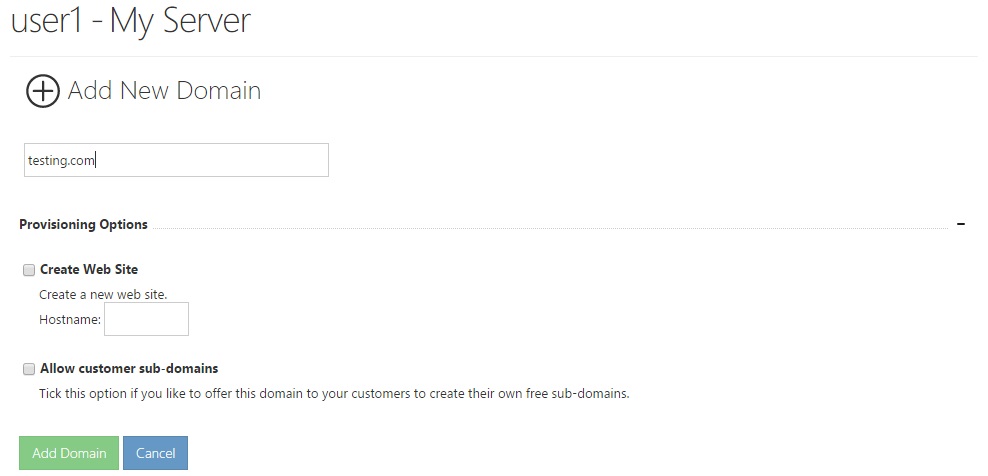
Step 5: Type in the domain name you wish to add. Check the “Create Web Site” box if you wish to create a website for this domain now. Click the green “Add Domain” button to continue.
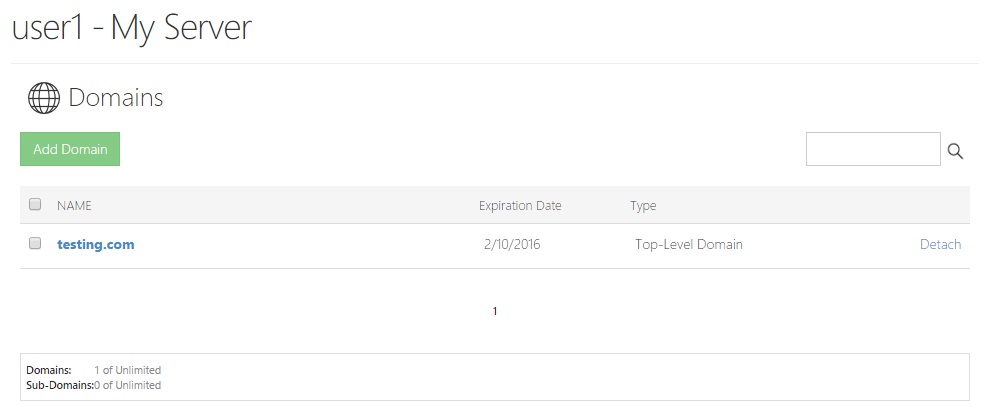
Step 6: The created domain will appear under the list for Domains. To perform edits to the domain just click on the blue domain name.
Conclusion
Adding a domain in WebsitePanel is a crucial task for website management and online presence. By following the steps outlined in this guide, you can efficiently create a new domain and, if desired, set up a website for it. This updated process ensures that even users new to WebsitePanel can undertake domain management tasks with confidence.
For additional assistance or if you encounter any issues, please contact our support team at support@ipserverone.com.
Article posted on 24 March 2020 by IPSERVERONE