Search Our Database
Setup VPN Server on CentOS using SoftEther
SoftEther VPN (“SoftEther” means “Software Ethernet”) is one of the world’s most powerful and easy-to-use multi-protocol VPN software.
SoftEther VPN is an optimum alternative to OpenVPN andMicrosoft’s VPN servers. SoftEther VPN has a clone-function of OpenVPN Server. You can integrate from OpenVPN to SoftEther VPN smoothly. SoftEther VPN is faster than OpenVPN. SoftEther VPN also supports Microsoft SSTP VPN for Windows Vista / 7 / 8. No more need to pay expensive charges for Windows Server license for Remote-Access VPN function.
SoftEther VPN can be used to realize BYOD (Bring your own device) on your business. If you have smartphones, tablets or laptop PCs, SoftEther VPN’s L2TP/IPsec server function will help you to establish a remote-access VPN from your local network. SoftEther VPN’s L2TP VPN Server has strong compatible with Windows, Mac, iOS and Android.
Step 1: Update software packages to latest version using the command:
yum upgrade
Step 2: Remove iptables firewall rules via the command:
service iptables stop
chkconfig iptables off
Step 3: Download SoftEther either by downloading it through here and upload it to your server via FTP, or by using Lynx which is a terminal based web browser.
Instructions on using Lynx:
- Download Lynx using “yum install lynx”.
- Use the command line “lynx http://www.softether-download.com/files/softether/” (without quote marks) to access SoftEther’s download page using Lynx.
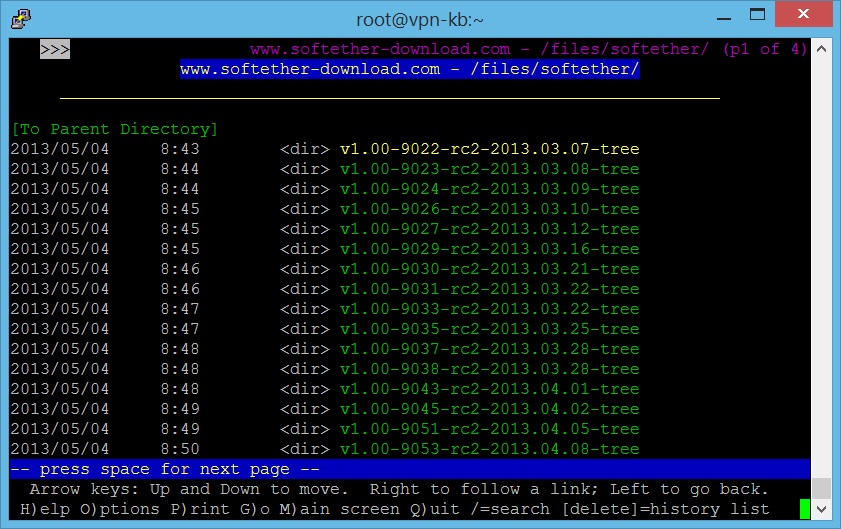
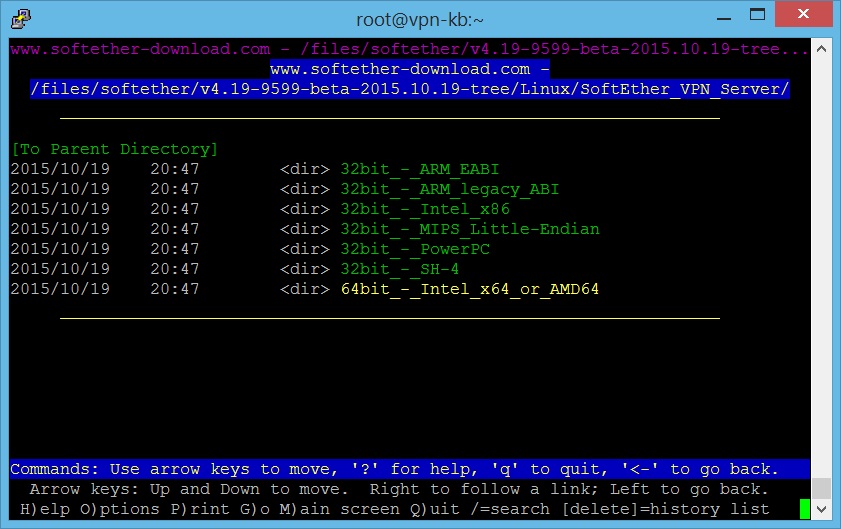
- Browse through the available SoftEther packages to download. The tar.gz that we are using is “softether-vpnserver-v4.19-9599-beta-2015.10.19-linux-x64-64bit.tar”, so you should look for “v4.19-9599-beta-2015.10.19-tree”.
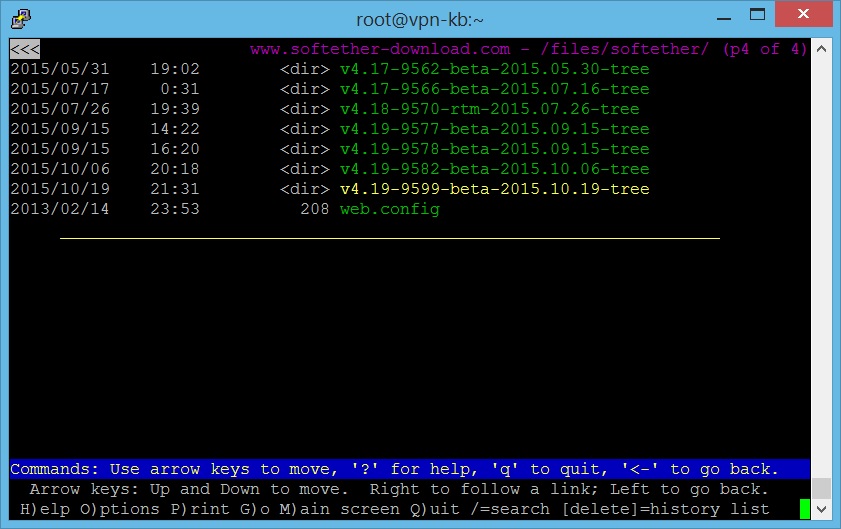
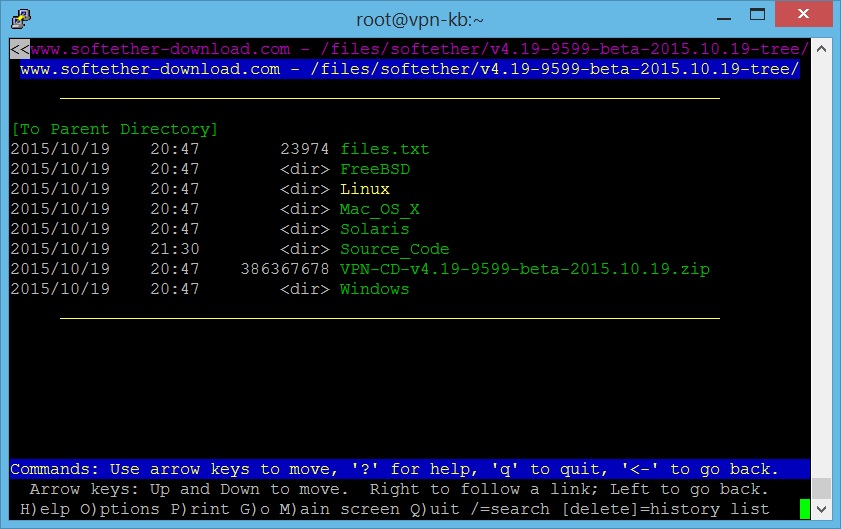
- Once you highlight the file you’re looking for, press Enter and go into the link. Now choose a package depending on your server OS.
- Then choose which type of VPN to download. Here we will choose “SoftEther_VPN_Server”.
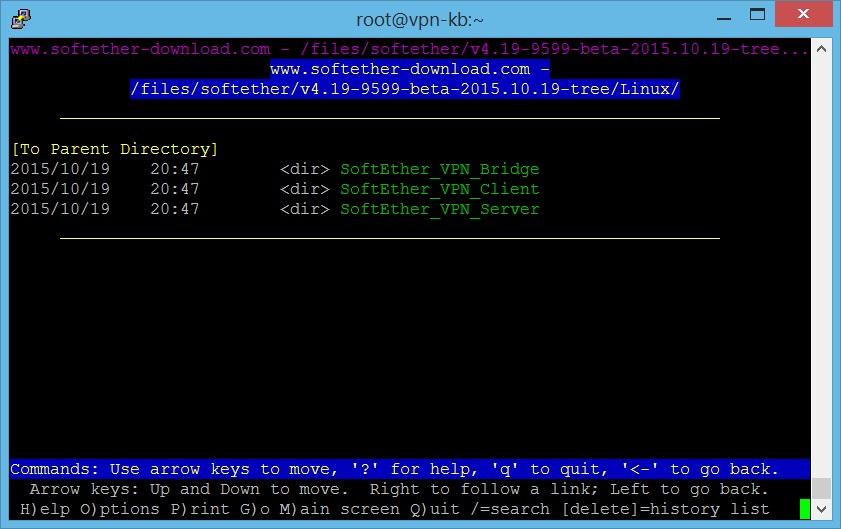
- Then choose a package depending on your server OS.
- When reaching this screen, press Enter once and then “D” to download the file.
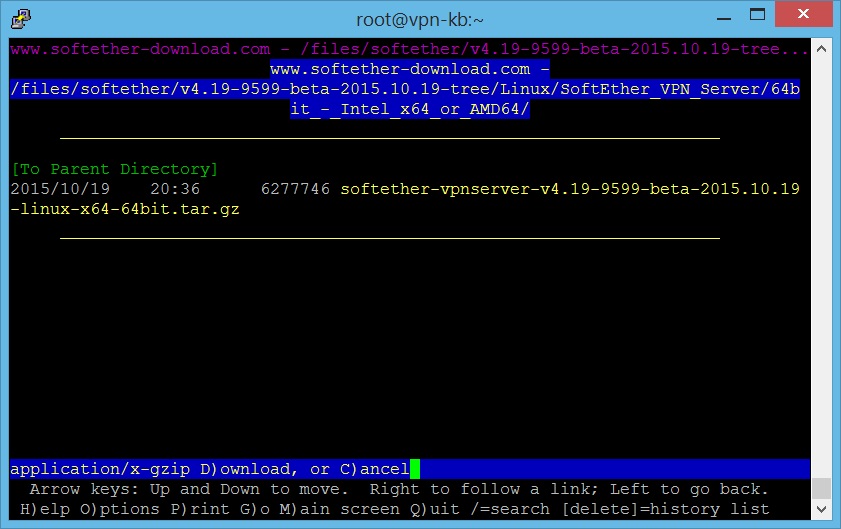
- Choose “Save to disk” and press Enter. Then type in a filename and press Enter again to download the file into your working folder.

- Press “Q” and then “Y” to exit Lynx.
Step 4: Untar the file via the command:
tar -xvzf softether-vpnserver-v4.19-9599-beta-2015.10.19-linux-x64-64bit.tar
It will create a folder named “vpnserver”.
Step 5: Install additional tools and packages using the command:
yum groupinstall "Development Tools"
Note: Fedora users might need to run an additional line “yum install gcc” to manually install gcc package due to “Development Tools” not including it.
Step 6: After finish installing the required packages, we will now start compiling SoftEther. First, cd into vpnserver directory:
cd vpnserver/
Run “make” to compile SoftEther into an executable file:
make
When asked to read the software Licence Agreement, press “1” and Enter to do so.
Then press “1” and Enter again when asked if you understood.
Press “1” and Enter again when asked if you agree with the Licence Agreement.
Step 7: SoftEther is compiled into executable files vpnserver & vpncmd. Now move the entire vpnserver folder into another directory, eg. /usr/local/src
cd ..
mv vpnserver /usr/local/src
cd /usr/local/src/vpnserver
Step 8: We need to change the files’ permission so we can execute it.
chmod 0710 *
Step 9: To make SoftEther start its service on server startup, create a script named “vpnserver” in /etc/init.d/ directory.
vi /etc/init.d/vpnserver
Copy & paste the following block of code into the newly created script:
#!/bin/sh

# chkconfig: 2345 99 01

# description: SoftEther VPN Server

DAEMON=/usr/local/vpnserver/vpnserver

LOCK=/var/lock/subsys/vpnserver

test -x $DAEMON || exit 0

case "$1" in

start)

$DAEMON start

touch $LOCK

;;

stop)

$DAEMON stop

rm $LOCK

;;

restart)

$DAEMON stop

sleep 3

$DAEMON start

;;

*)

echo "Usage: $0 {start|stop|restart}"

exit 1

esac

exit 0
Save and exit the file. Then make a folder “/var/lock/subsys” if the folder doesn’t exist, because when the file runs in init, a lock file will be touched here to signify that the service is running. The service won’t start or stop correctly if the lock file cannot be found by rc scripts (Starting and Stopping Services).
mkdir /var/lock/subsys
Change the permission of the startup script and then start the script:
chmod 0710 /etc/init.d/vpnserver
/etc/init.d/vpnserver start
Then use this command to run the script at startup:
chkconfig --add vpnserver
Step 10: The SoftEther VPN service is now configured to run at system startup. To check if the server is working, type the command:
cd /usr/local/src/vpnserver
./vpncmd
Then type “3” to access VPN Tools and then type “check” to run checking. We want the message “All checks passed” which means our server can use SoftEther VPN Server.
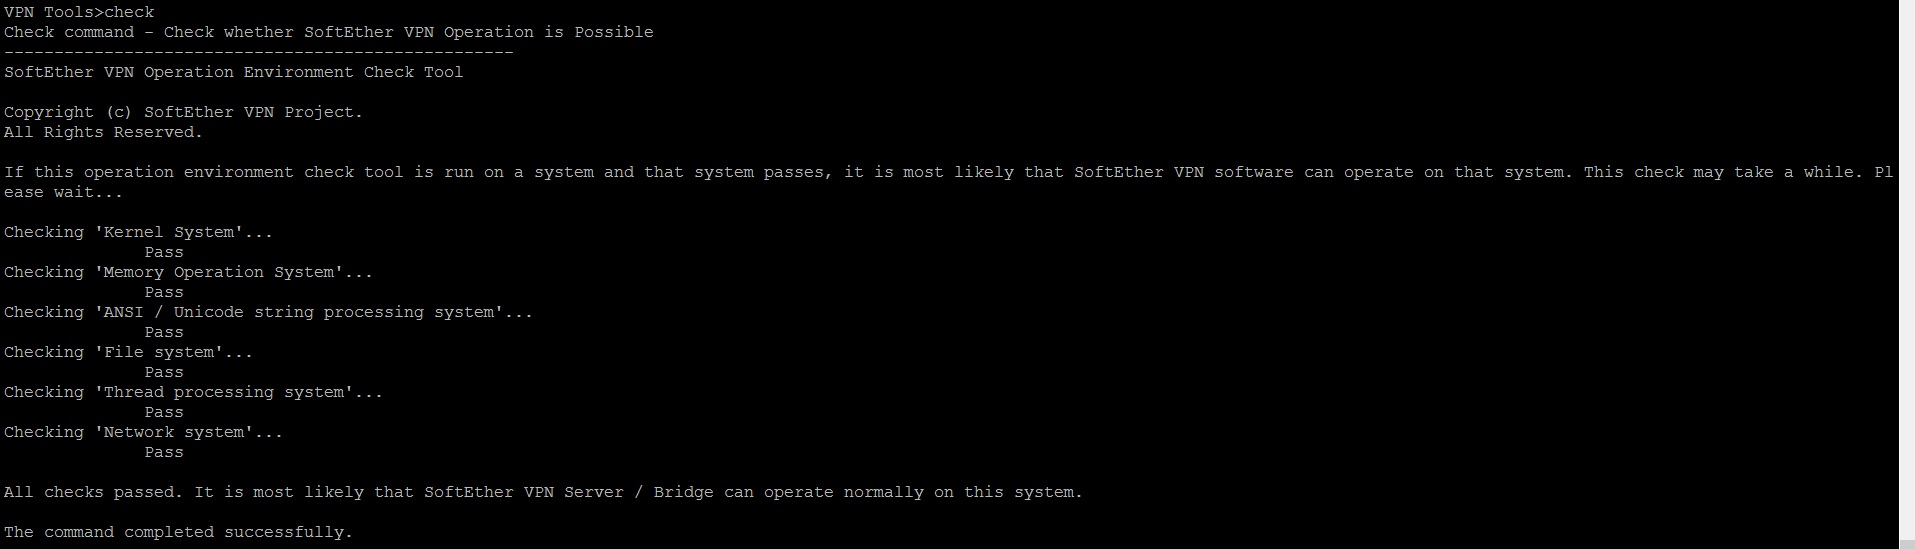
Type “exit” to exit VPN Tools.
Step 11: Now we are going to start configuring our VPN server using vpncmd, but before that start the VPN server first:
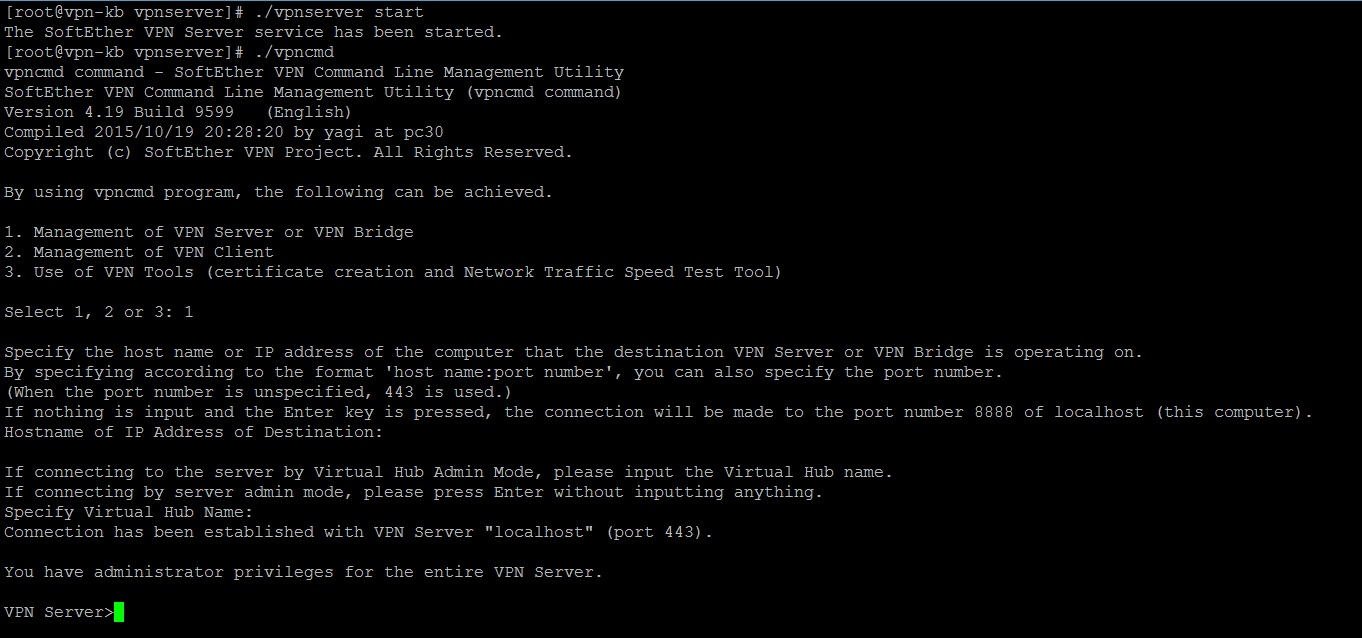
cd /usr/local/src/vpnserver
./vpnserver start
./vpncmd
Press “1” and Enter to start “Management of VPN Server or VPN Bridge”, then press Enter again without typing anything to connect to localhost server, then do the same again to login as server admin.
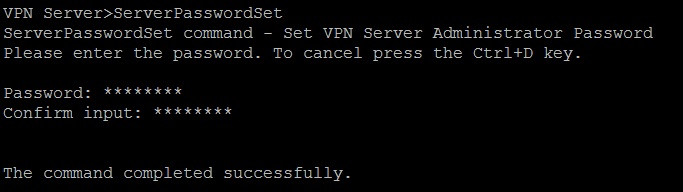
Use the command below to change the password for admin account:
ServerPasswordSet
Step 12: After setting a password, we need to create a Virtual Hub to use SoftEther, which can be done using vpncmd.
./vpncmd
In “Management of VPN Server or VPN Bridge”, type in:
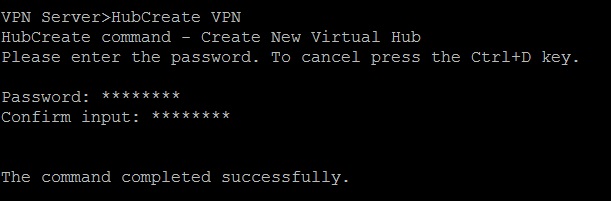
HubCreate VPN
Type in the password when prompted. The command above creates a Virtual Hub named “VPN”.
Select the Virtual Hub “VPN” by typing:
Hub VPN

Step 13: Now we need to connect the Virtual Hub that was created to the server network. An easy way to do this is to use SecureNAT (Secure Network Address Translation) which combines Virtual NAT & DHCP Server functions. Enable it by typing the following command in vpncmd:
SecureNATEnable

Step 14: After that, it is time to create users for Virtual Hub to use the VPN Server. This can be achieved by typing the “UserCreate” command in vpncmd:
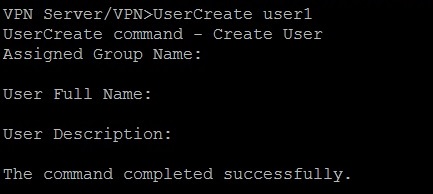
UserCreate user1
The line above creates a user named “user1”, you can leave the additional questions blank and press Enter to skip them.
We can also check a list of created users by typing the command:
UserList

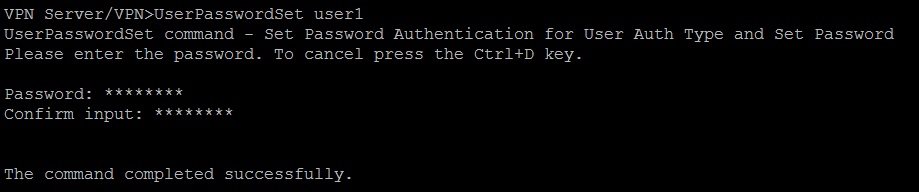
If you wish to set a password for user “user1”, type the following command:
UserPasswordSet user1
Step 15: Setup L2TP/IPSec
Layer Two Tunneling Protocol (L2TP) is an extension of the Point-to-Point Tunneling Protocol (PPTP) used by an Internet service provider (ISP) to enable the operation of a virtual private network (VPN) over the Internet.
Internet Protocol Security (IPsec) is a protocol suite for secure Internet Protocol (IP) communications by authenticating and encrypting each IP packet of a communication session.
To enable L2TP/IPSec VPN Server, type in the following command:
IPSecEnable
You will be prompted to configure the following IPSec Server Function:
Enable L2TP over IPsec Server Function (yes/no): Choose yes to enable L2TP VPN over IPSec with pre-shared key encryption. Now you can make VPN connections to this server using iPhone, Android, Windows, and Mac OS X devices.
Enable Raw L2TP Server Function (yes/no): This will enable L2TP VPN for clients with no IPSec encryption.
Enable EtherIP / L2TPv3 over IPsec Server Function (yes/no): Routers which are compatible with EtherIP / L2TPv3 over IPsec can connect to this server by enabling this function.
Pre Shared Key for IPsec: Enter a pre-shared key to use with L2TP VPN.
Default Virtual HUB in a case of omitting the HUB on the Username: Users must specify the Virtual Hub they are trying to connect to by using “username@hubname” as their username when connecting. This option specifies which Virtual Hub to be used if the user does not provide such information. Enter “VPN”.
Step 16: Setup SSTP/OpenVPN
Secure Socket Tunneling Protocol (SSTP) is a form of VPN tunnel that provides a mechanism to transport PPP or L2TP traffic through an SSL 3.0 channel. SSL provides transport-level security with key-negotiation, encryption and traffic integrity checking. The use of SSL over TCP port 443 allows SSTP to pass through virtually all firewalls and proxy servers except for authenticated web proxies. SSTP servers must be authenticated during the SSL phase.
OpenVPN is an open-source software application that implements virtual private network (VPN) techniques for creating secure point-to-point or site-to-site connections in routed or bridged configurations and remote access facilities. It uses a custom security protocol that utilizes SSL/TLS for key exchange. It is capable of traversing network address translators (NATs) and firewalls. It was written by James Yonan and is published under the GNU General Public License (GPL). OpenVPN allows peers to authenticate each other using a pre-shared secret key, certificates, or username/password.
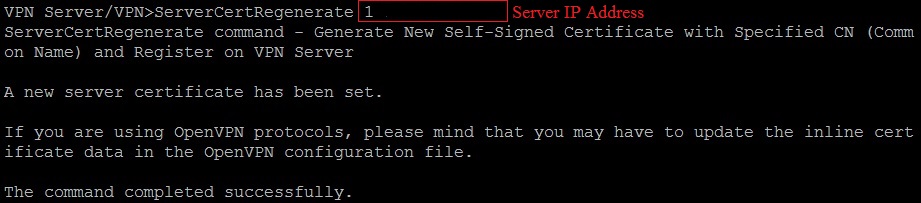
SoftEther VPN can clone functions of both MS SSTP VPN Server as well as OpenVPN Server, but requires an SSL cert to work, which can be generated using SoftEther’s built in command:
ServerCertRegenerate <server hostname/ipaddress>
Note: If you already made an SSL cert by using for example OpenSSL, it can be added to the server using the command:
ServerCertSet
After creating the cert, we can download it and give it to the clients for adding as trusted via the command below:
ServerCertGet ~/cert.cer
The command saves the certificate as “cert.cer” and can be downloaded via FTP client software such as FileZilla.

Step 17: After creating and registering our SSL cert for our server, we can enable the SSTP service by using:
SstpEnable yes
As well as OpenVPN (default port: 1194):
OpenVPNEnable yes
It will ask you which UDP port to listen for OpenVPN. Type the default value 1194 and press Enter to continue.
After we enabled OpenVPN, we can download a sample configuration file for OpenVPN Clients, or just create a sample using vpncmd’s function:
OpenVPNMakeConfig ~/my_openvpn_config.zip
Which you can download using SFTP clients like FileZilla and apply to OpenVPN clients.
SoftEther also provides a dedicated VPN Client software for both Windows and Linux. It supports a SoftEther specific protocol called Ethernet over HTTPS or SSL-VPN which is very powerful. It uses HTTPS protocol and port 443 in order to establish a VPN tunnel, and because this port is well-known, almost all firewalls, proxy servers and NATs can pass the packet. In order to use SSL-VPN protocol, you must download and install SoftEther VPN Client, which can be obtained from their website.
We have successfully installed a multi-protocol VPN Server using SoftEther that can be connected by VPN clients using L2TP, IPSec, SSTP, OpenVPN, etc.
Also, use this command to list out which IP is currently connected to your VPN Server by typing it into the server’s terminal:
<span class="token function">netstat</span> <span class="token operator">-</span>tn <span class="token number">2</span><span class="token operator">></span><span class="token operator">/</span>dev<span class="token operator">/</span>null <span class="token operator">|</span> <span class="token function">grep</span> <span class="token punctuation">:</span><span class="token number">80</span> <span class="token operator">|</span> <span class="token function">awk</span> <span class="token string">'{print <span class="token property">$5</span>}'</span> <span class="token operator">|</span> <span class="token function">cut</span> <span class="token operator">-</span>d<span class="token punctuation">:</span> <span class="token operator">-</span>f1 <span class="token operator">|</span> <span class="token function">sort</span> <span class="token operator">|</span> <span class="token function">uniq</span> <span class="token operator">-</span>c <span class="token operator">|</span> <span class="token function">sort</span> <span class="token operator">-</span>nr <span class="token operator">|</span> <span class="token function">head</span>