Search Our Database
How to Shelve Cloud Instance(s) in Customer Portal
Introduction:
For NovaCloud users managing their cloud infrastructure with IPSERVERONE, this guide provides clear, step-by-step instructions on how to shelve your cloud instances directly within the Customer Portal. Shelving an instance is beneficial when it is temporarily not needed for operation, as this action effectively pauses the instance while preserving its current state and configuration, which is useful for resource management.
Prerequisites:
- You must have at least one active NovaCloud instance provisioned and available within your IPSERVEONE Customer Portal.
Step-by-step Guide:
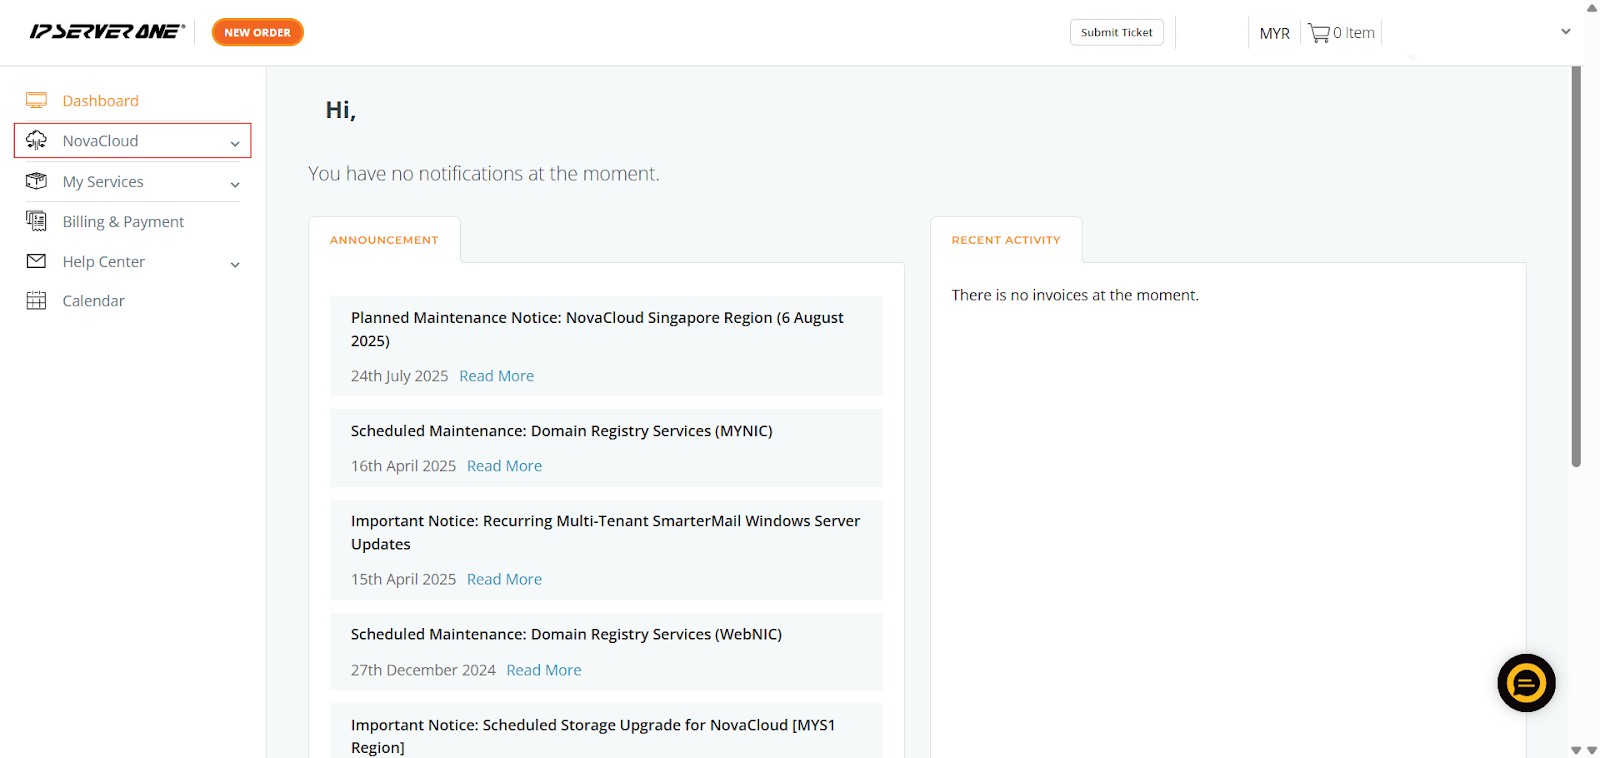
Step 1: Access NovaCloud Services:
- On the left-hand navigation menu, locate and click on “NovaCloud”. This section provides access to all your cloud computing resources and services offered under NovaCloud.
Step 2: Navigate to Cloud Instances:
- After clicking “NovaCloud,” an expanded sub-menu will appear beneath it.
- From this sub-menu, click on “Cloud Instances”. This action will take you to a page displaying a list of all your provisioned cloud instances, along with their current status, project association, and primary IP addresses.
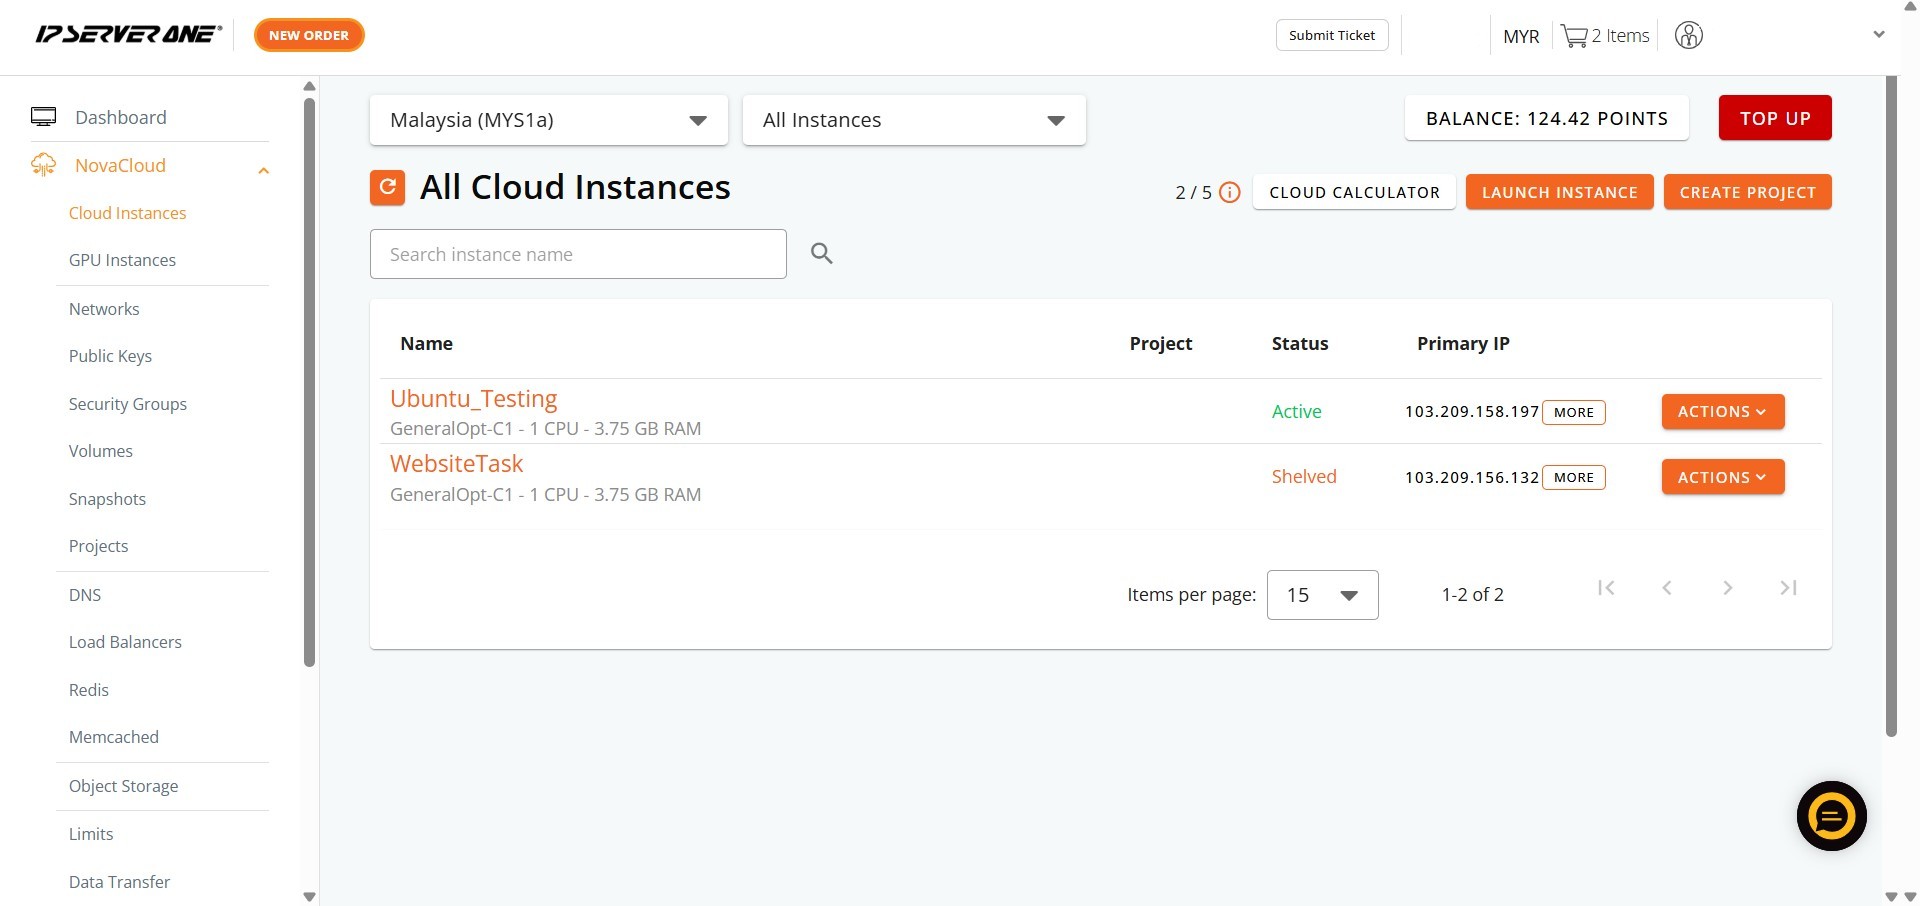
Step 3: Identify and Select the Desired Instance’s Actions:
- On the far right of the row corresponding to your chosen instance, you will find an “Actions” button. This button usually appears with a dropdown arrow, indicating a menu of available operations.
- Click the “Actions” button to reveal a dropdown menu containing various management options for that specific instance, such as Console, Shelve, Rebuild, Retrieve Password, etc..
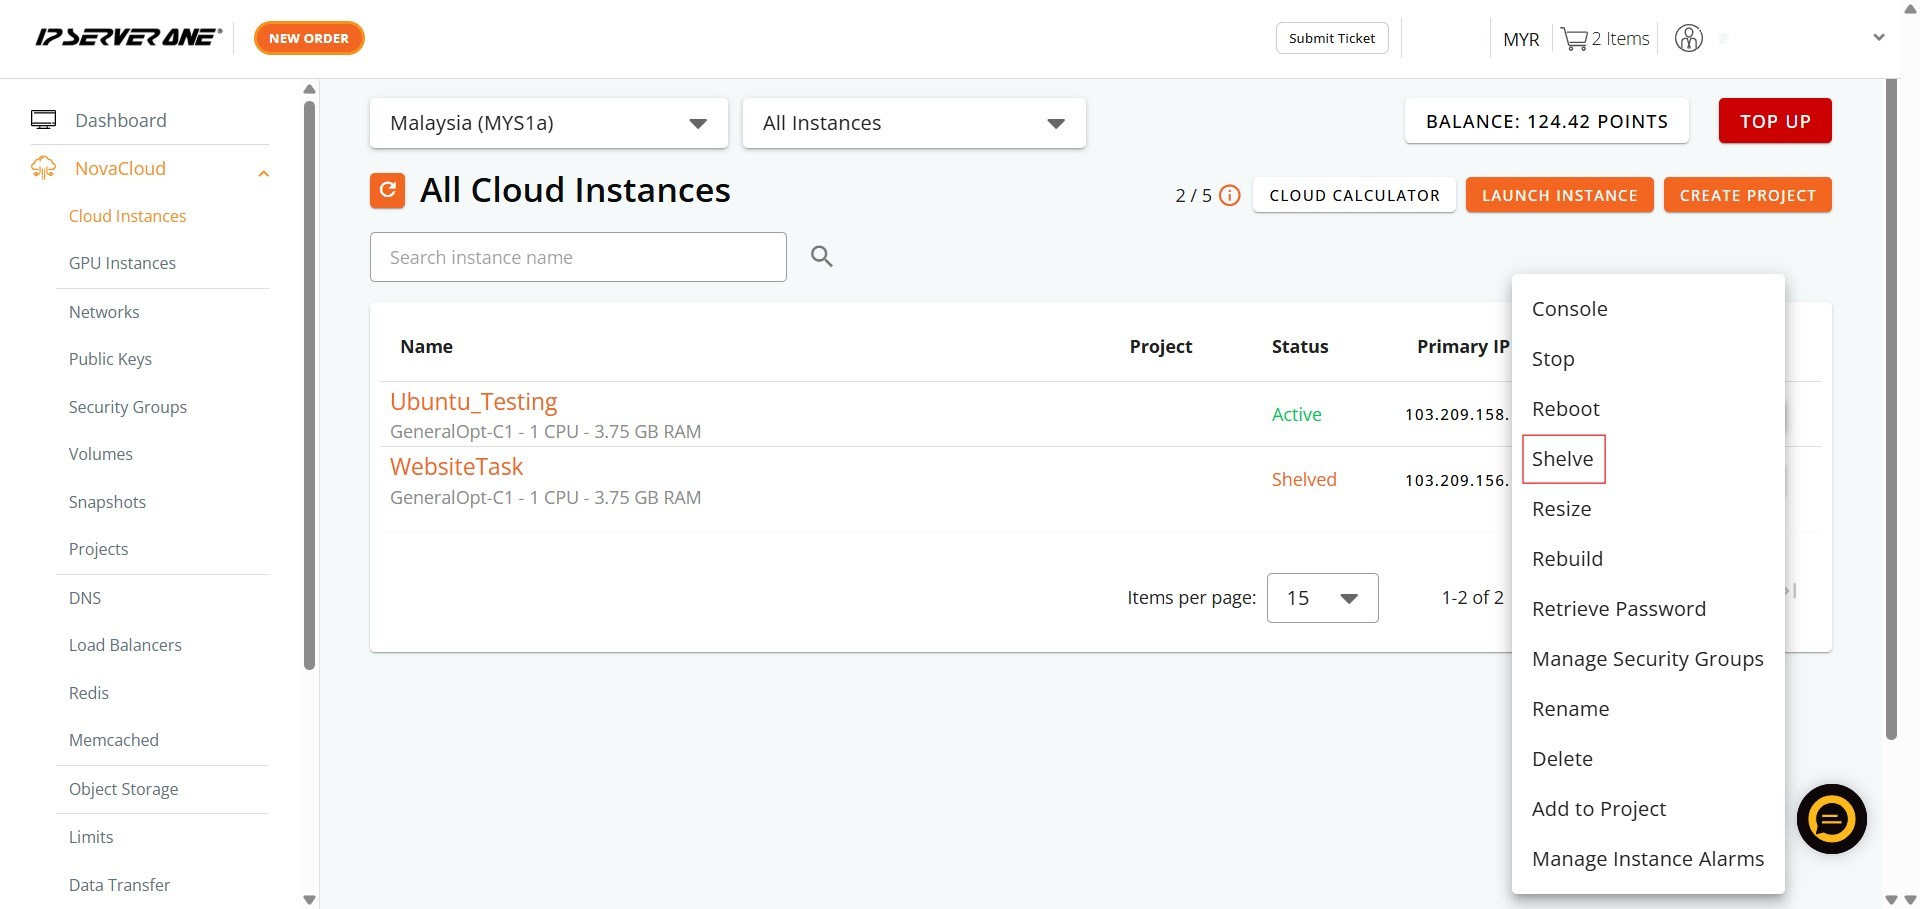
Step 4: Initiate the Shelving Process:
- From the “Actions” dropdown menu, click on the “Shelve” option.
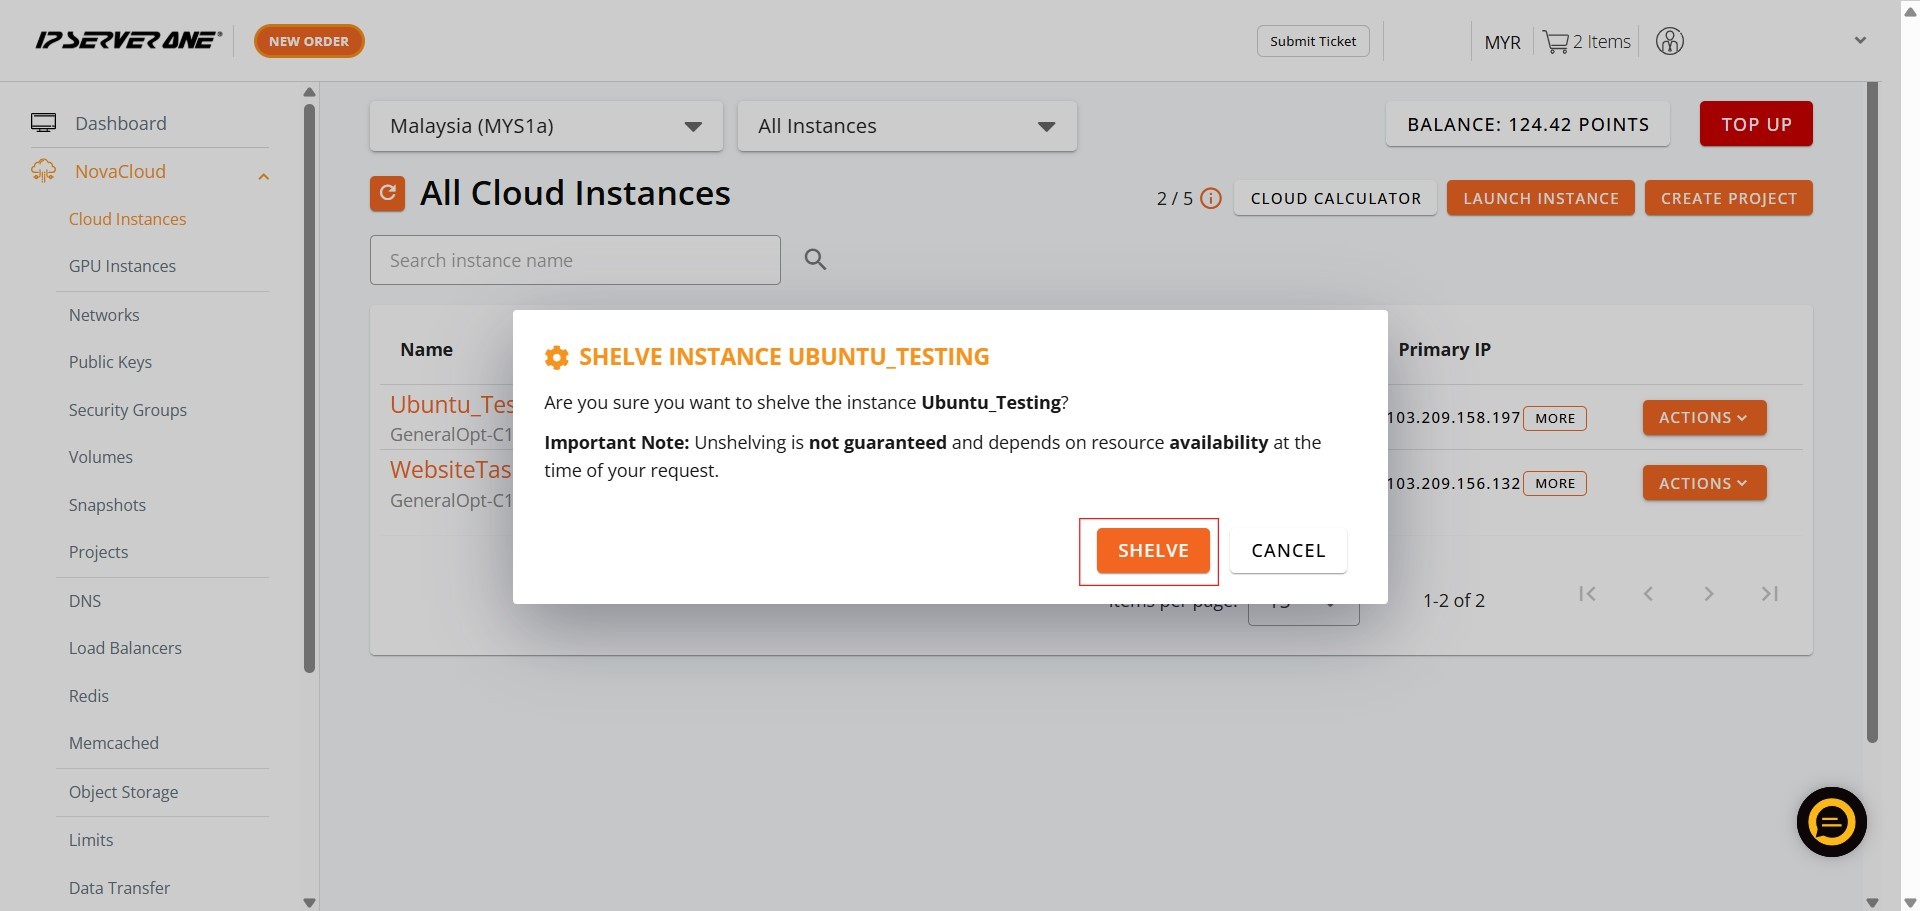
- A confirmation pop-up window titled “SHELVE INSTANCE [InstanceName]” will appear.
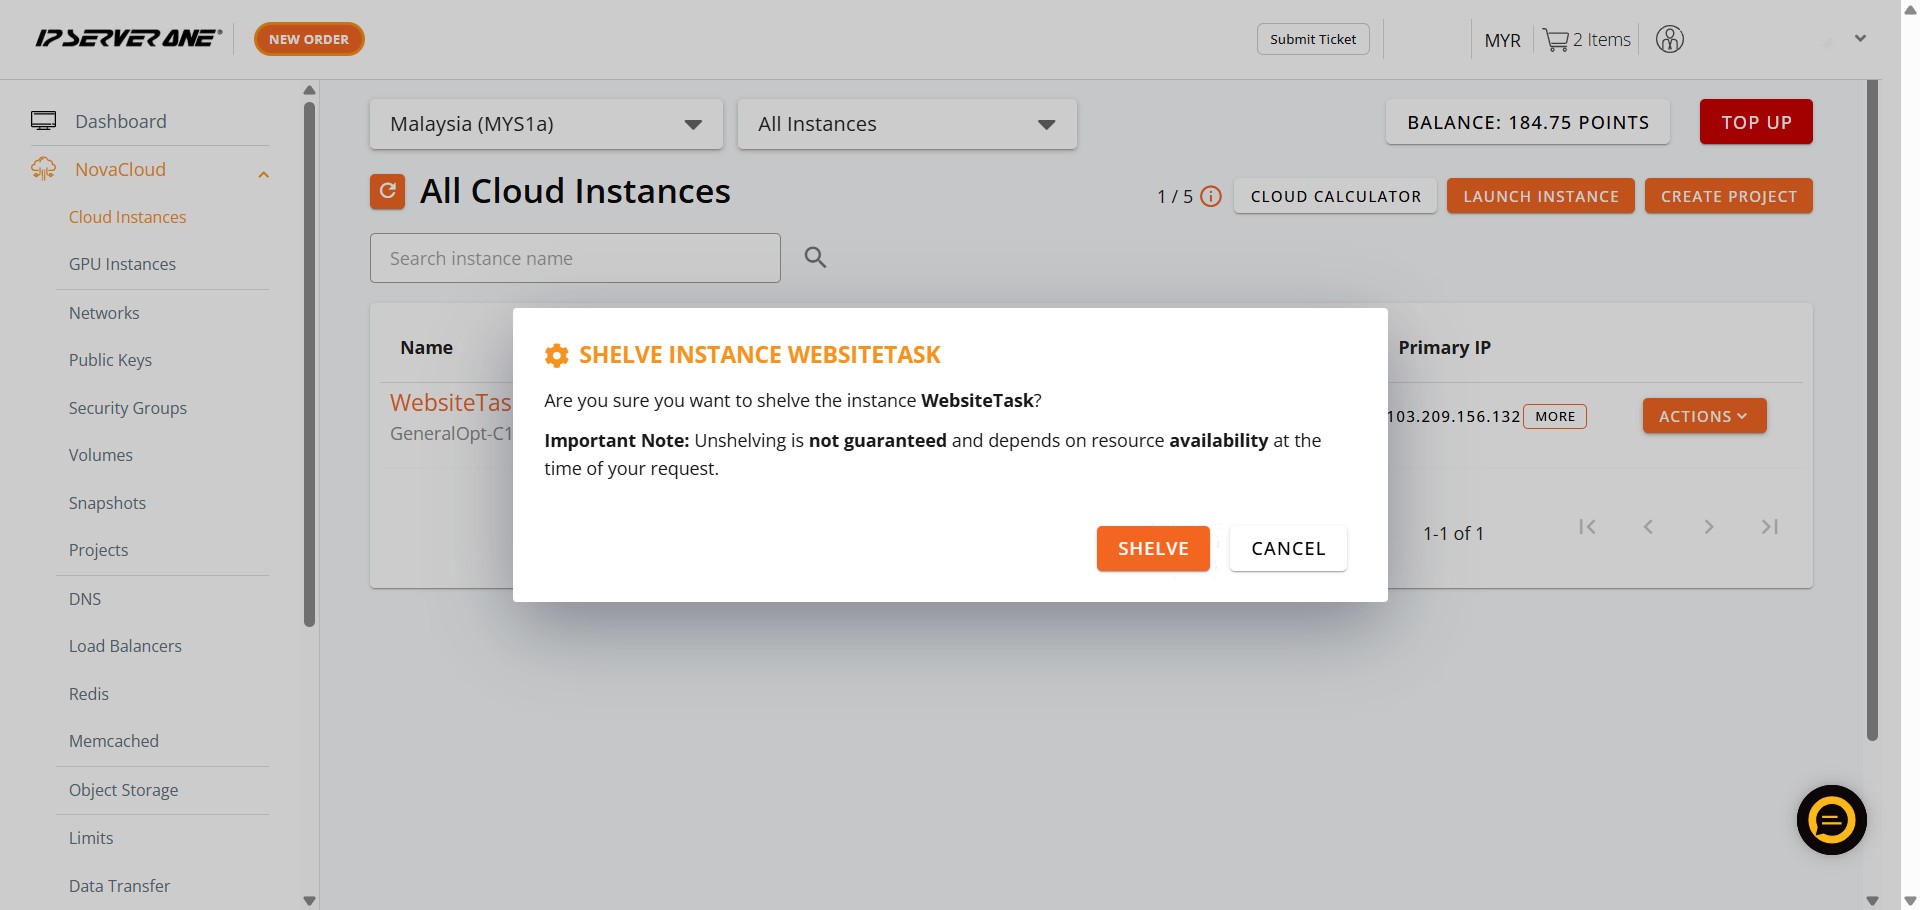
Step 5: Confirm Shelving Action
- To proceed with shelving the instance, click the “SHELEVE” button within the confirmation pop-up. This confirms your intent to reactivate the instance.
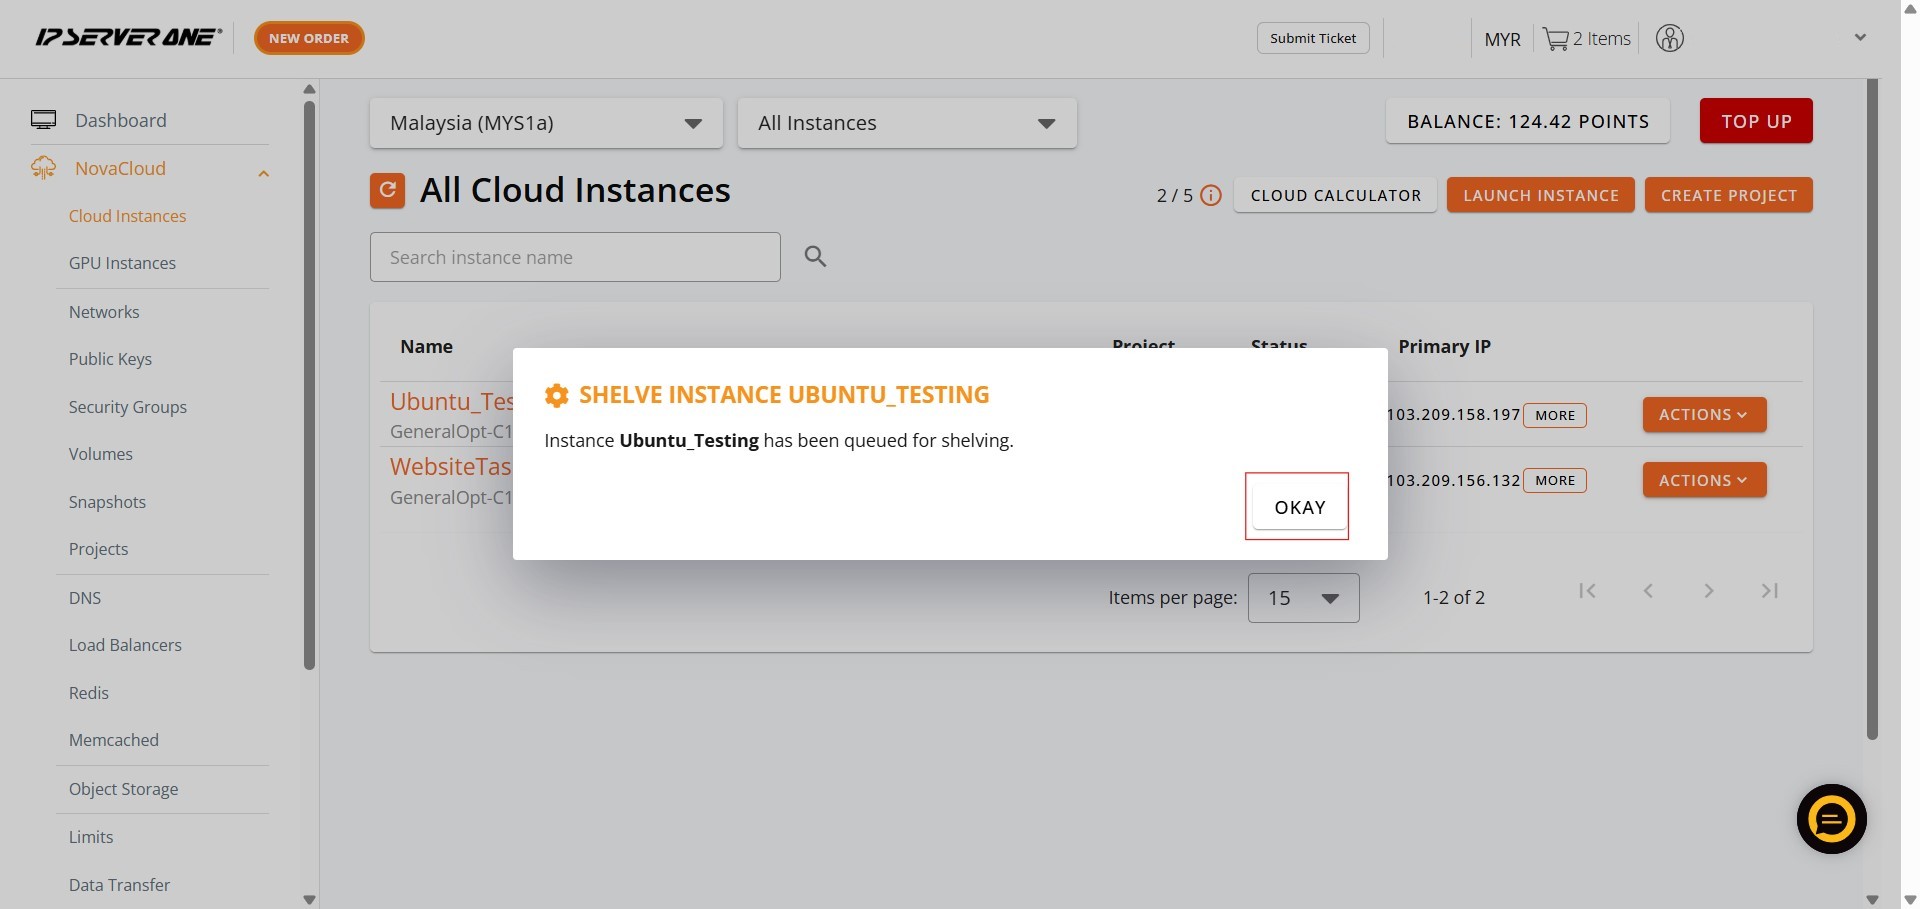
Step 6: Acknowledge Shelving Queue:
- After your confirmation, another pop-up window will appear.
- Click the “OKAY” button to close this notification.
- After the shelving process is complete, the status of your instance on the “All Cloud Instances” page will change to “Shelved”.
After Shelved:

Conclusion:
For NovaCloud users who rely on IPSERVERONE to manage their essential cloud infrastructure, the Customer Portal provides a vital mechanism for controlling the operational states of their cloud instances, including the process of shelving. This functionality is specifically designed for situations where a cloud instance is temporarily not needed for operation. Shelving an instance is a strategic action that effectively pauses its activity, while crucially preserving its current state and configuration, which is highly beneficial for resource management and optimizing cloud expenditures. This comprehensive approach ensures that users can effectively manage their cloud resources, adapting to fluctuating demands without the need to completely de-provision and later recreate instances, thus maintaining operational efficiency and flexibility.