Search Our Database
How to Share a Calendar in Google Calendar Web
Introduction:
For any Google Calendar user, the ability to distribute a schedule is a vital tool for fostering collaboration and professional coordination. Whether you are managing team projects or planning social events with friends or colleagues, the Google Calendar Web interface provides a robust mechanism to grant others access to your timeline.
By utilizing the “Settings and sharing” features within Google Calendar, you can effectively communicate your availability and project milestones. This process allows you to select specific permissions for each recipient—ensuring that your collaborators have the appropriate level of access to view or manage the calendar—while transforming a private schedule into a centralized platform for shared organization.
Prerequisites:
- You must be logged into a valid Google account.
- Ensure you are accessing the web-based version.
- You must have an established calendar available to share.
- Ensure you have the email addresses or names of the intended recipients ready to be entered into the “Add people and groups” field.
Step-by-step Guide:
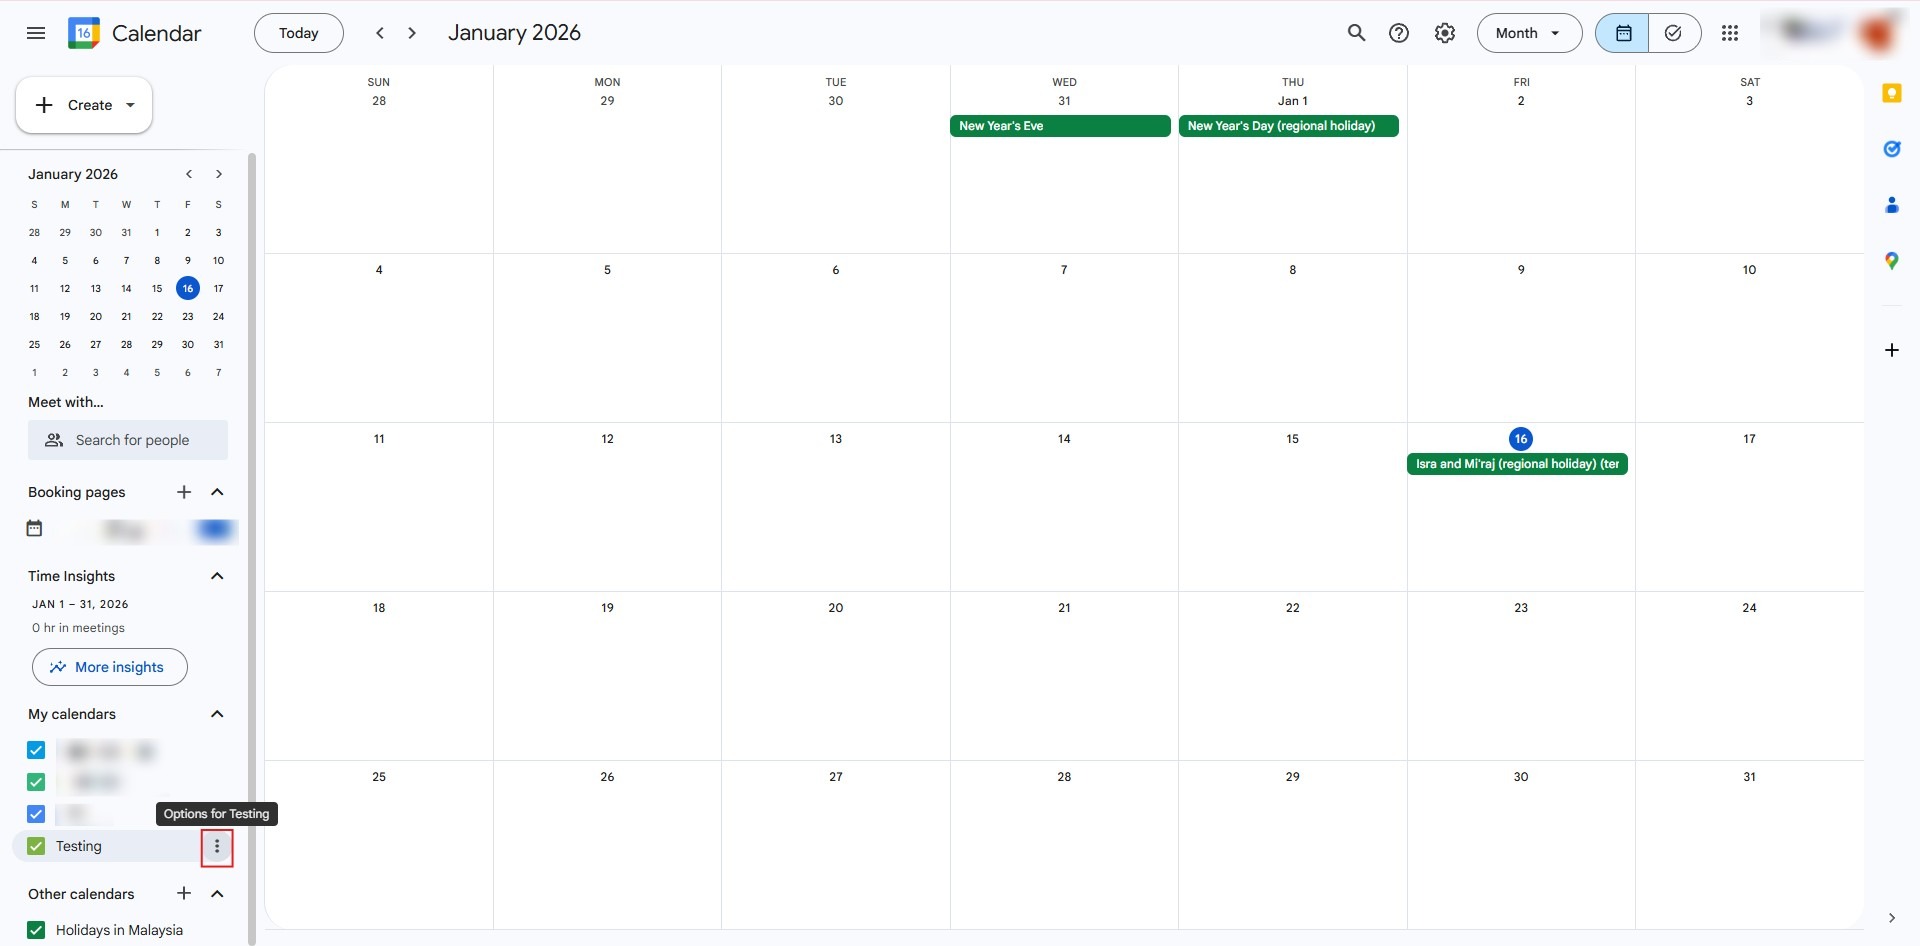
Step 1: Open Options
- Locate the calendar in your sidebar and click the three dots (options icon) next to its name.
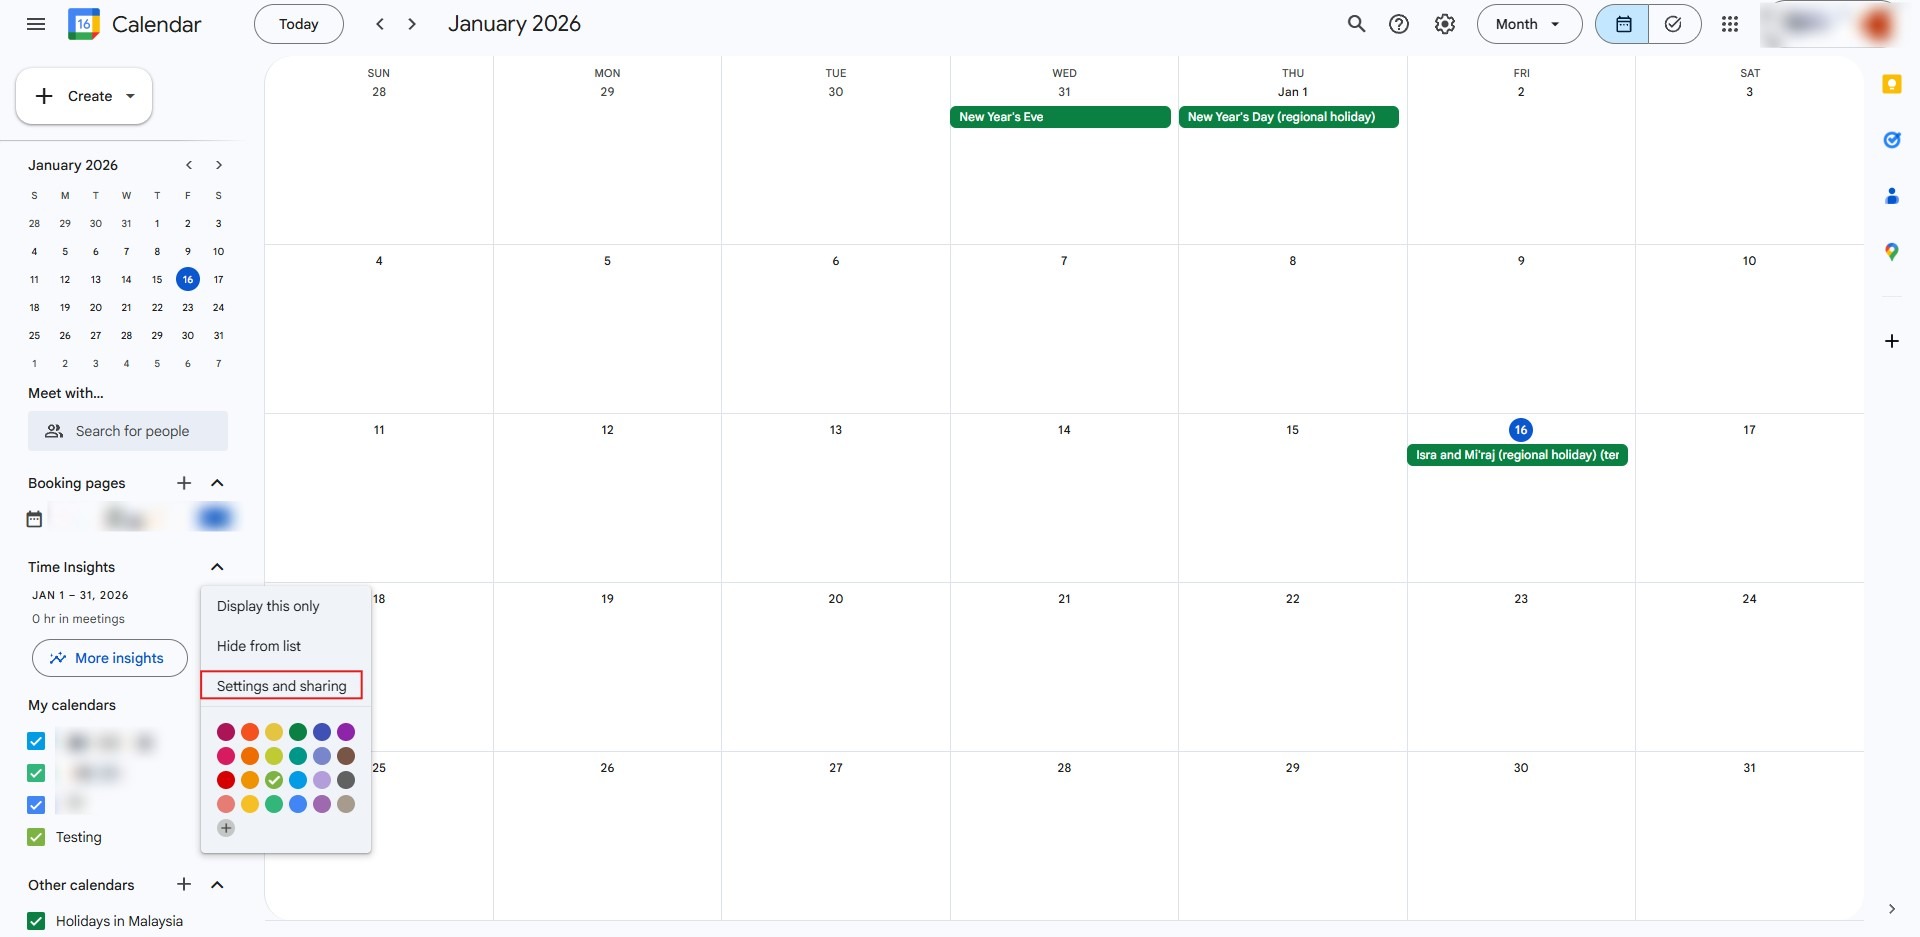
Step 2: Access Sharing
- Select “Settings and sharing” from the resulting dropdown menu.
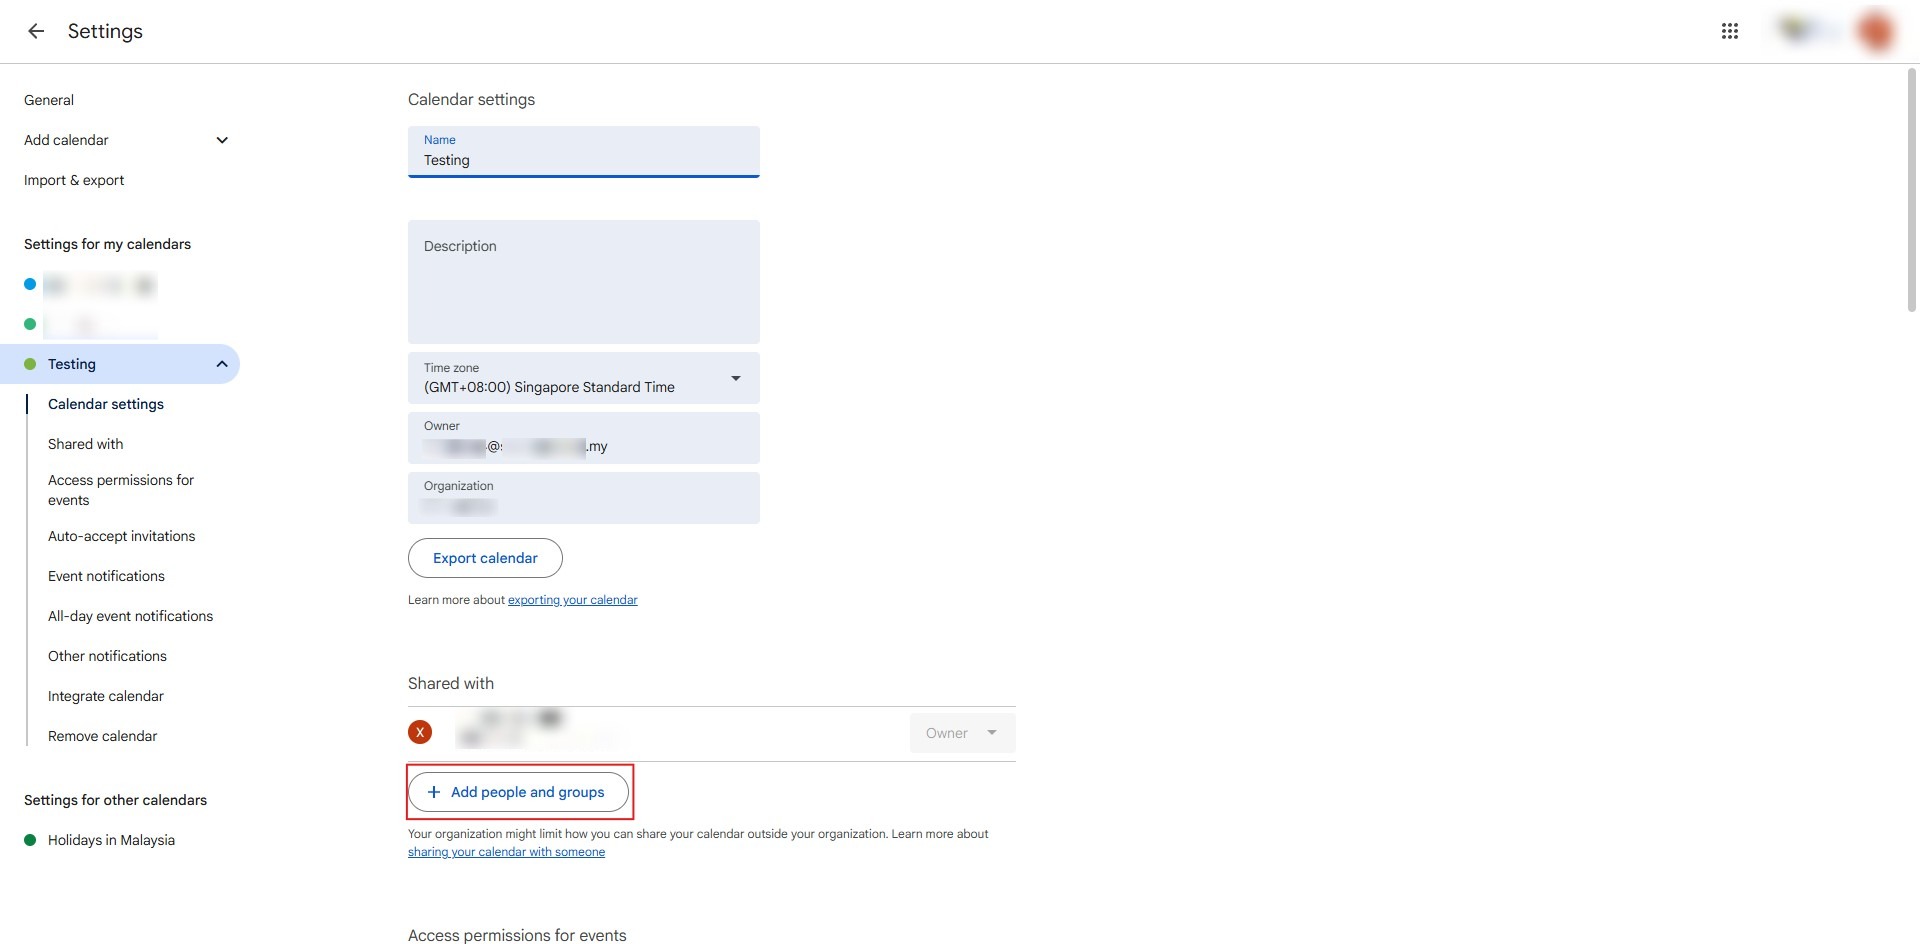
Step 3: Initiate Invitation
- Scroll to the sharing section and click the “Add people and groups” button.
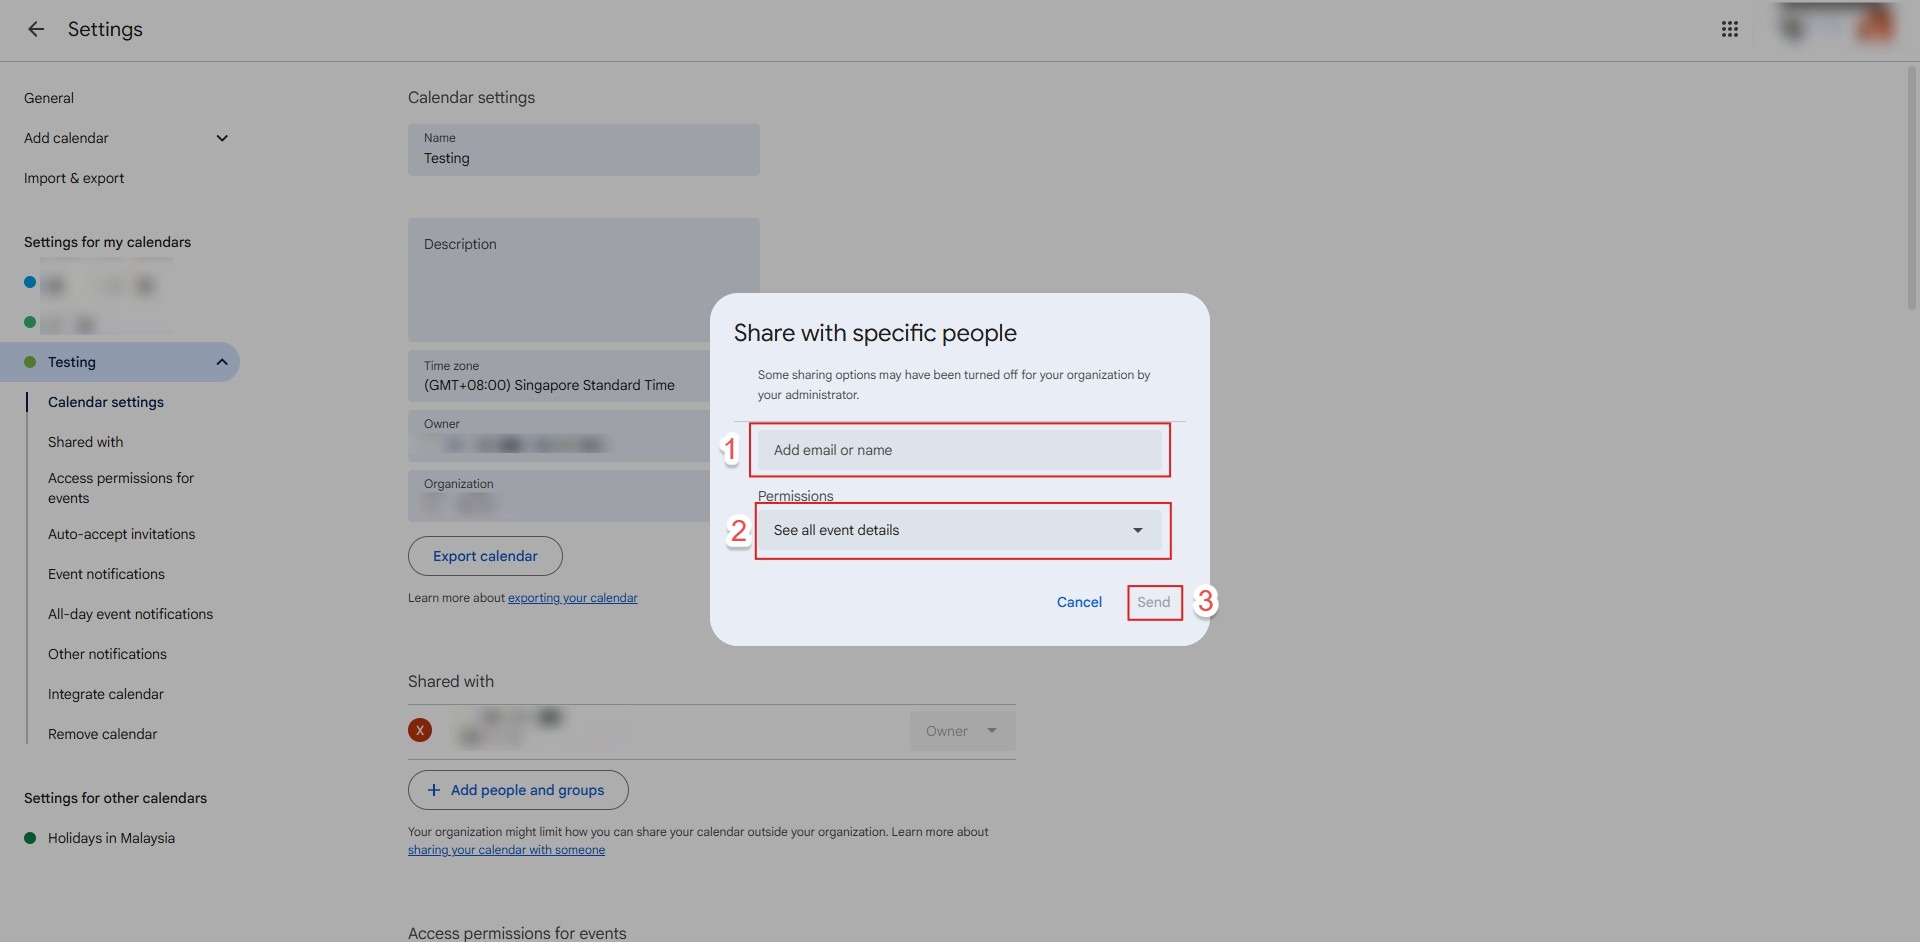
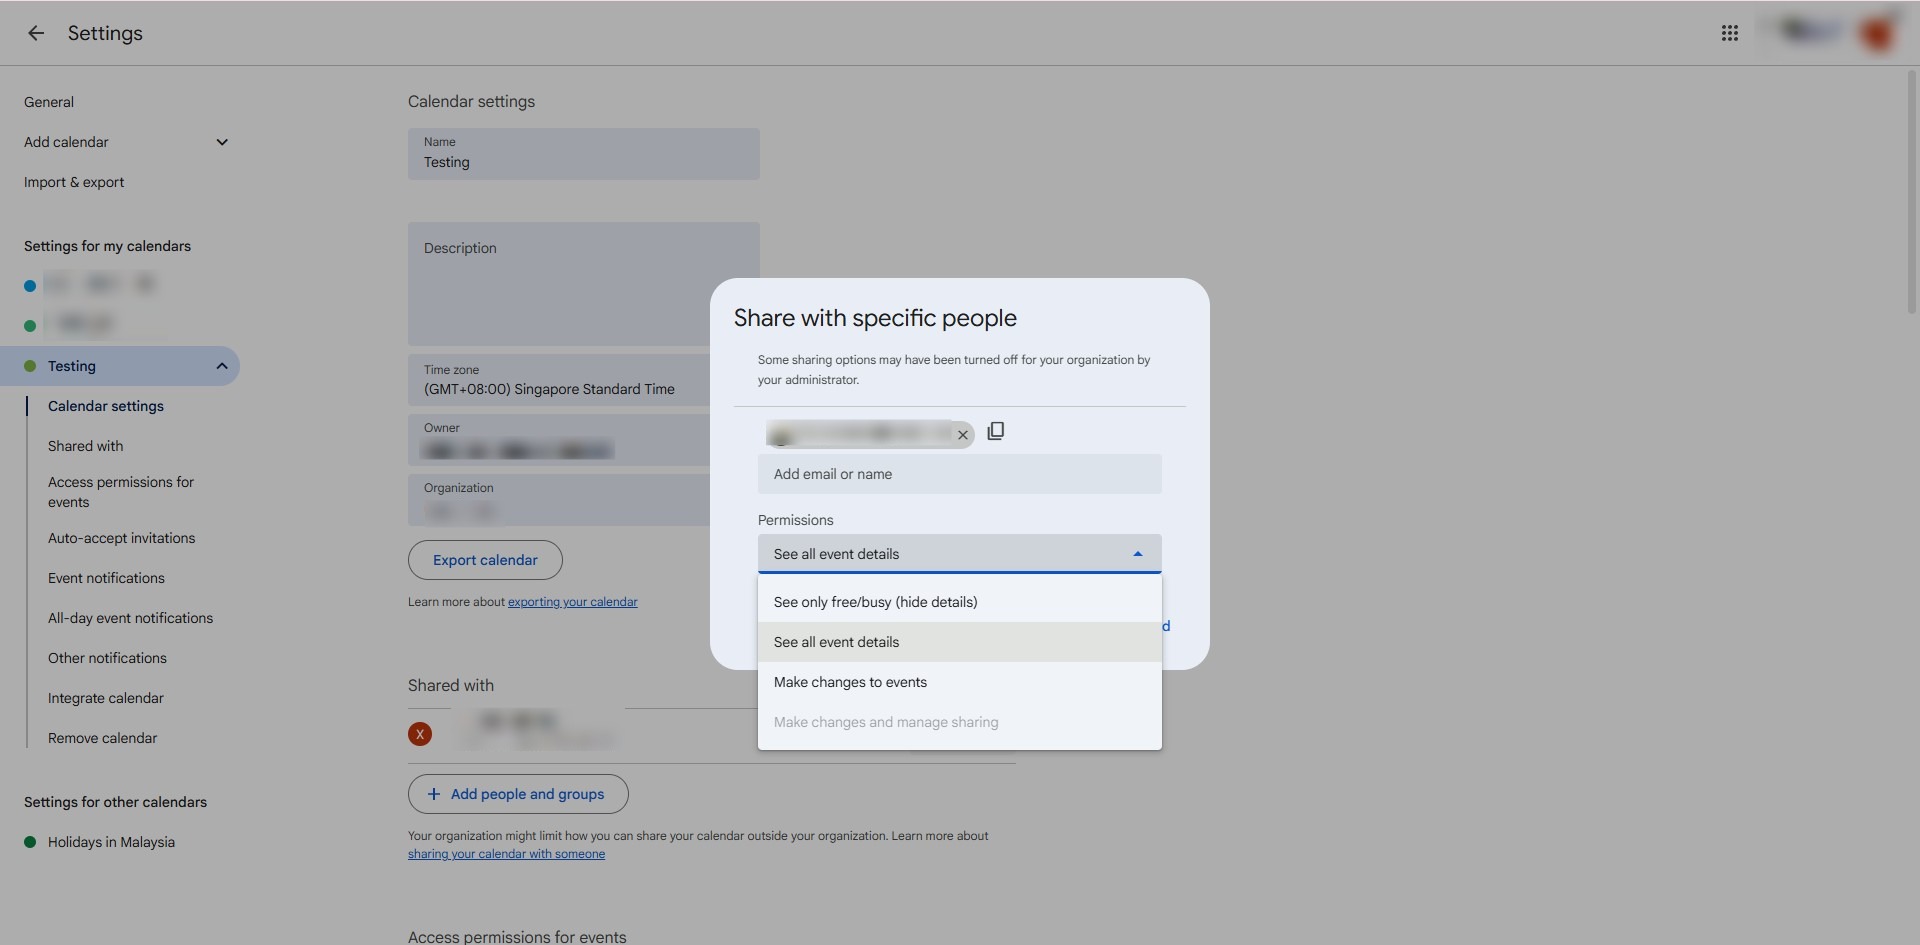
Step 4: Identify Recipients
- Key in the email address or name of the individual you wish to grant access to.
- Use the dropdown menu to select your preferred permission level based on how much access you want to grant.
- Click “Send” to deliver the invitation and finalize the shared access.
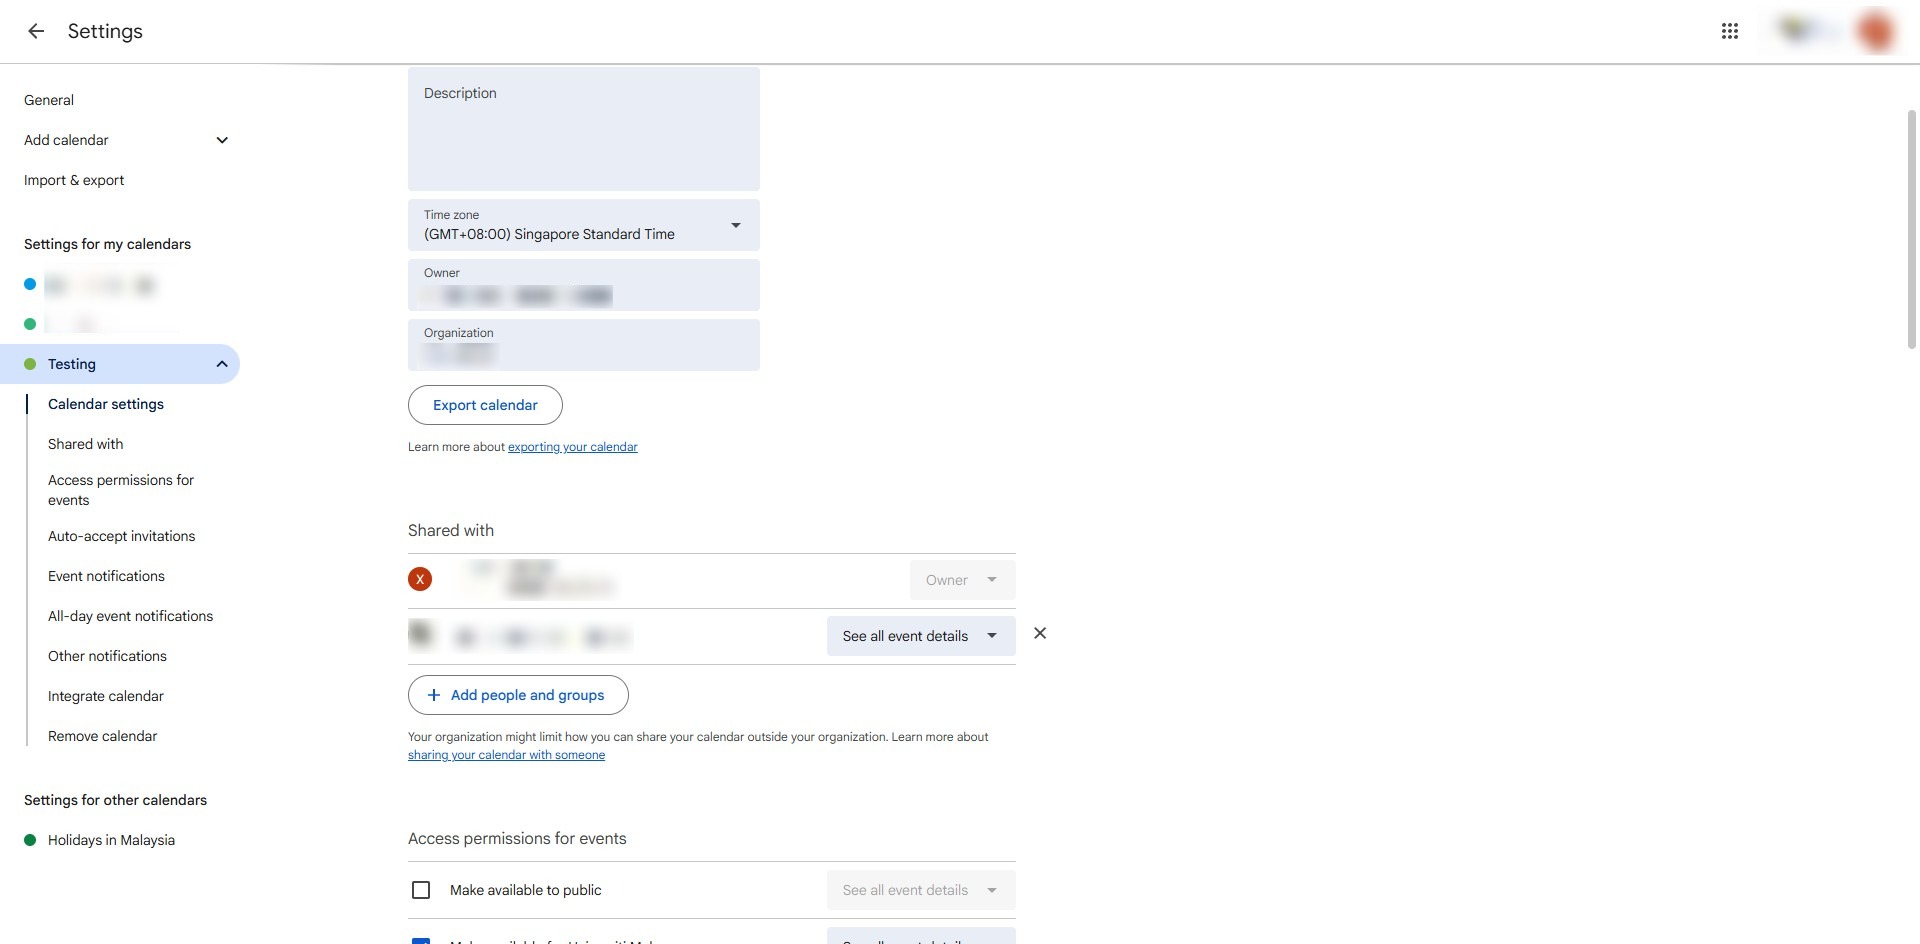
Step 5: Verify Success
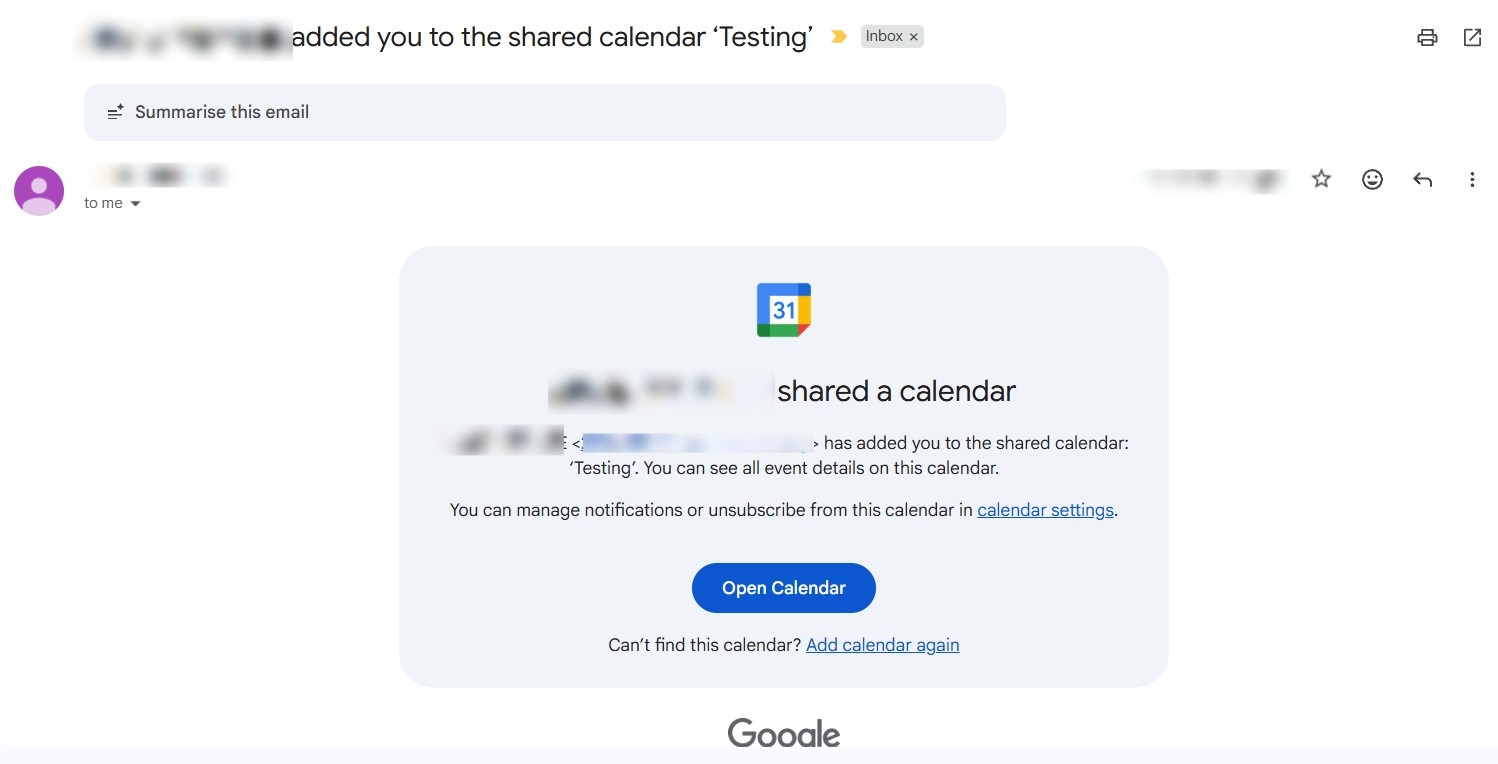
- Ensure the individual appears in your shared list to confirm a successful connection.
Conclusion:
By successfully sharing your calendar via the Google Calendar Web interface, you have established a collaborative environment that allows for seamless coordination with colleagues and friends. This functionality transforms a private timeline into a shared organizational tool, ensuring that all authorized stakeholders remain aligned on upcoming milestones and deadlines.
To maintain a professional and efficient shared environment, keep the following best practices in mind:
- Dynamic Permission Control: Use the “Settings and sharing” menu to periodically review who has access to your schedule. You can adjust permissions at any time—ranging from simple viewing rights to full management authority—to reflect changes in your team or project requirements.
- Targeted Collaboration: By adding specific people and groups via their email addresses, you ensure that your schedule is only visible to those who need it, maintaining the privacy of your data while fostering transparent communication.
- Workflow Integration: Managing shared calendars in conjunction with specialized calendars (created via the “Create New Calendar” feature) allows you to isolate different project streams and maintain a high level of organizational clarity.