Search Our Database
How to setup email on Thunderbird (IMAP/POP3)
Introduction
This comprehensive guide will walk you through the process of setting up an email account in Thunderbird, one of the most popular and versatile open-source email clients. Whether you’re a new user or transitioning from another email platform, this guide will assist you in configuring your email account using either the IMAP or POP3 protocols. IMAP allows you to synchronize your emails across multiple devices, while POP3 downloads messages to a single device. By the end of this process, you will have a fully configured email account that will enable you to send, receive, and manage emails seamlessly within Thunderbird. This guide is designed to simplify the setup process, ensuring that your email is ready to use with minimal effort.
Prerequisites
- A working email account.
- Thunderbird installed on your computer.
- The server settings for your email provider (IMAP/POP3, server hostname, SSL settings).
Step-by-Step Guide
Step 1: Start setting up the account
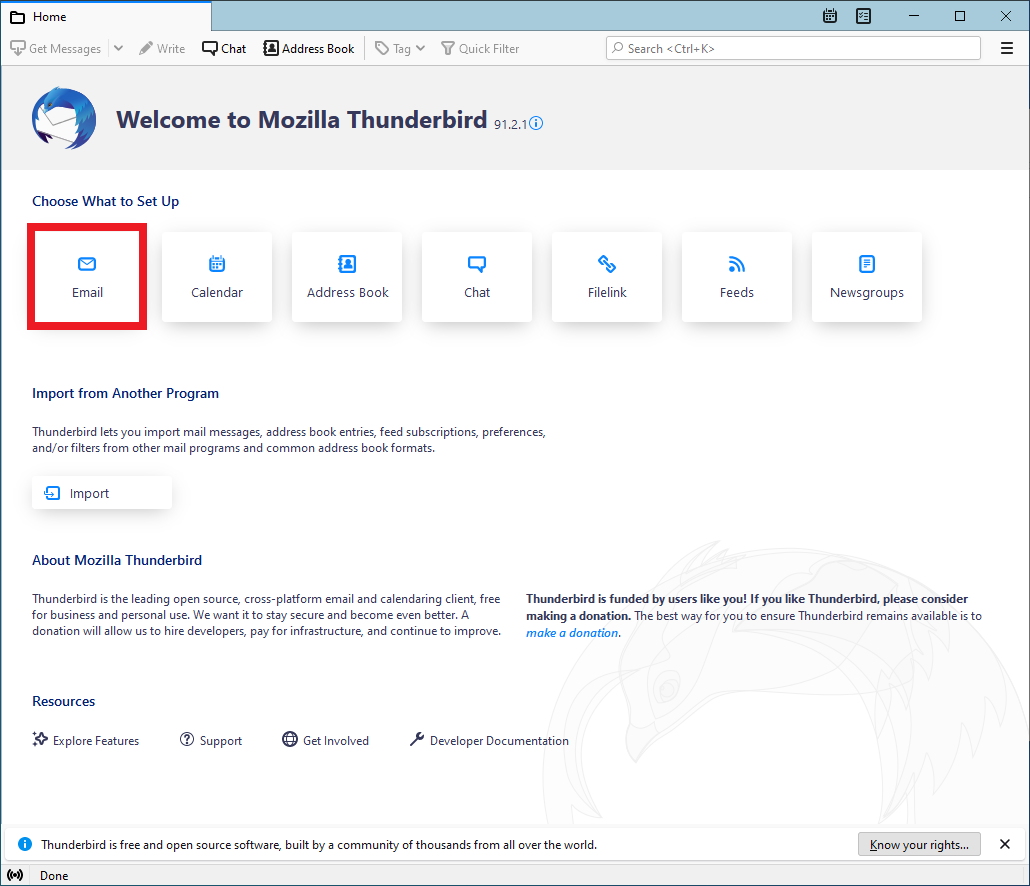
- Open Thunderbird.
- Click on Email under the “Set up an account” section.
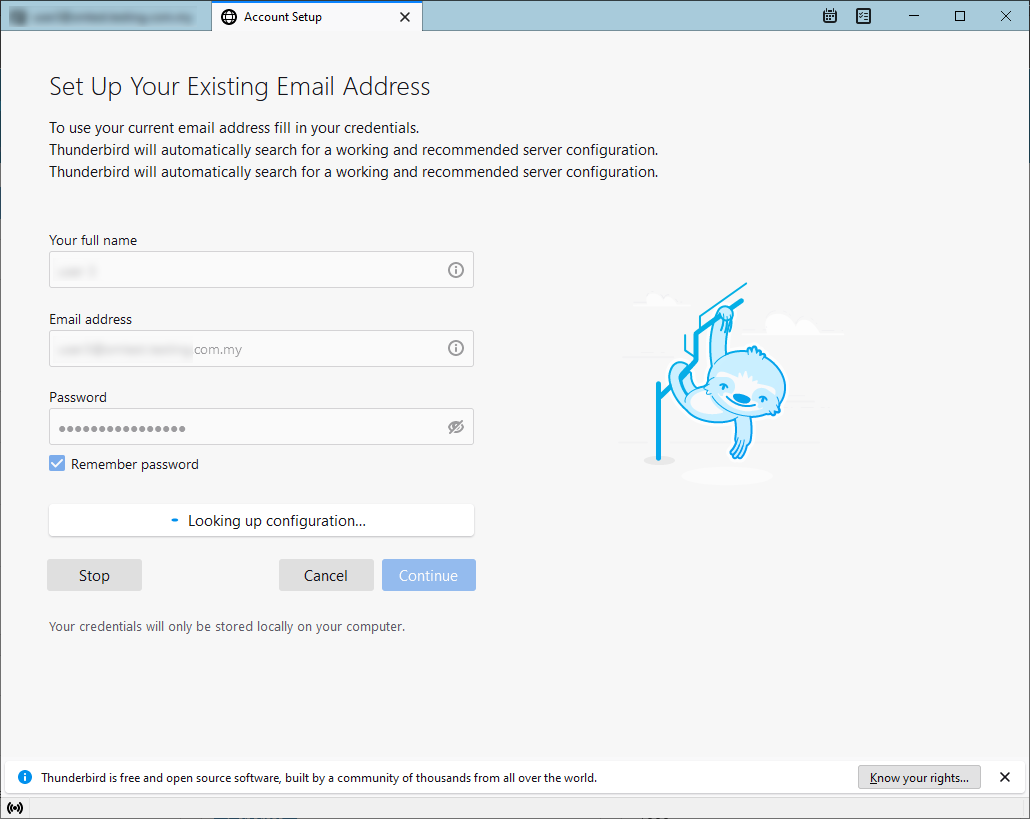
Step 2: Enter account details
- Enter your email account details (name, email address, and password).
- Tick Remember password to save your login credentials.
- Click on Continue.
Thunderbird will attempt to automatically look up the account configuration.
Step 3: Choose IMAP or POP3
Once the configuration lookup is complete, you will be prompted to select either IMAP or POP3 based on your preference.
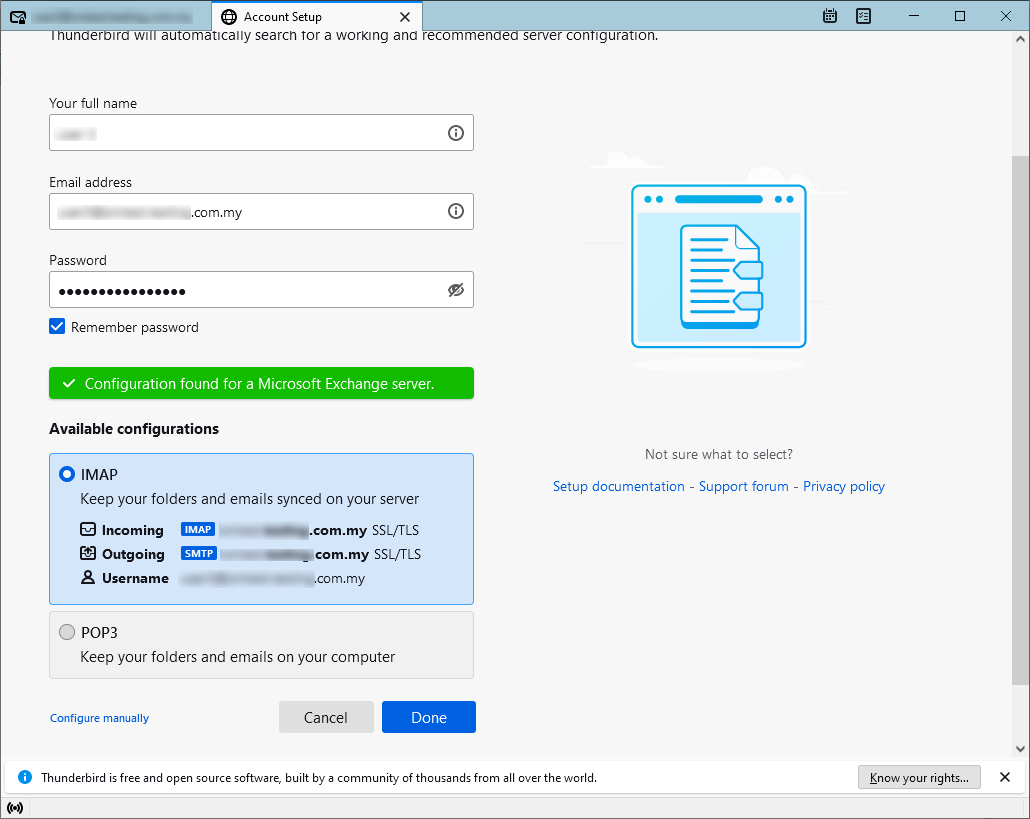
- If you do not want to configure the account manually, proceed to the next step.
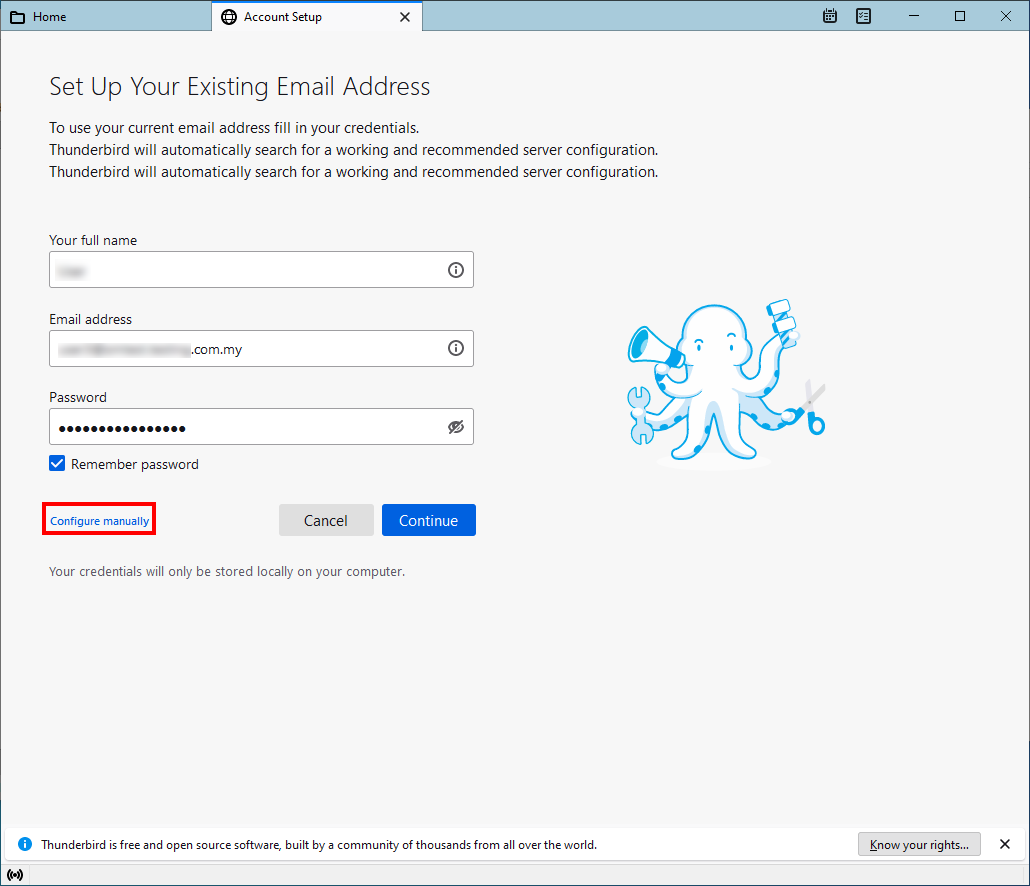
- Optional: If you prefer to configure the account manually, click on Configure manually.
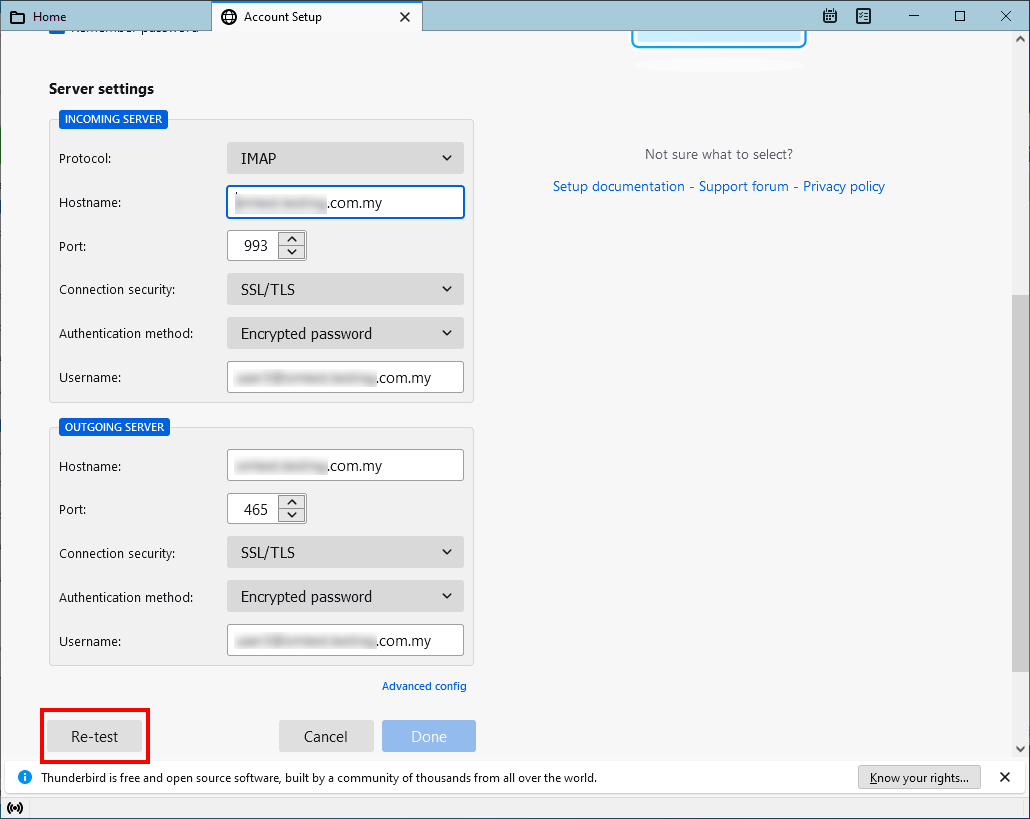
Step 4: Manual configuration (optional)
- Fill in the mail server settings:
- Server hostname: mail.<yourdomain>.com
- Choose the desired protocol: IMAP or POP3.

- Once all fields are filled, click Re-test.
If successful, a green prompt will appear confirming the settings.

Step 5: Complete the setup
- Click Done to finalize the setup.
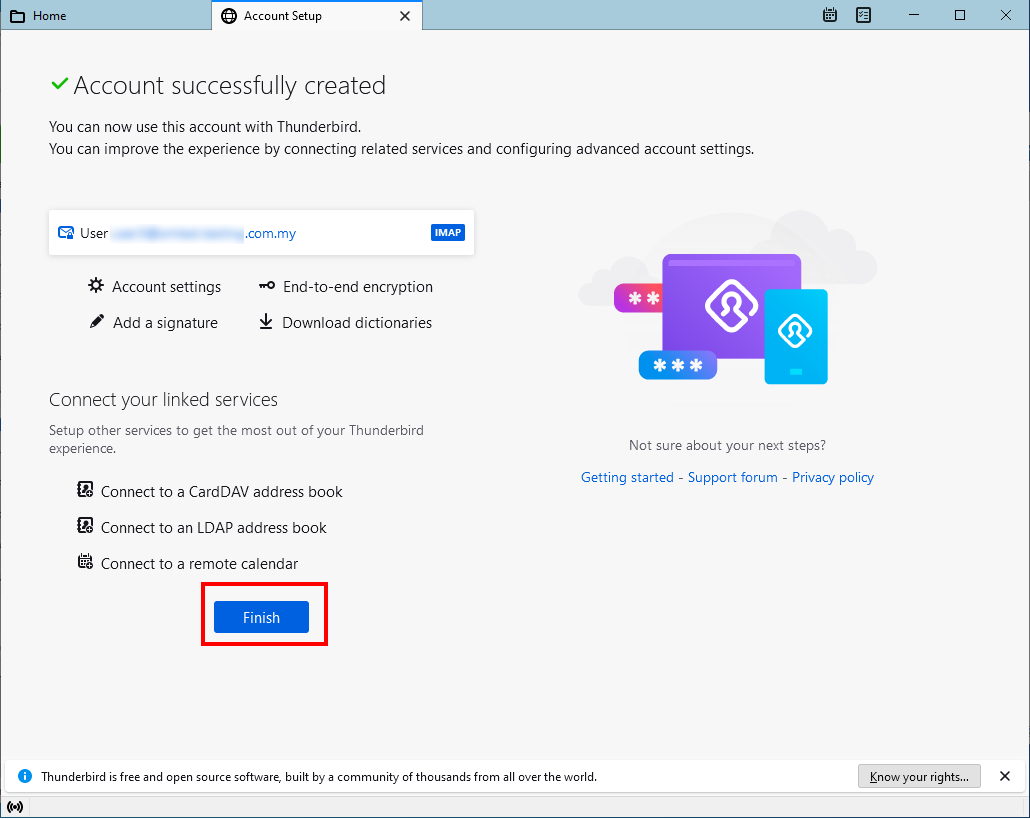
Step 6: Confirm account creation
After the configuration is complete, Thunderbird will display the message Account successfully created. Click Finish.
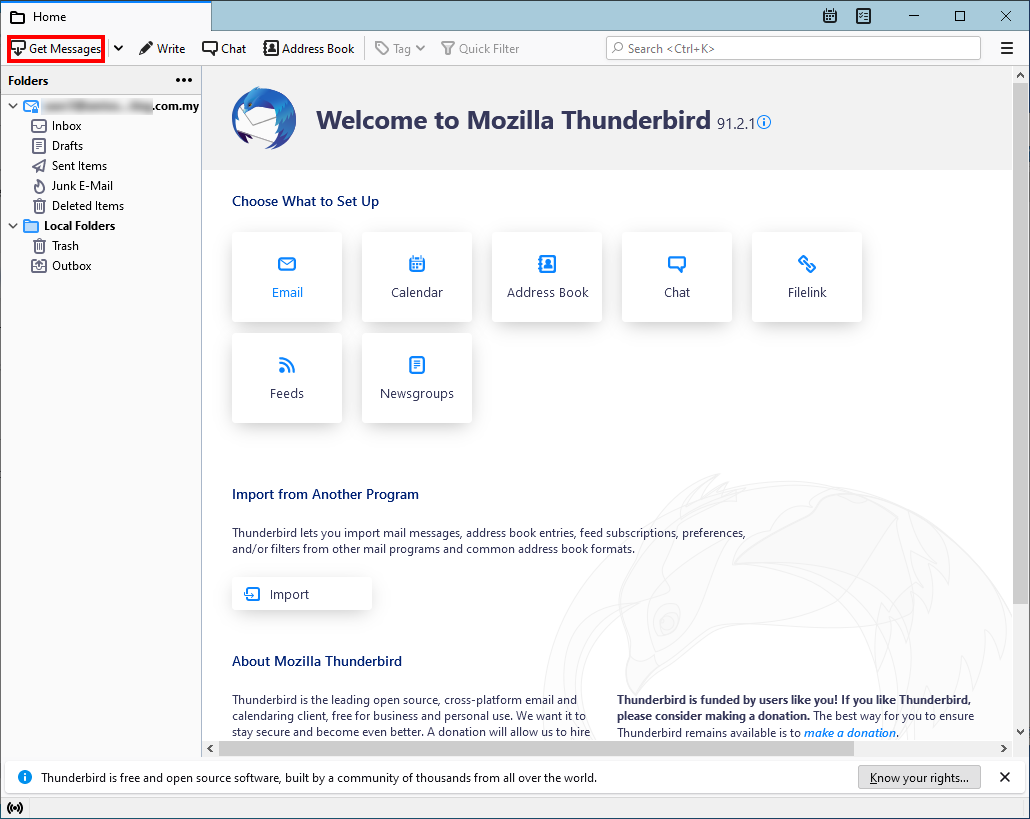
Step 7: Sync your emails
- Select your newly added email account from the left-side panel.
- Click Get Messages to start synchronizing your emails with Thunderbird.
Conclusion
Your email account is now successfully set up in Thunderbird, and you can begin receiving, sending, and managing your emails with ease. Thunderbird’s user-friendly interface and flexible features make it a powerful tool for both personal and professional email management. Whether you’ve configured your account using IMAP to keep your emails synchronized across multiple devices or POP3 for localized email storage, you are now ready to make the most out of Thunderbird’s capabilities.
If you encounter any issues during setup or while using Thunderbird, or if you need further assistance customizing your email settings, don’t hesitate to reach out to our support team. We are always here to help ensure you have a smooth and trouble-free experience. For additional assistance or if you encounter any issues, please contact our support team at support@ipserverone.com.
Article posted on 20 March 2020 by Louis