Search Our Database
How to Set Autoresponder Duration using cPanel
Introduction
This Knowledge Base article provides a simple, step-by-step guide on How to Set Autoresponder Duration using cPanel. Configuring start and stop times for your autoresponder allows you to automatically activate and deactivate automatic responses for specific periods, such as vacations or business trips. Use this guide when you need to schedule when your autoresponder should begin and end sending automatic replies.
Prerequisite
- Access to your cPanel login page.
Step-by-Step Guide
Step 1: Log in to cPanel
-
Access your cPanel account using your username and password.
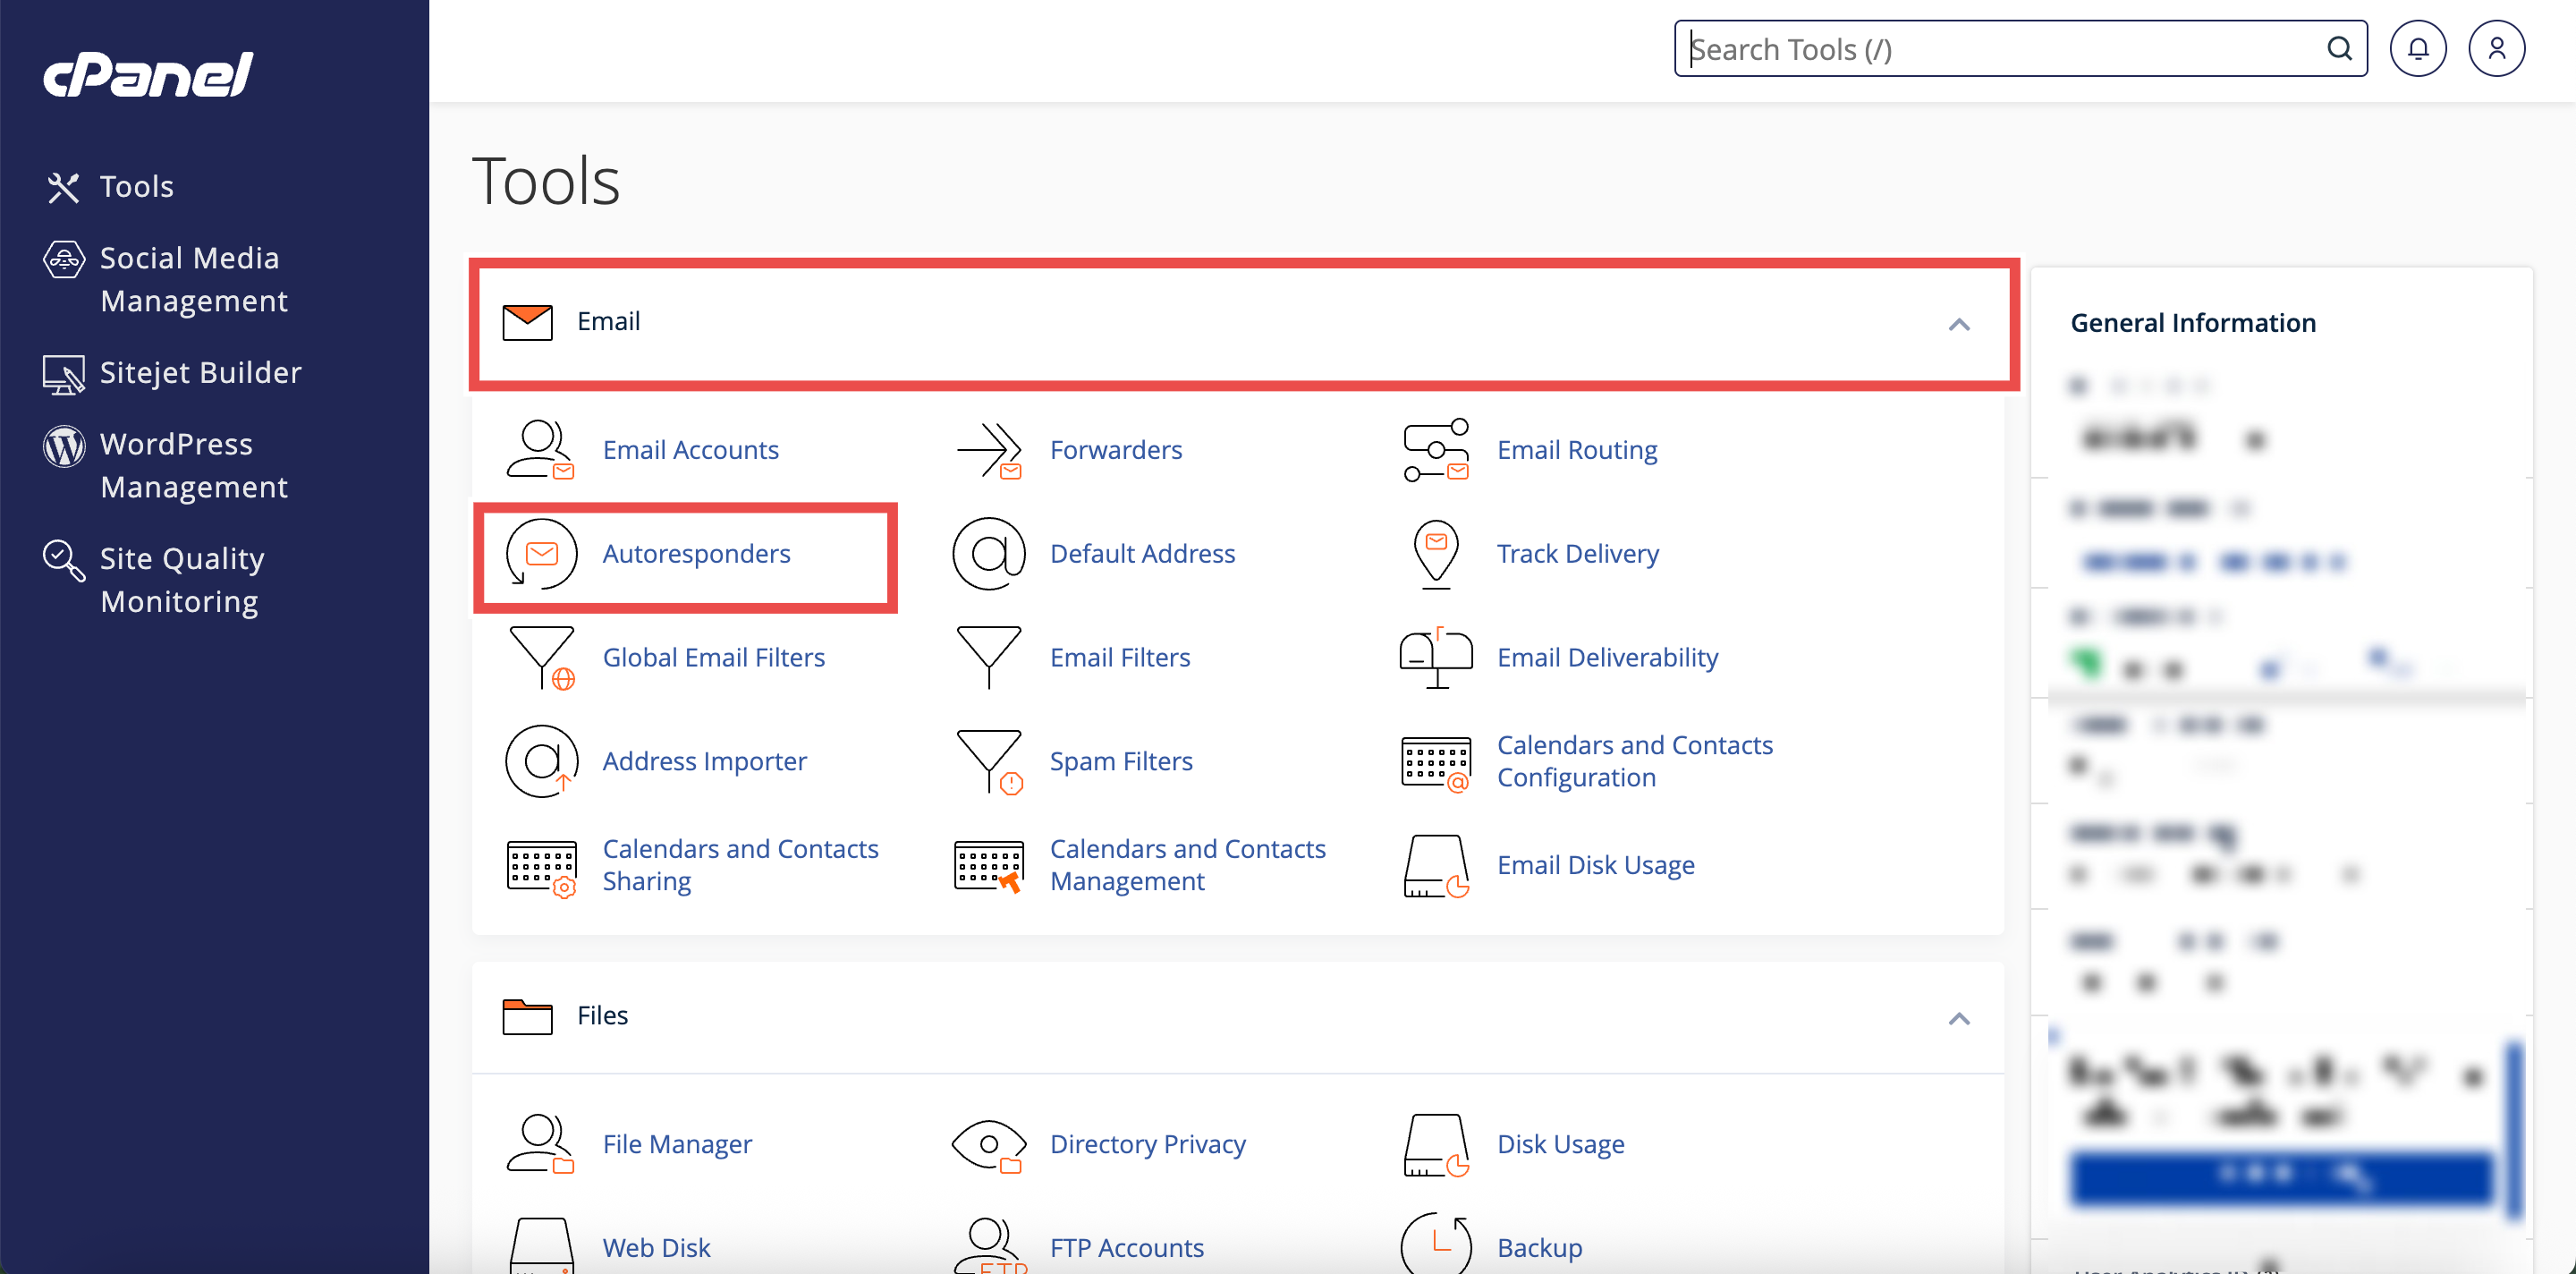
Step 2: Open Autoresponders
- In the Home page, under the Email section, click Autoresponders.
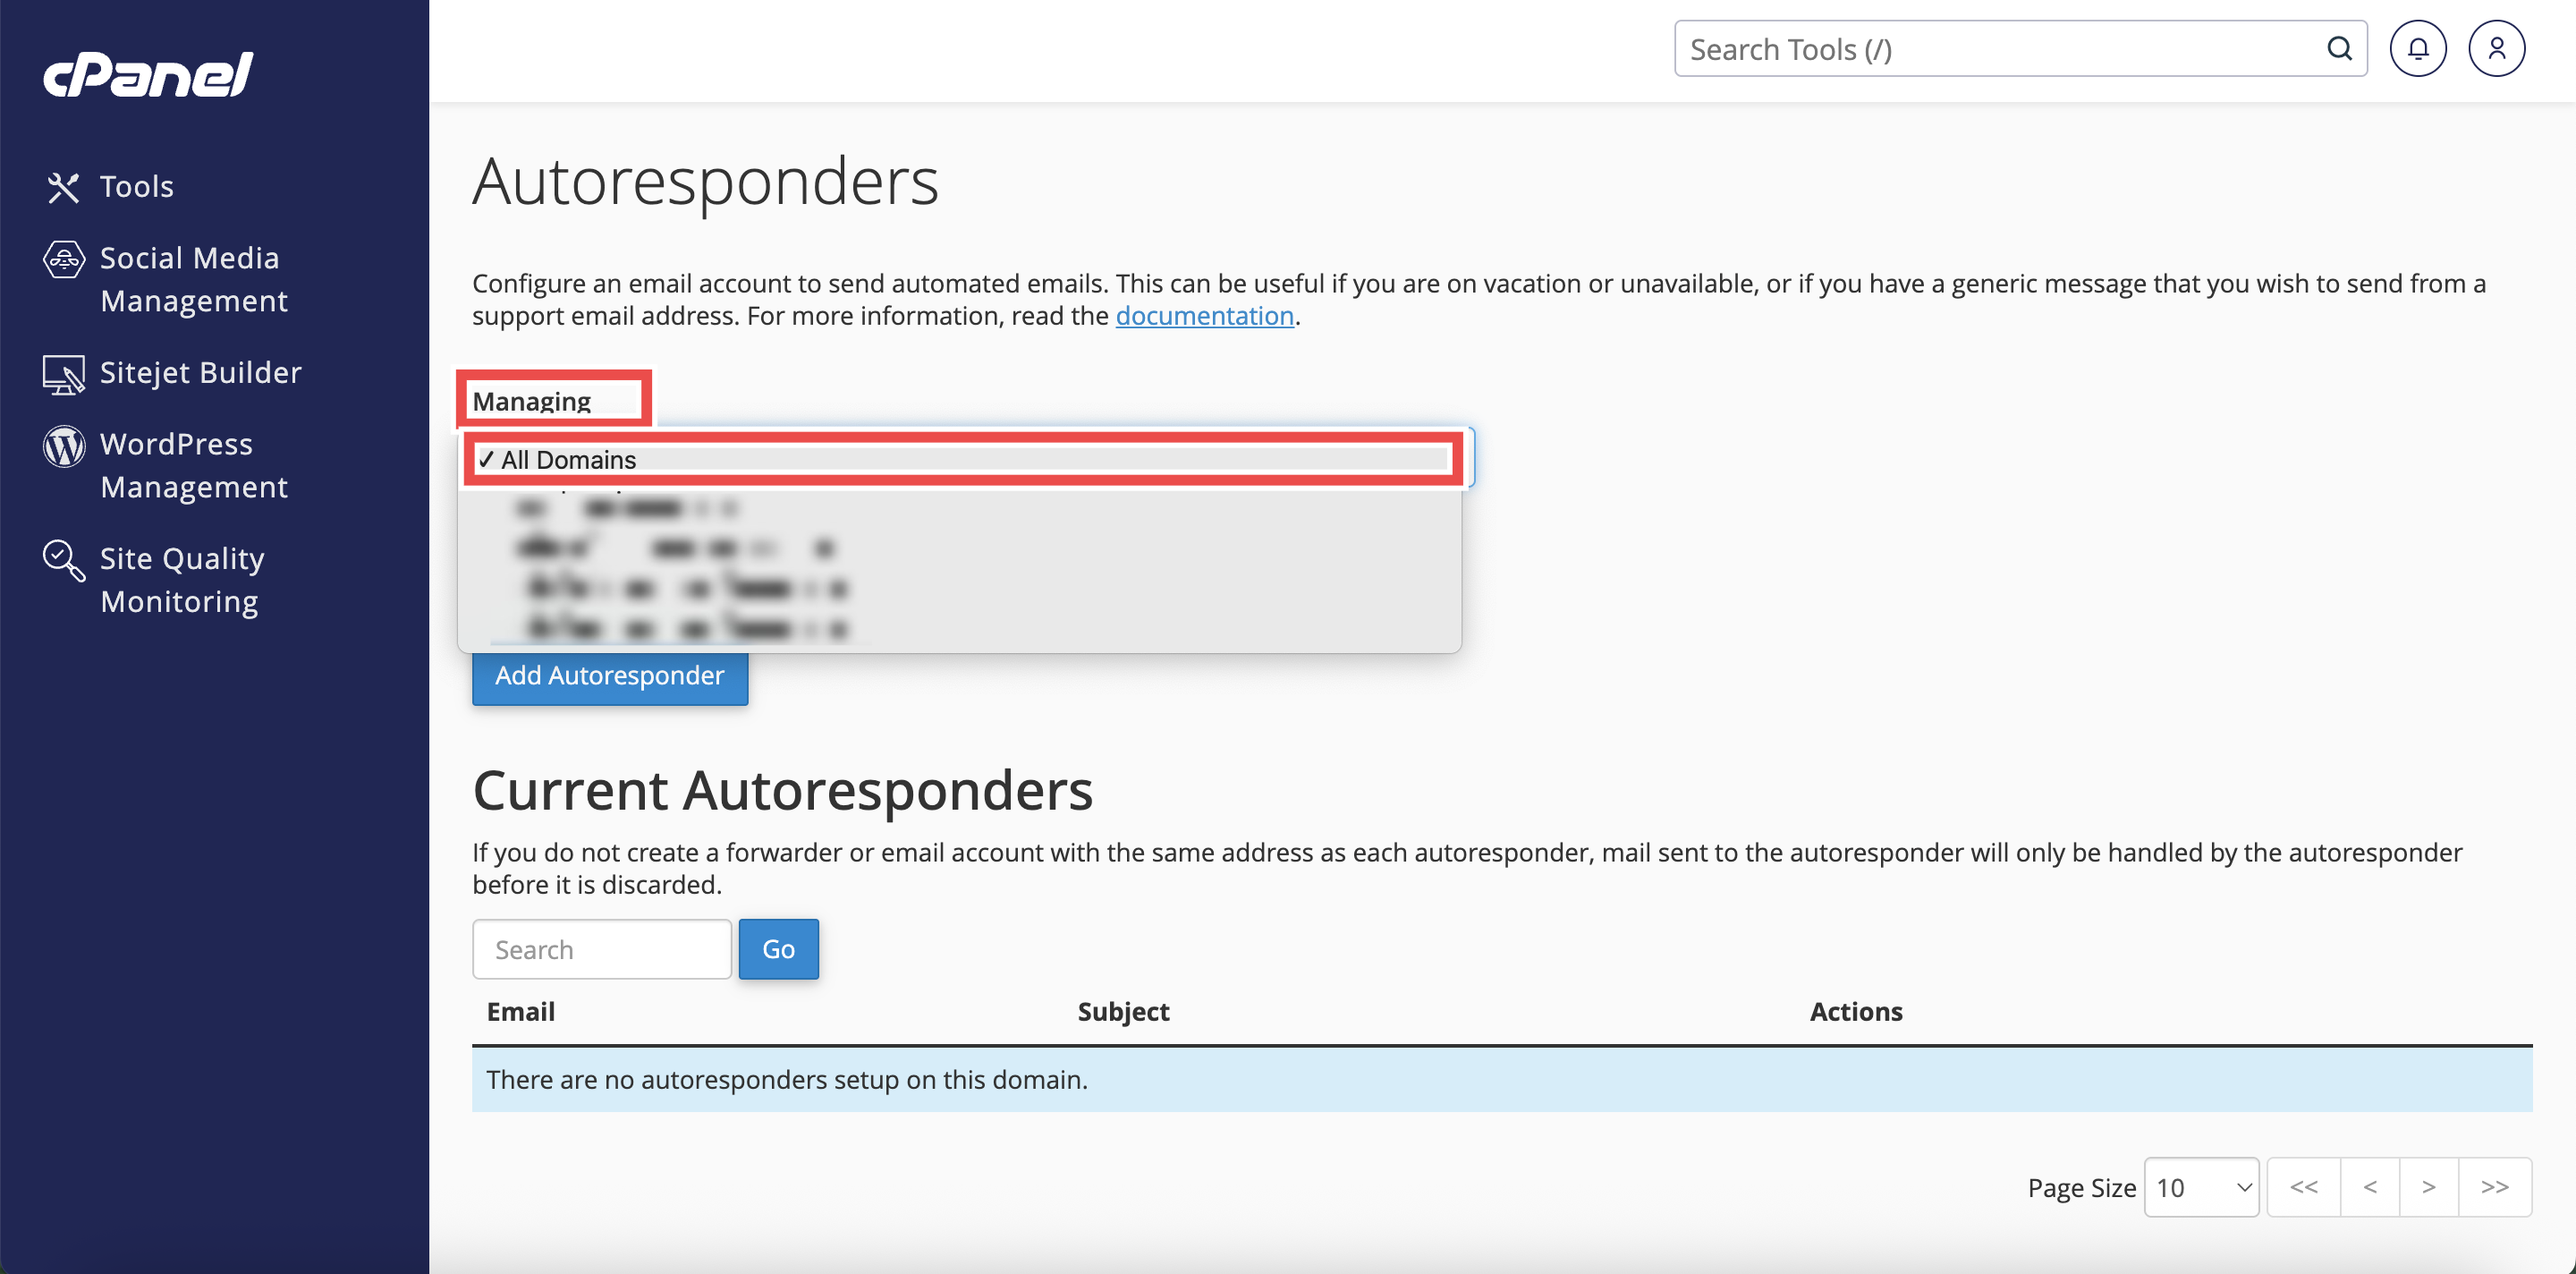
Step 3: Select Your Domain
- From the Managing menu on the top left side of the interface, select the domain for which you want to configure an autoresponder.
⚠️ Important Note:
- Select All Domains if you want the autoresponders to be applied to all of your domain.
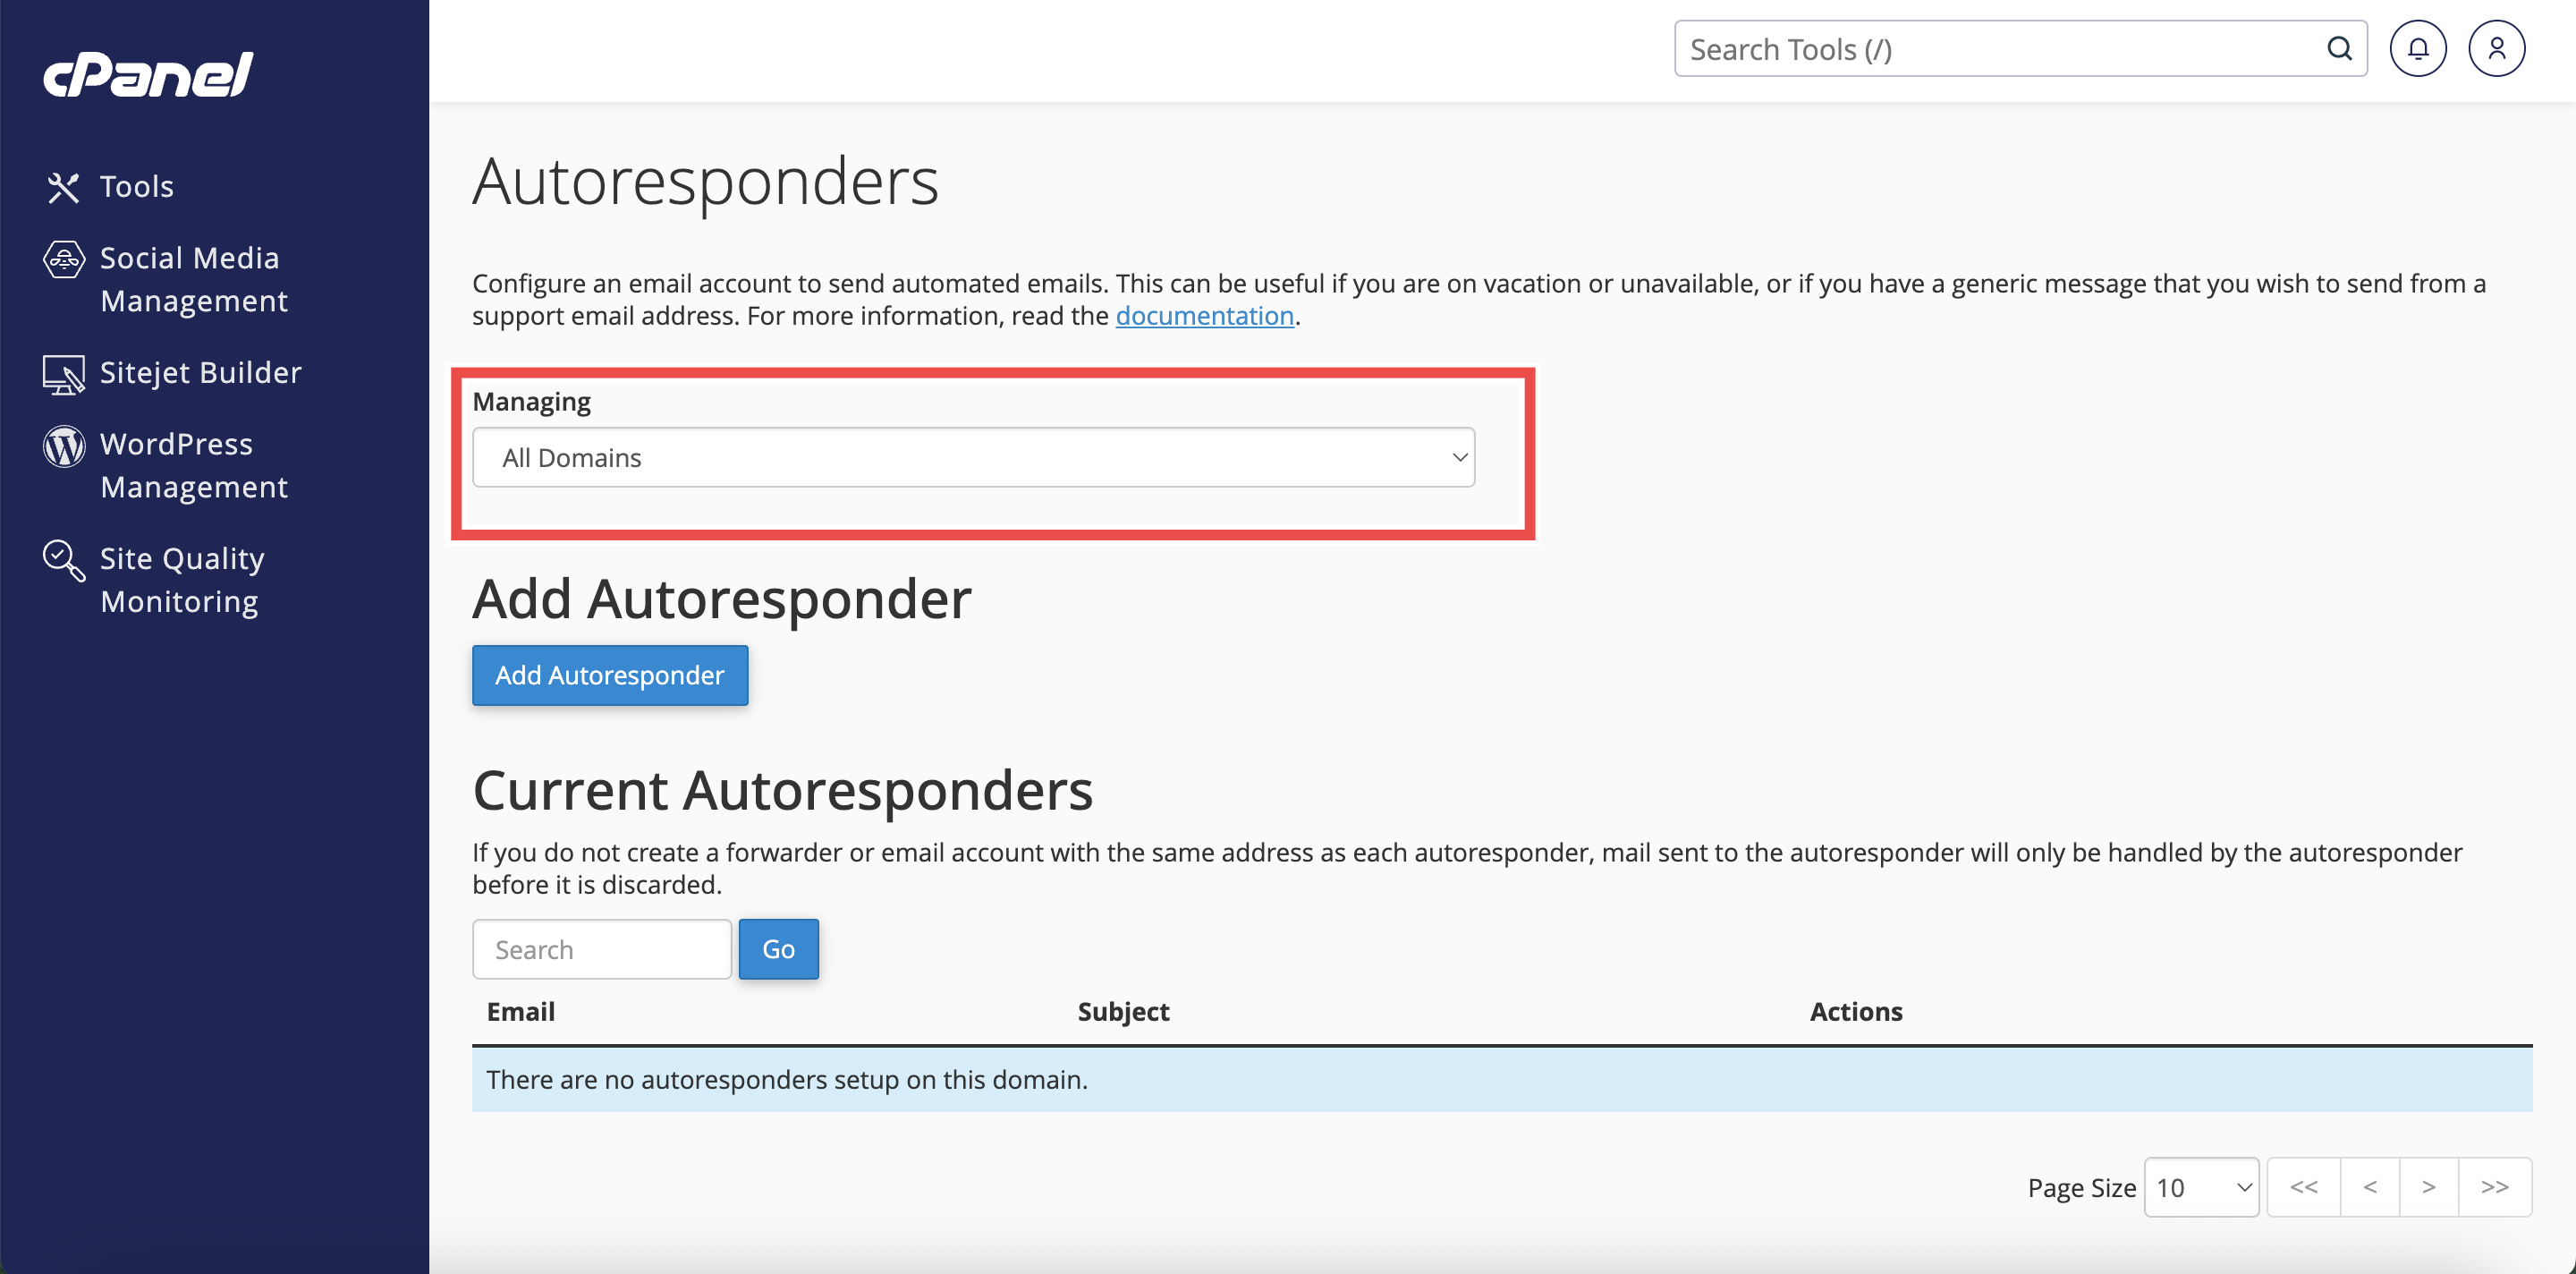
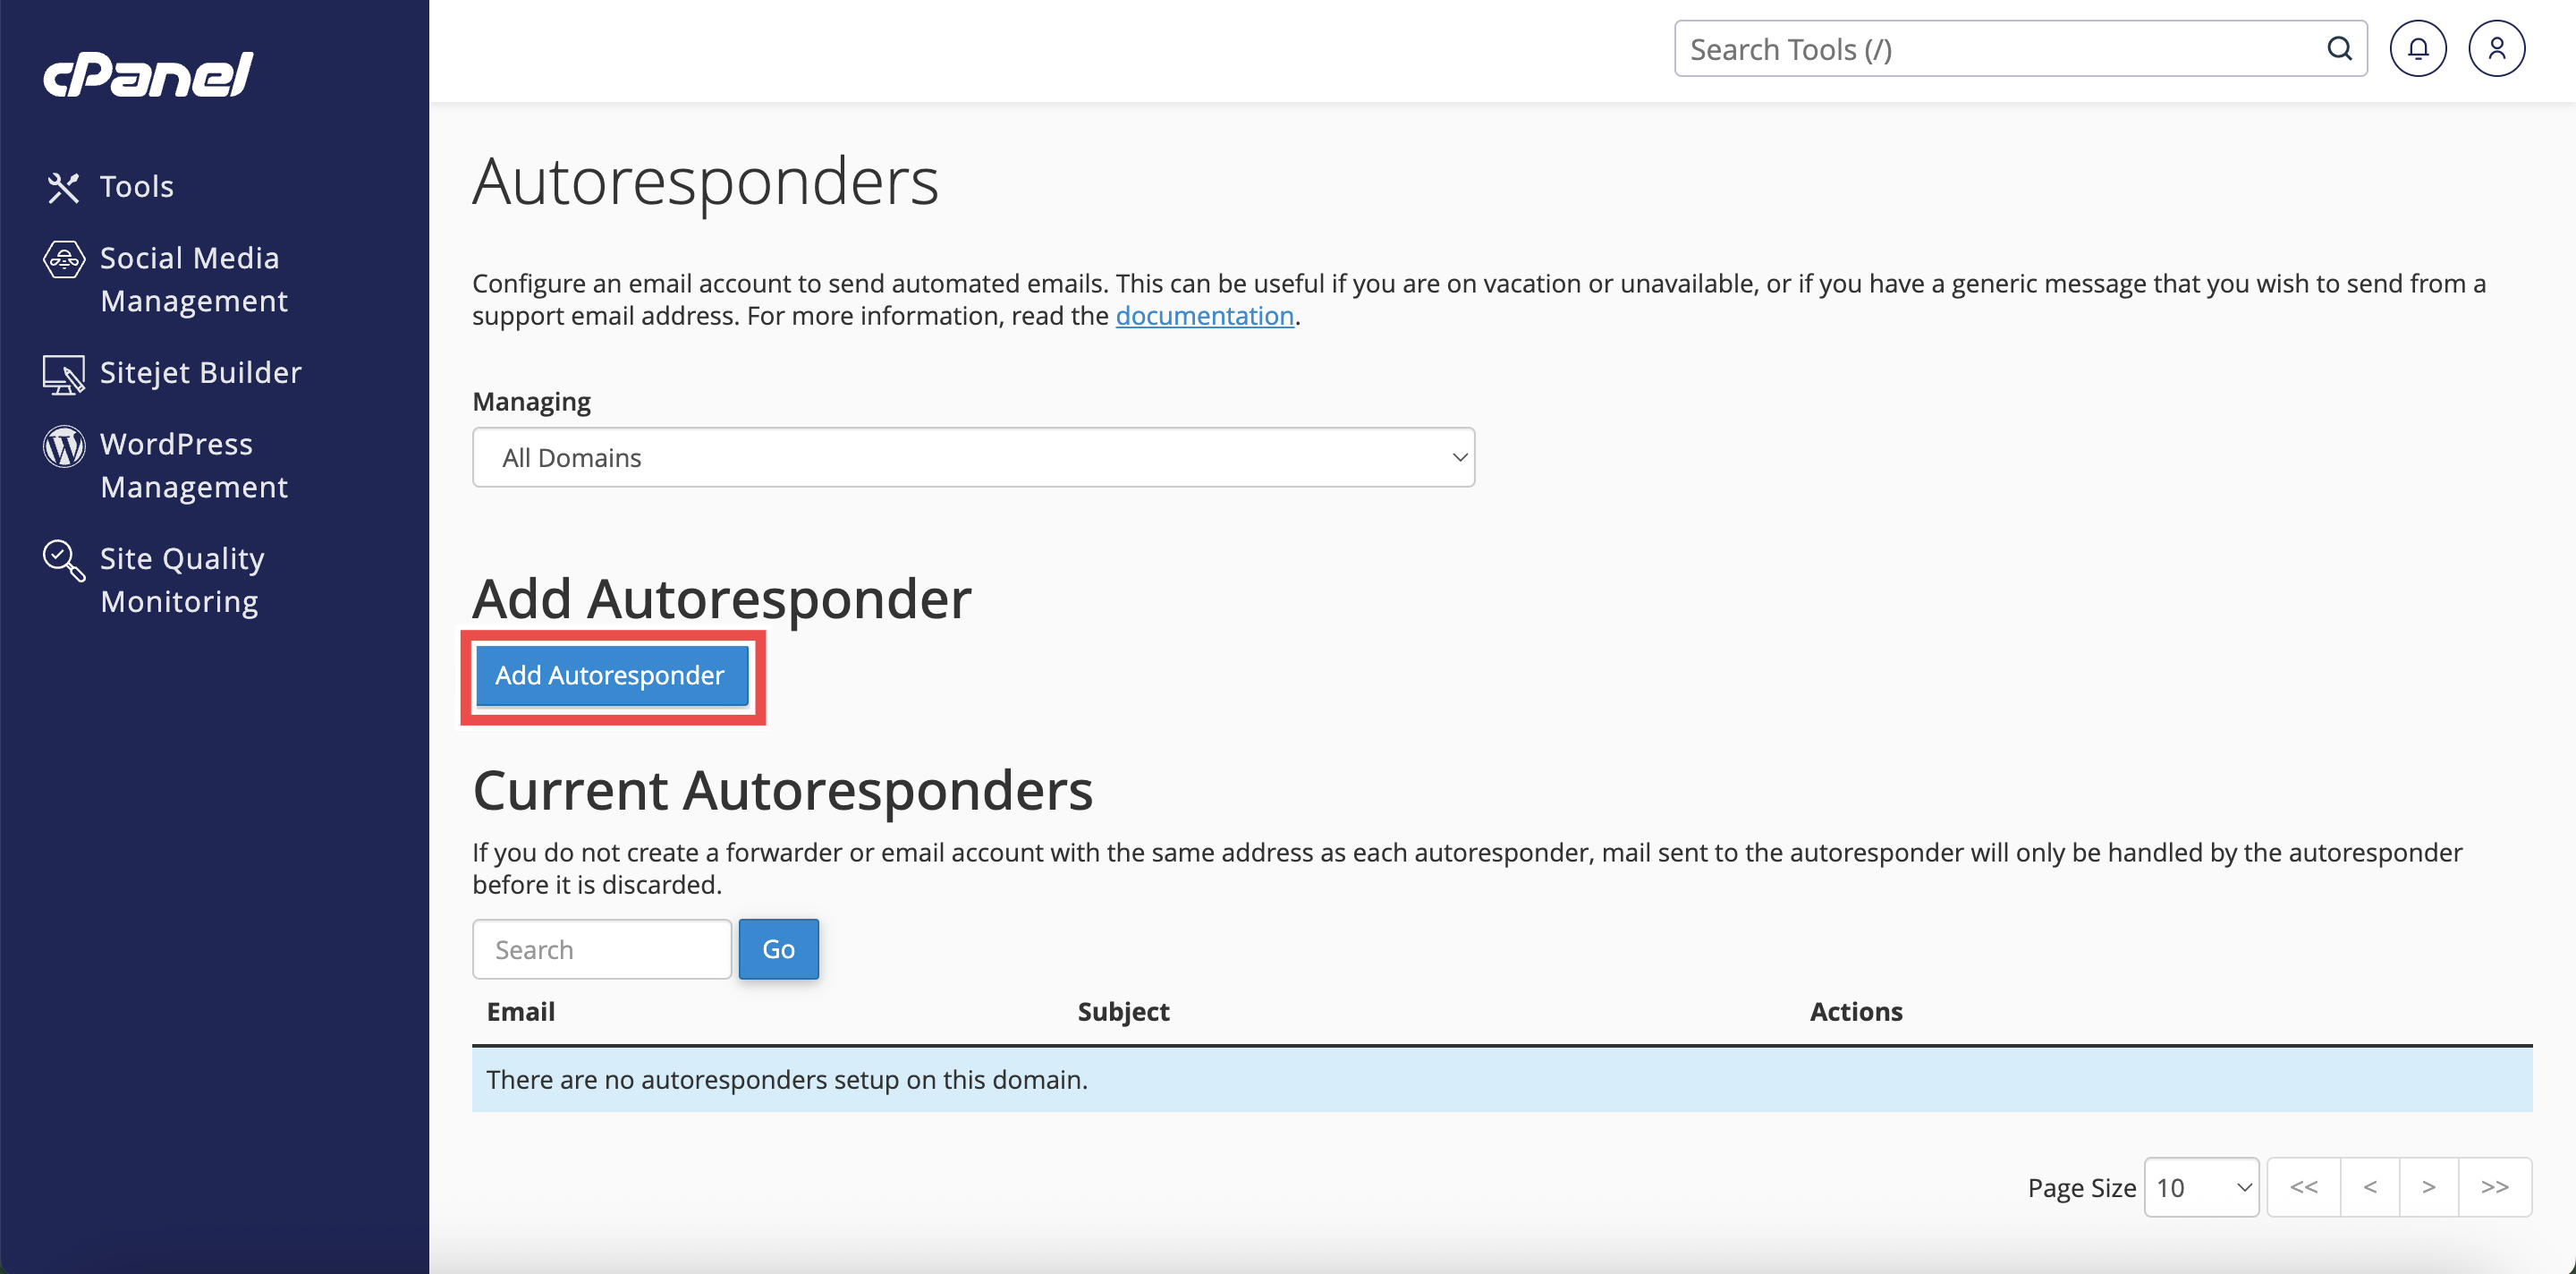
Step 4: Create or Edit Autoresponder
- Click Add Autoresponder to create a new one, or click Edit next to an existing autoresponder.
- The autoresponder configuration interface will appear.
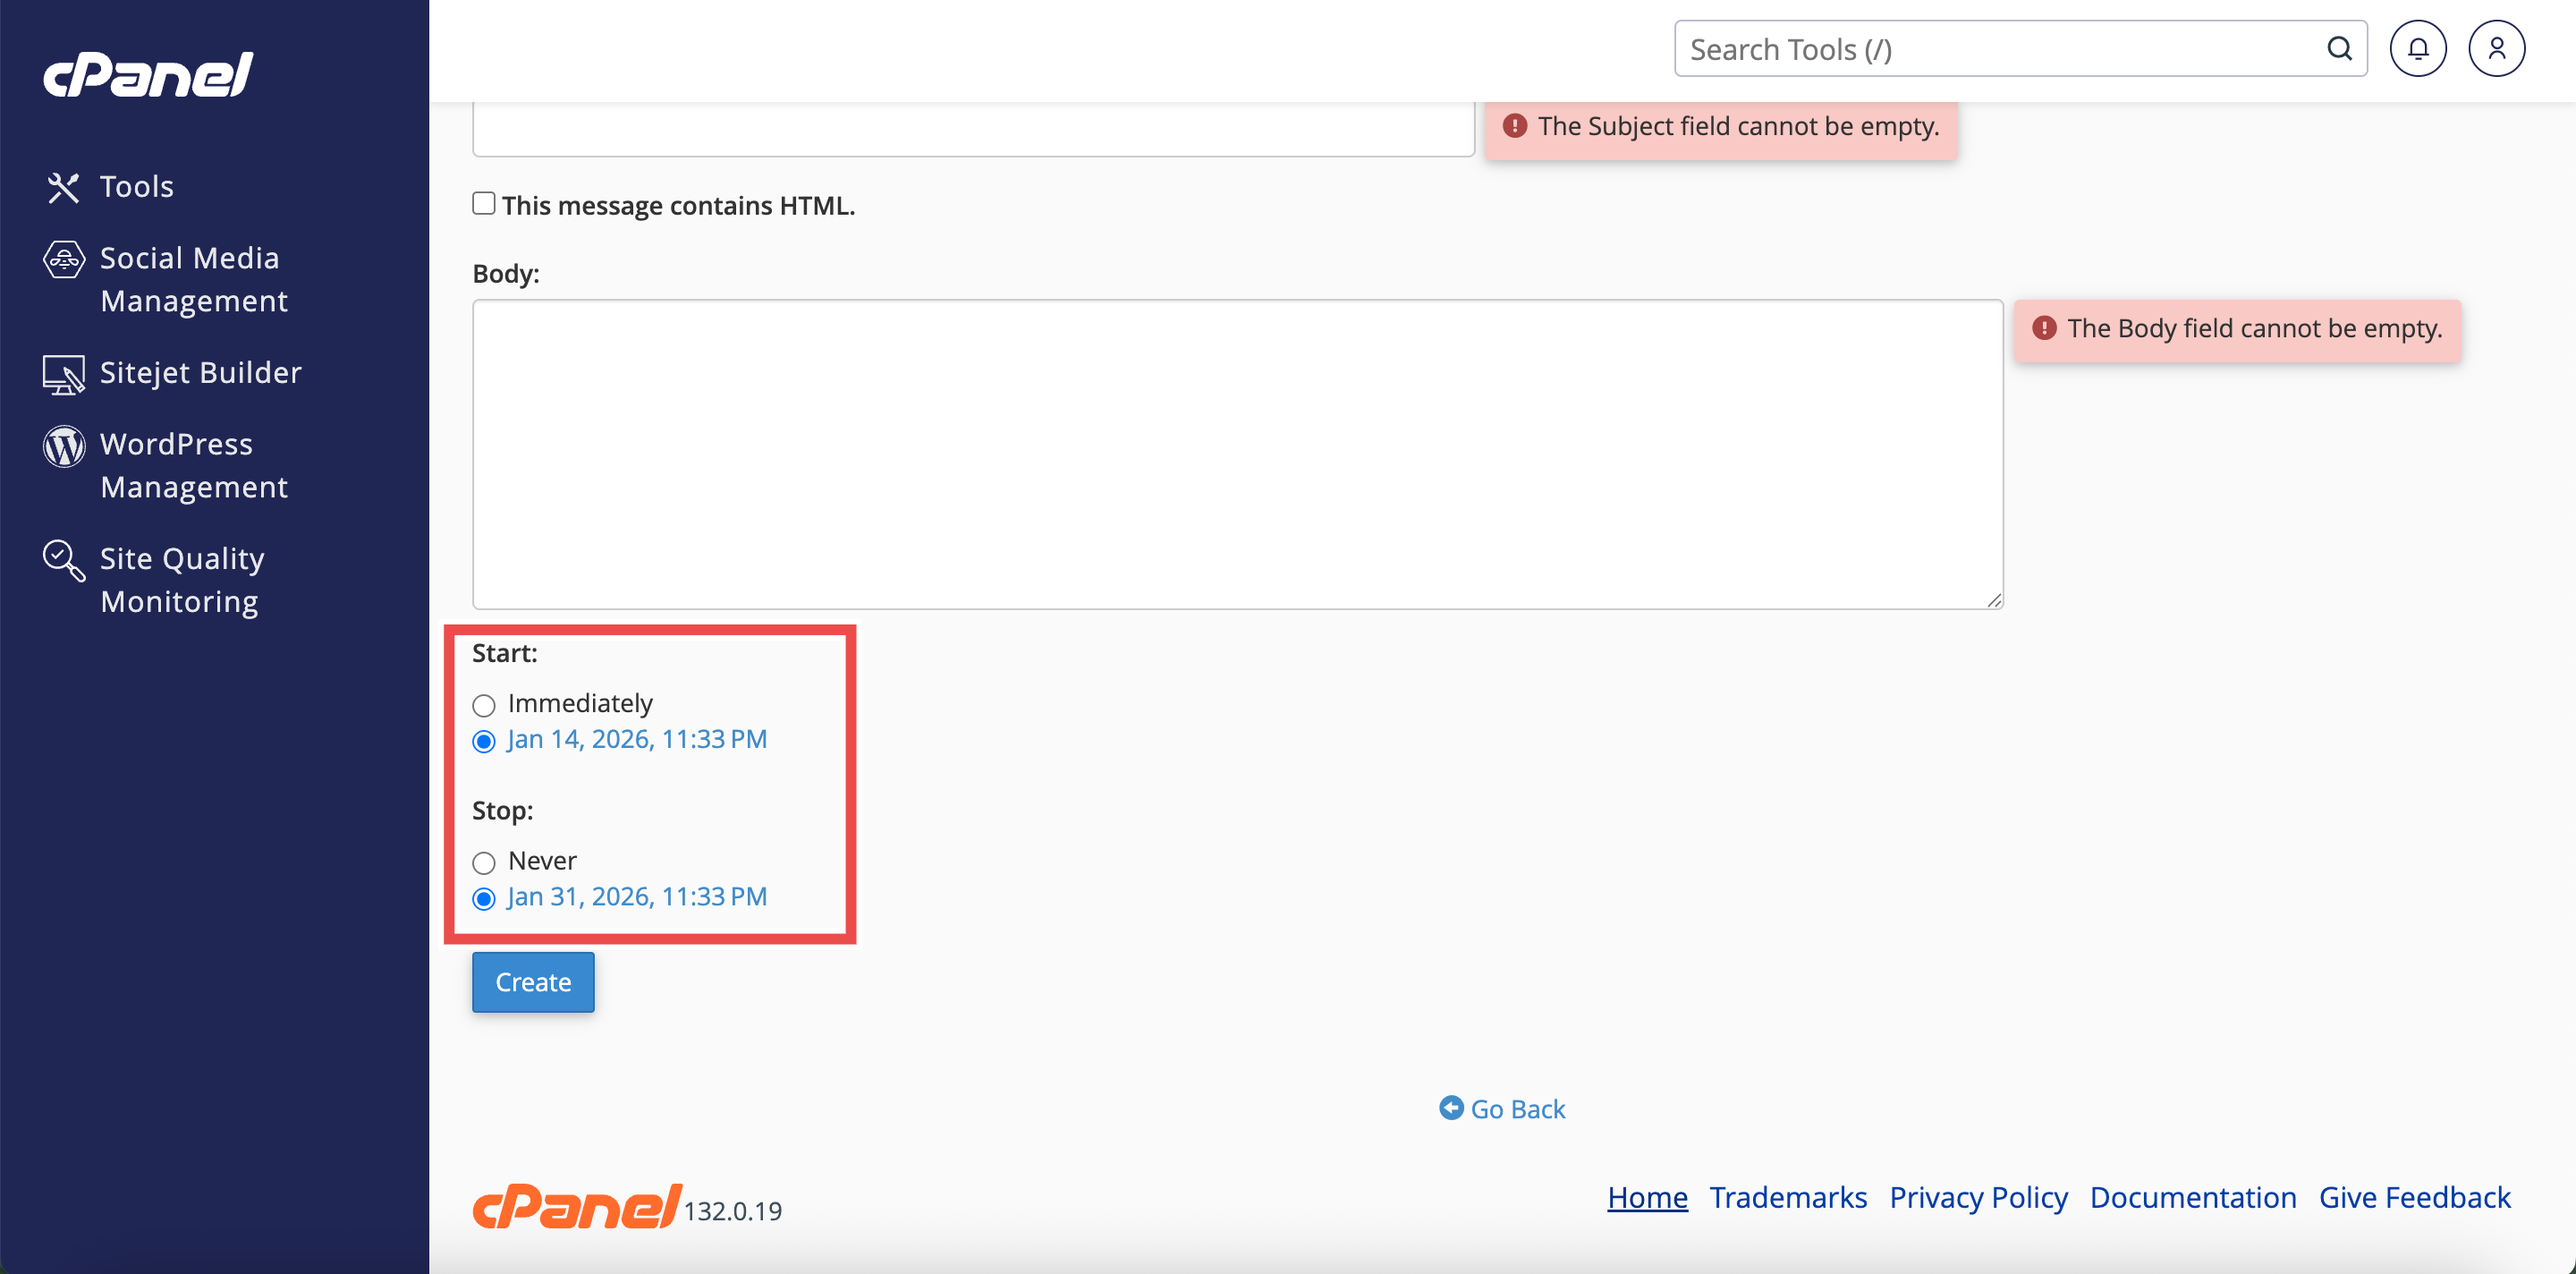
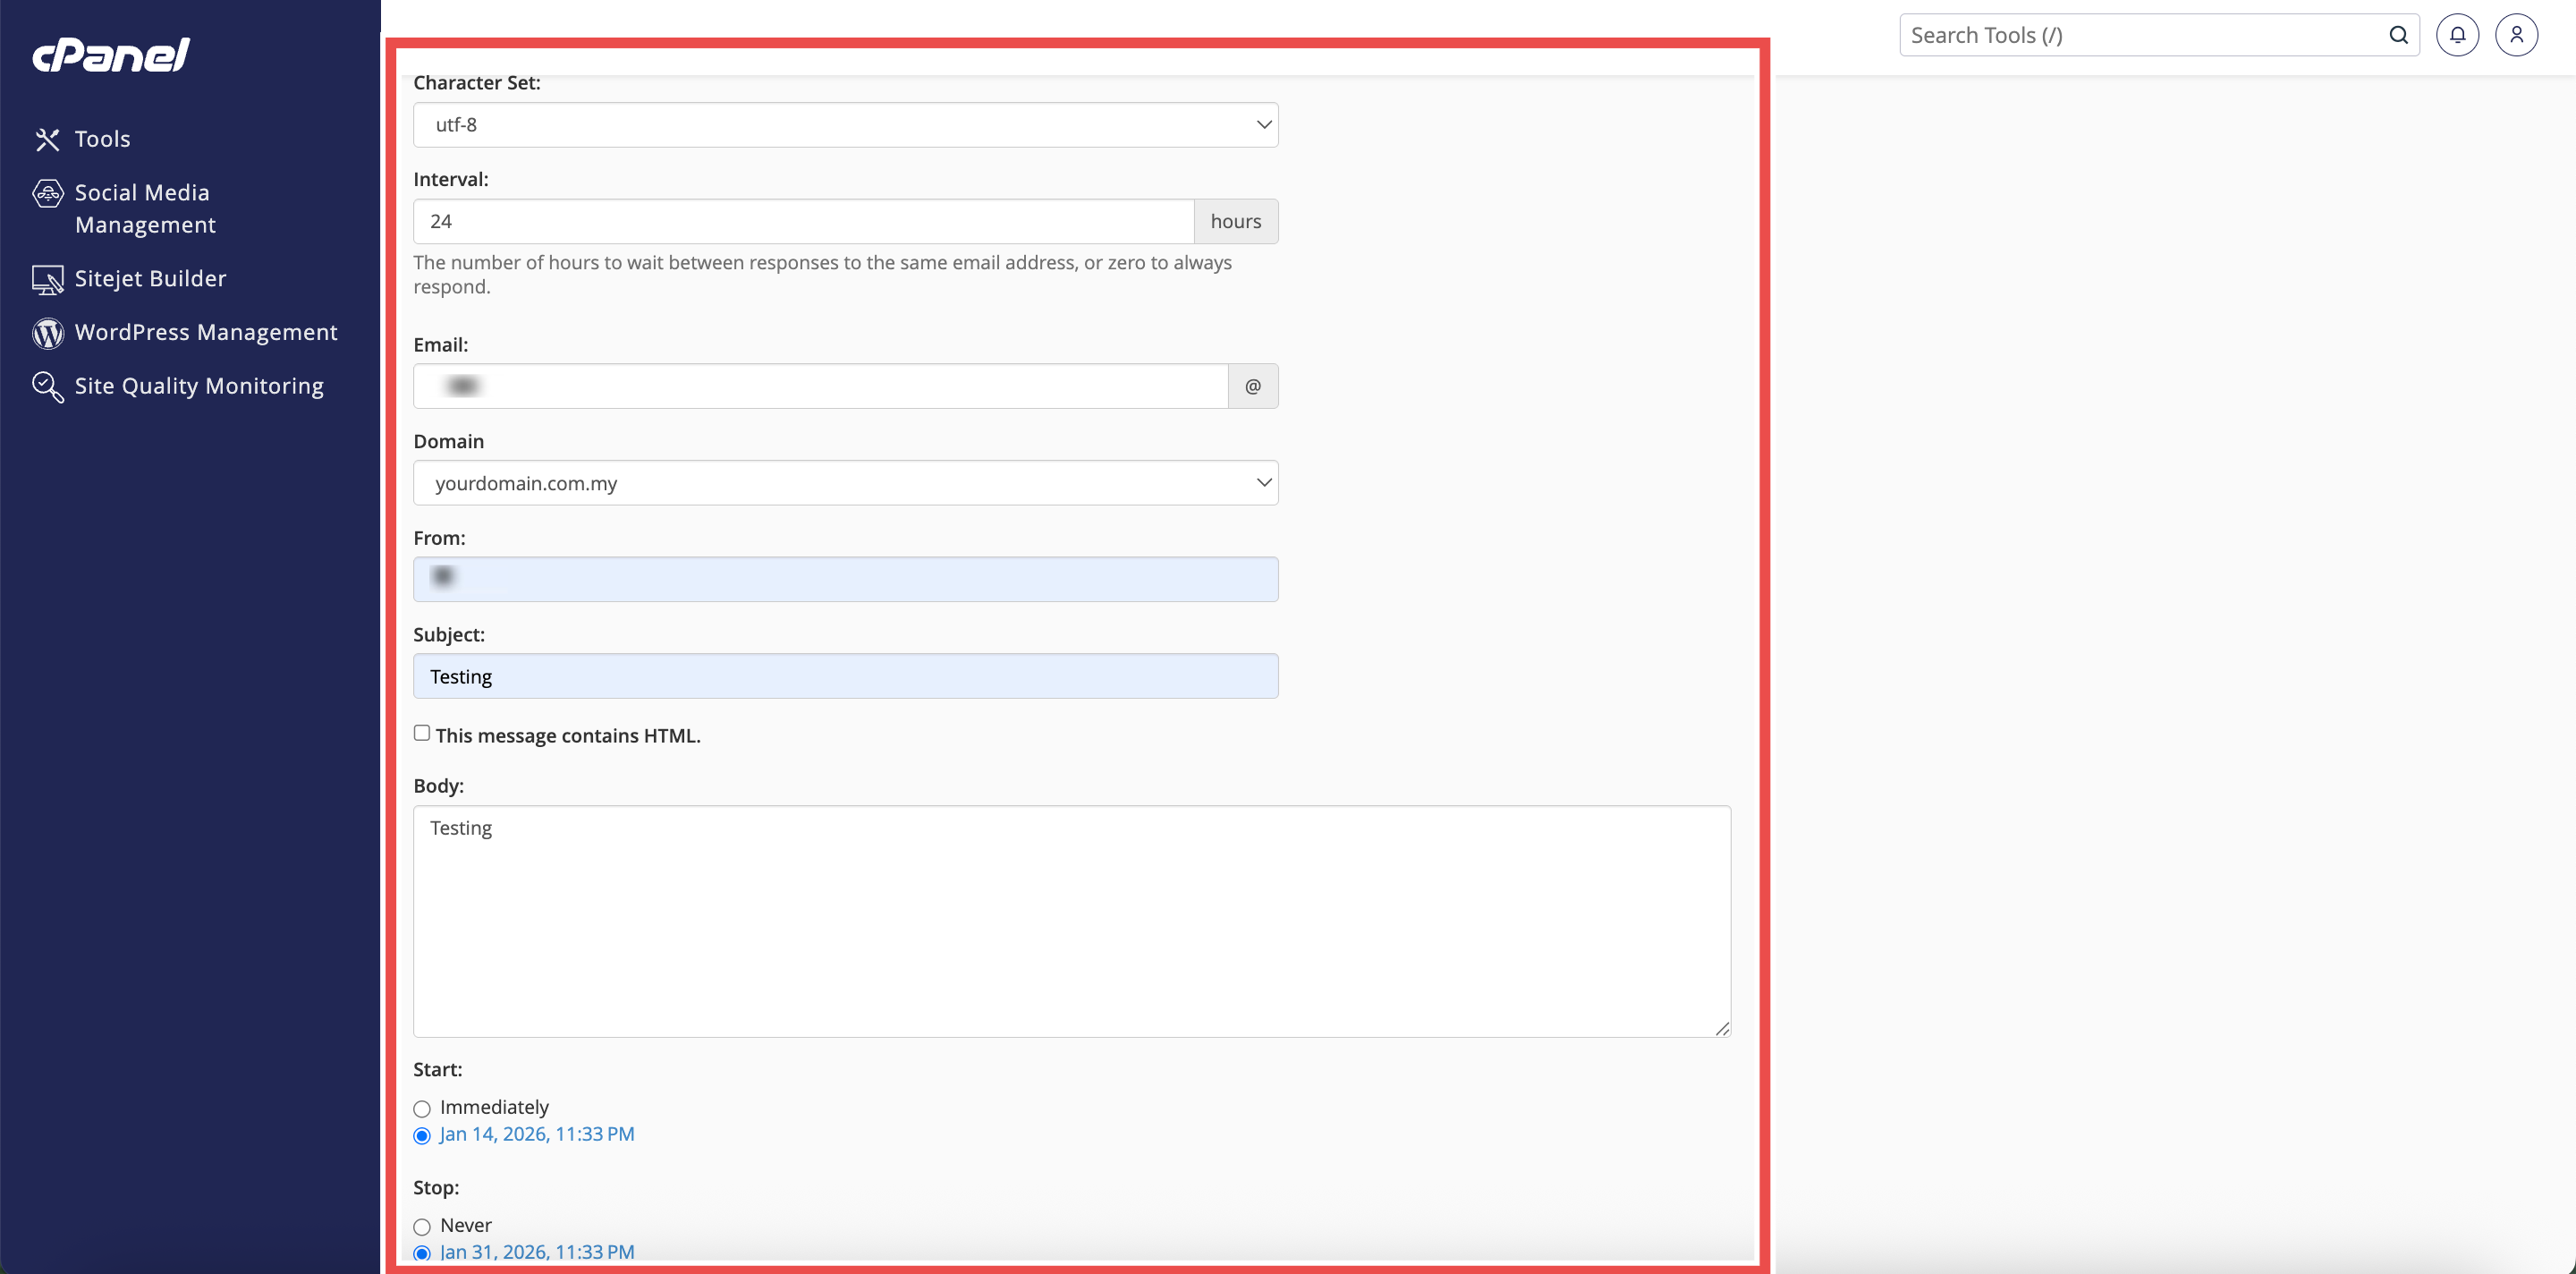
Step 5: Configure the Start Time
- In the Start section, select one of the following options:
- Immediately: The autoresponder becomes active as soon as you save it.
- Custom: Select a specific date and time for the autoresponder to start.
⚠️ Important Note: If selecting Custom, choose the date and time when you want the autoresponder to begin sending automatic replies.


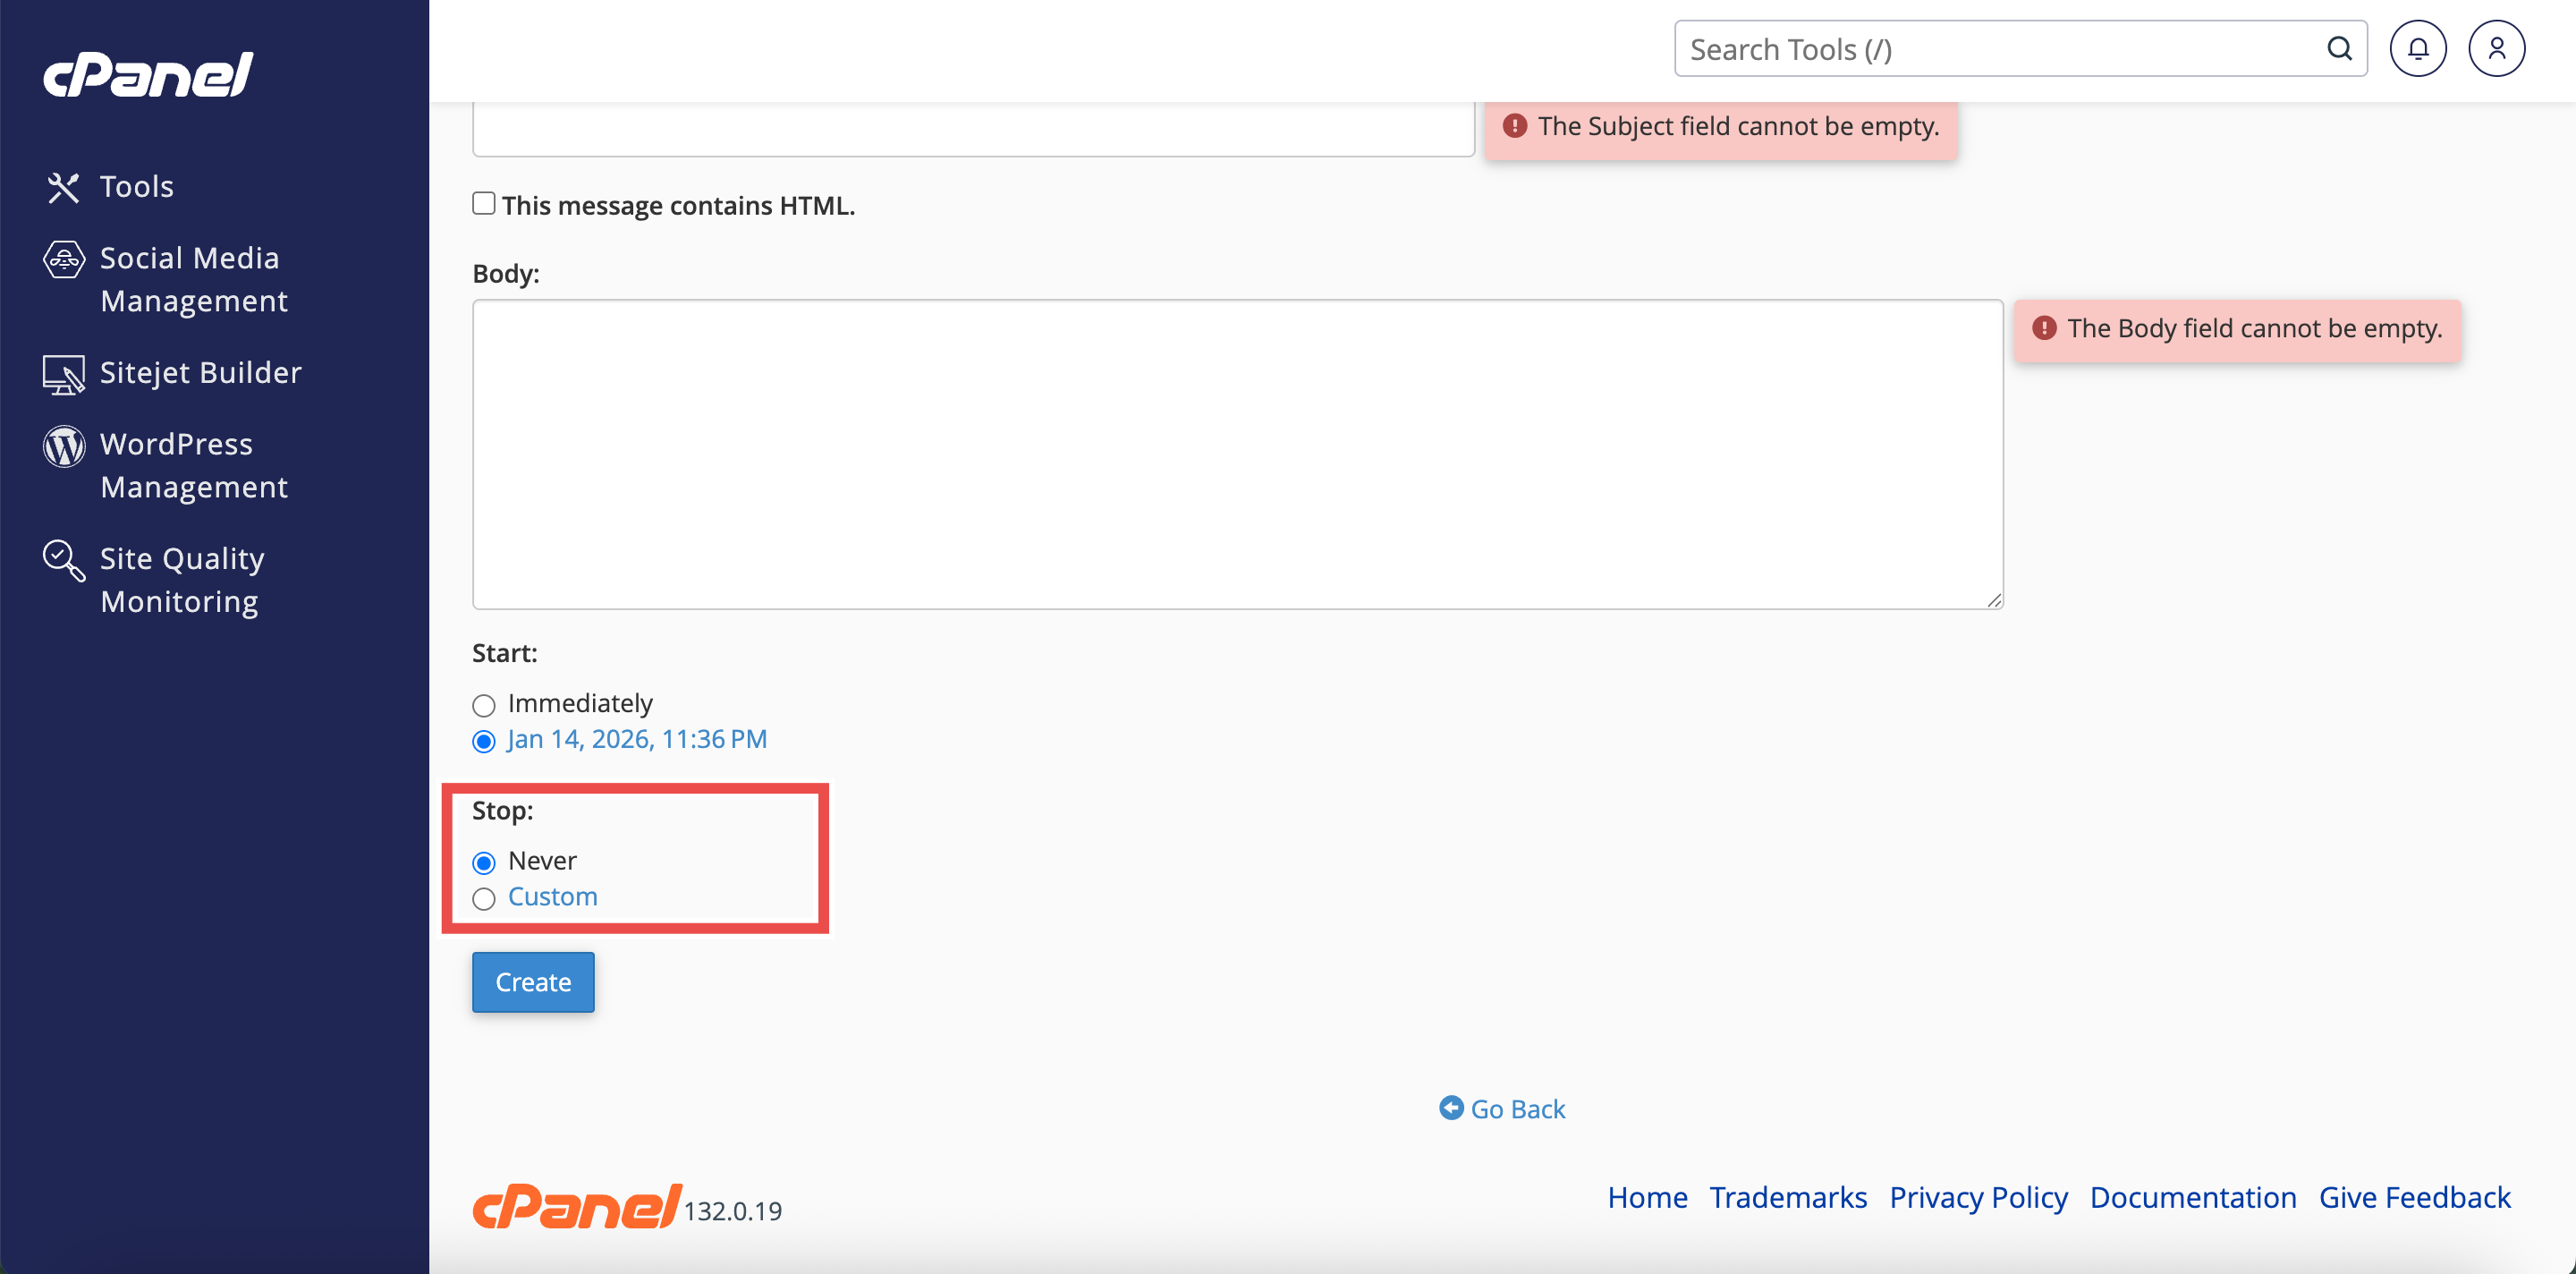
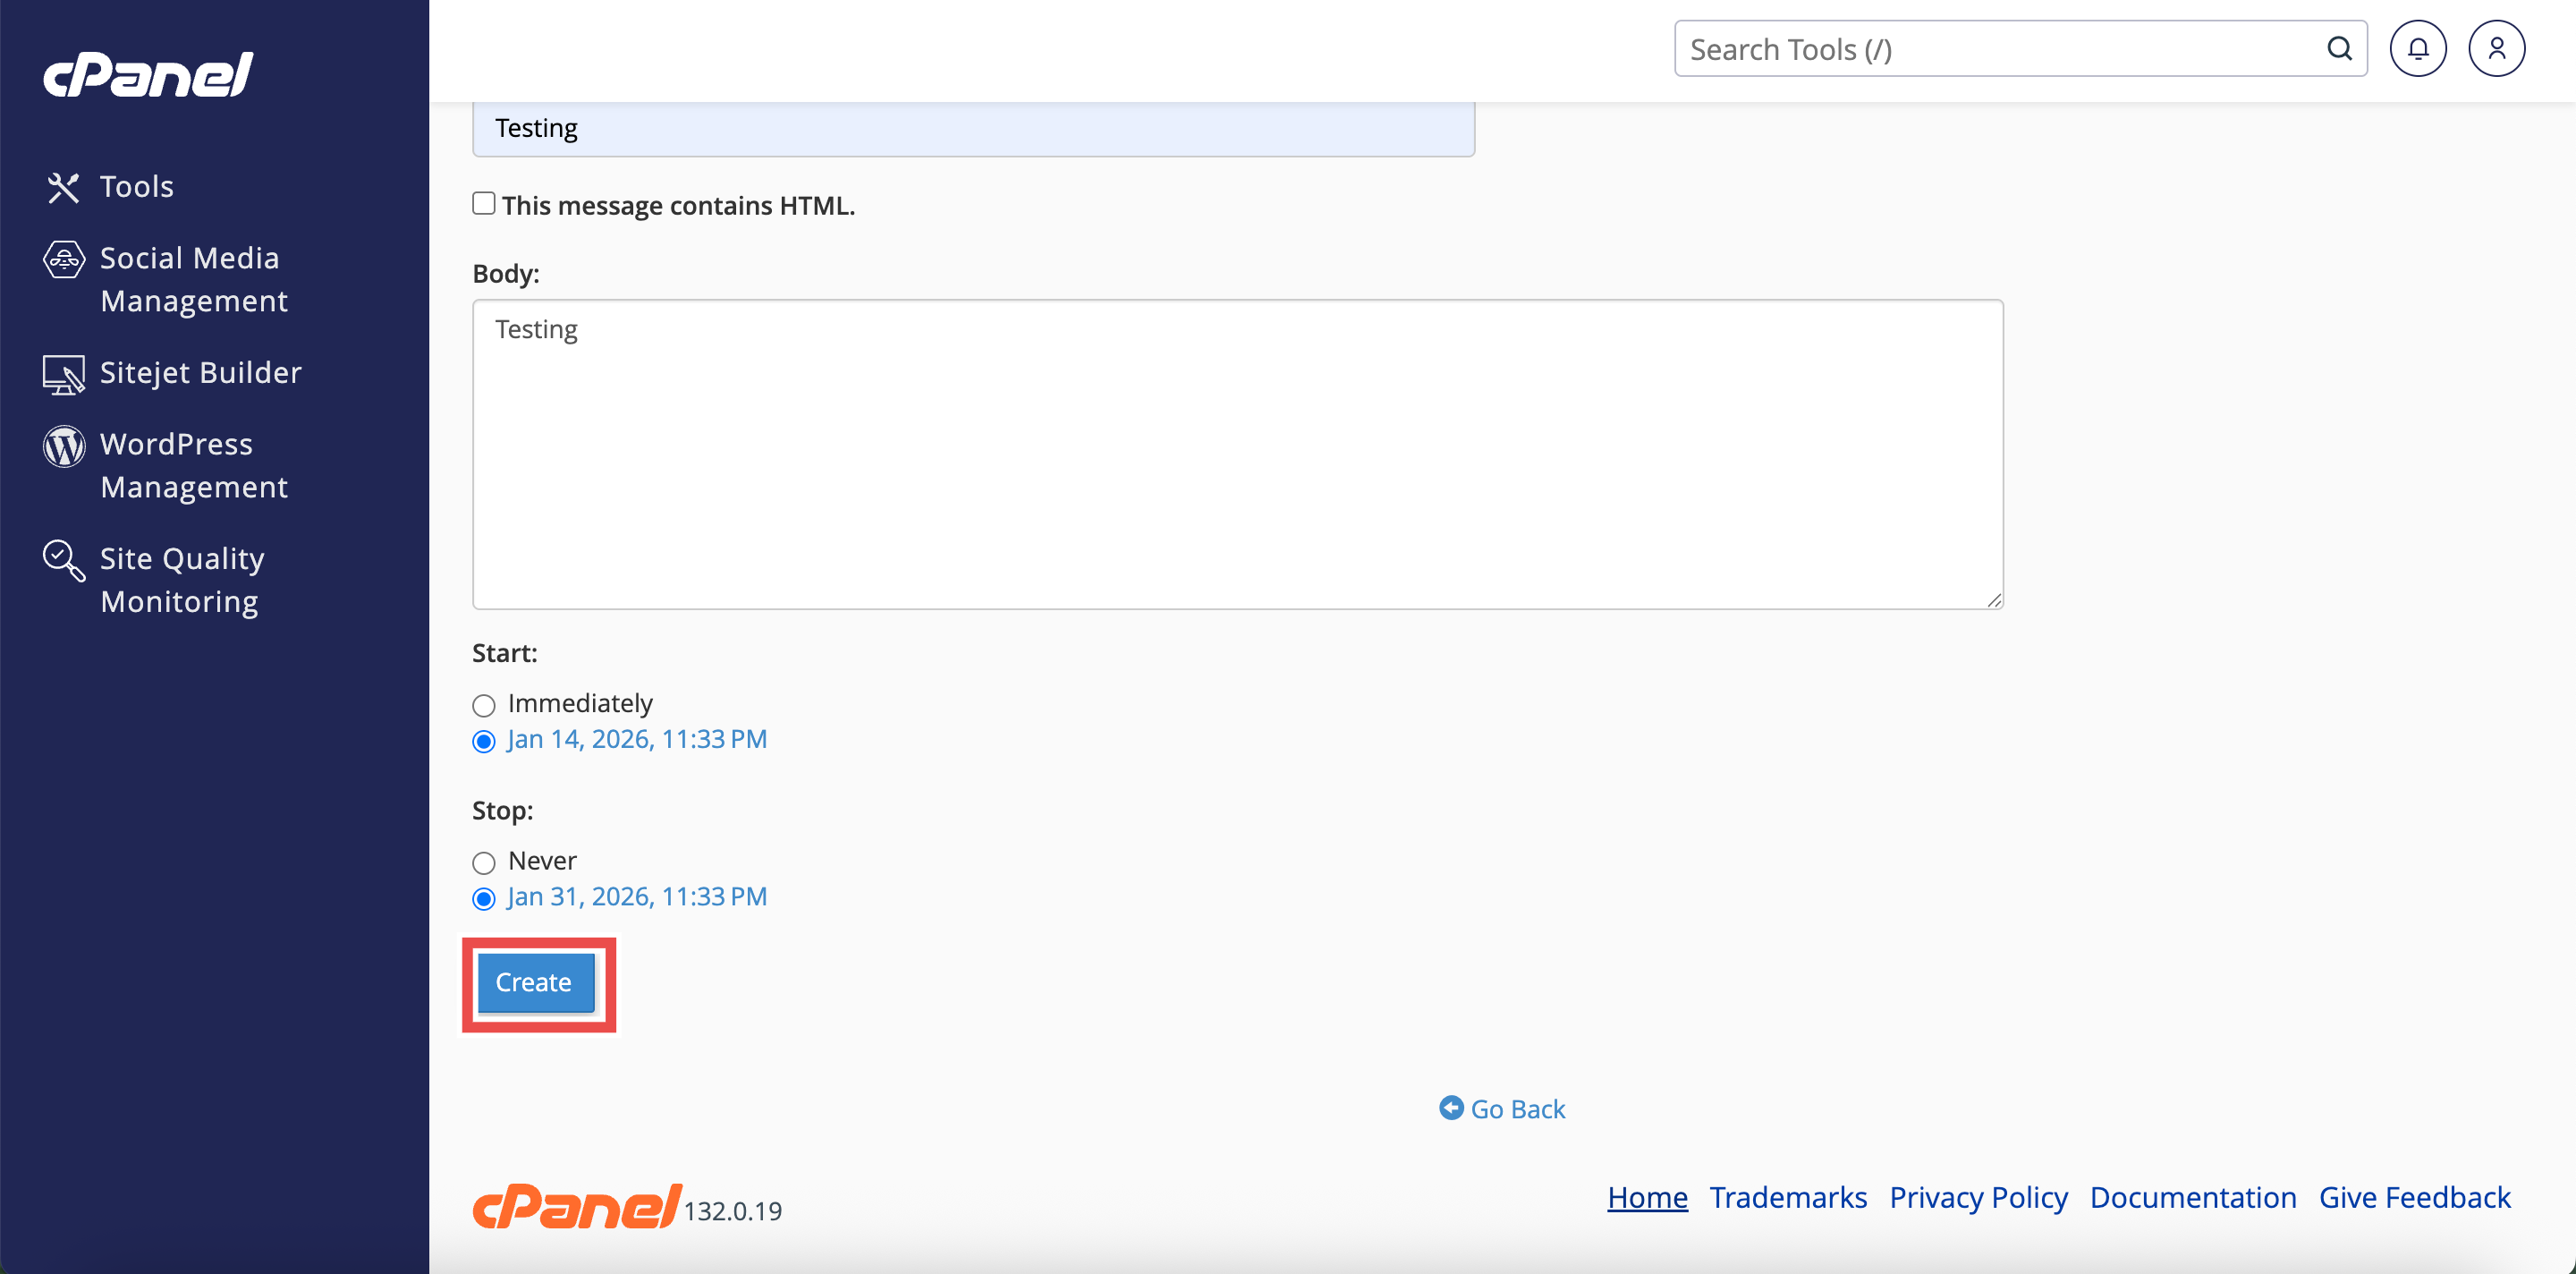
Step 6: Configure the Stop Time
- In the Stop section, select one of the following options:
- Never: The autoresponder continues indefinitely until manually disabled or deleted.
- Custom: Select a specific date and time for the autoresponder to stop.
- Fill in other required fields (Email, From, Subject, Body, Interval).
- Click Create (for new) or Modify (for existing) to save the autoresponder with the configured duration.
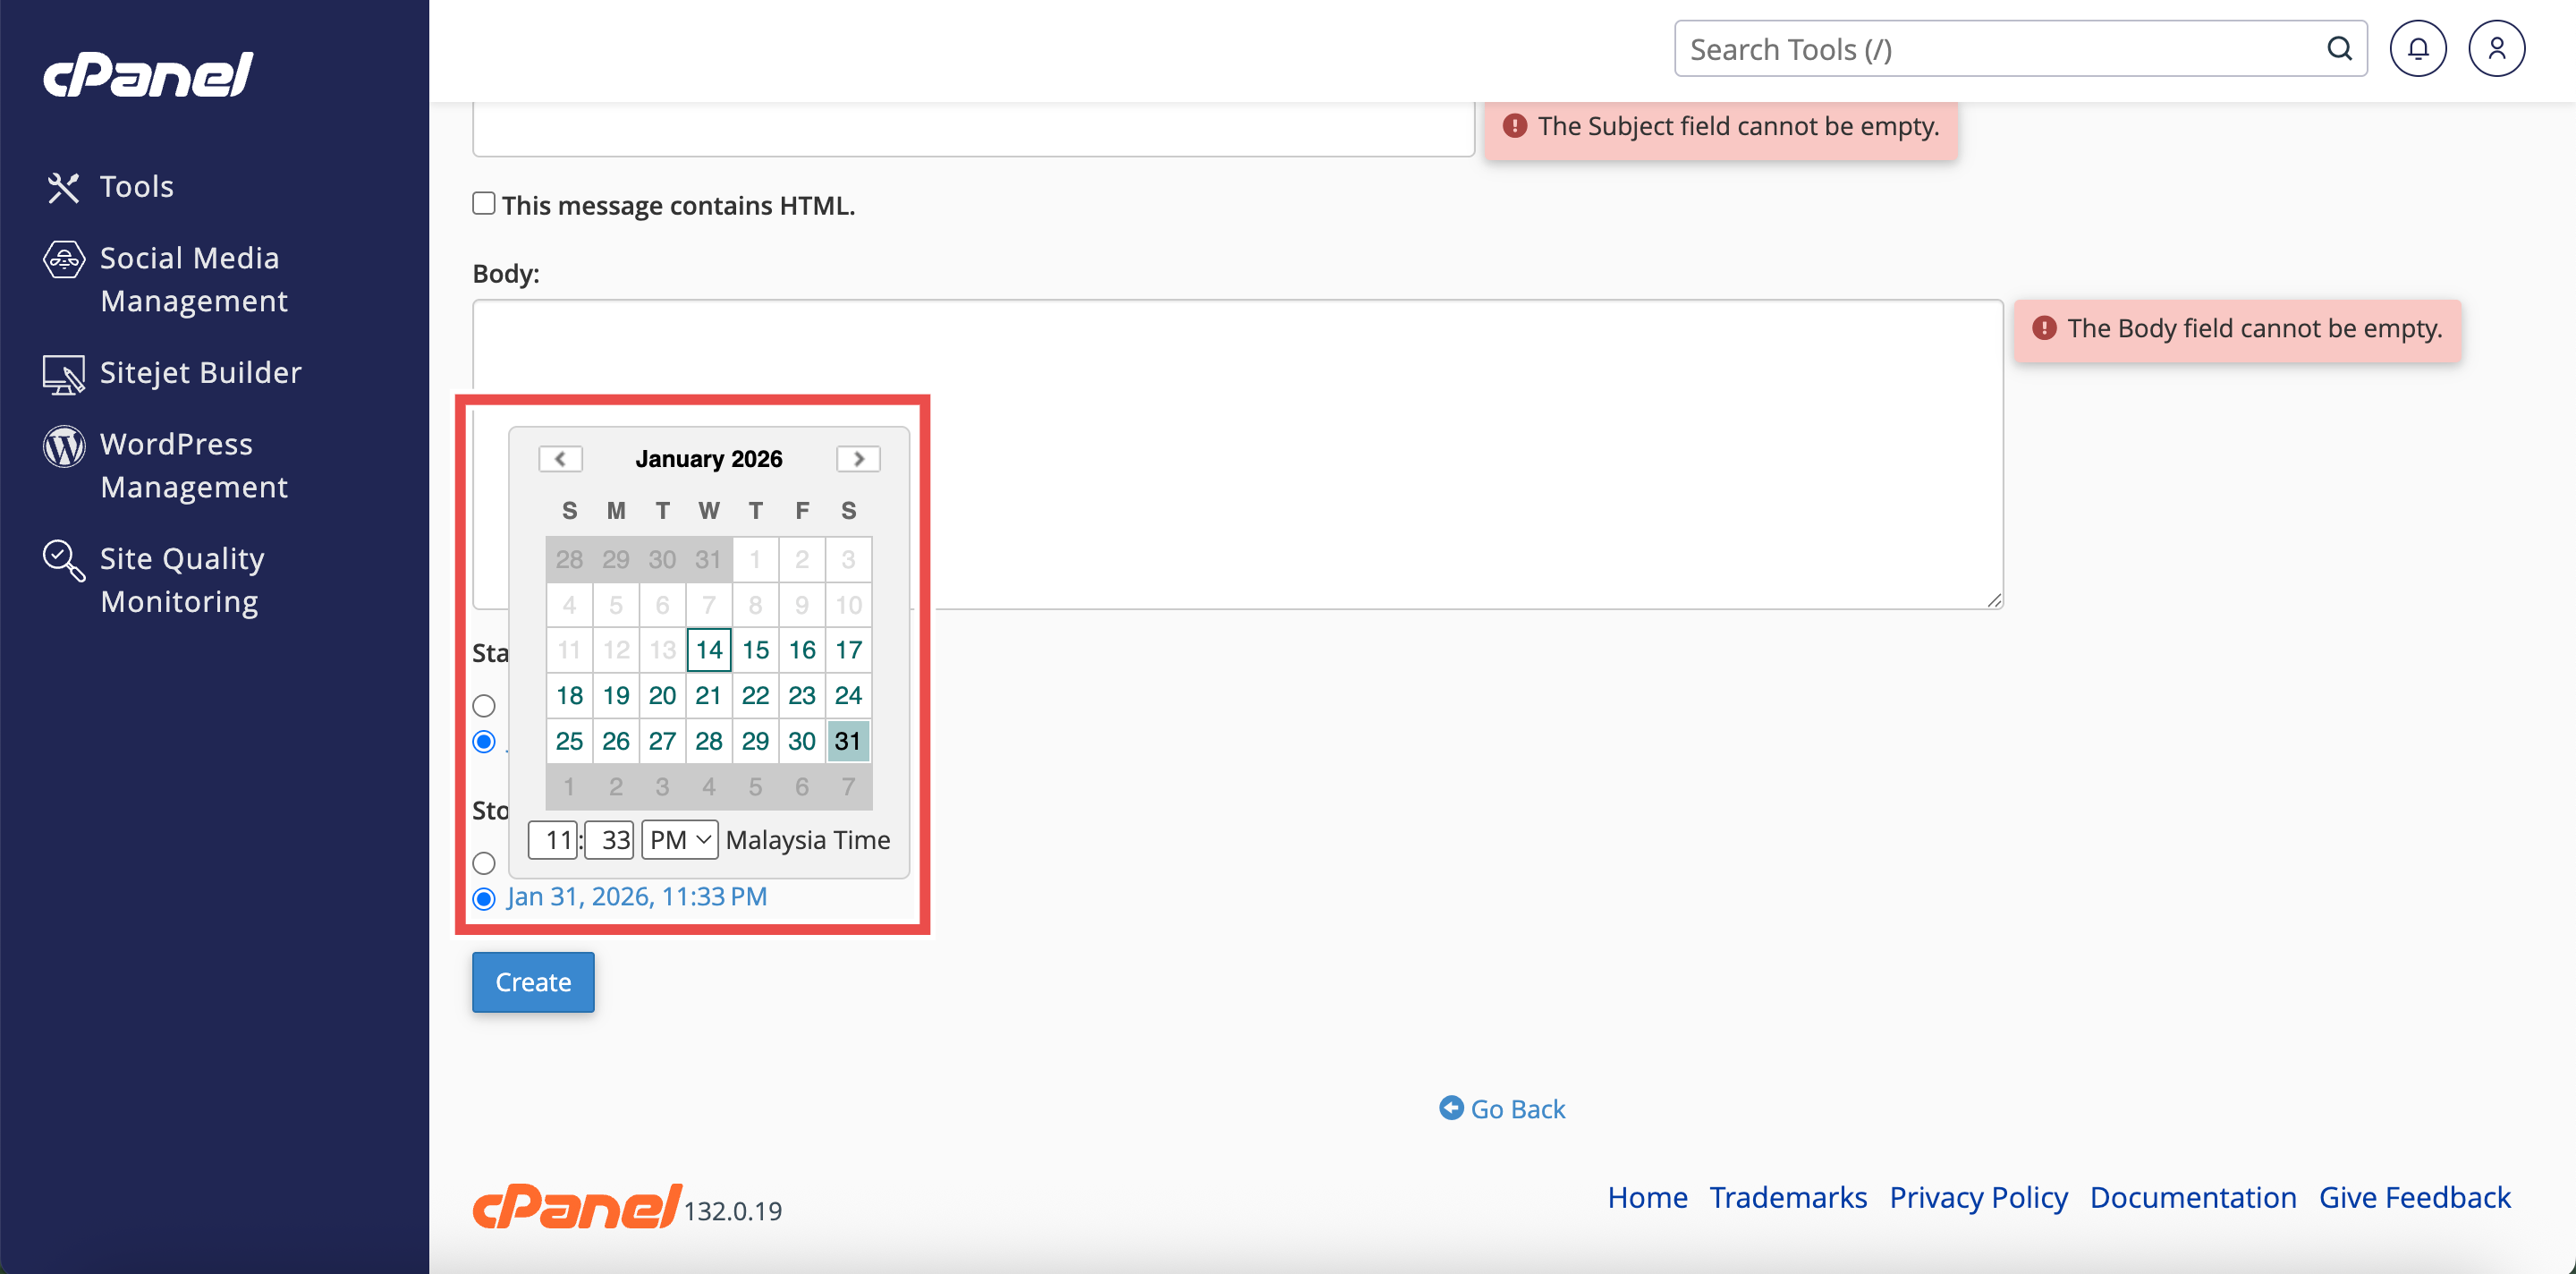
⚠️ Important Note:
- If selecting Custom, choose the date and time when you want the autoresponder to stop sending automatic replies.
- Ensure the stop time is later than the start time.
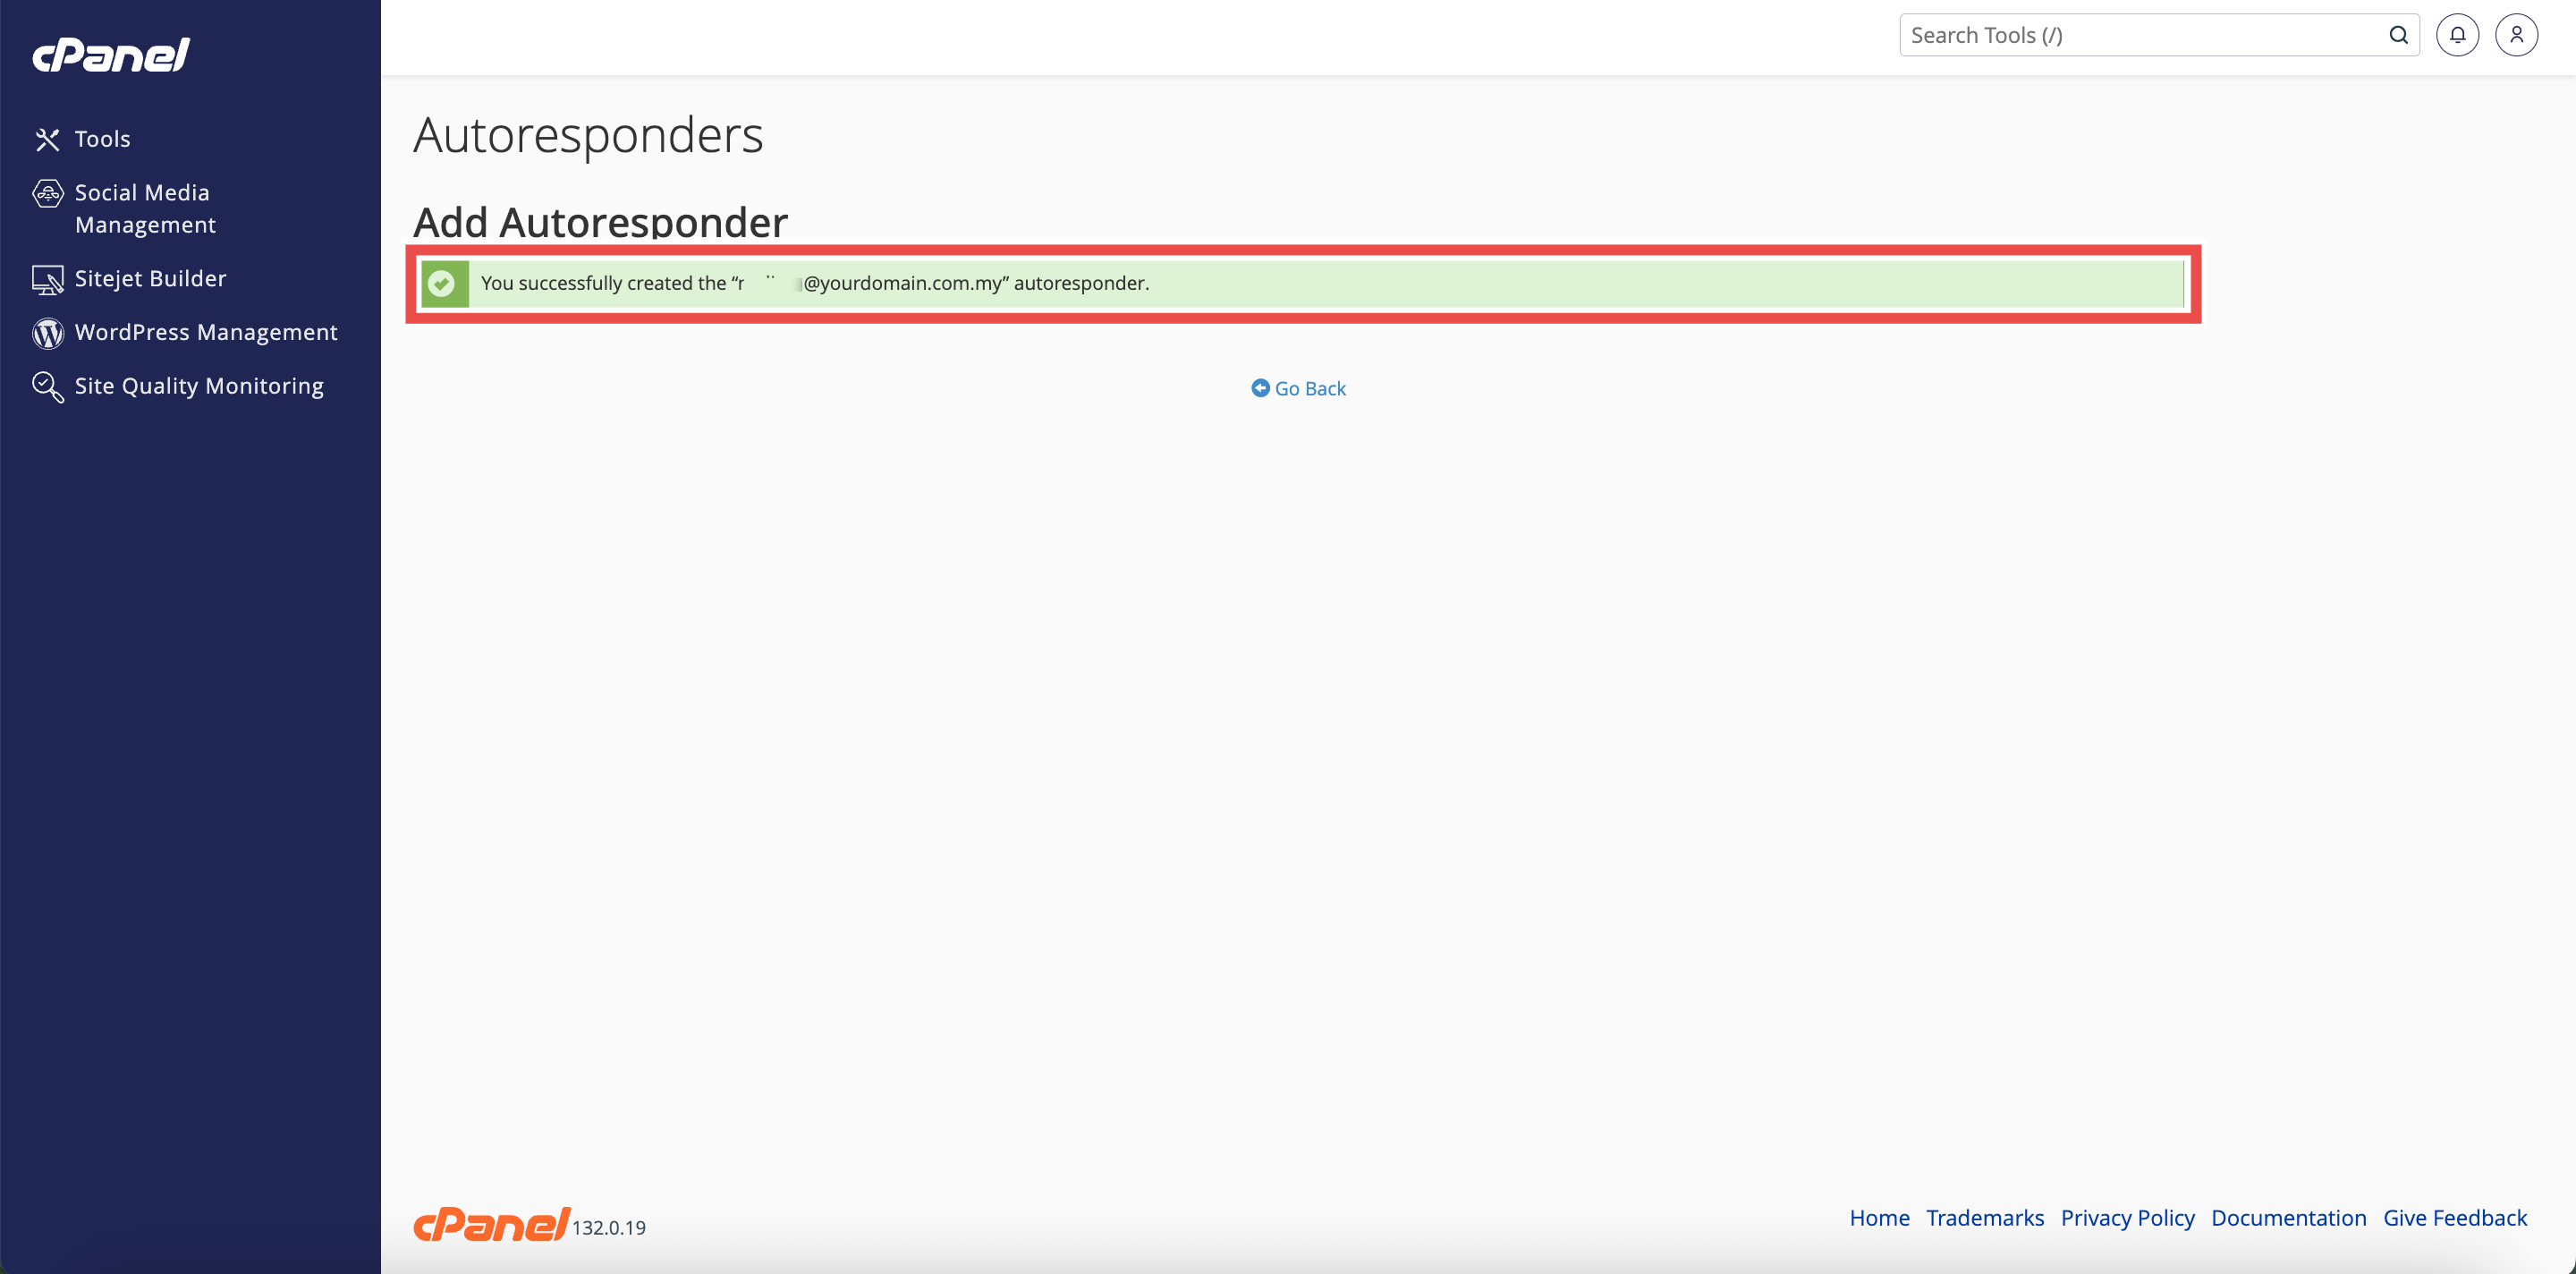
Step 7: Verify Changes
- A confirmation message will appear indicating that the autoresponders has been updated.
- Additionally, you may monitor the autoresponder to verify it activates and deactivates at the scheduled times.
Conclusion
By following these steps, you can set autoresponder duration using cPanel. Configuring start and stop times ensures your automatic replies are sent only during the appropriate period, preventing outdated responses and automating the activation and deactivation of your autoresponder. This is especially useful for vacation notices and planned absences.
Should you encounter any issues or have any questions, our support team at IPSERVERONE is always here to assist you. Don’t hesitate to reach out to us at support@ipserverone.com for any help you need.