Search Our Database
How to Resize GPU Instances in Customer Portal
Introduction:
This guide is intended for NovaGPU users who require more substantial computational resources to support their ongoing development projects.
NovaGPU is specifically designed as GPU as a Service for intense workloads like training, fine-tuning, and deploying AI.
The need to resize typically arises when your current GPU instance is no longer adequate to cover the training demands of your Machine Learning (ML) and AI models, prompting the requirement for a more powerful instance.
This document provides a comprehensive, step-by-step procedure detailing how to resize GPU instances using the Customer Portal. The resizing action involves selecting a different flavor than the current one to instantly scale up your capabilities. By following these steps, you can quickly upgrade your allocated GPU power directly through the NovaCloud > GPU Instances section of the portal, ensuring your infrastructure remains scalable and suited for demanding AI/ML workloads.
Prerequisites:
- Active Customer Portal Account Access.
- Existence of an Eligible GPU Instance.
- Understanding of Billing Implications.
Step-by-step Guide:
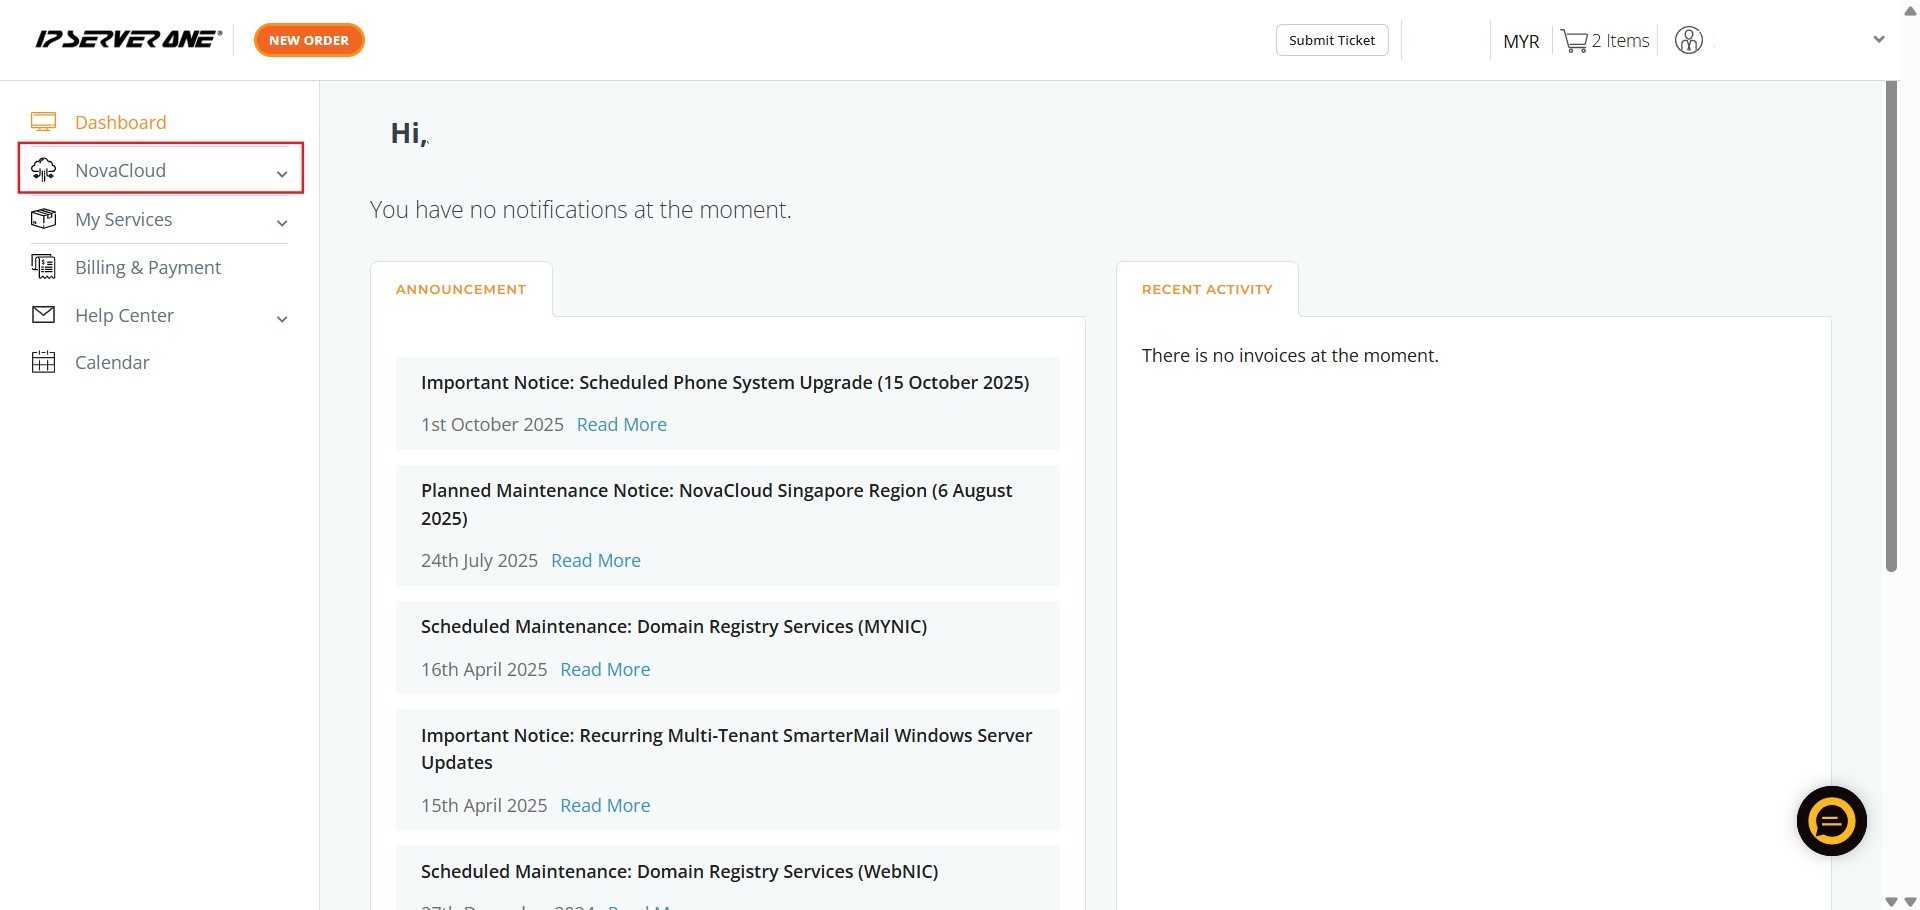
Step 1: Access NovaCloud Services
- After logging into the Customer Portal, locate the left-hand navigation menu. Click NovaCloud.
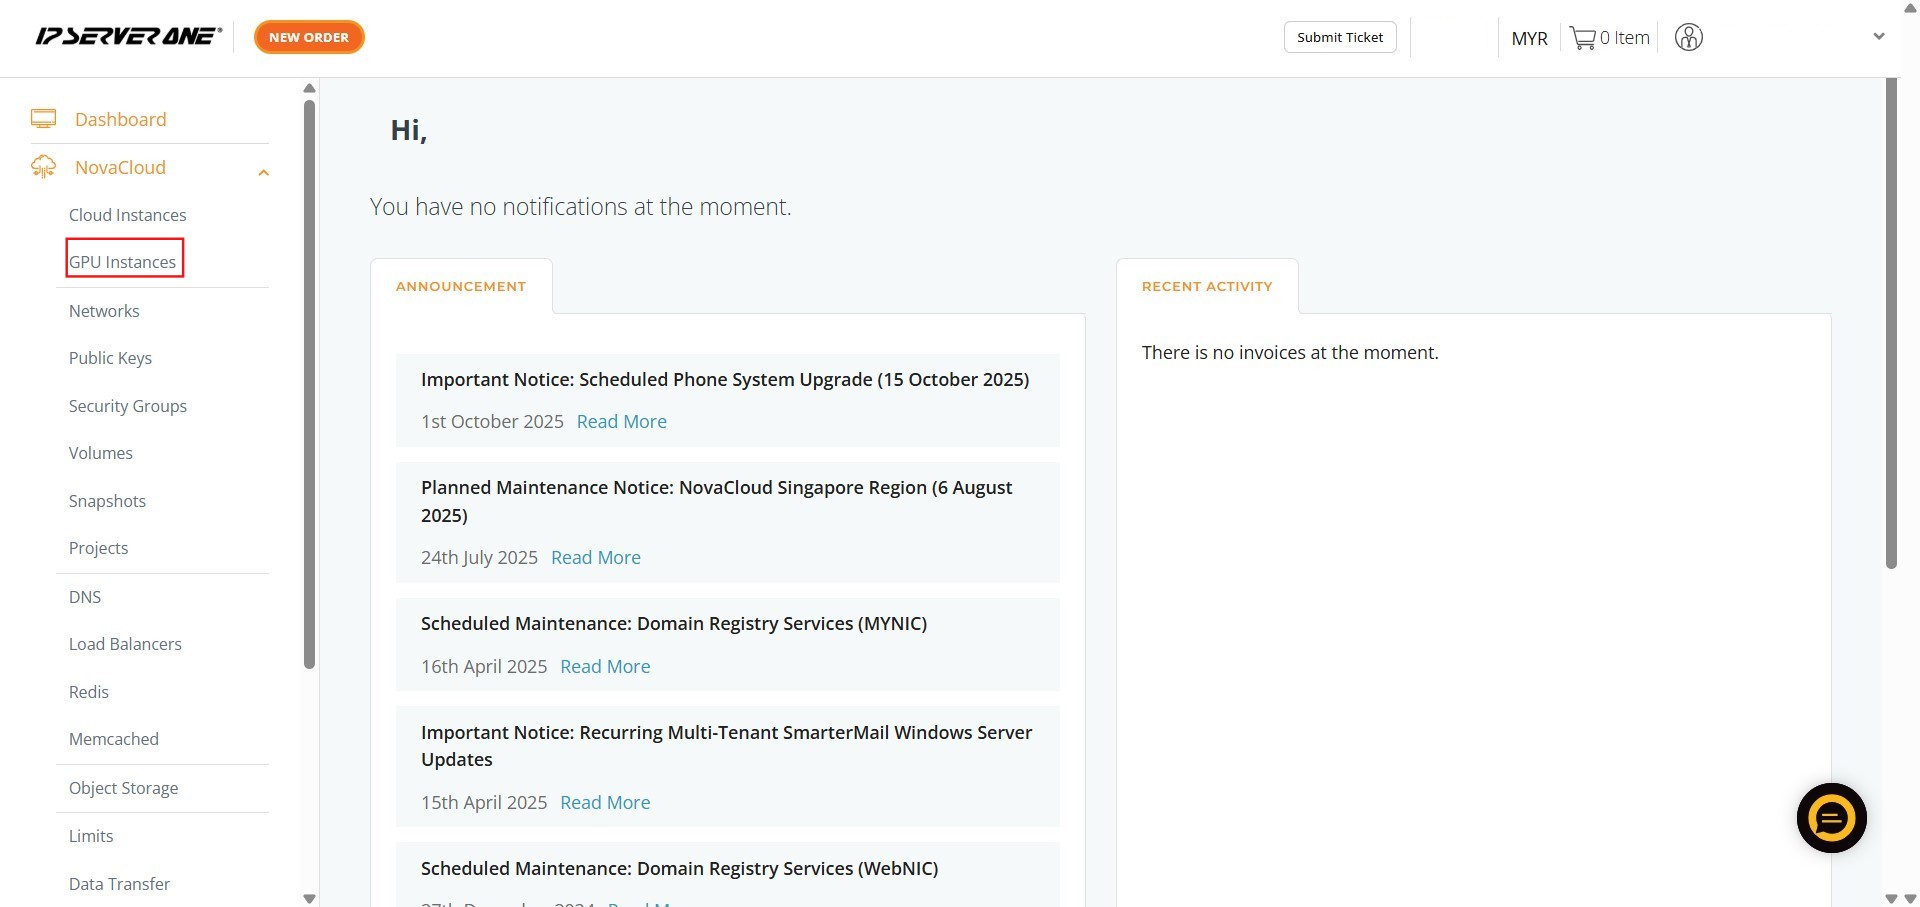
Step 2: Navigate to GPU Instances
- From the expanded NovaCloud menu, locate and Click GPU Instances.
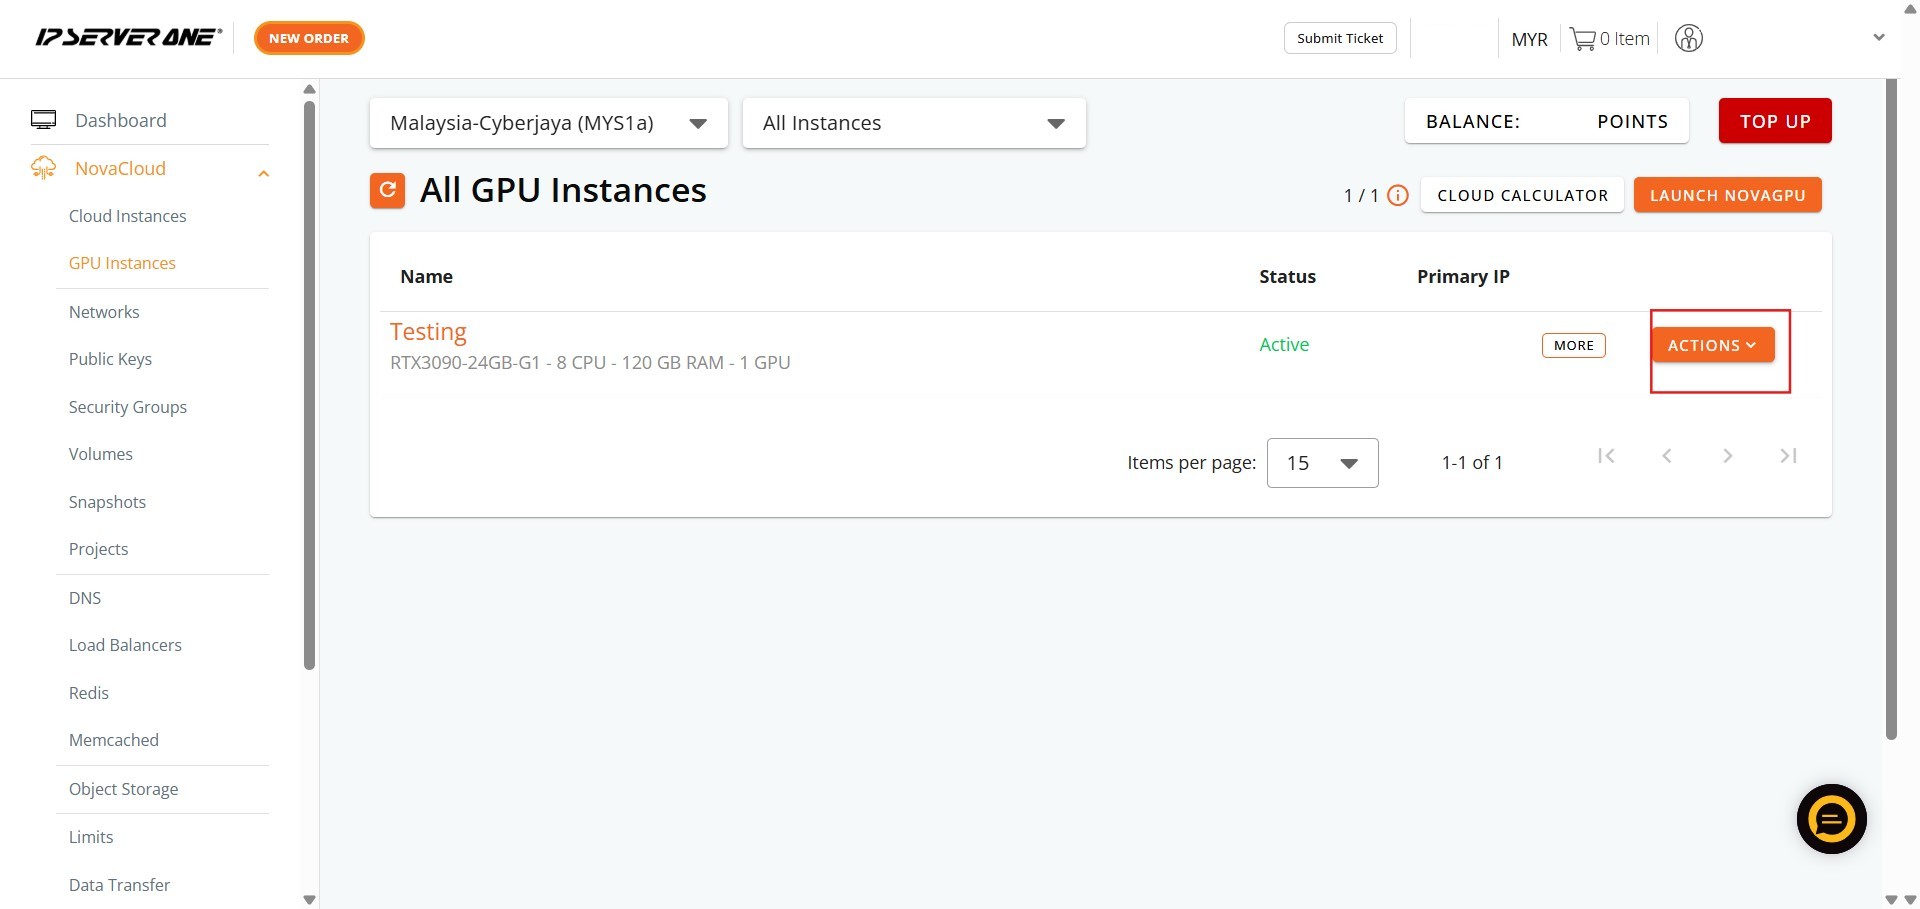
Step 3: Open the Actions Menu
- Identify the specific active GPU instance you intend to stop.
- On the row corresponding to that instance, Click Action. A dropdown menu containing management options will appear.
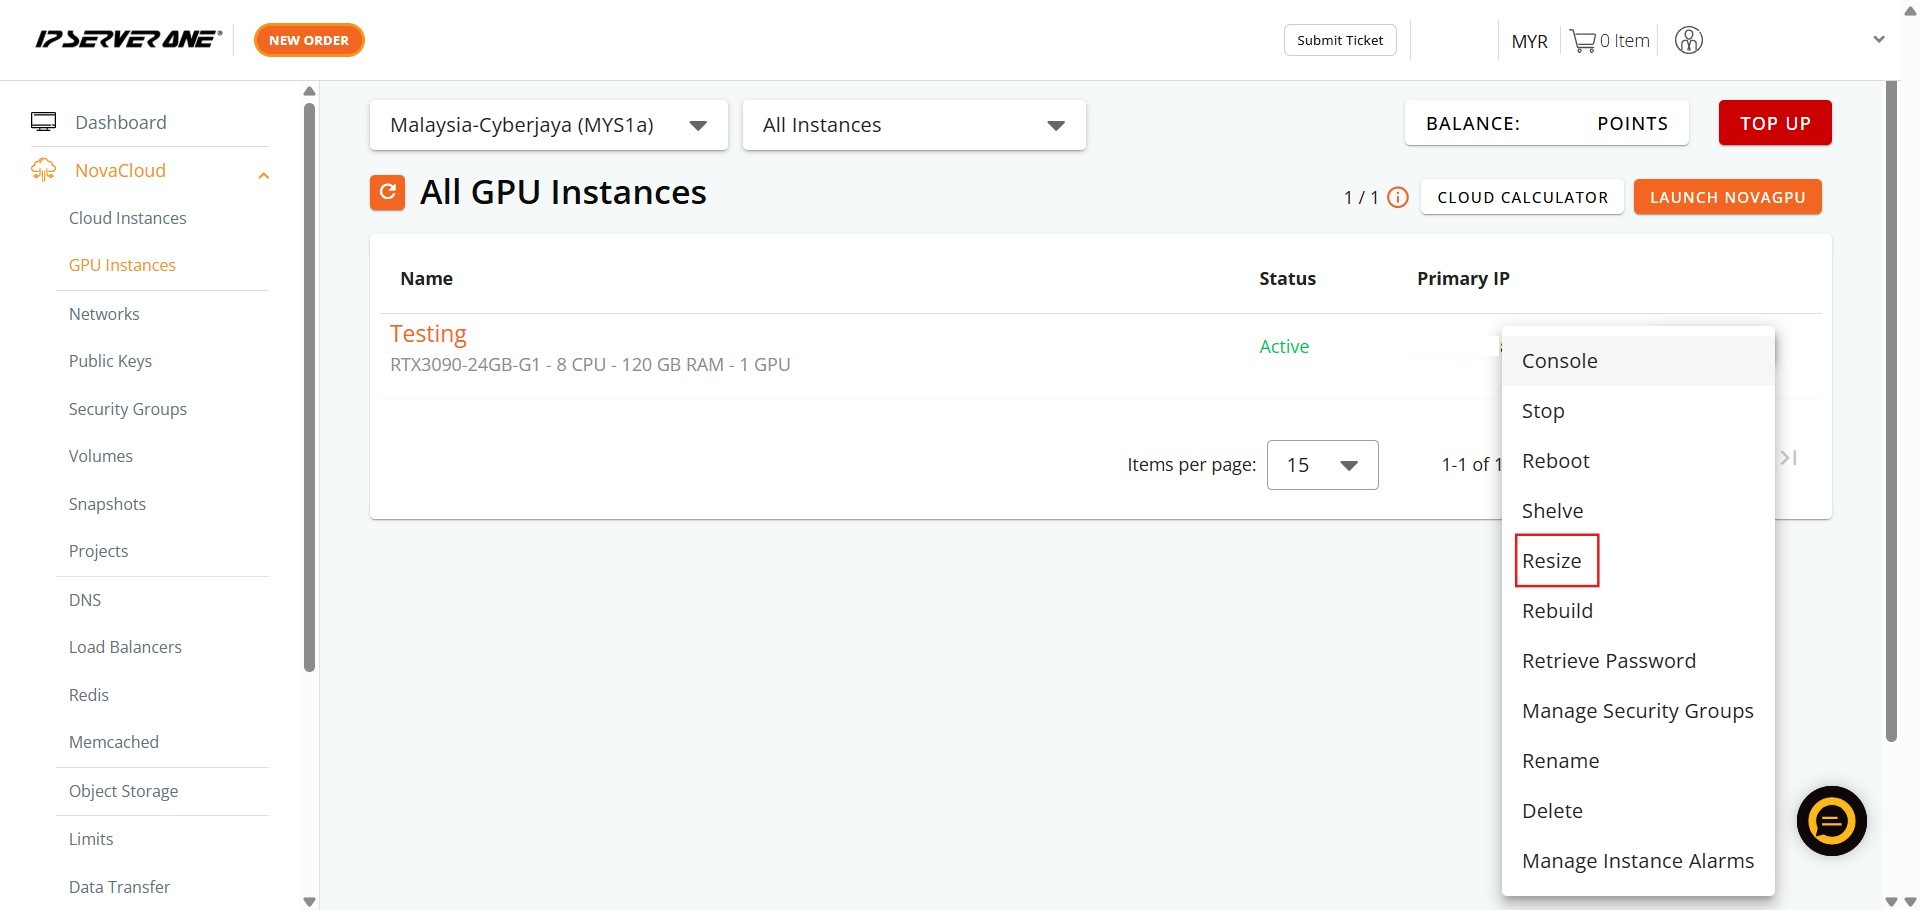
Step 4: Select the Resize Button
- From the available actions displayed in the dropdown menu, click “Resize” option.
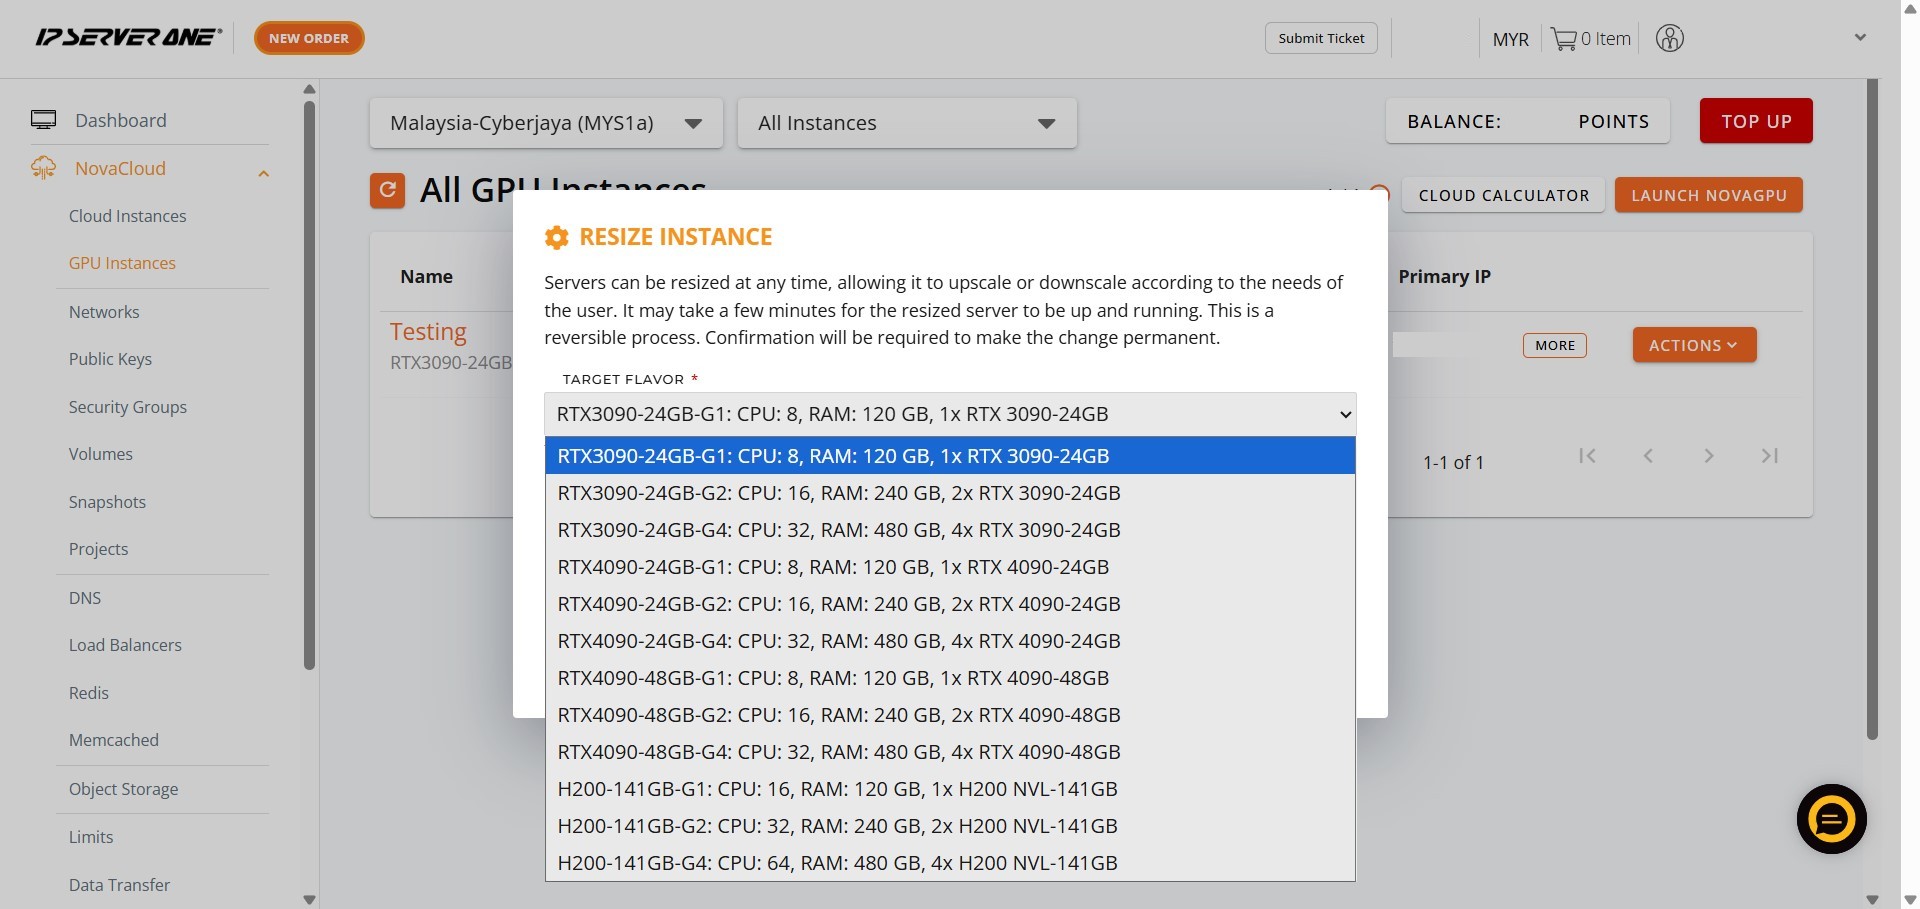
Step 5: Select the New Instance Flavor
- You will be prompted to choose a new flavor that offers the increased GPU resources you require.
- Click Select Resize Instance.
Step 6: Confirm and Execute the Resize
- After selecting the appropriate new flavor, confirm the action to start the resource allocation update. Click Resize.

Step 7: Acknowledge and Verify Status
- A pop-up will appear confirming your request has been submitted to the queue.
- Click Okay to acknowledge the submission.
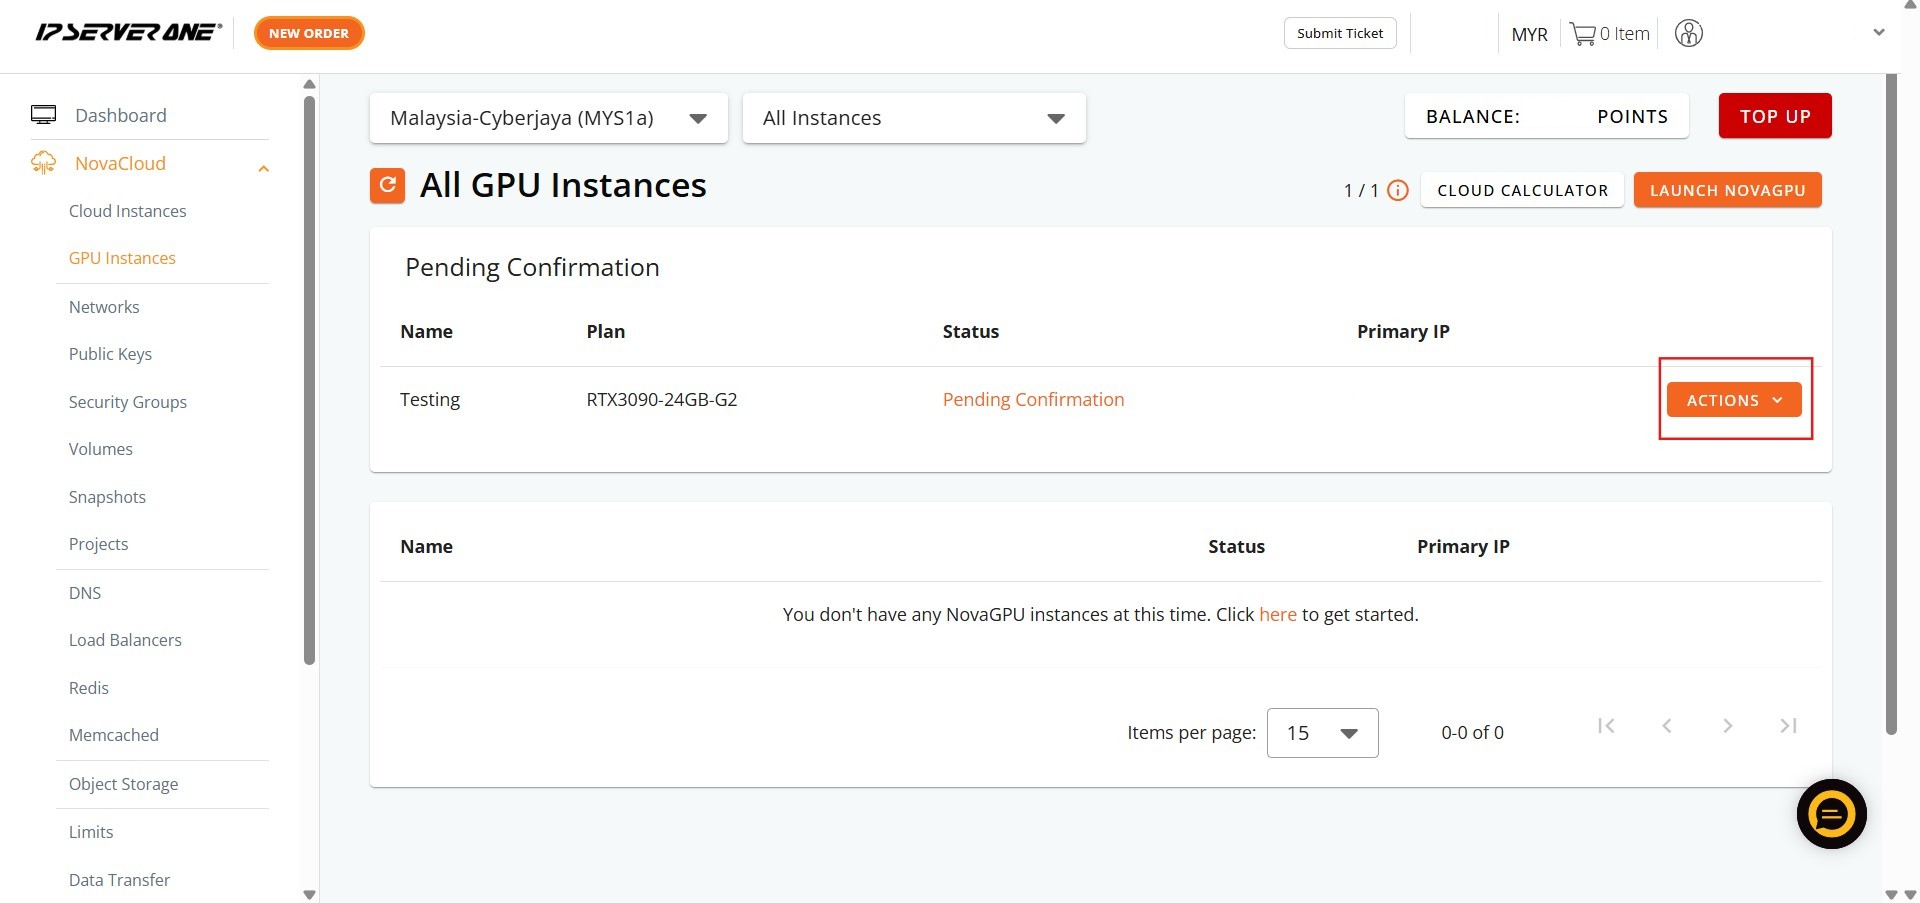
Step 8: Re-access Action Menu
- Click the action menu for the instance again.
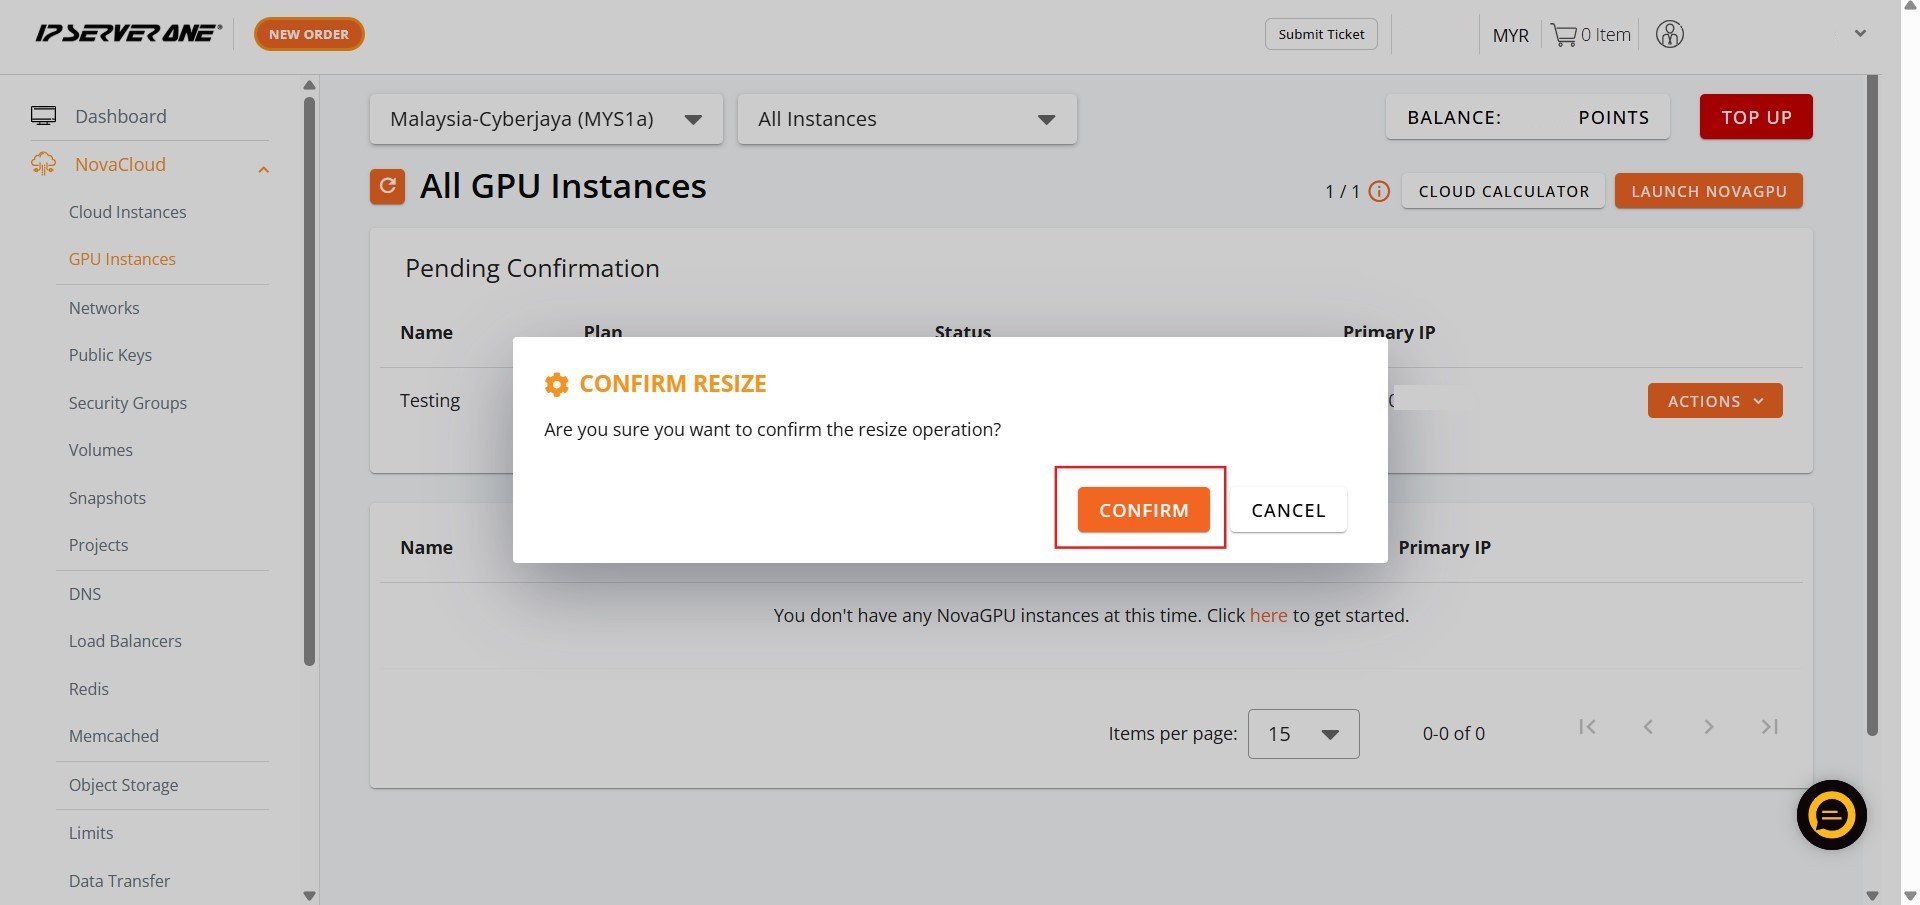
Step 9: Confirm Change (First Confirmation)
- Provide the first required confirmation for the resizing action.
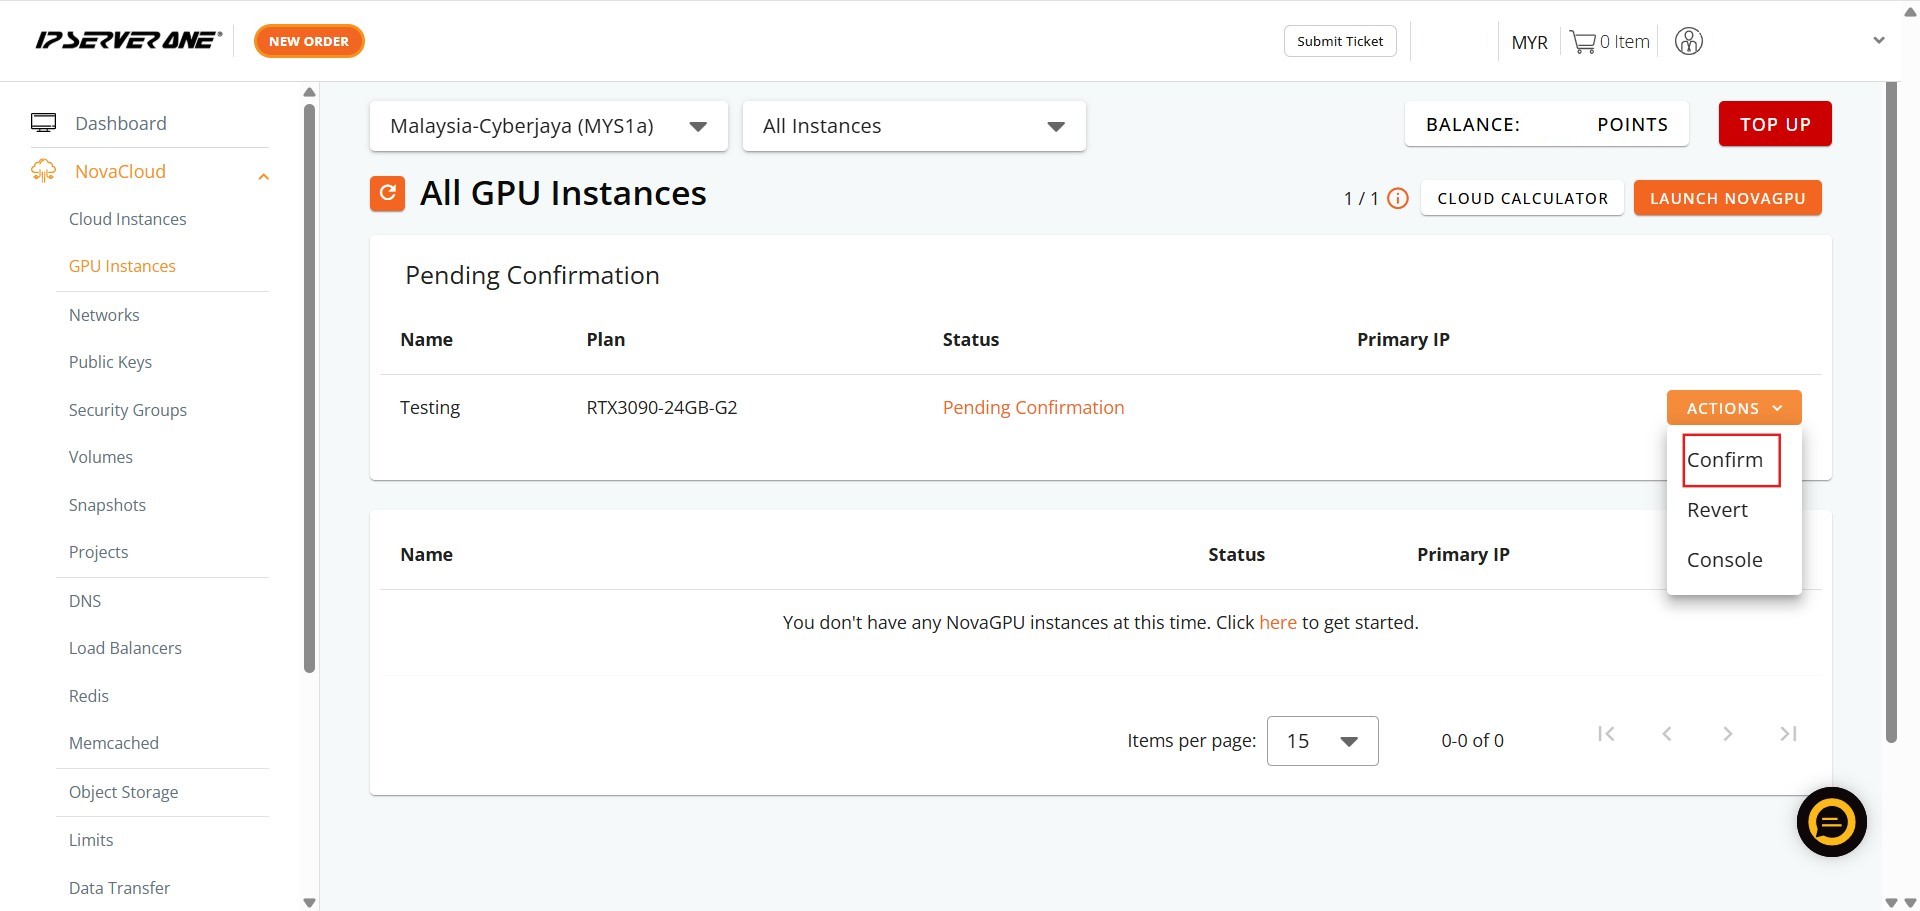
Step 10: Confirm Change (Second Confirmation)
- Provide the second confirmation to finalize the action.
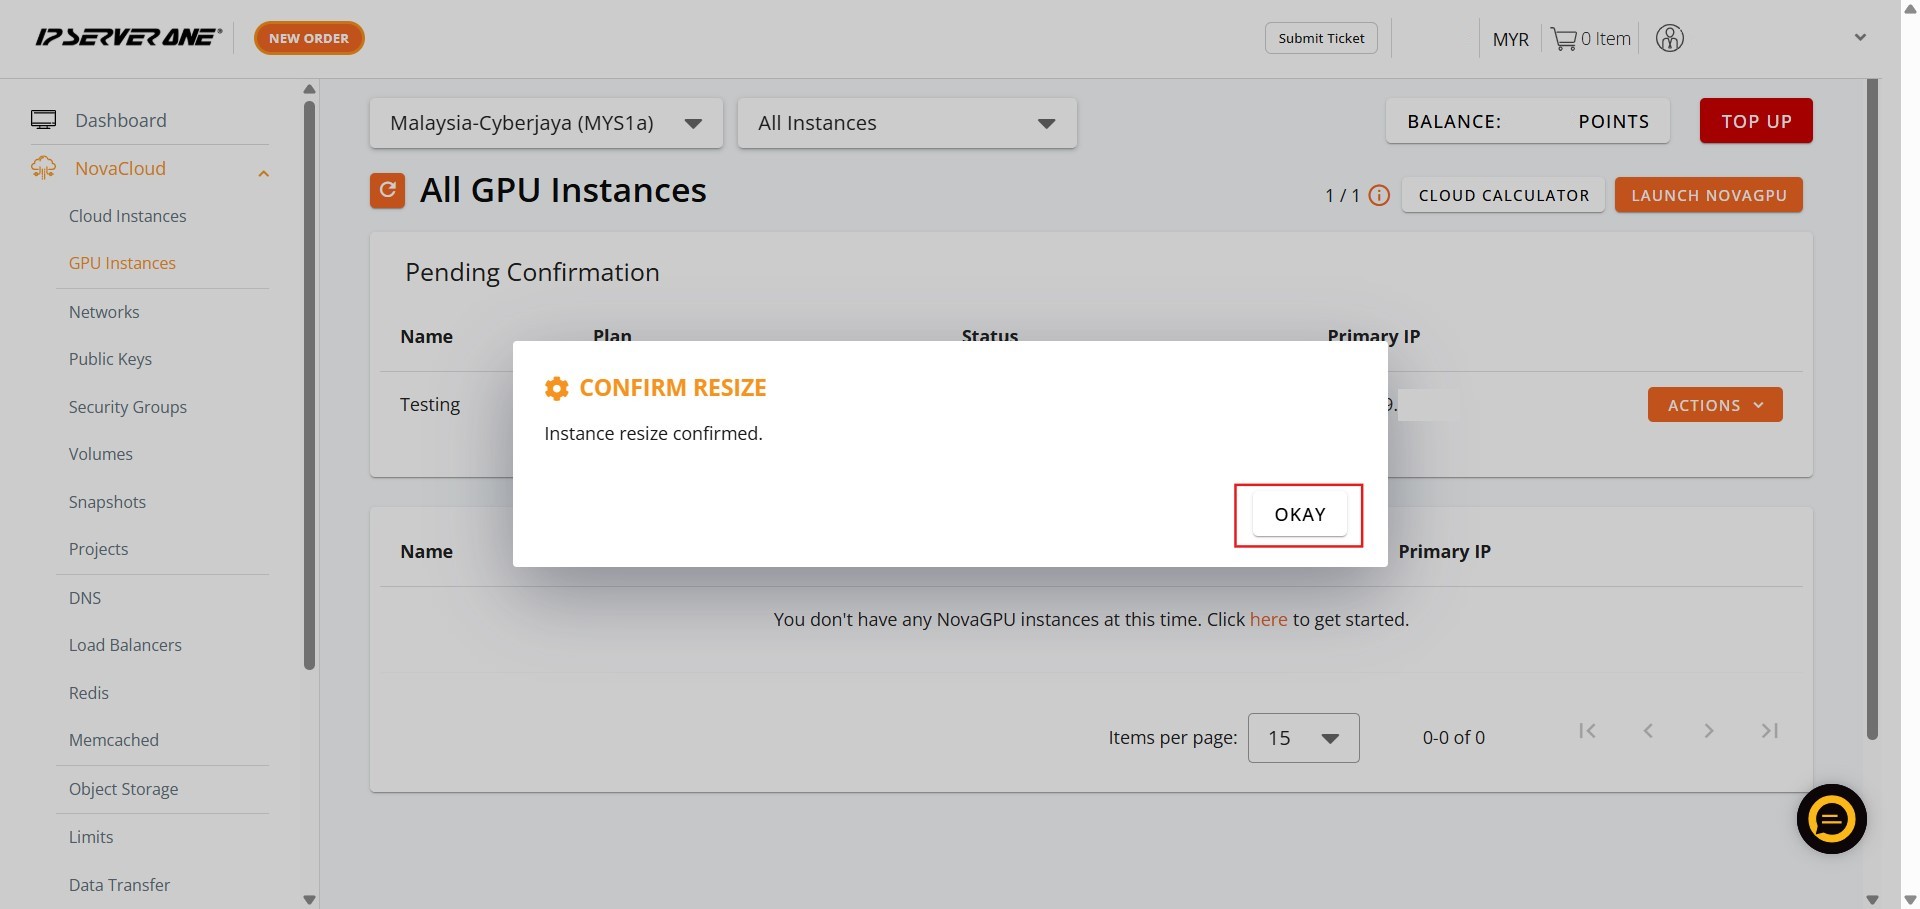
Step 11: Acknowledge Final Prompt
- Click Okay to dismiss the final notification regarding the process.

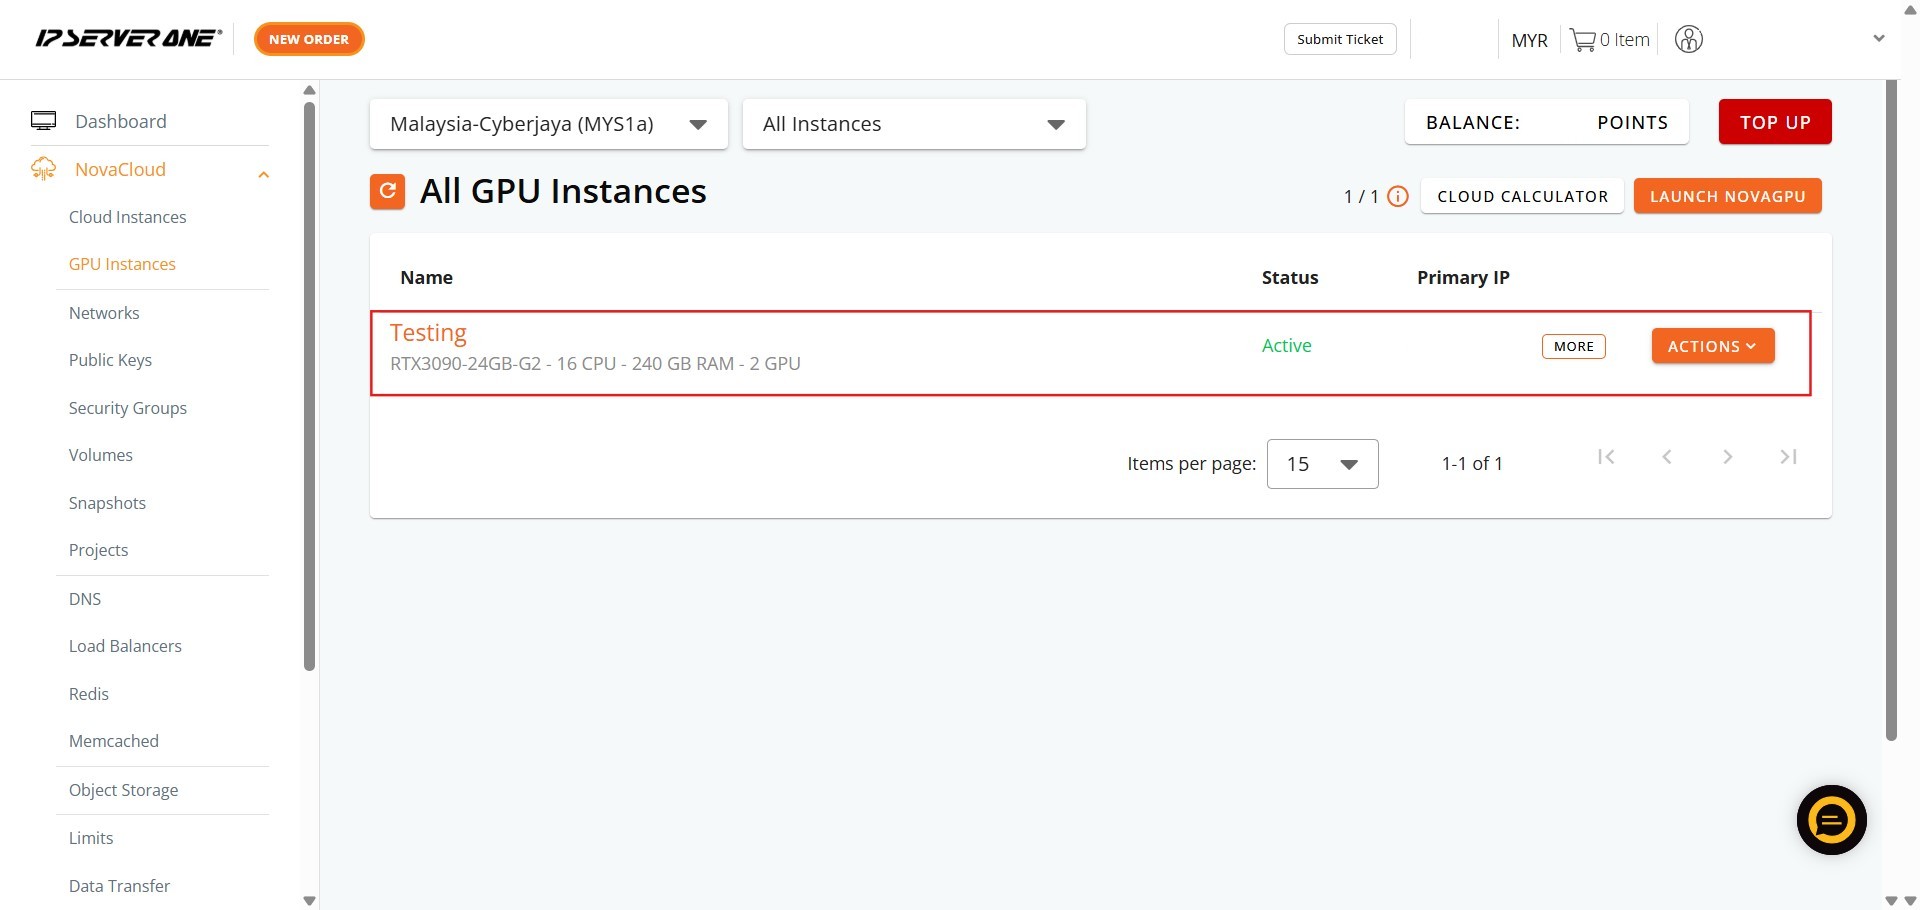
Step 12: Completion
- The GPU instance resizing process is complete.
Conclusion:
By executing the steps outlined in this guide, you have successfully utilized the NovaCloud > GPU Instances section of the Customer Portal to resize your GPU resources.
The successful completion of this process ensures you have provisioned the more powerful instance necessary to meet the high demands of your Machine Learning (ML) and Artificial Intelligence (AI) model training requirements. This mechanism, which involves selecting a different flavor than the current one, maintains the scalability of NovaGPU, which is specifically offered as GPU as a Service for intense tasks such as training, fine-tuning, and deploying AI.
For managing your subscription and tracking the updated service costs, you can review the financial breakdown, including the GPU Instances charges, in the Transactions overview within the portal. Should you encounter any further issues or require additional assistance with resource management, you are encouraged to contact the support team.