Search Our Database
How to Rename Security Group(s) in Customer Portal
Introduction:
This guide provides a focused, step-by-step procedure for the Customer Portal User on how to rename a Security Group in the Customer Portal. Renaming security groups is a necessary administrative task, particularly when the existing name is confused, or when the user seeks to make the Name of the Security Group more organized and suitable for the cloud instance it protects, such as instances used for applications like WordPress or Redis. This task is achieved using the customer portal by navigating to NovaCloud > Security Groups and selecting the Rename Button from the Actions menu associated with the specific security group. By following the straightforward process, users can effectively enhance the organizational structure and clarity of their cloud security settings.
Prerequisites:
- You must be a registered and logged-in user of the Customer Portal.
- You must have at least one existing Security Group.
Step-by-step Guide:
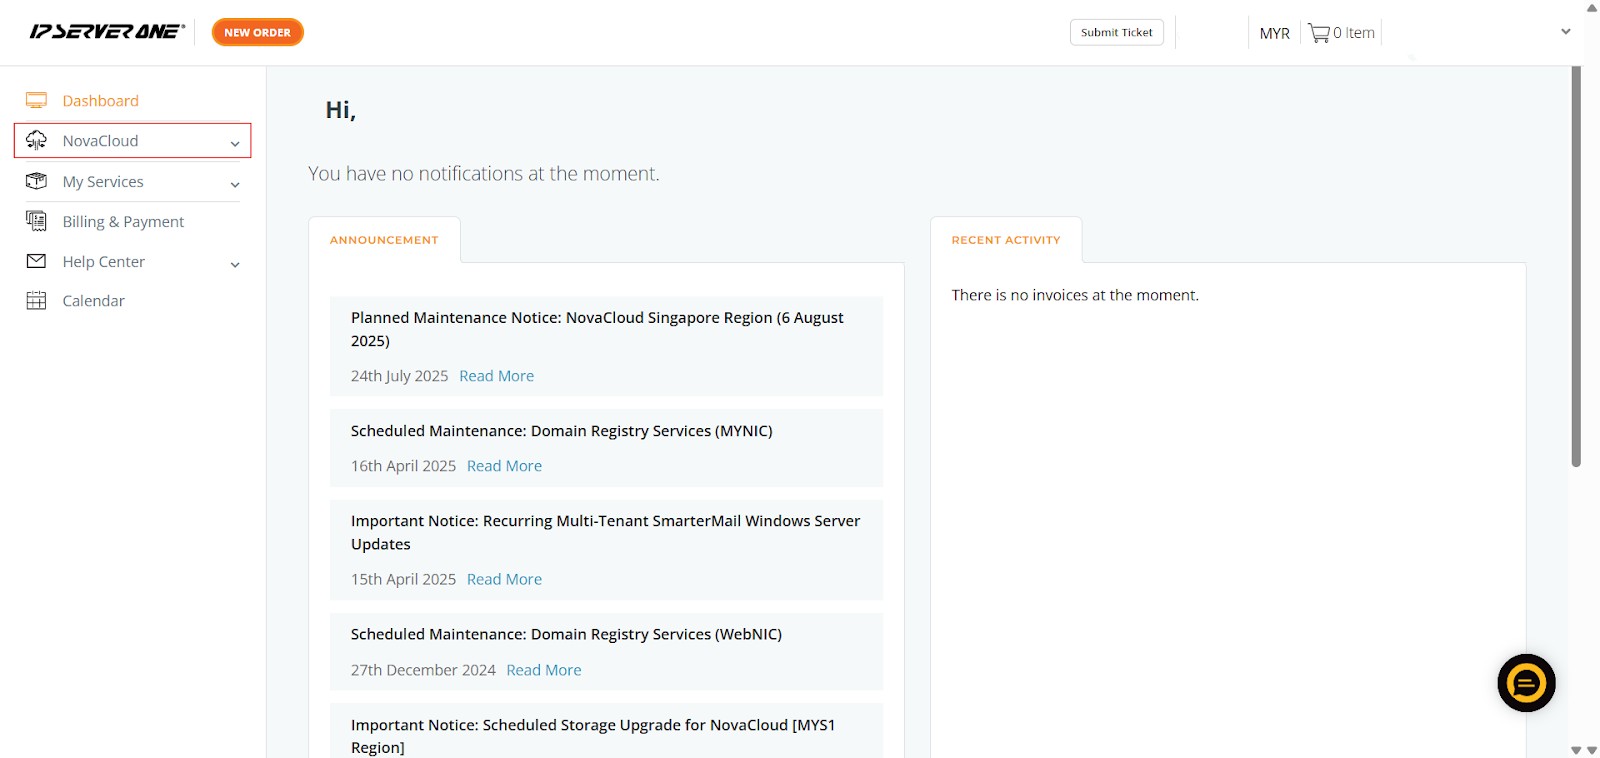
Step 1: Access NovaCloud Dashboard
- Begin by logging into your customer portal. Once logged in, click on “NovaCloud” from the left-hand navigation menu. This will take you to your NovaCloud dashboard, which serves as the central hub for managing all your cloud resources.
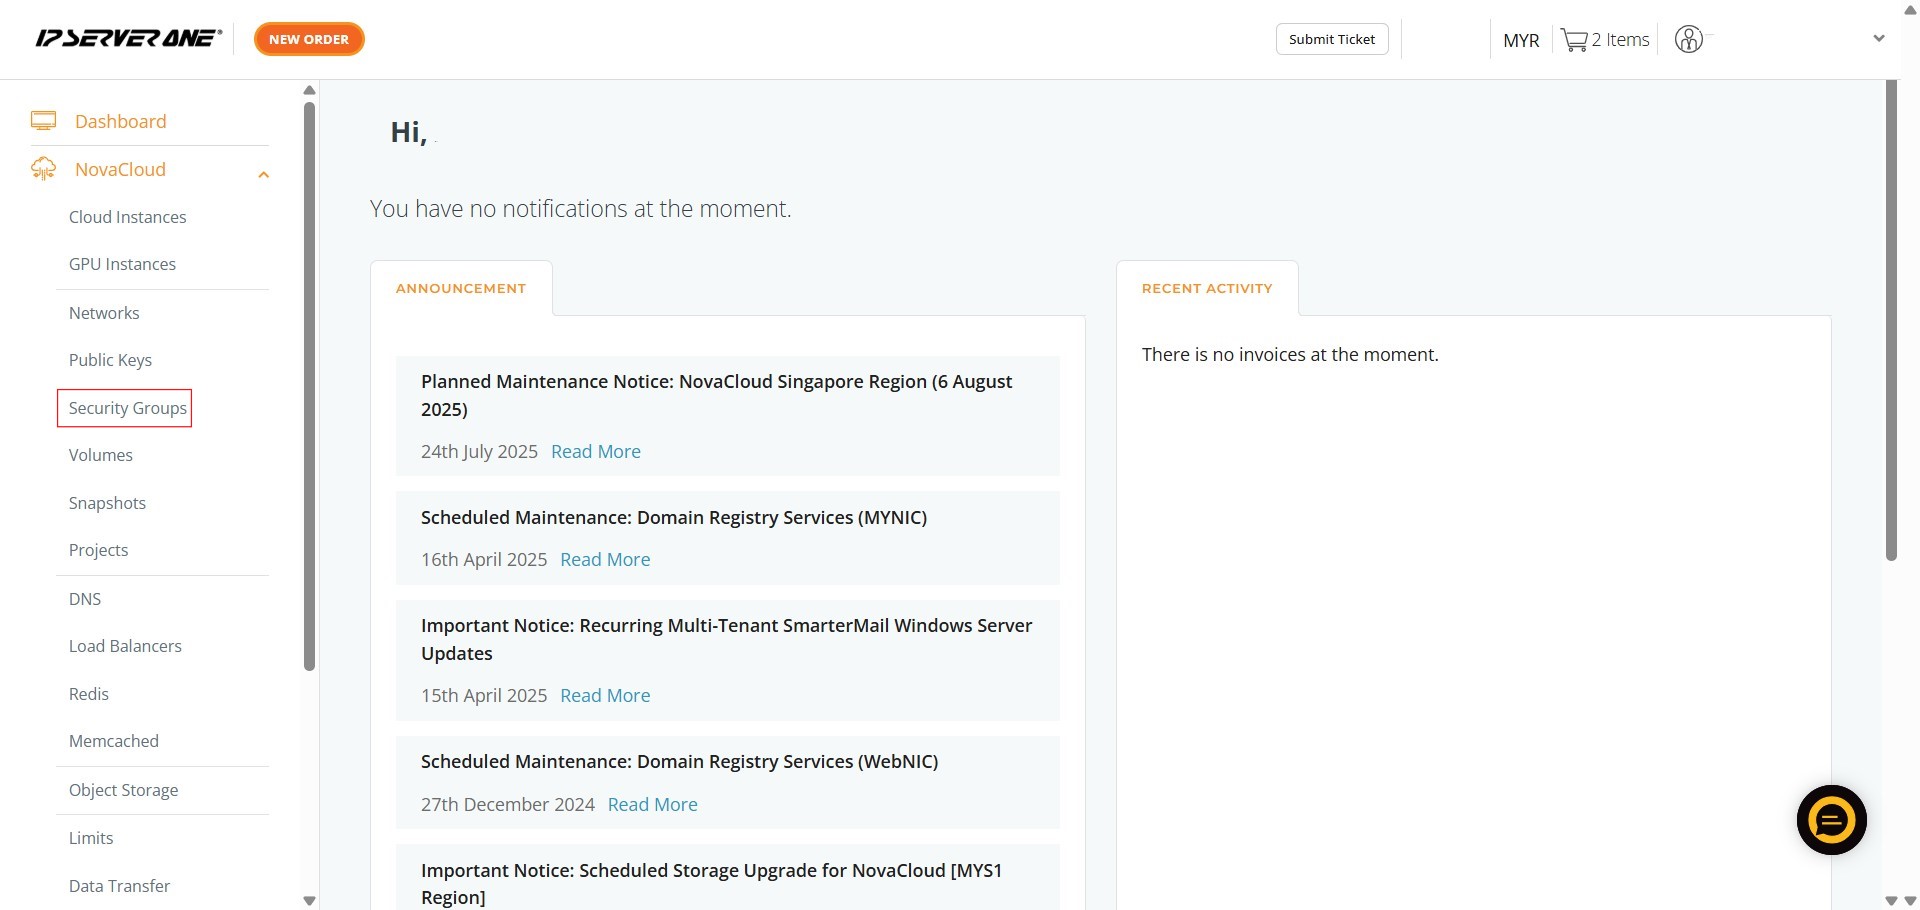
Step 2: Navigate to Security Groups
- Within the NovaCloud menu on the left, click on “Security Groups”.
- This action will display a list of all existing Security Groups configured within your NovaCloud environment.
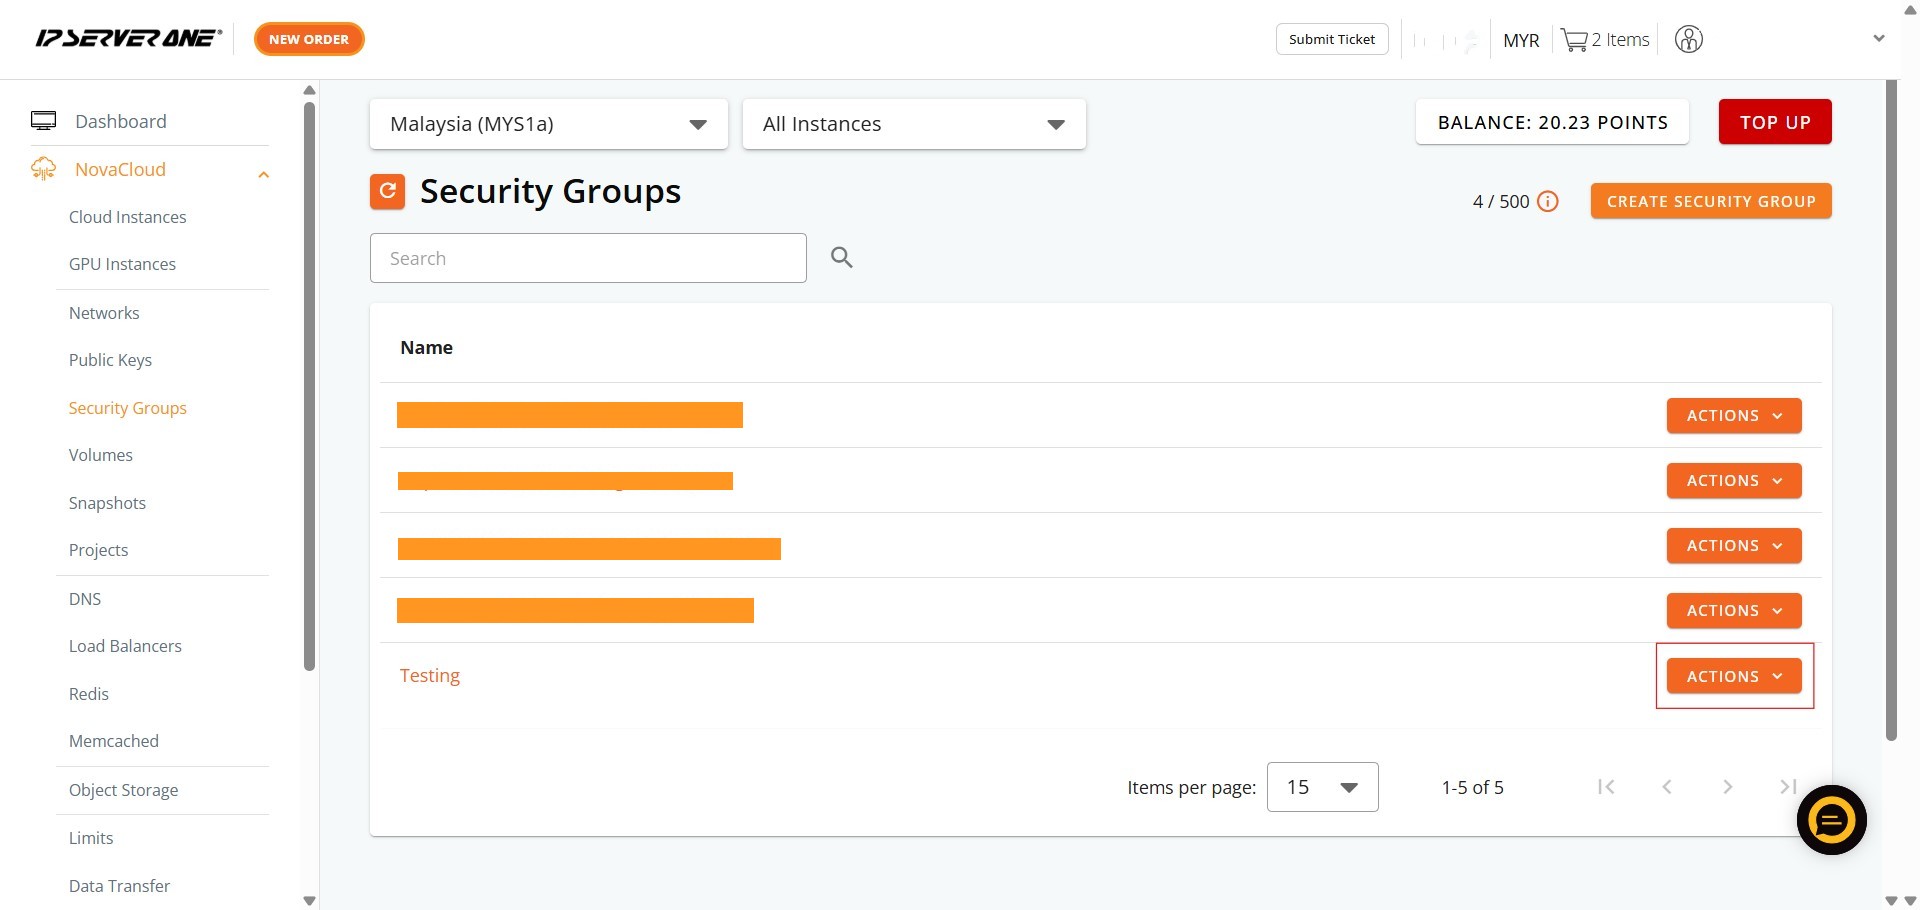
Step 3: Select the Target Group
- Locate the security group you wish to rename and click the Action button associated with that specific security group.
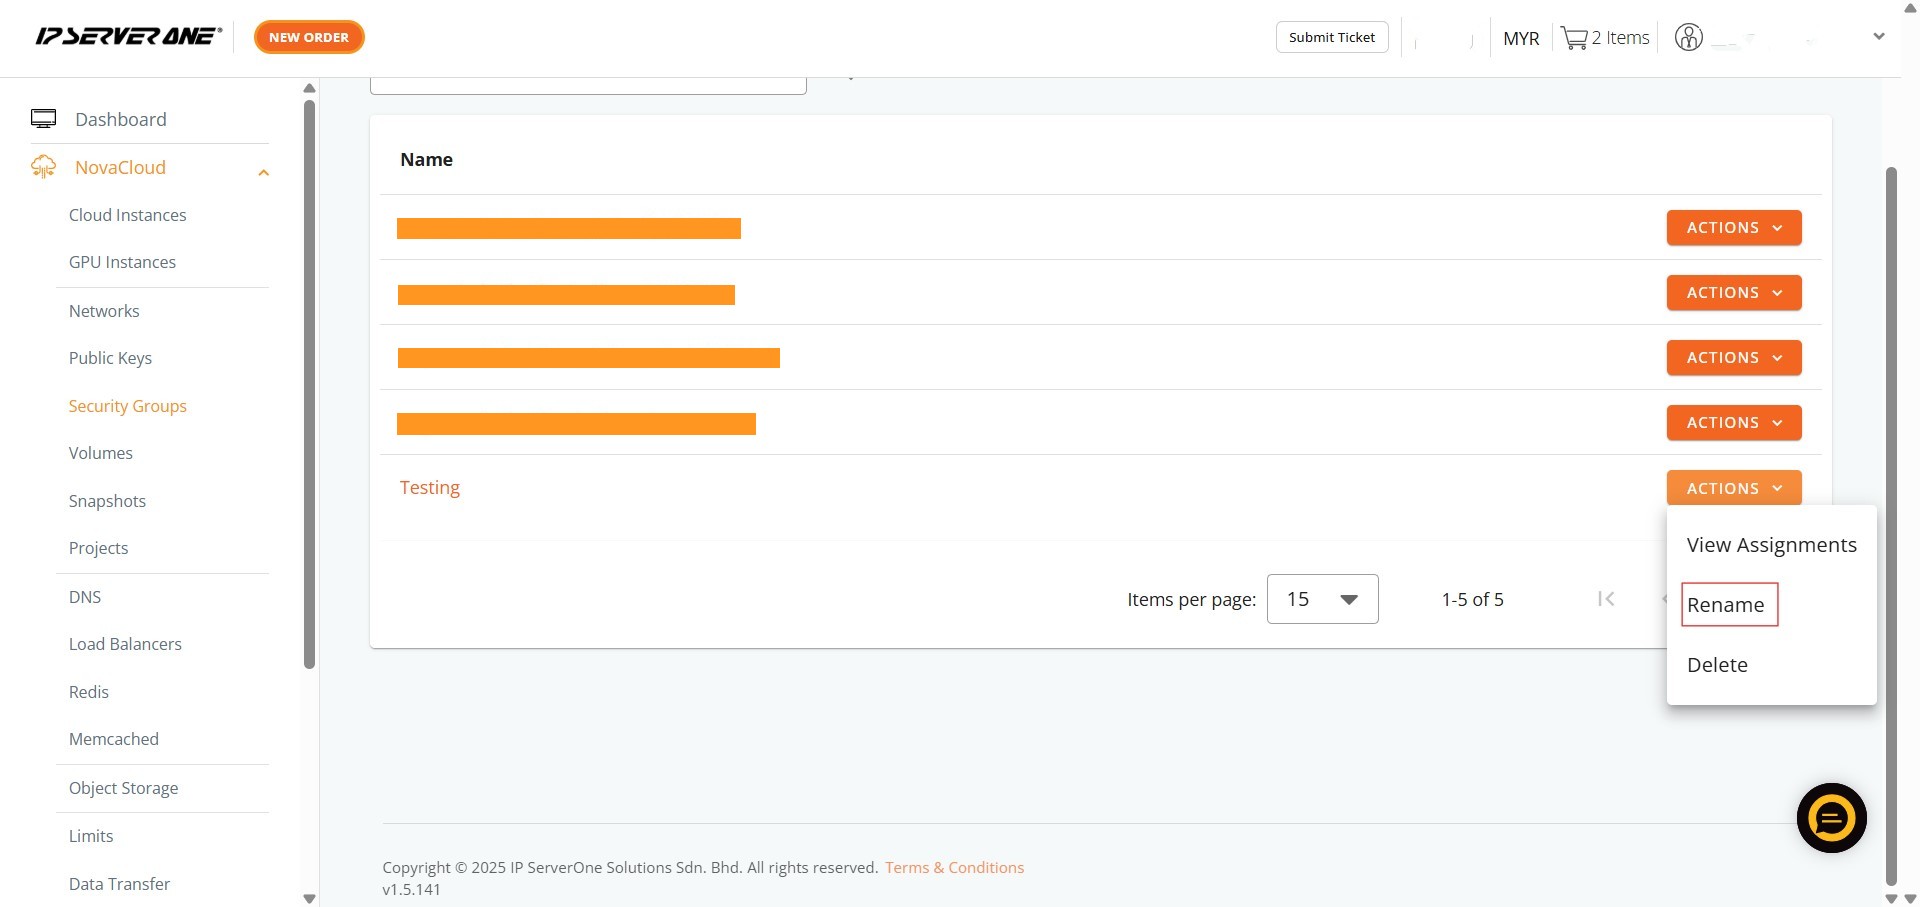
Step 4: Initiate Rename
- From the dropdown list that appears, click Rename Button.
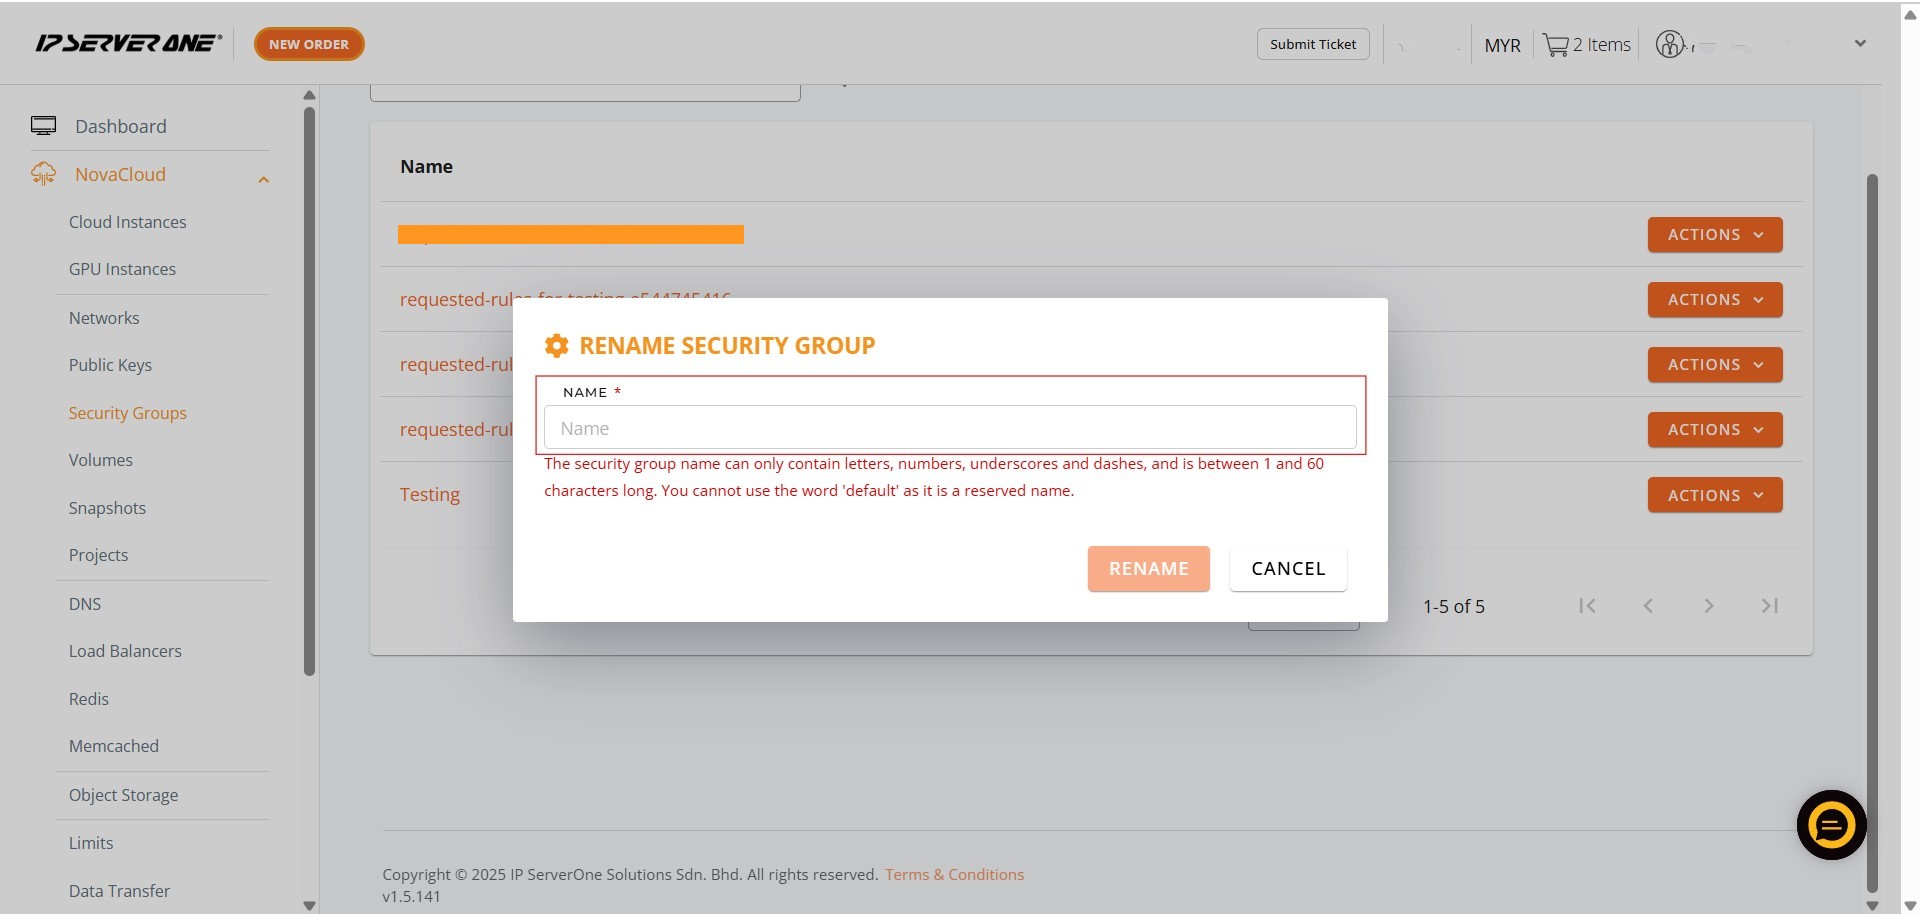
Step 5: Enter the New Name
- A field or pop-up will appear where you can type the new name for the security group.
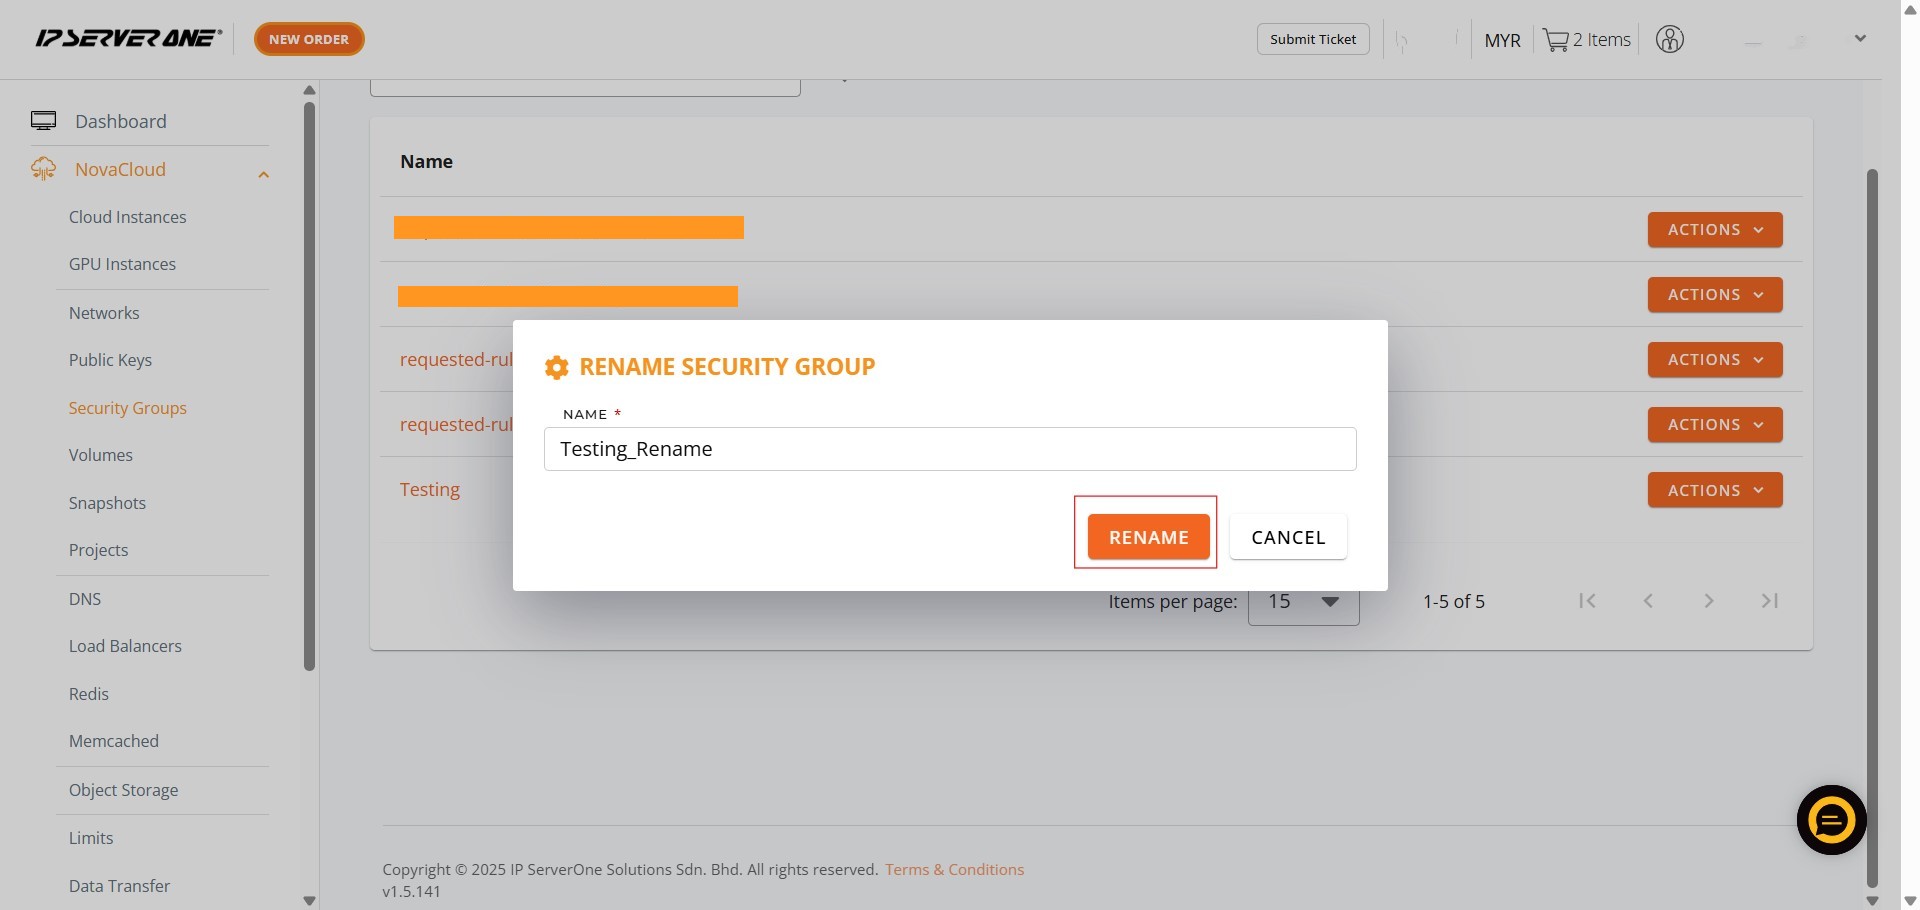
Step 6: Confirm Rename
- Once you have entered the valid new name, click the Rename Button to apply the change.
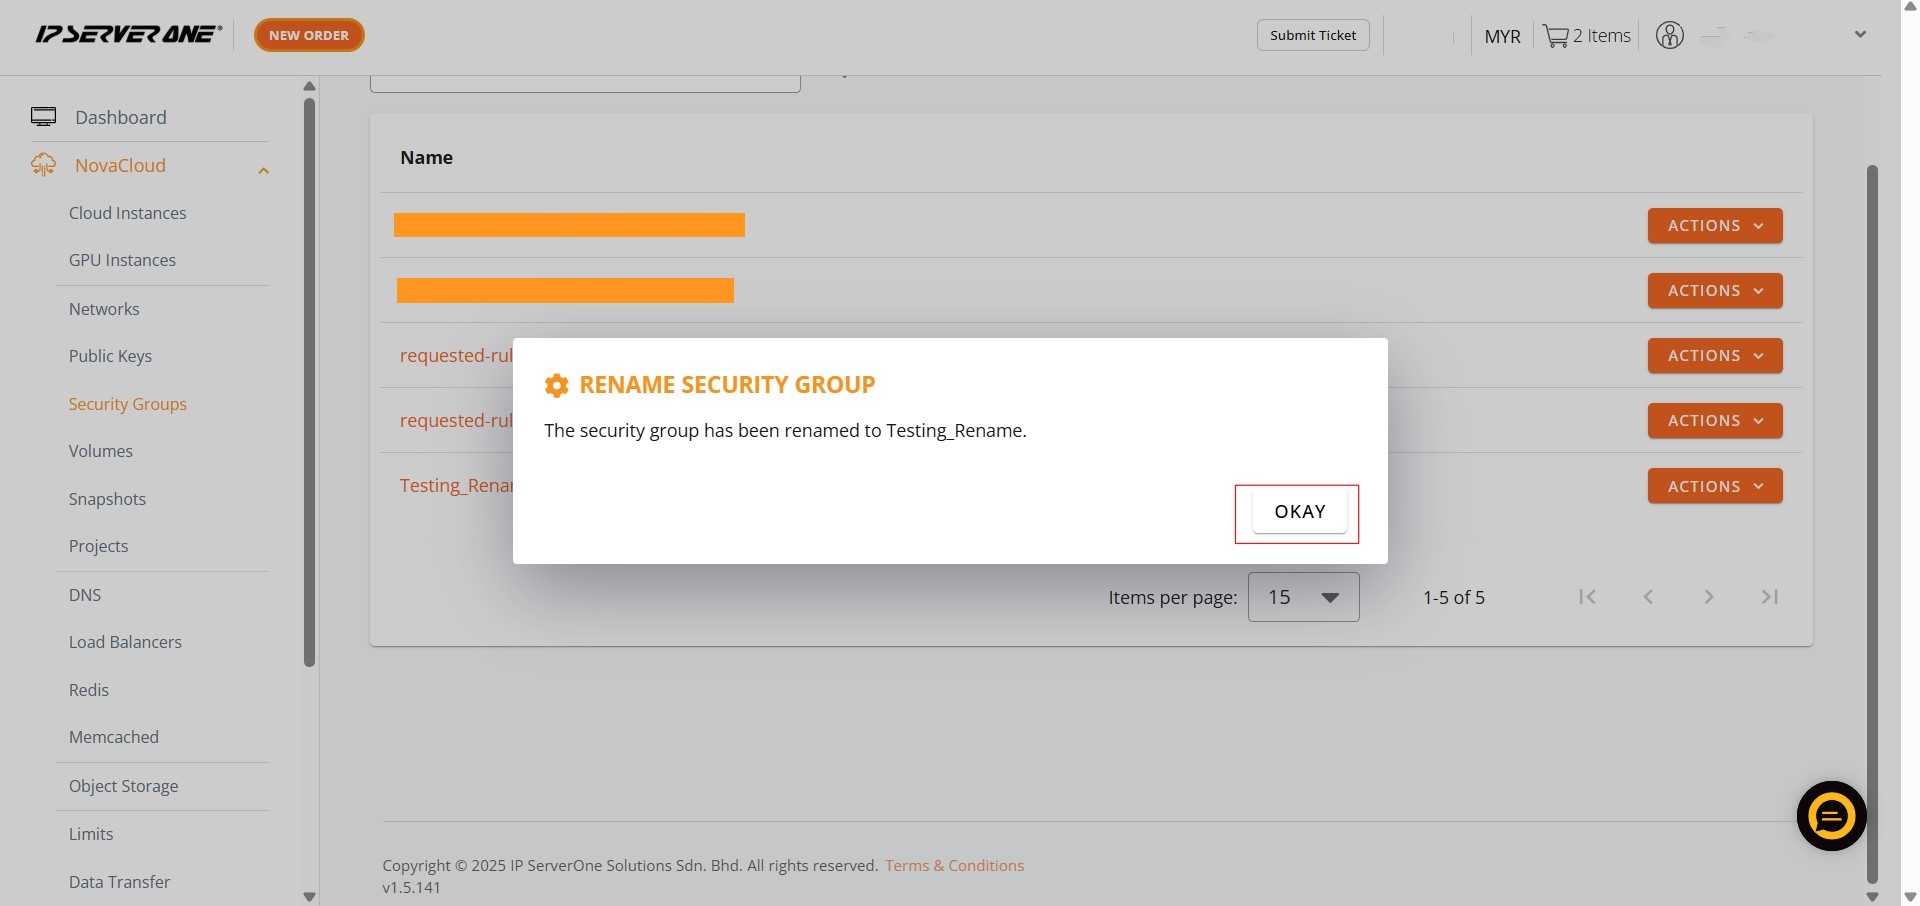
Step 7: Acknowledge Confirmation
- A confirmation prompt will appear; click okay.
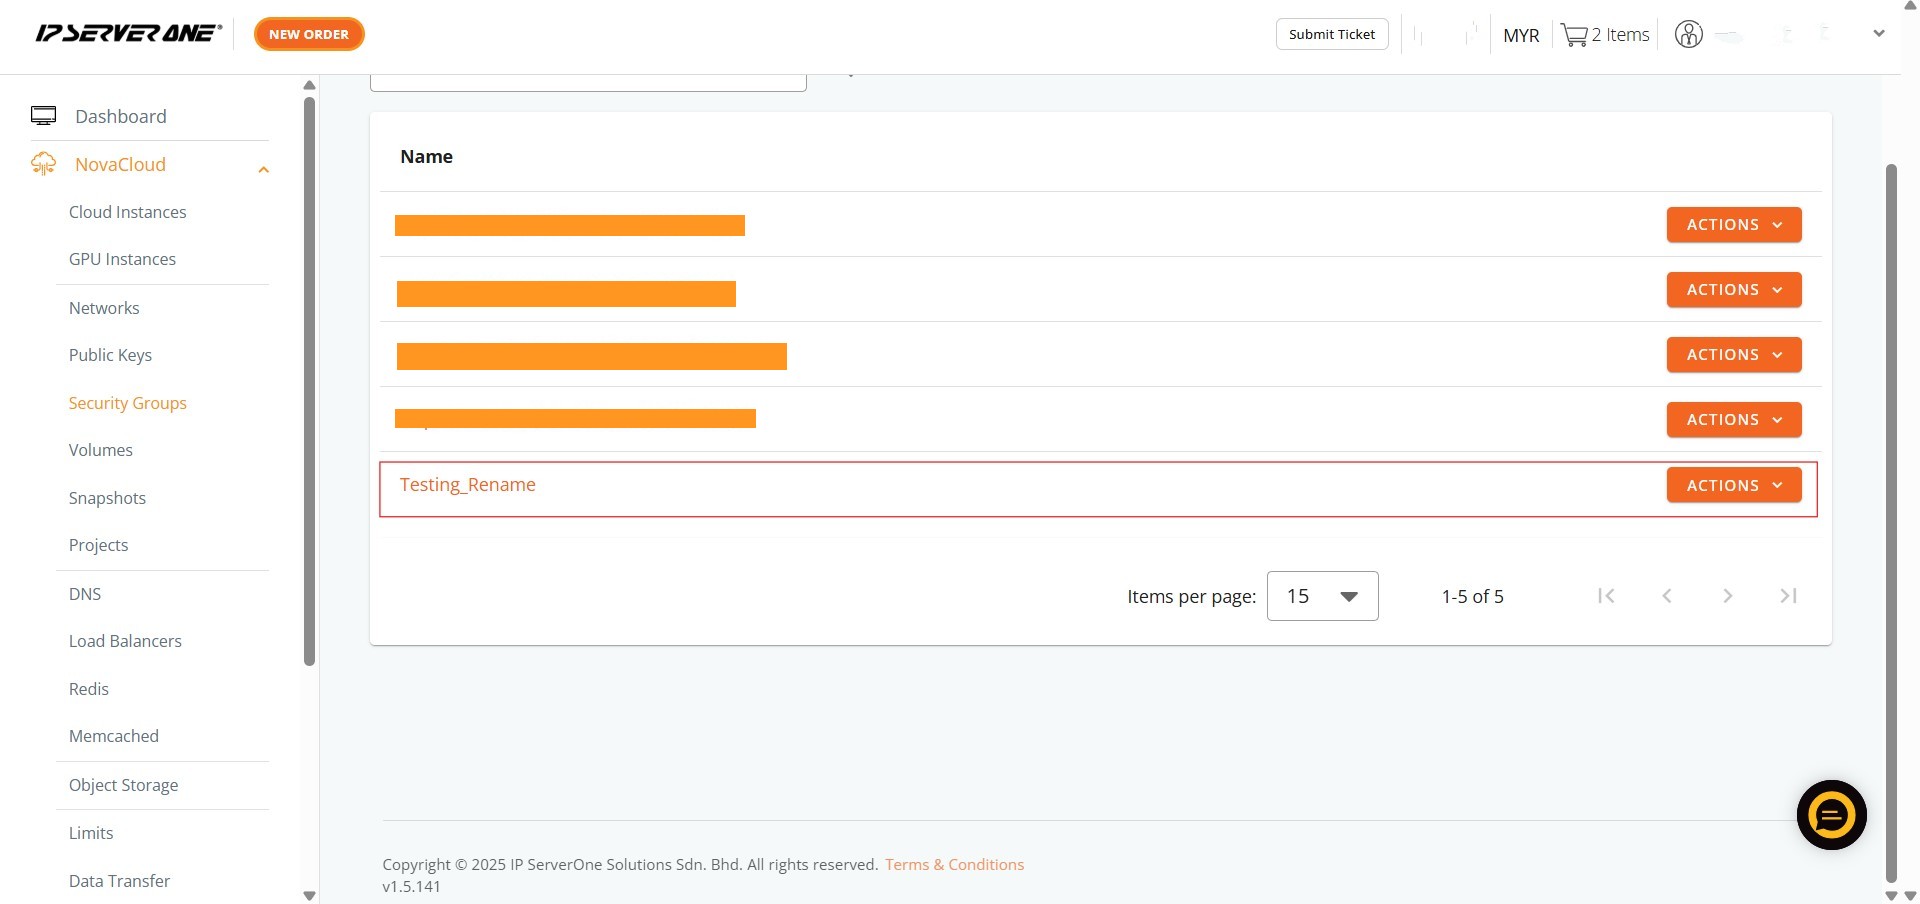
Step 8: Verification
- The renaming process is complete, resulting in Success.
- The security group should now appear with its updated name in the Security Groups list.
Conclusion:
By successfully completing the steps outlined in this guide, the Customer Portal User has achieved Success in renaming their Security Group. This crucial administrative step ensures that the name is more organized and suitable for the cloud instance it protects, facilitating clearer governance over network access rules.
Should you encounter any issues or have any questions, our support team at IPSERVERONE is always here to assist you. Don’t hesitate to reach out to us at support@ipserverone.com for any help you need.