Search Our Database
How to Manually Connect to Your cPanel Web Disk for macOS
Introduction
Connecting to Web Disk accounts on Mac systems provides seamless integration between server files and the native Finder interface. Mac’s built-in “Connect to Server” feature allows direct access to Web Disk accounts without requiring additional software installations. This native integration enables efficient file management through familiar Mac interfaces while maintaining secure server connections. This guide explains how to connect to Web Disk accounts using Mac’s Finder > Connect to Server feature, providing direct access to server files through your local file system.
Prerequisites
- An existing Web Disk account
Step-by-step Guide
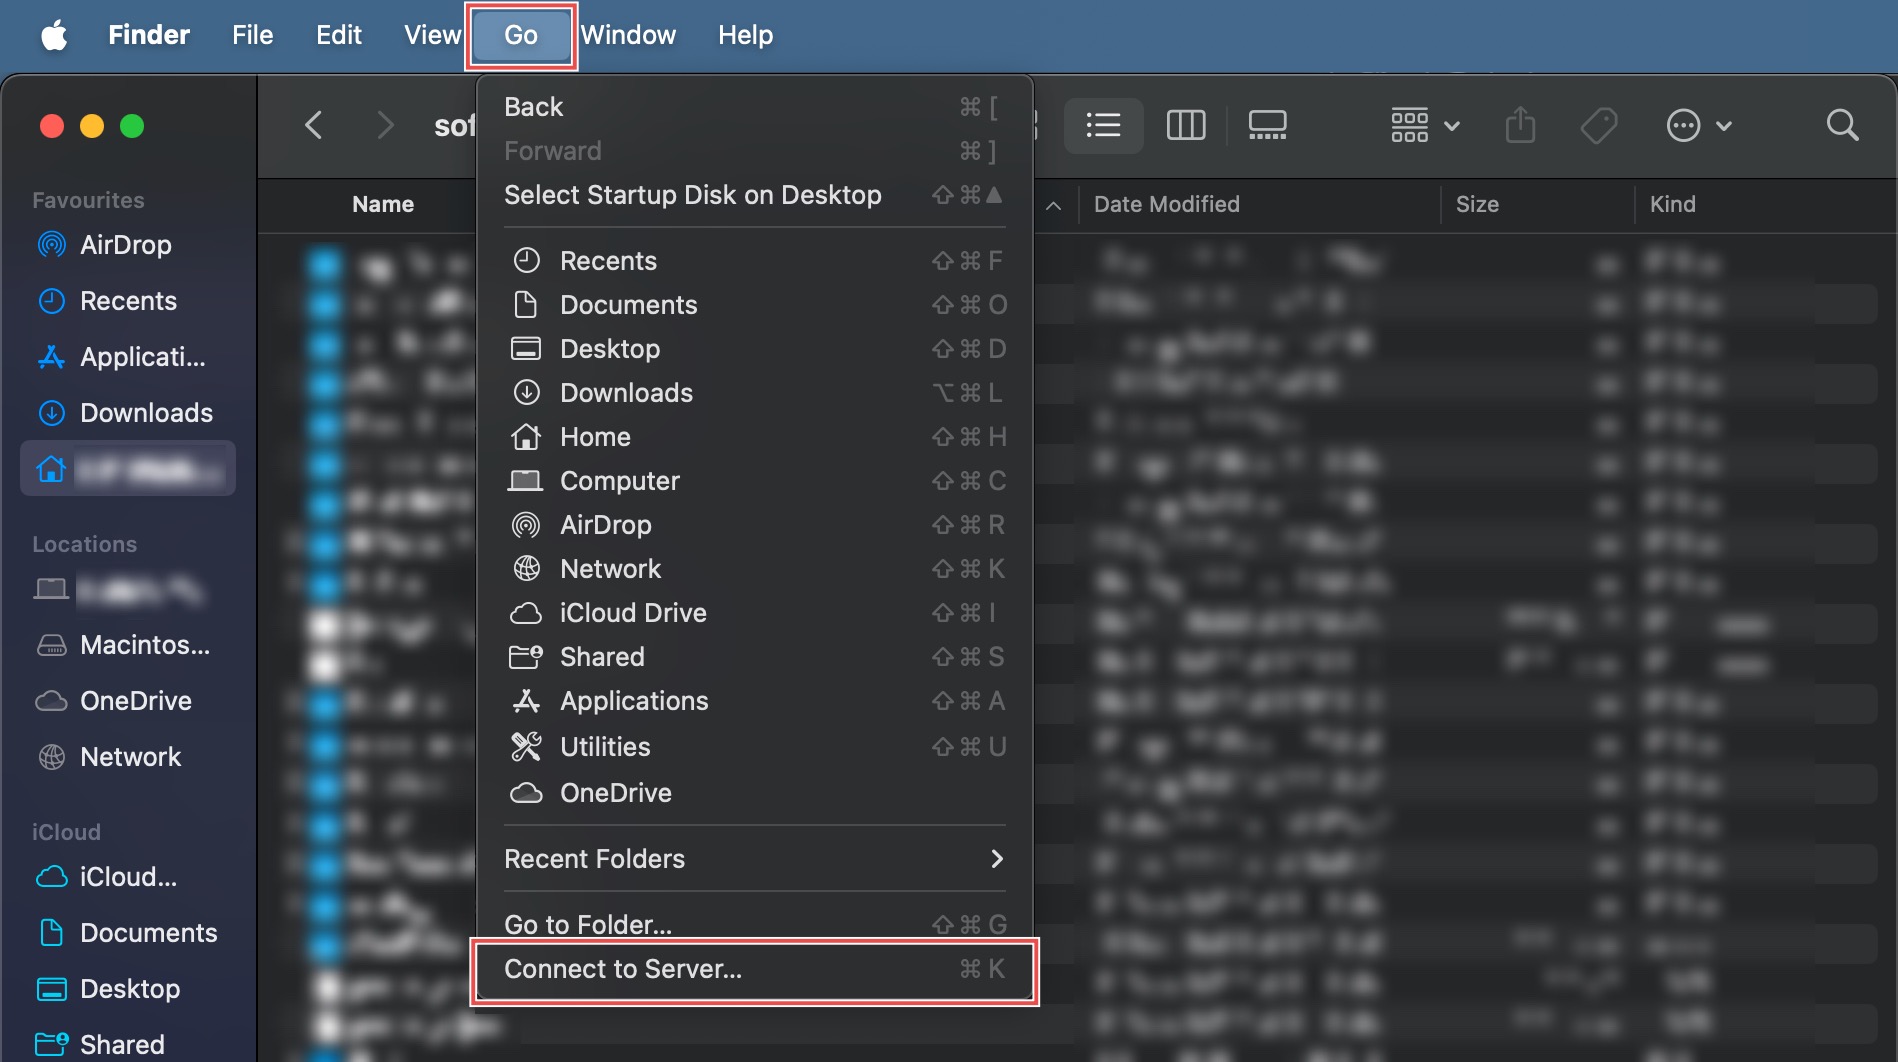
Step 1: Open Connect to Server
Open Apple’s Finder application. From the top menu bar, click Go, and then select Connect to Server.
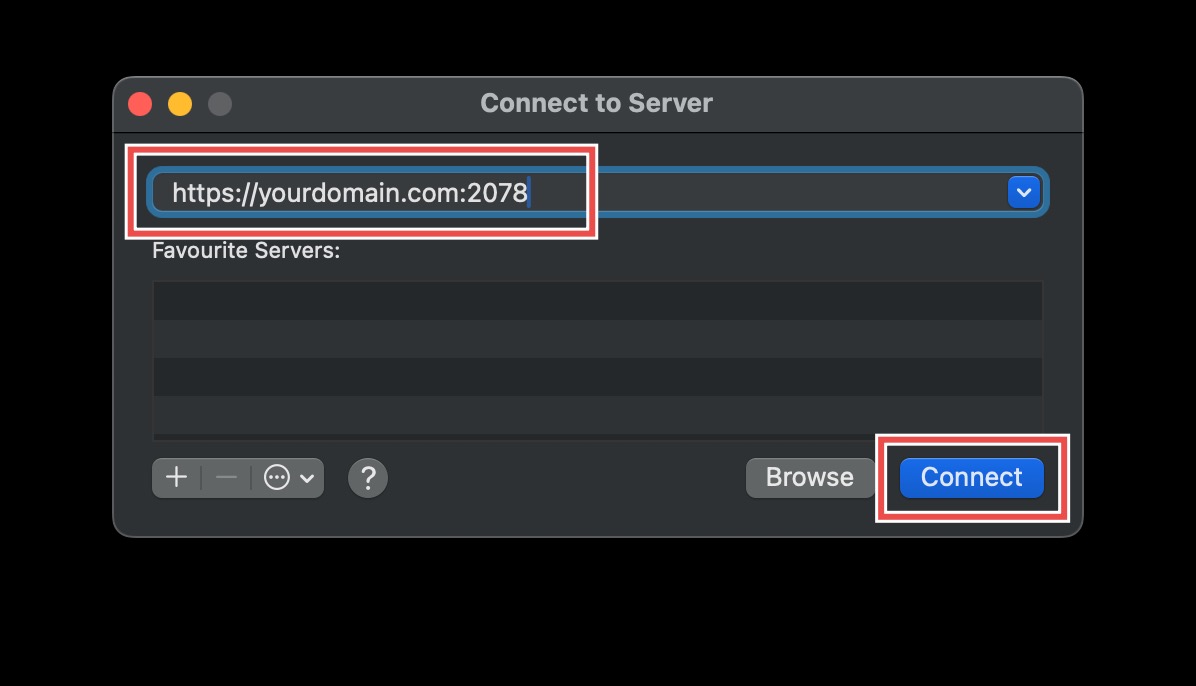
Step 2: Enter Server Address
In the Server Address field, enter your domain name and port number for Web Disk connections, e.g.
https://<yourdomain.com>:2078
Then, click Connect.
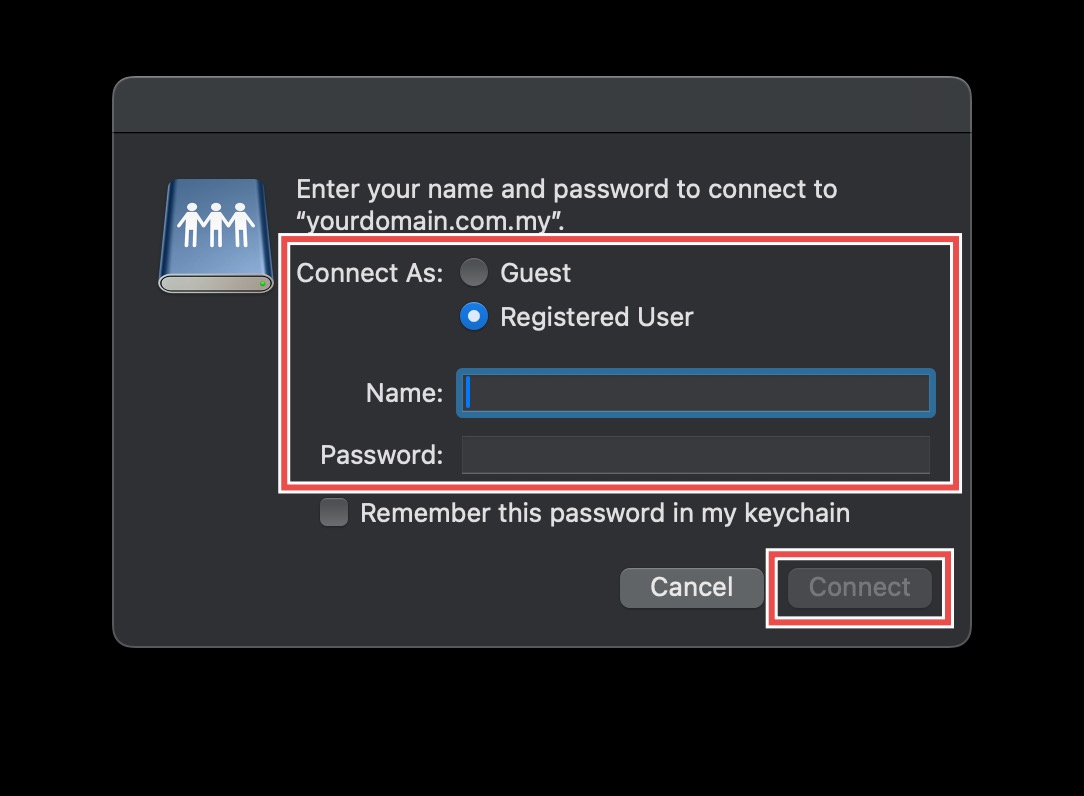
Step 3: Log in to Your Web Disk Account
A new window will appear, prompting you for your credentials. Select Registered User and enter your username and password. Then, click Connect.
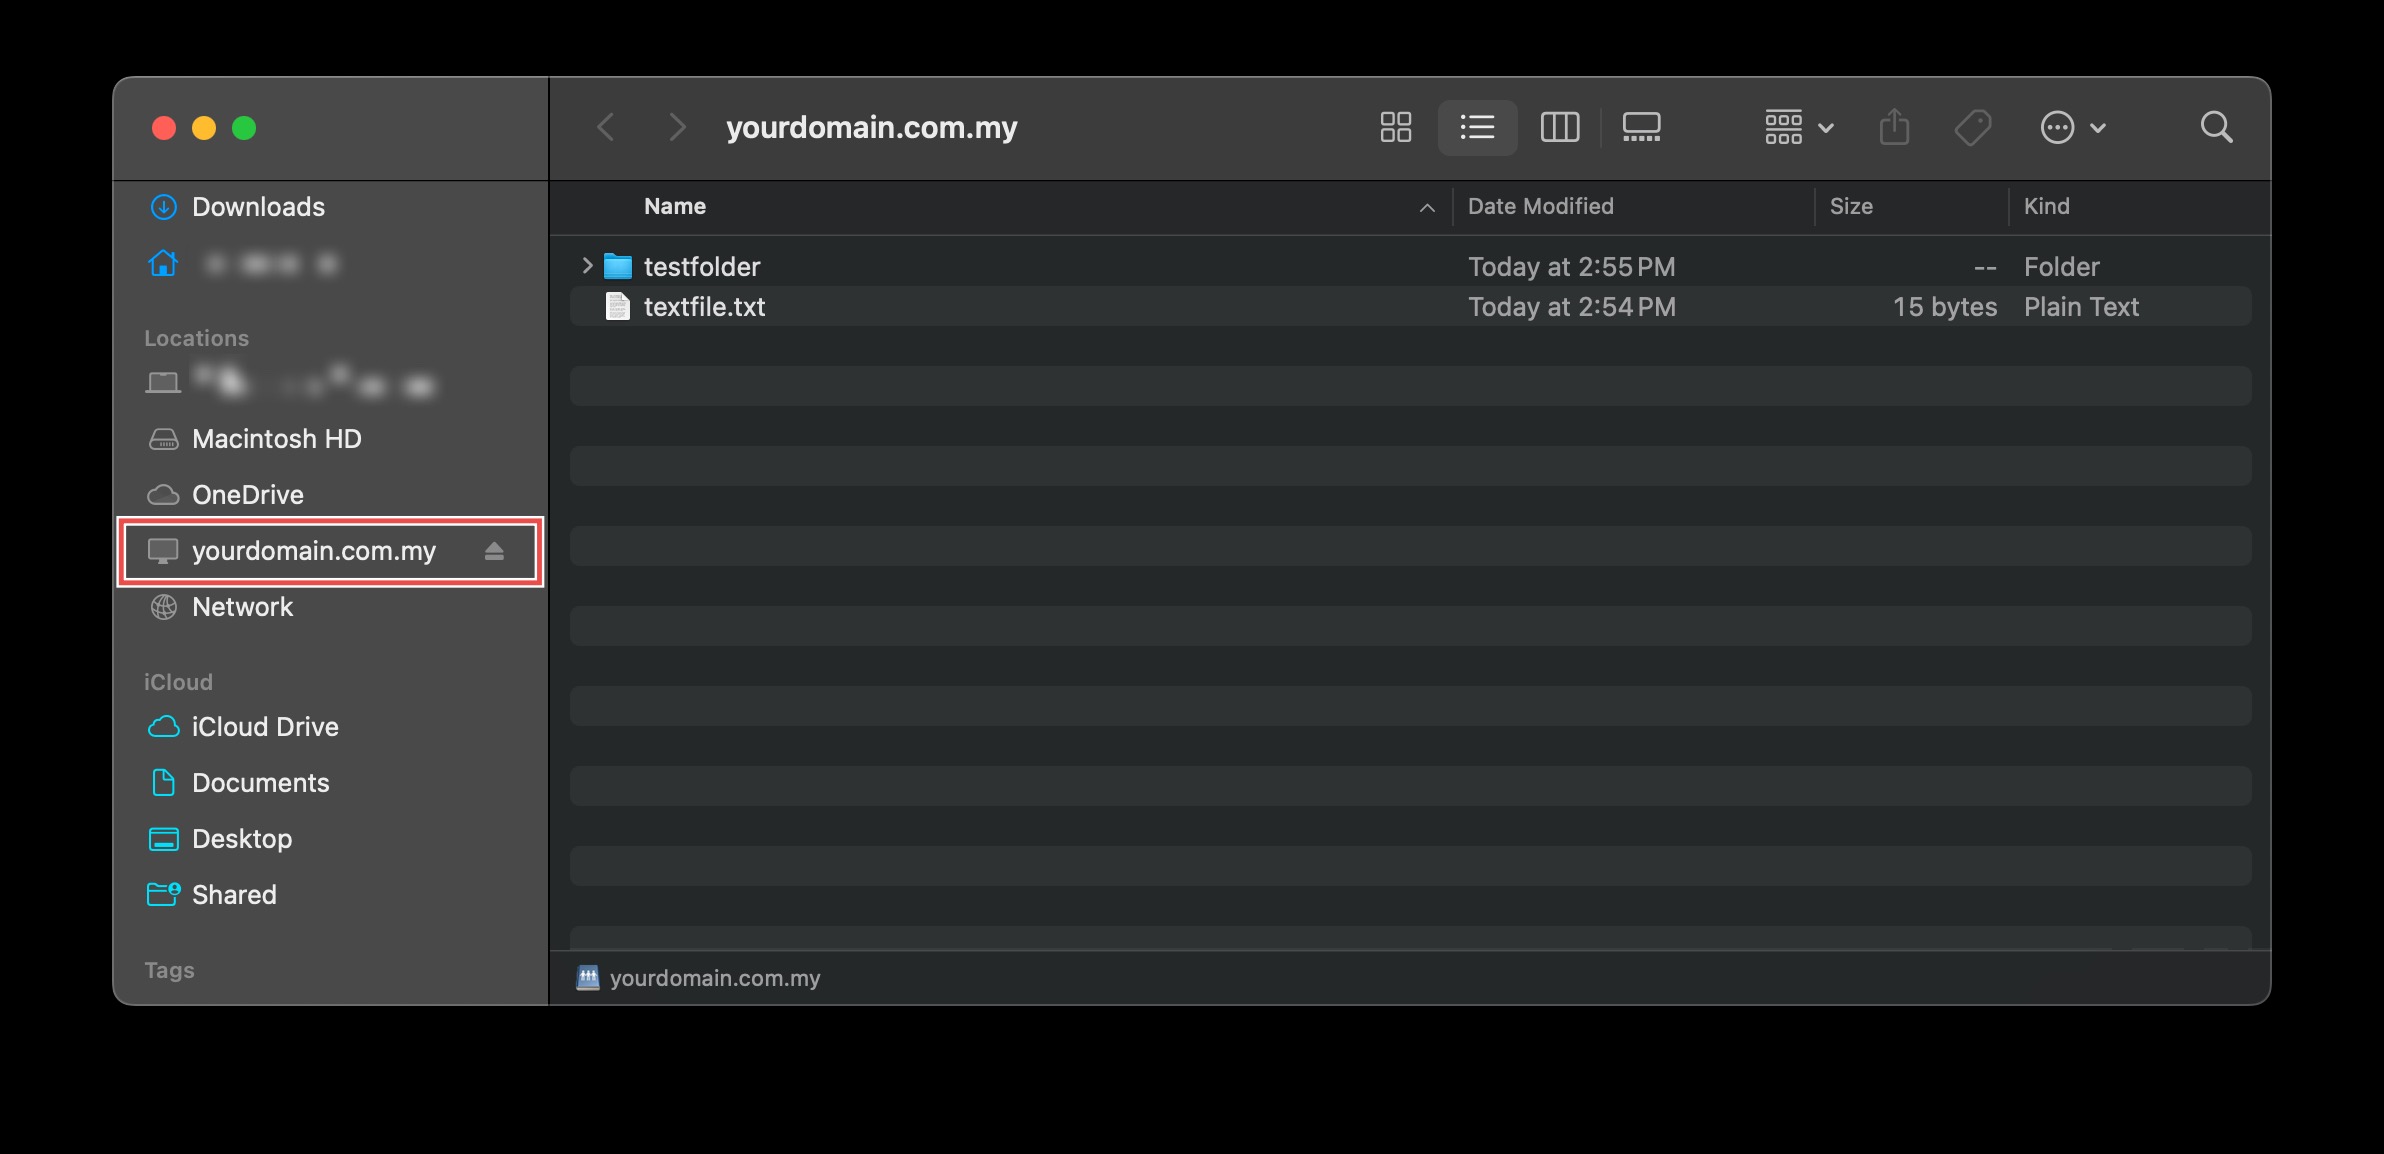
Step 4: Verify the Connection
Your Web Disk account should appear as a network drive or a network location on your computer. You can now access, upload, and manage your server’s files directly from your local file explorer.
Conclusion
Connecting to Web Disk accounts through Mac’s native Connect to Server feature provides efficient integration between server files and local file management. This built-in functionality enables seamless file operations through the familiar Finder interface while maintaining secure authentication and access control.
Should you have any inquiries about the guidelines, please feel free to open a ticket through your portal account or contact us at support@ipserverone.com. We’ll be happy to assist you further.