Search Our Database
How to Launch GPU Instance(s) from Volume in Customer Portal
Introduction:
This guide outlines the precise steps for Customer Portal users looking to deploy specialized computing resources by detailing How to Launch GPU Instances from Volume. This functionality allows you to instantly spin up a NovaGPU instance, which is essential for tasks requiring graphical processing power, utilizing a pre-existing volume or snapshot. Launching the instance from a persistent volume, accessible via the NovaCloud > GPU Instances section of the Customer Portal, is beneficial because it allows you the ability to restore your instance in case of issues or revert unwanted changes. By following this procedure within the customer portal interface, users can efficiently launch their GPU instance based on saved data or previous configurations.
Prerequisites:
- Active Customer Portal User Account and Access
- Sufficient Account Credit
- Available Source Volume and Not Currently Attached
- Configured Public Key
Step-by-step Guide:
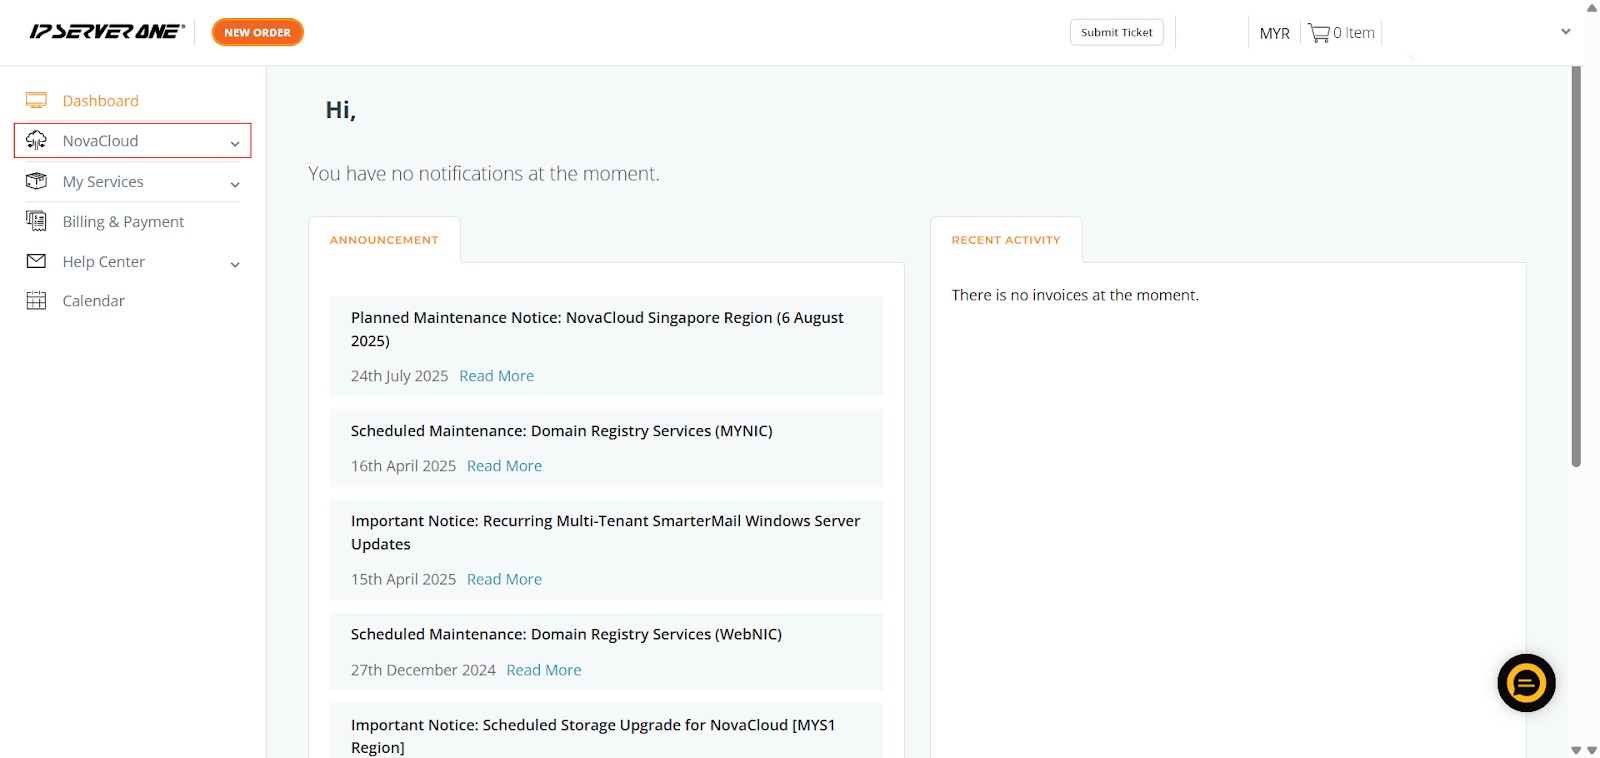
Step 1: Accessing the NovaCloud Dashboard
- Once logged in, on the left-hand side menu, locate and click on “NovaCloud” to expand its sub-menu.
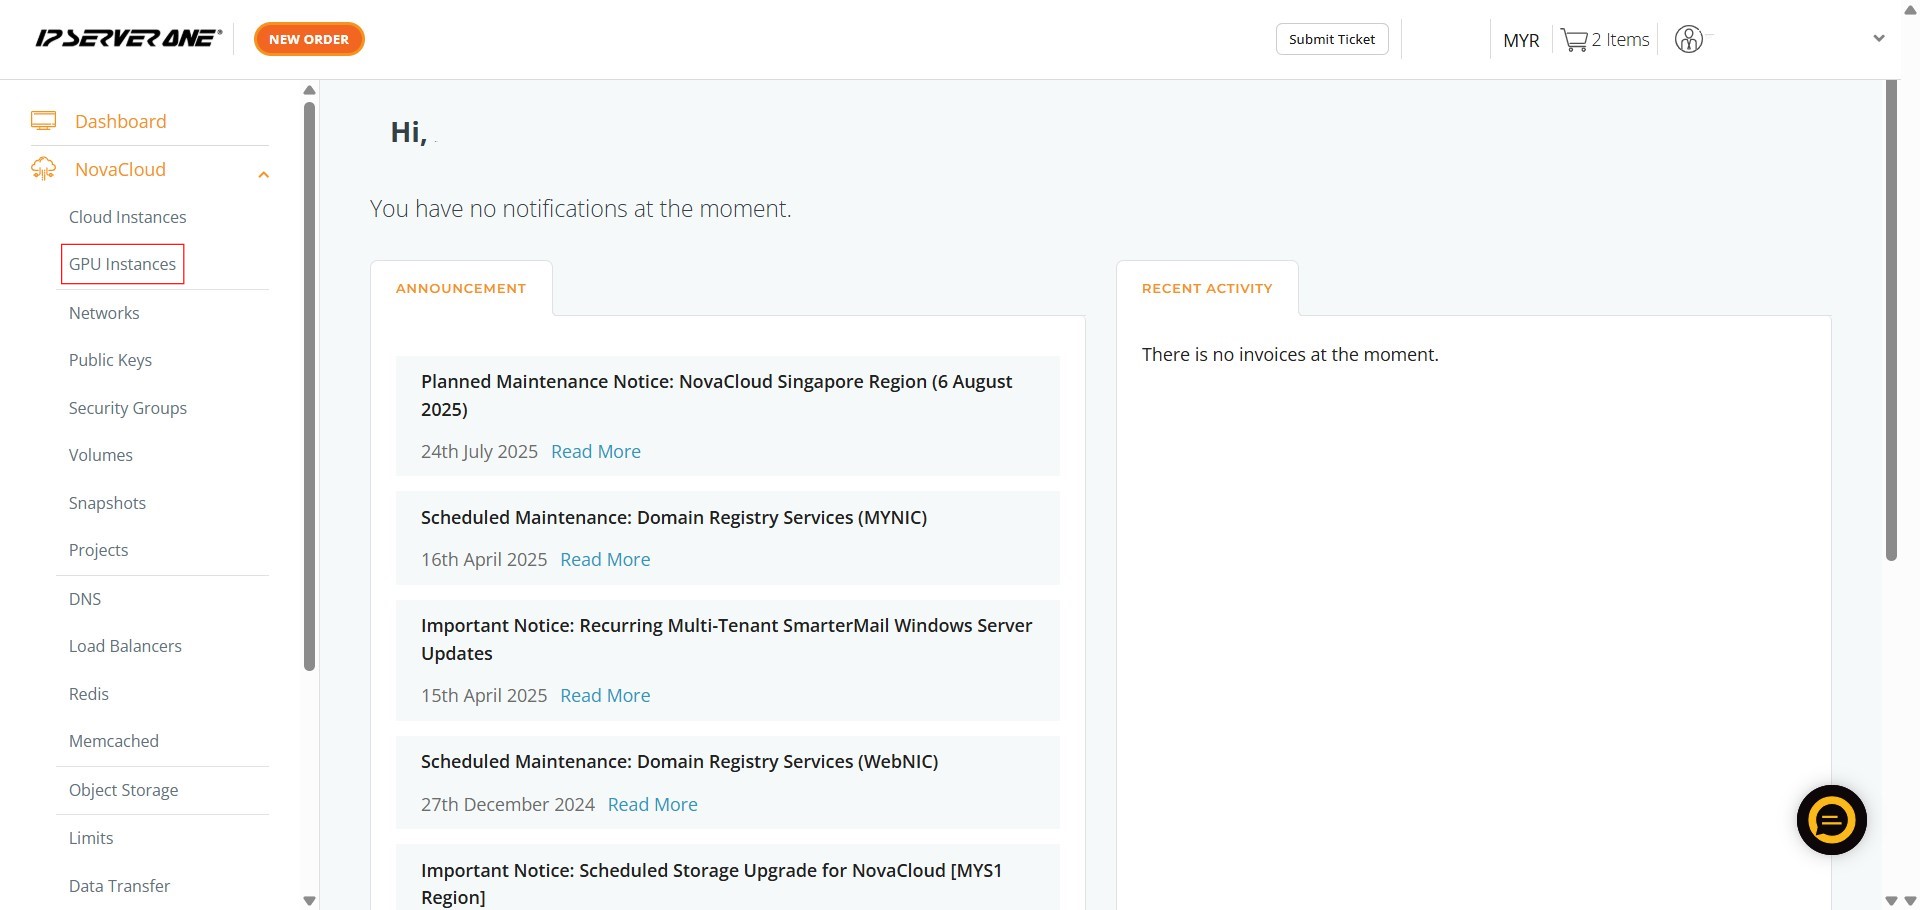
Step 2: Navigate to GPU Instances
- Within the expanded NovaCloud menu, click on the GPU Instances section to view and manage your dedicated graphical processing units (GPU) resources.
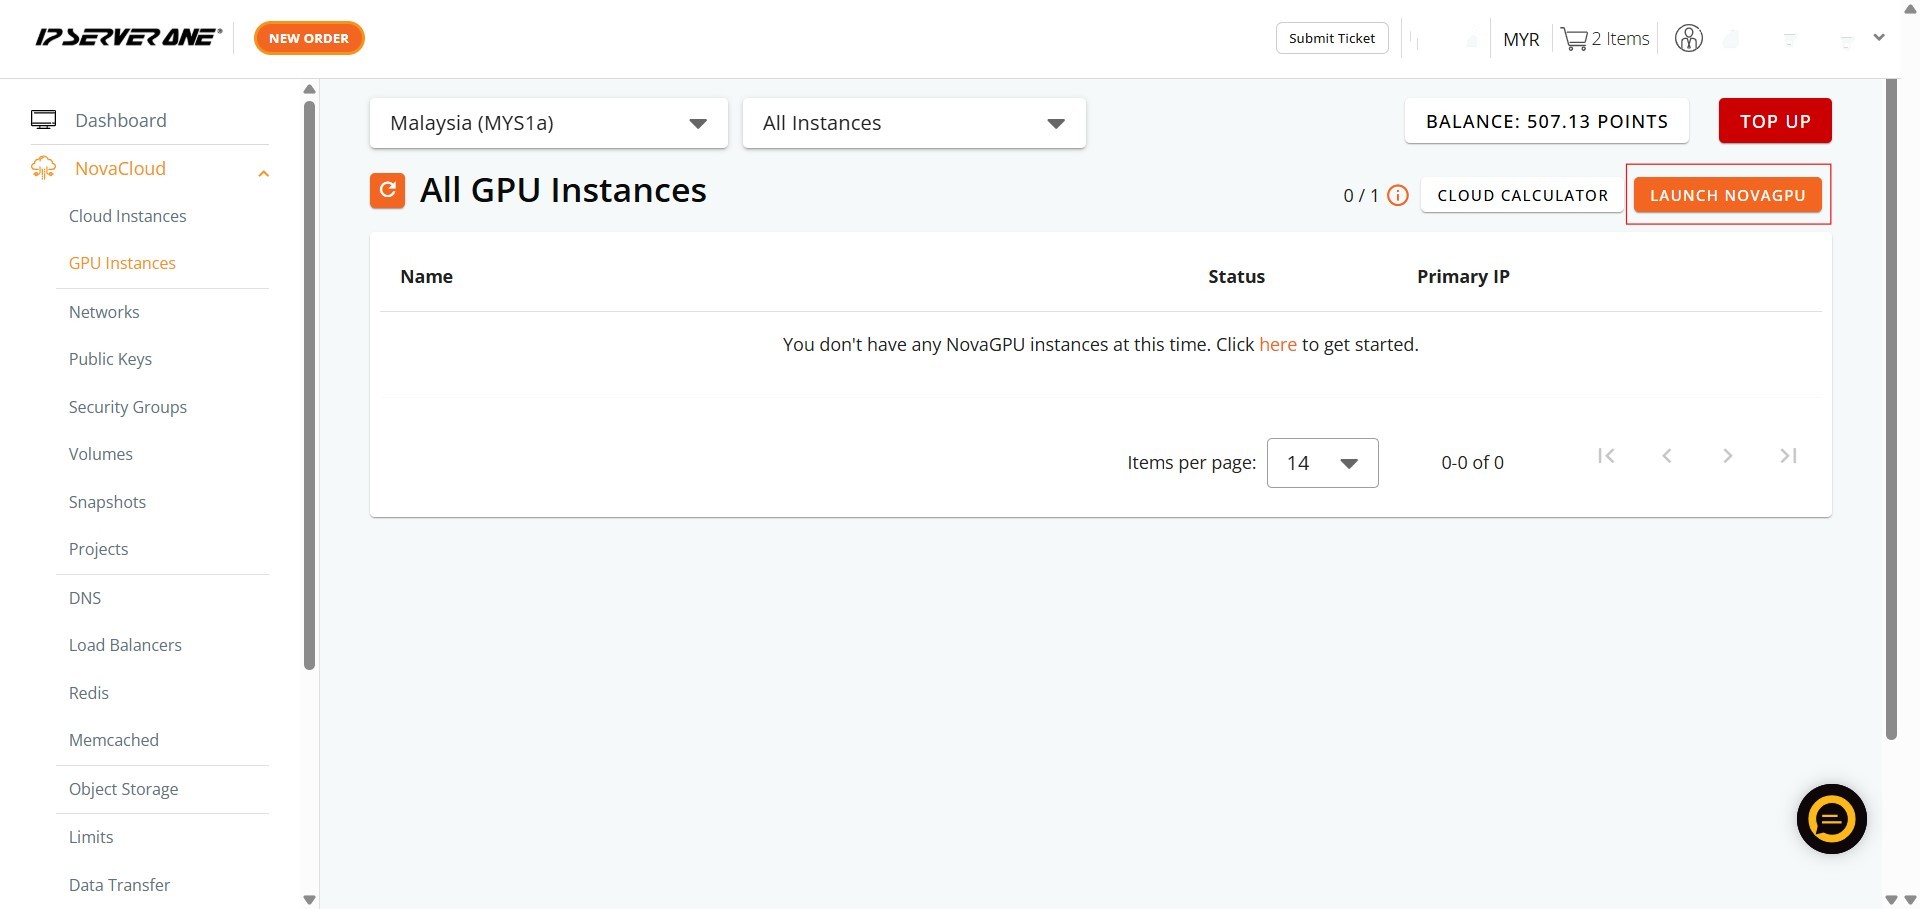
Step 3: Begin the Launch Process
- On the GPU Instances page, initiate the creation workflow by clicking the Launch NovaGPU button.
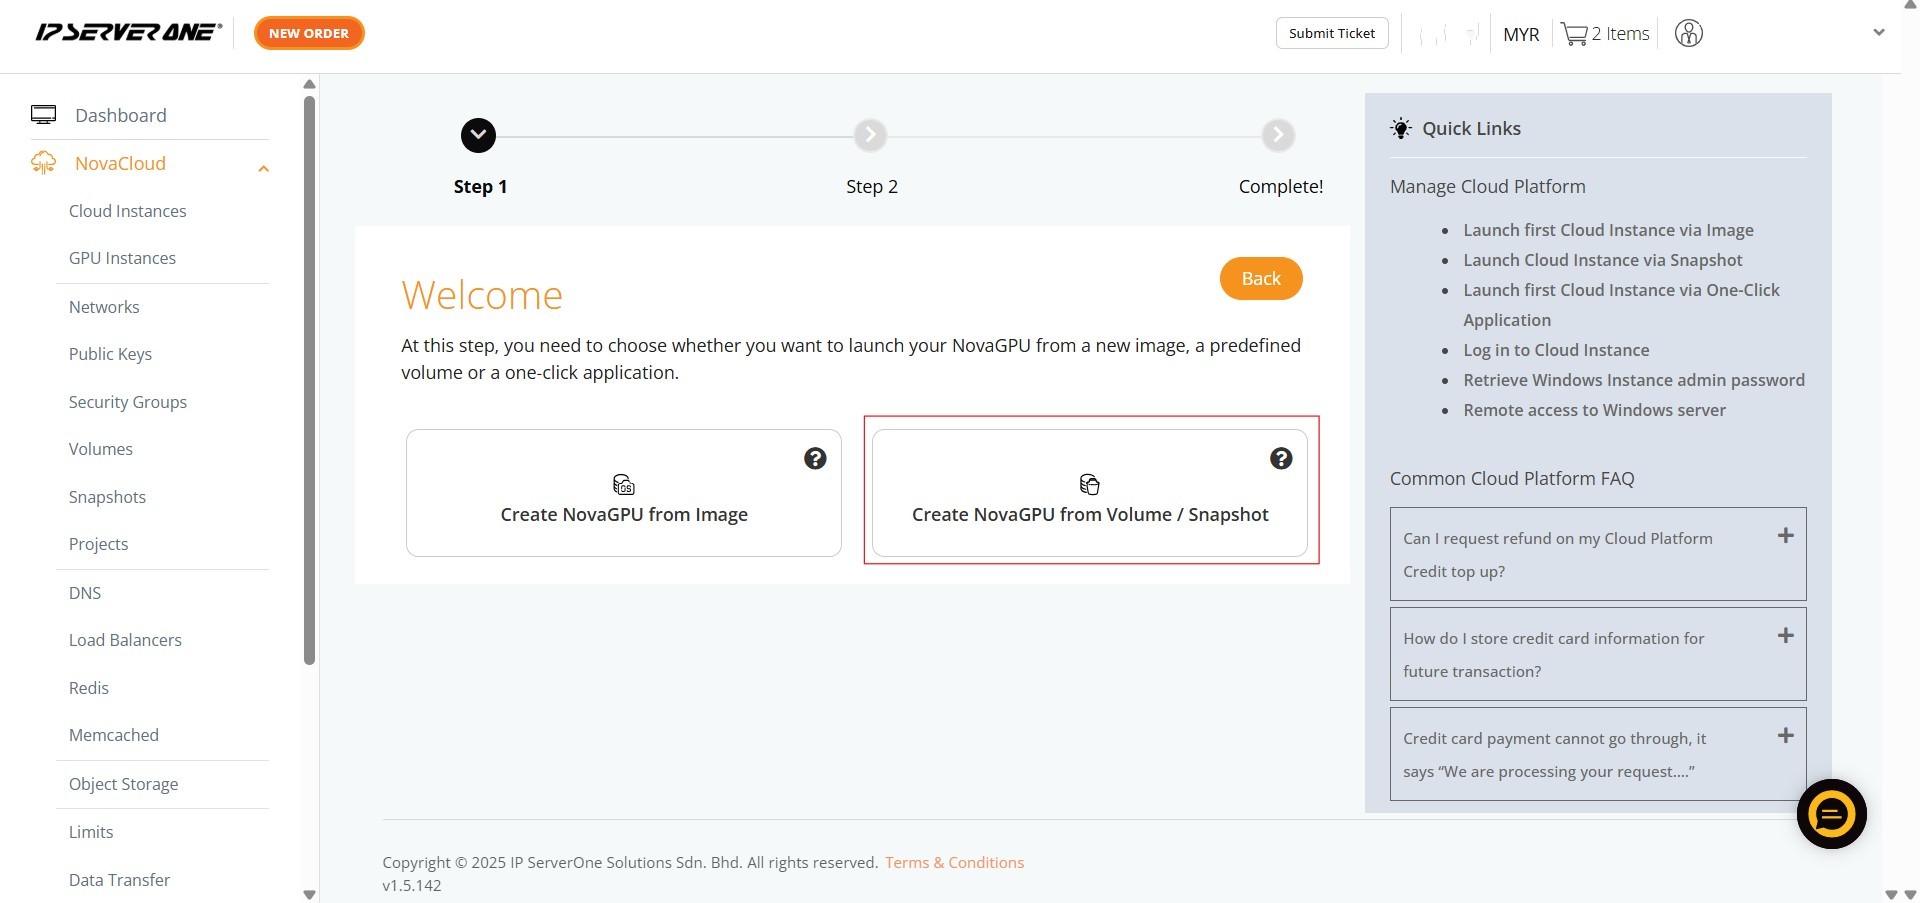
Step 4: Select Volume/Snapshot as the Source
- On the welcome page, choose the method for deployment by clicking the Create NovaGPU from Volume / Snapshot option.
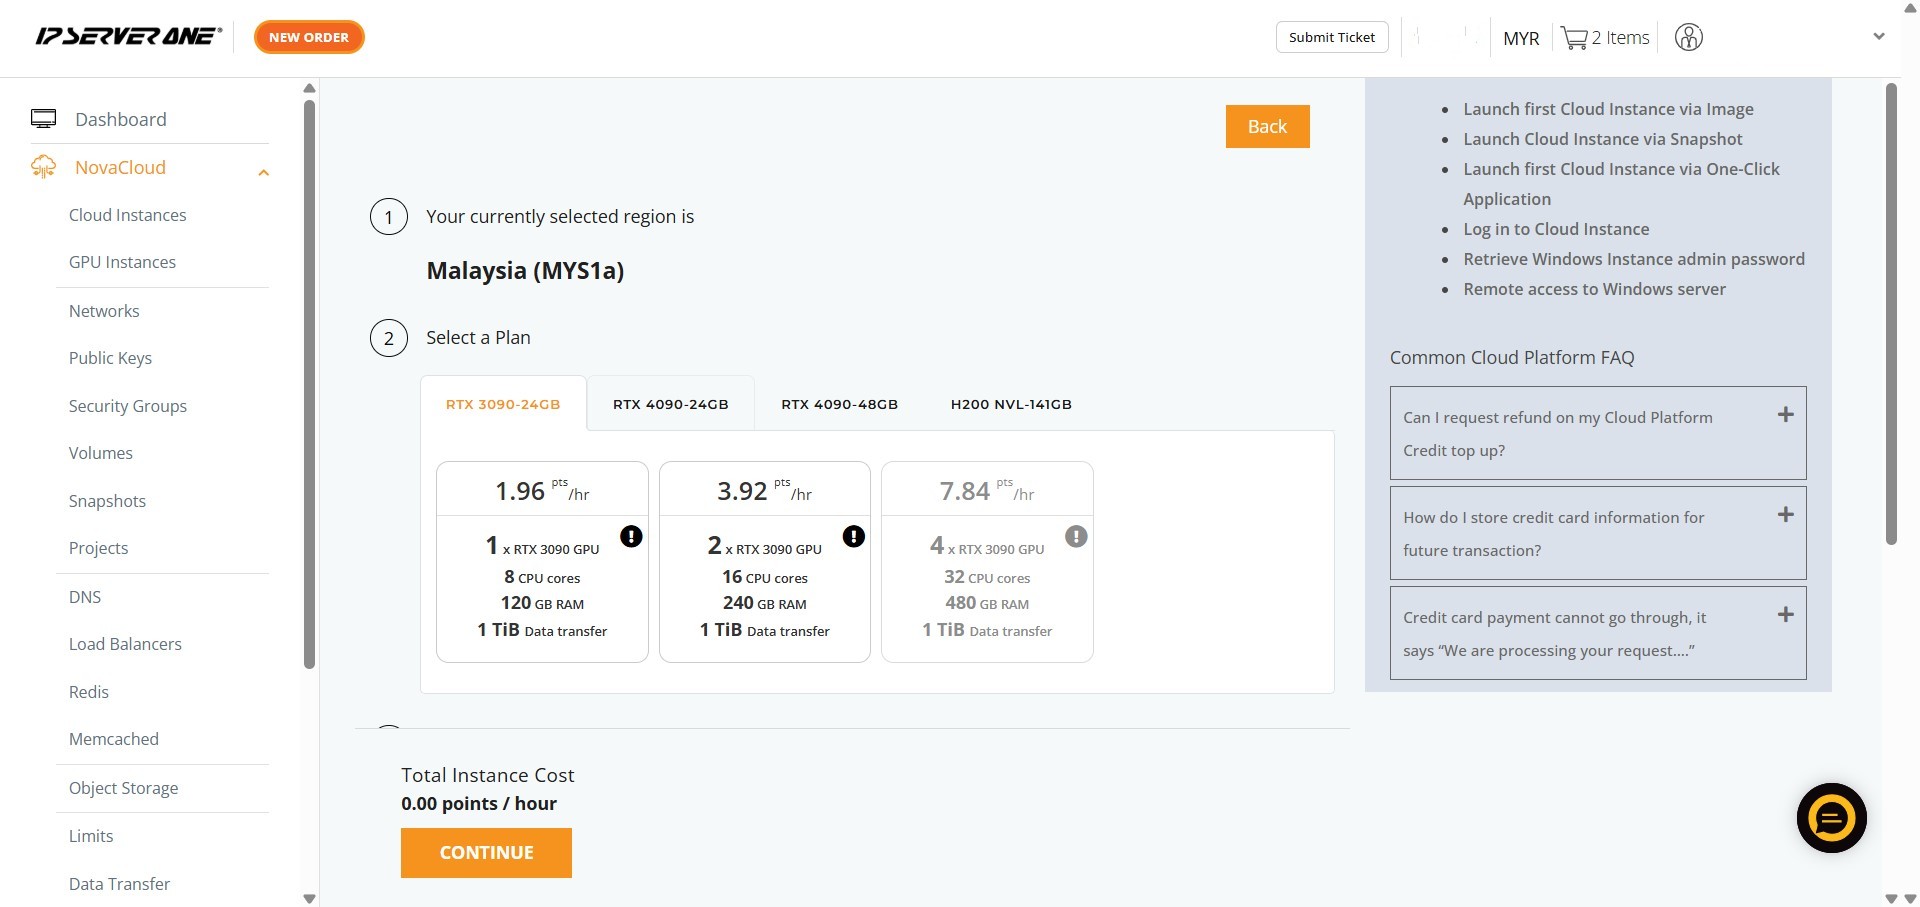
Step 5: Select a Computing Plan
- Review the available hardware options and select an appropriate plan for your GPU instance.
- Options usually include GPU model, number of CPU cores, RAM size, and so on, depending on your performance requirements.
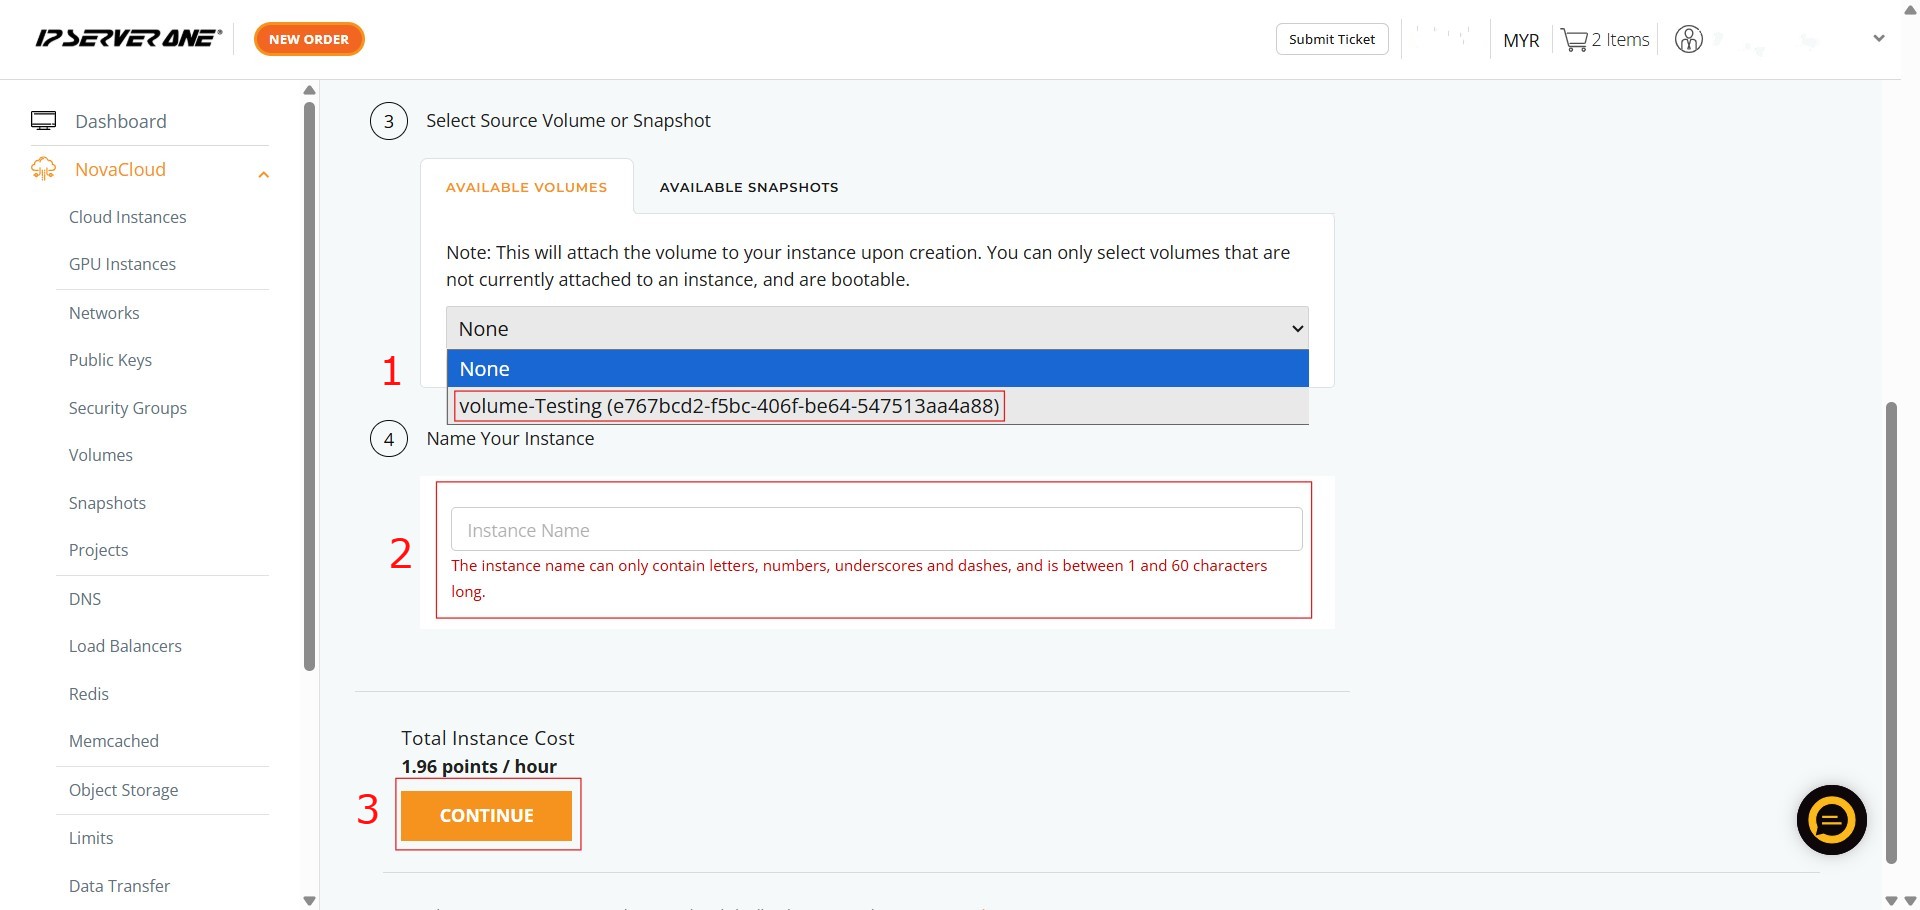
Step 6: Choose the Source Volume and Name the Instance
- Under the “Select Source Volume or Snapshot” section, choose Volume
- Input a unique and descriptive Instance Name.
- Click Continue to proceed to the next stage.
Step 7: Select the Public Key for Access
- On the next screen, you need to select a Public Key from the dropdown menu. This key will be used to access your instance.
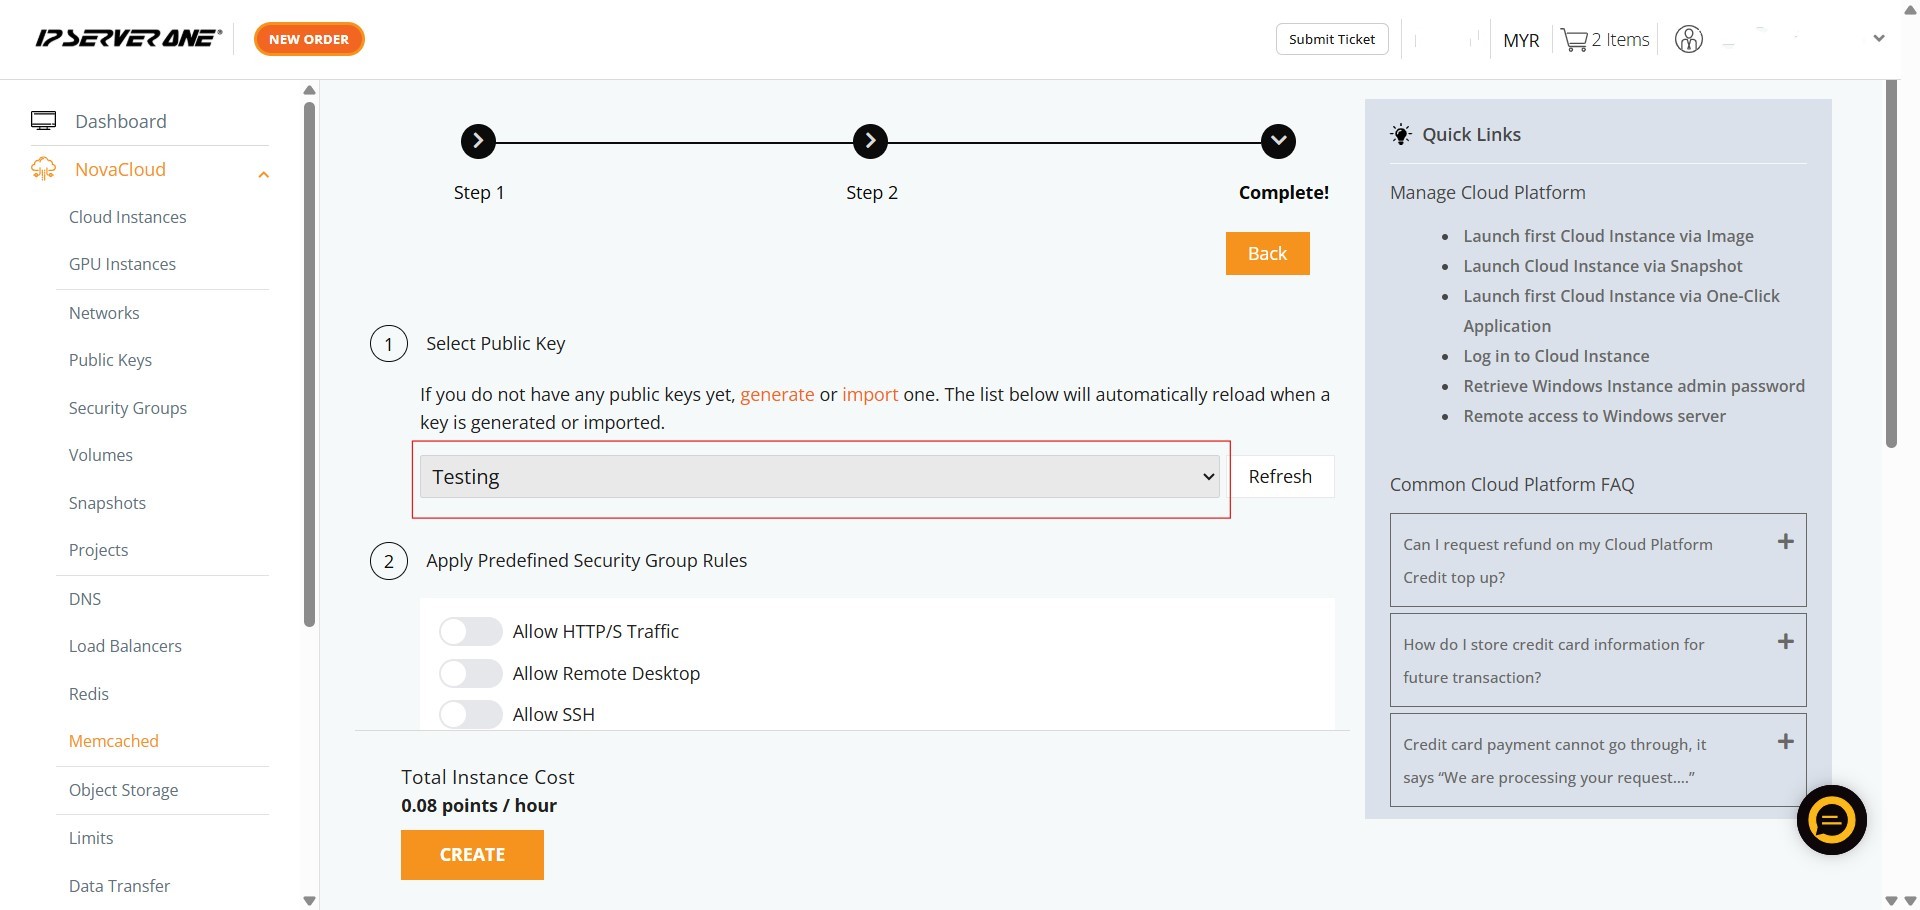
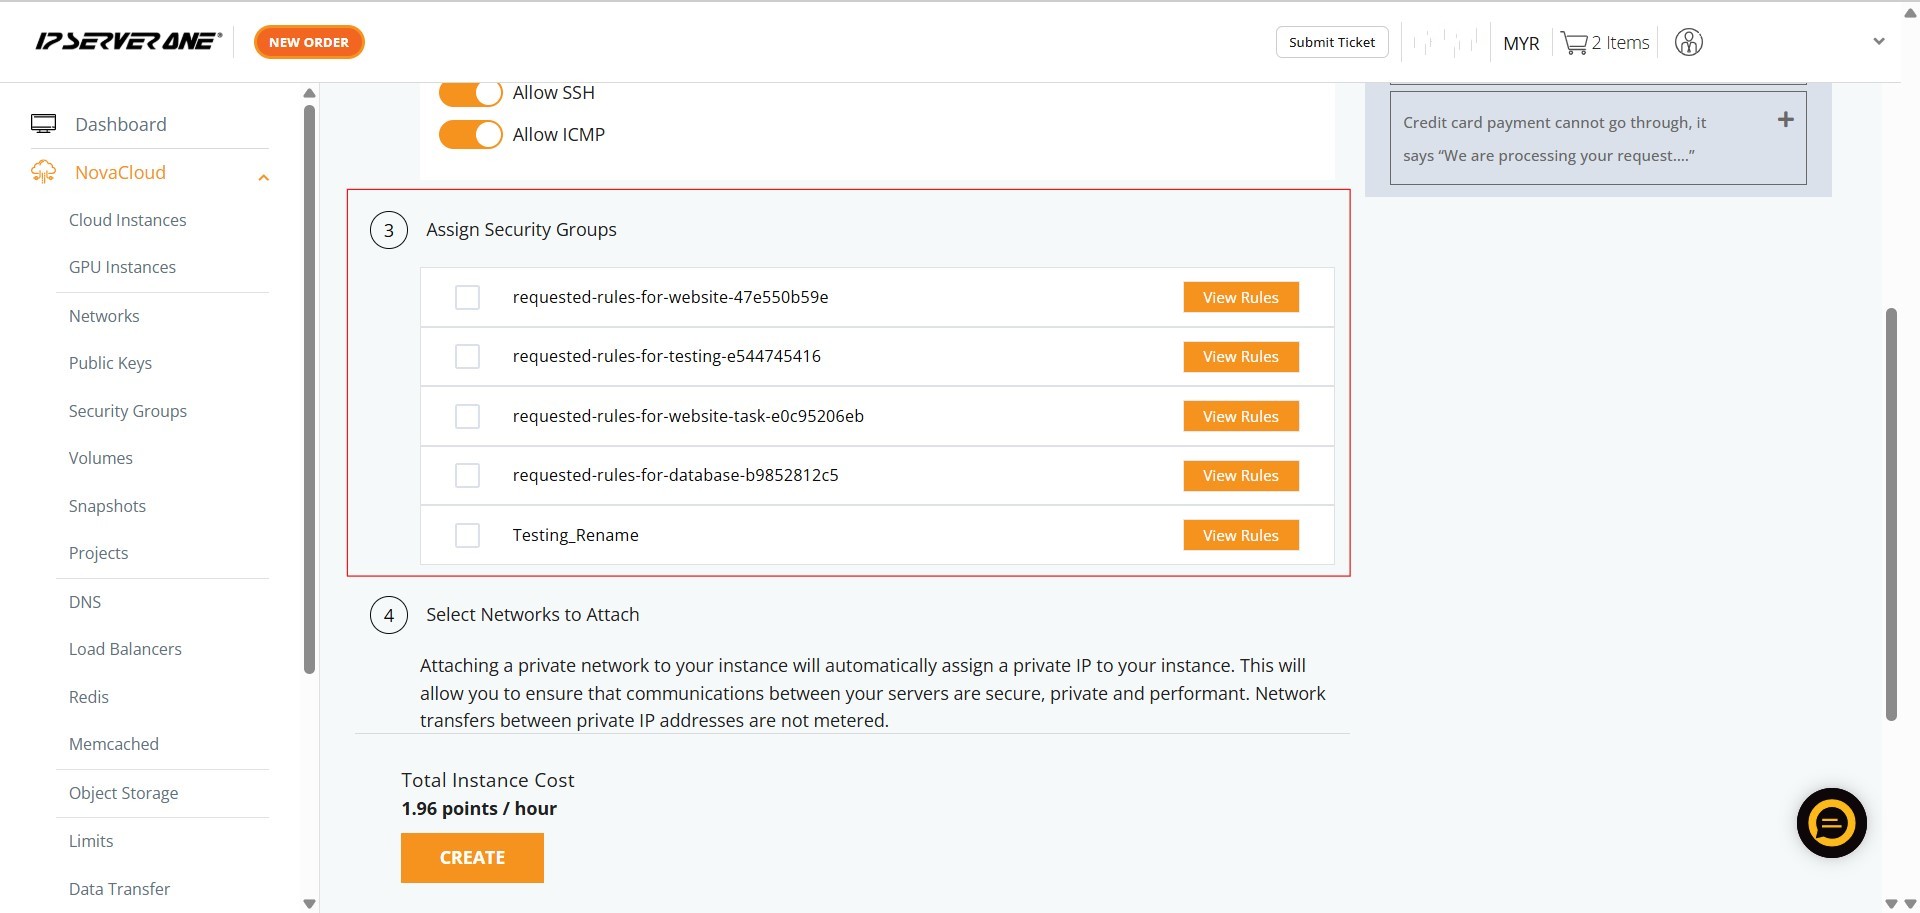
Step 8: Applying Predefined Security Group Rules
- Review and apply any predefined security group rules as needed. Options typically include “Allow HTTP/S Traffic”, “Allow Remote Desktop”, “Allow SSH”, and “Allow ICMP”.
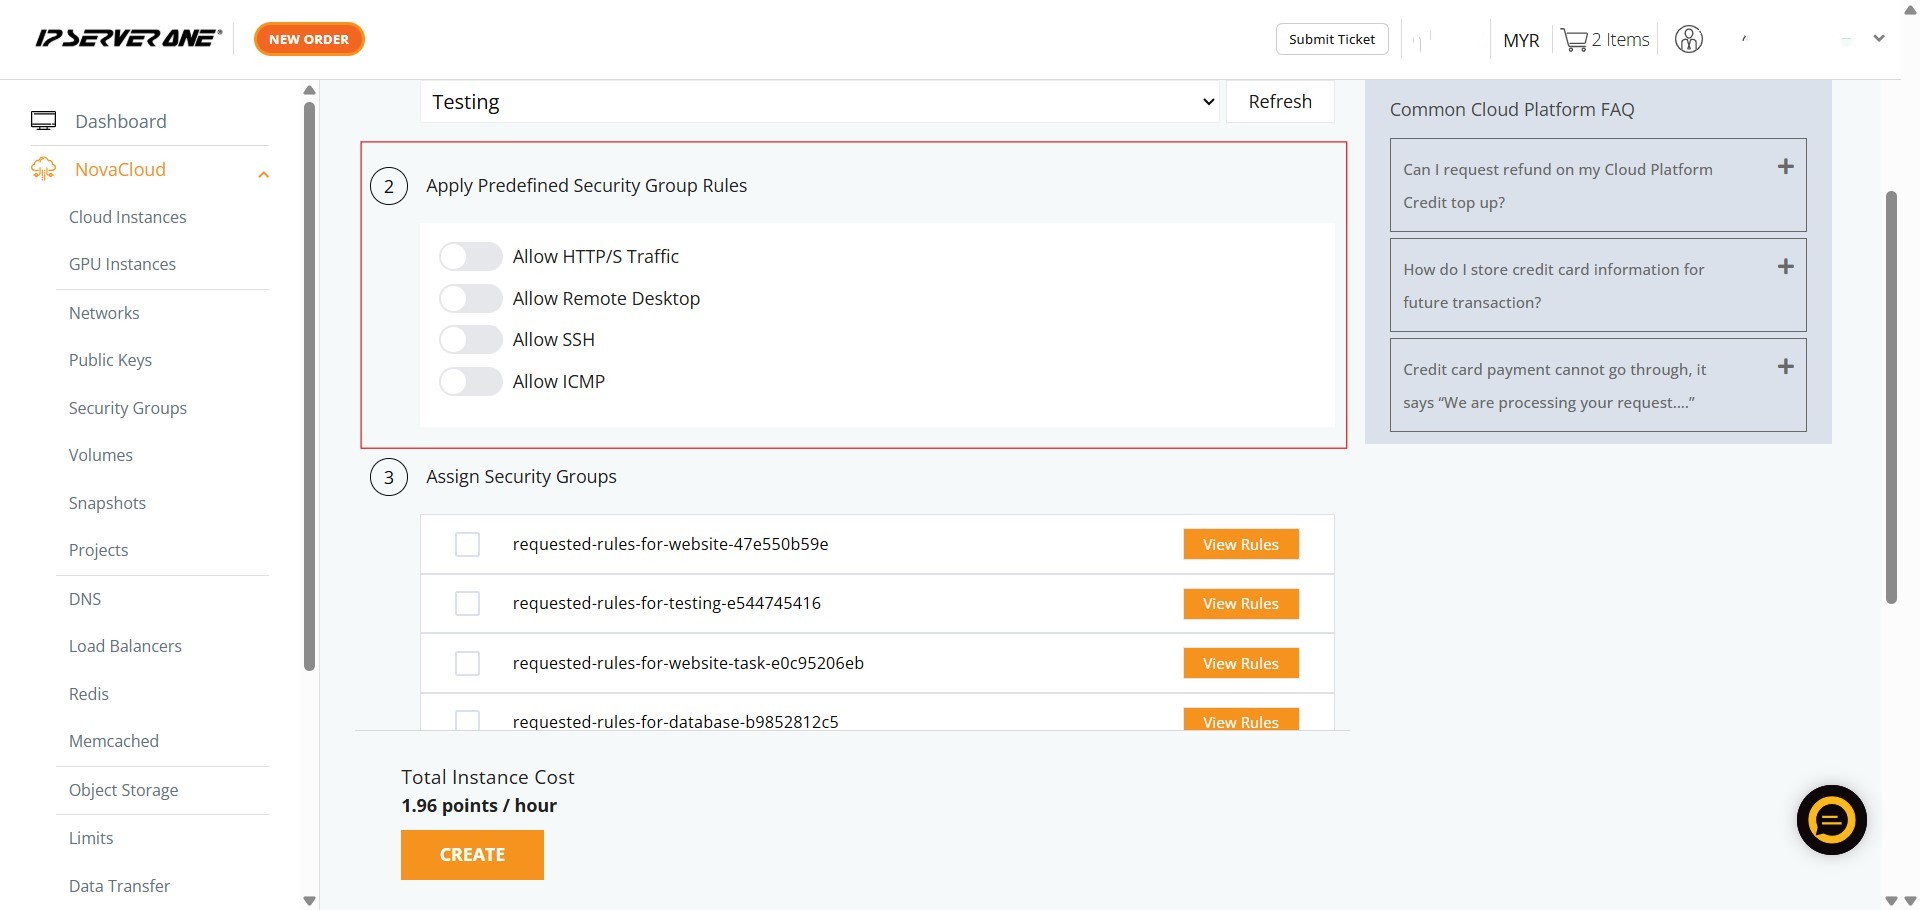
Step 9: Assigning Security Groups
- You can also assign specific security groups to your instance.
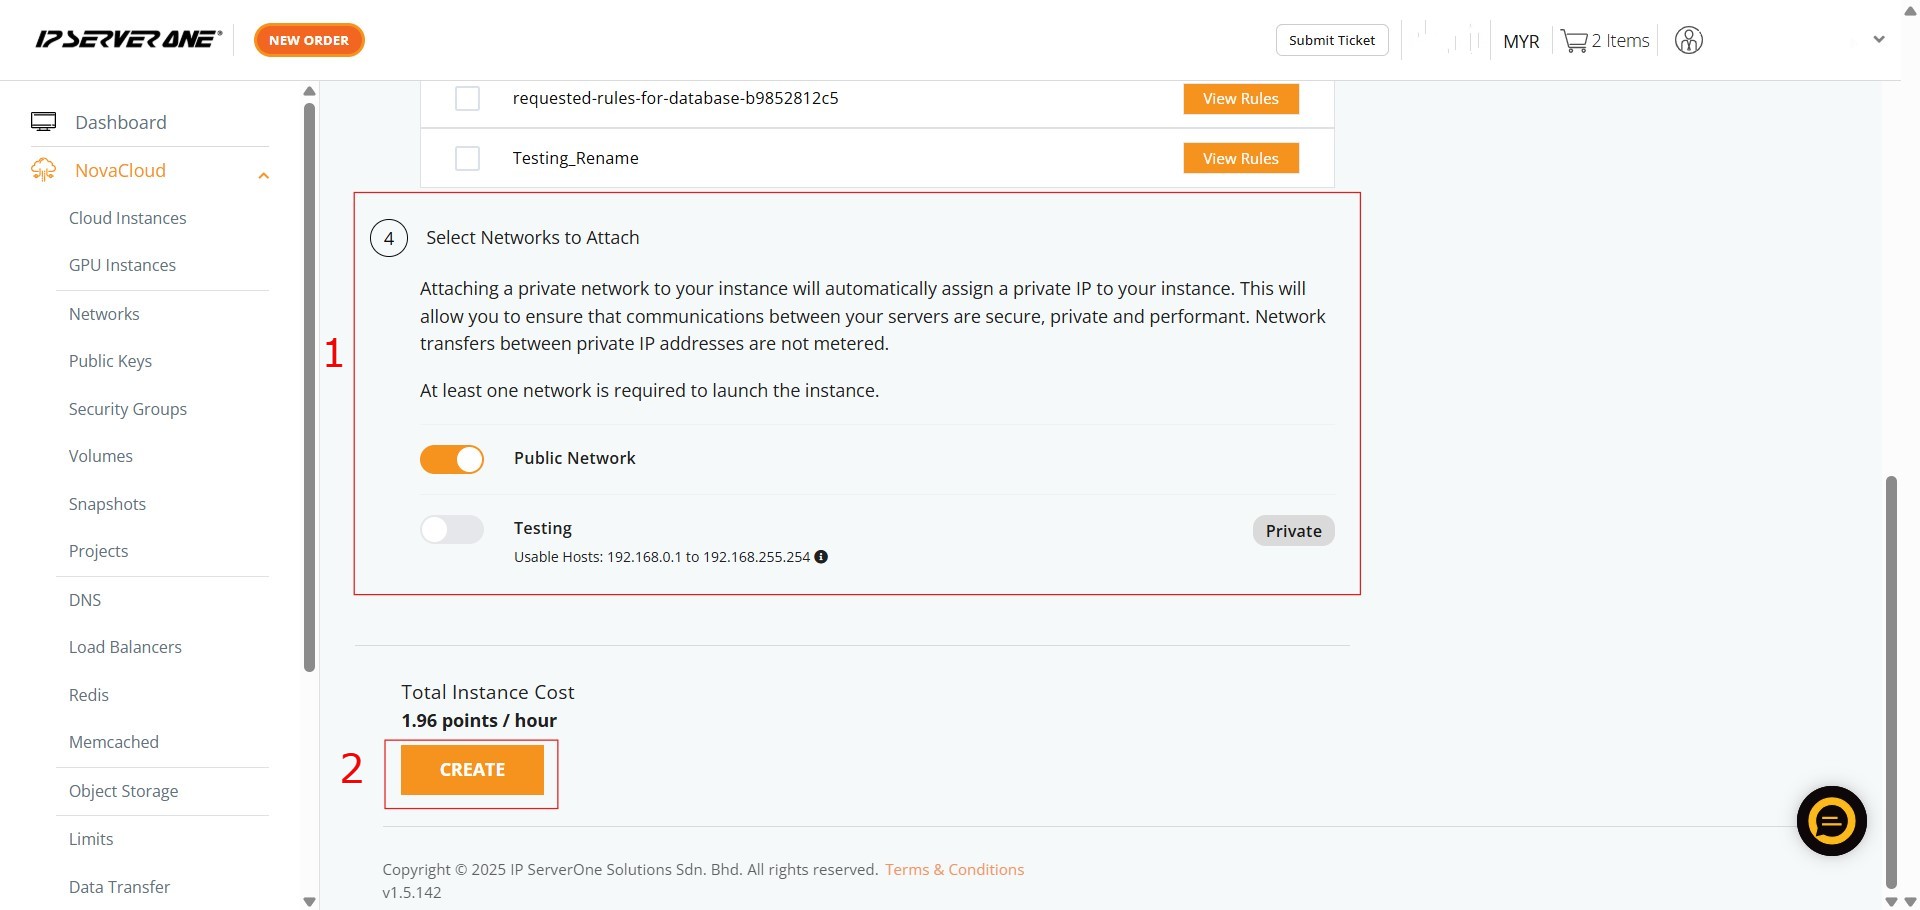
Step 10: Selecting Network and Creating the Instance
- Select the network(s) to attach to your instance. A Public Network is usually enabled by default, and you may also choose to attach a Private Network for secure communication between your servers. At least one network is required to launch the instance. After making your selections, click “Create”.
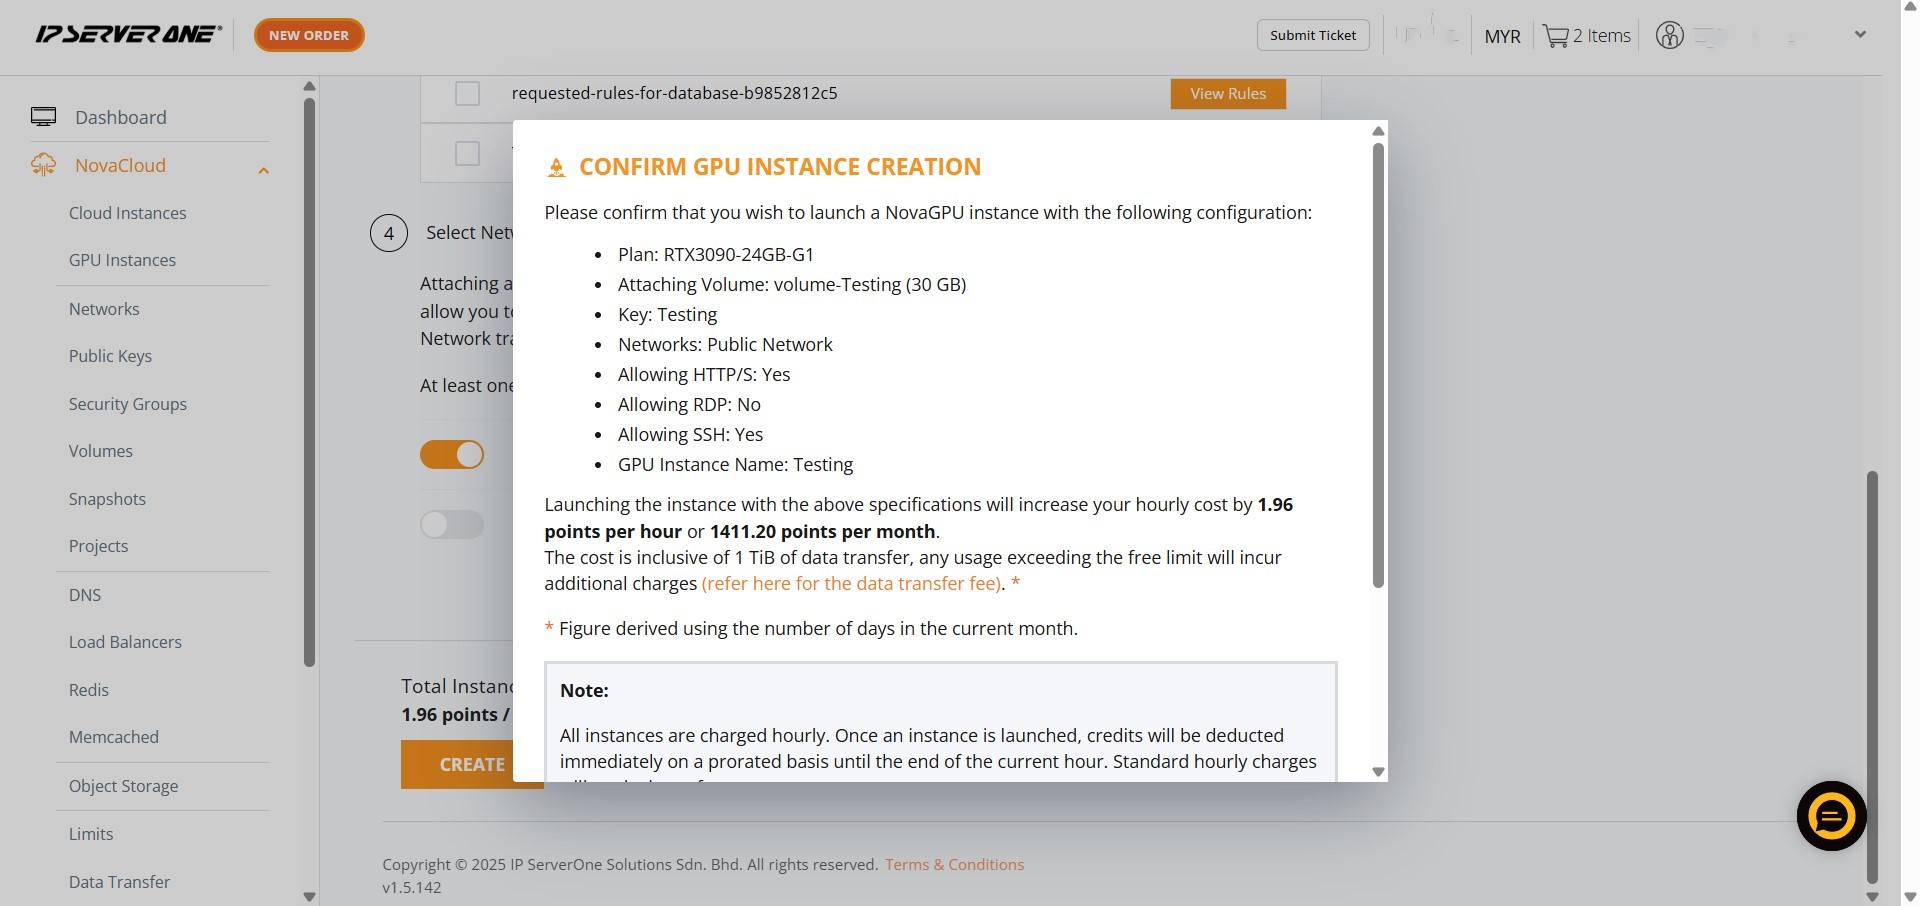
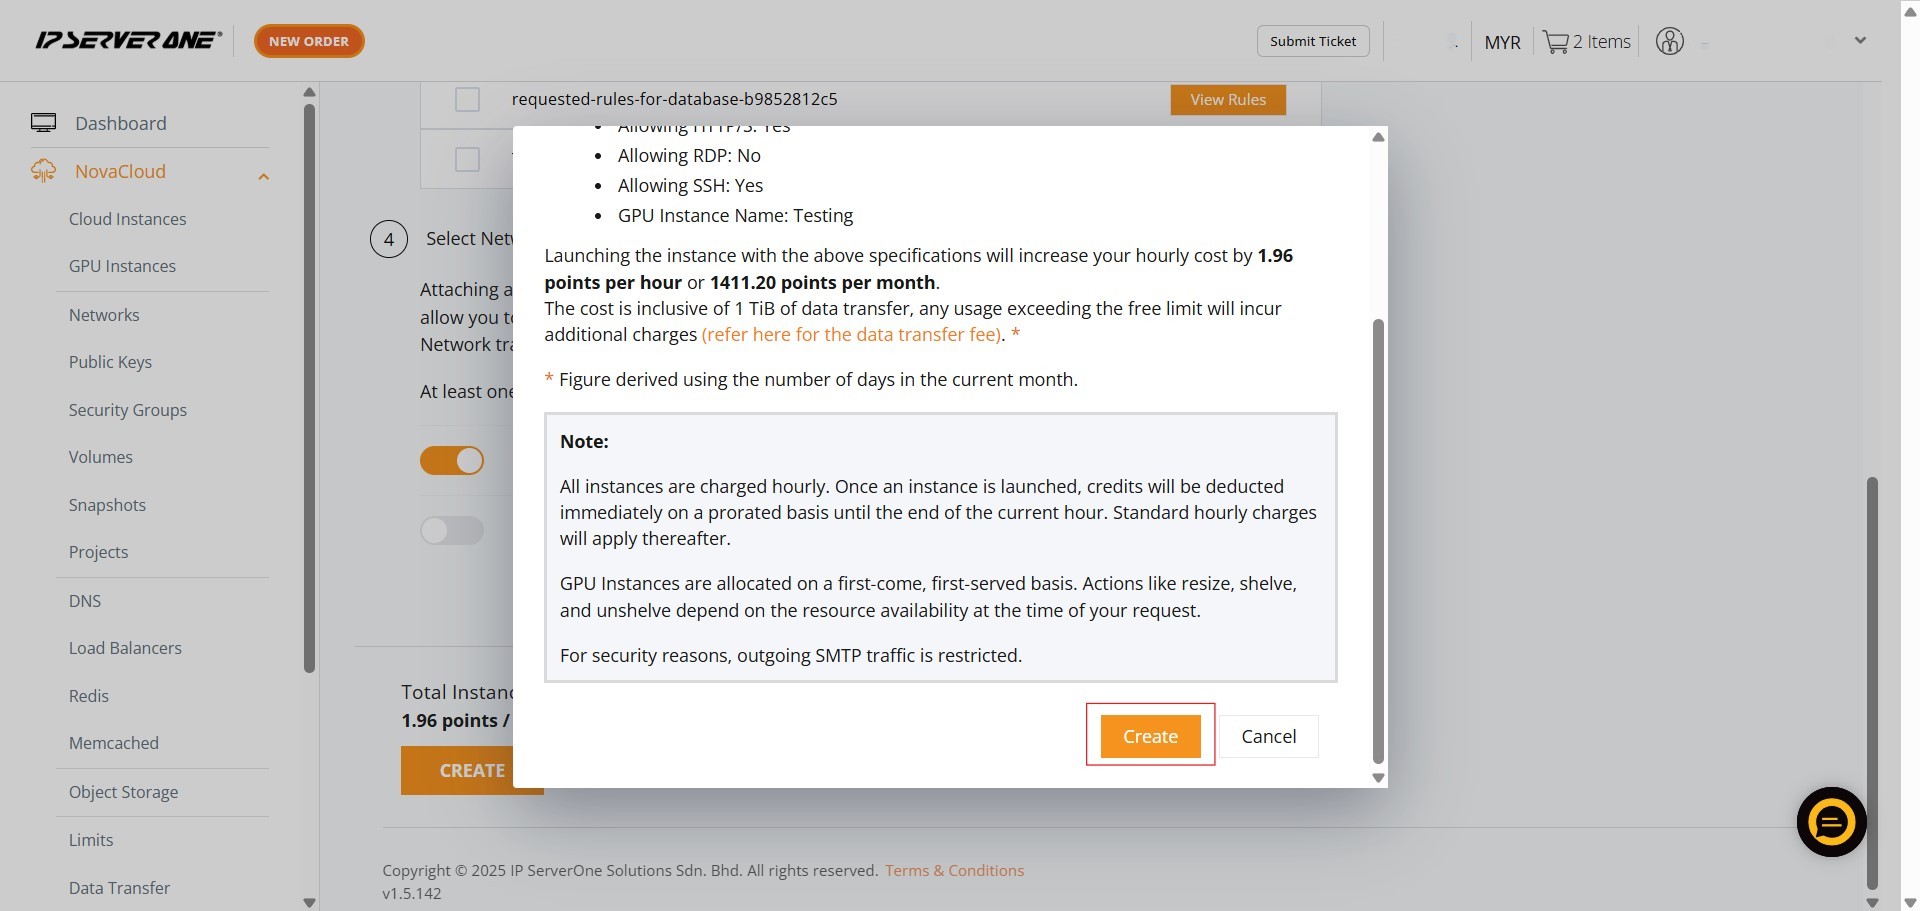
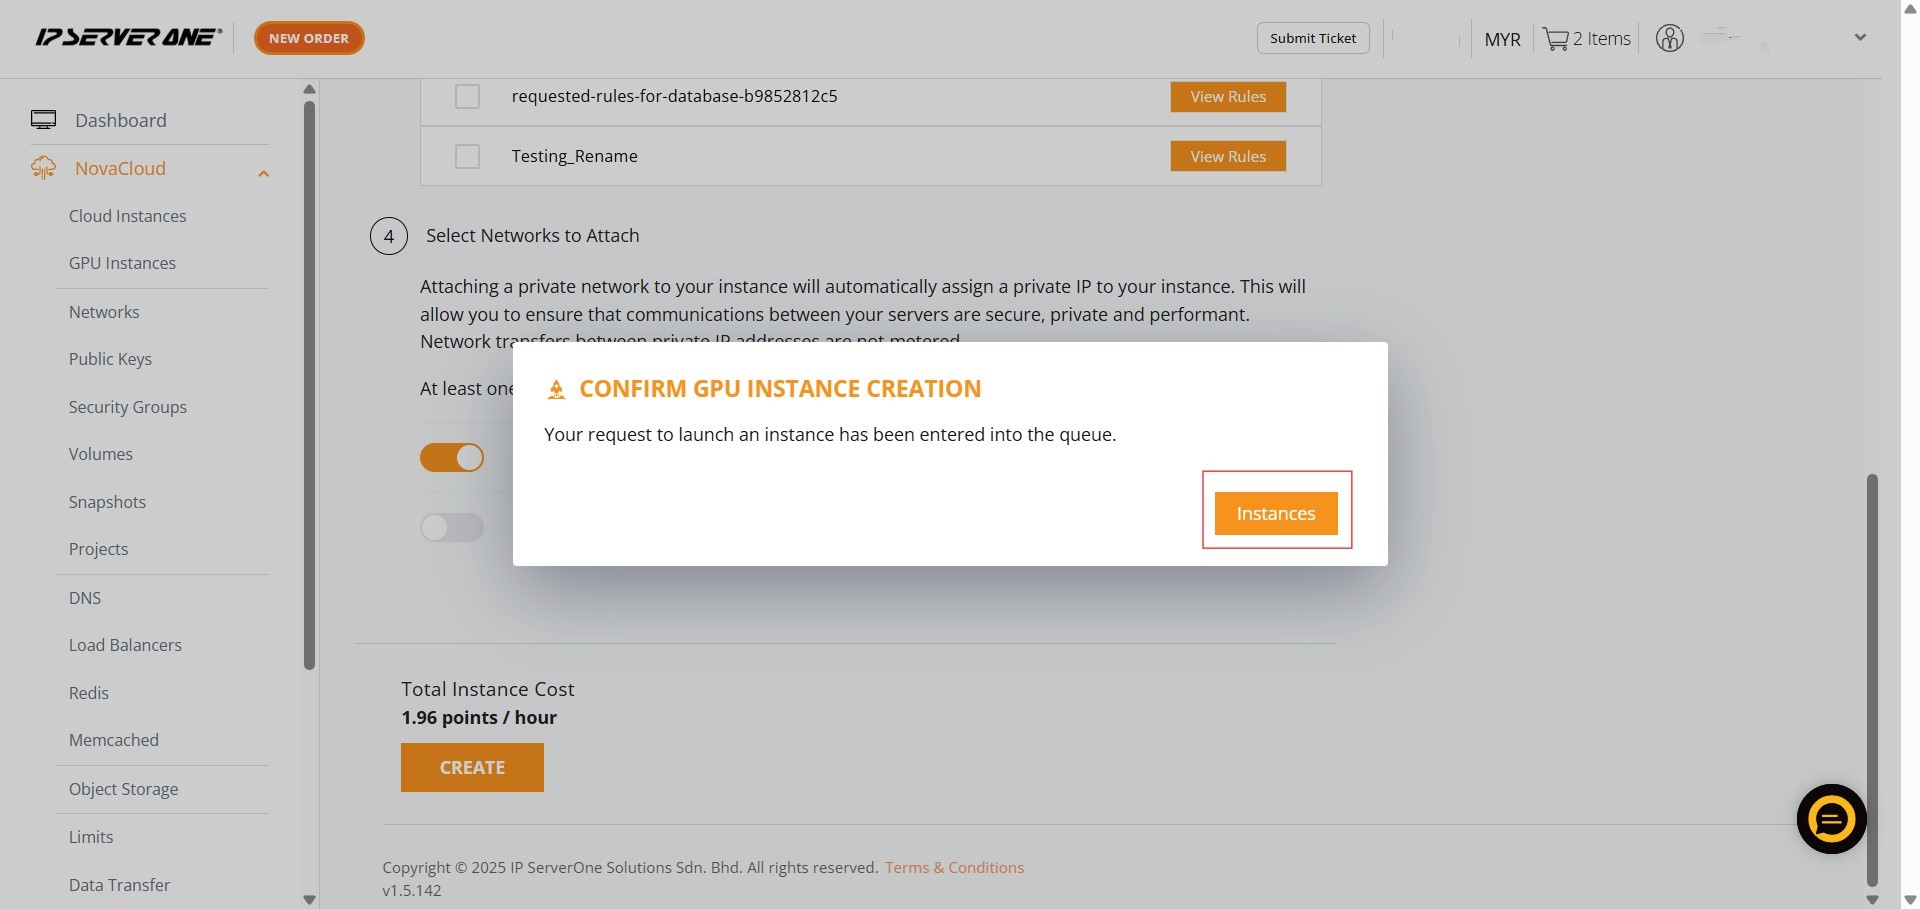
Step 11: Confirming GPU Instance Creation
- A “CONFIRM GPU INSTANCE CREATION” pop-up will appear.
- You must scroll to the bottom of this pop-up and click “Create” again to confirm.
Step 12: Viewing Instances
- After confirmation, a pop-up indicating that your request to launch an instance has been queued will appear. Click on “Instances” to navigate to the “All GPU Instances” page where you can monitor the provisioning status.
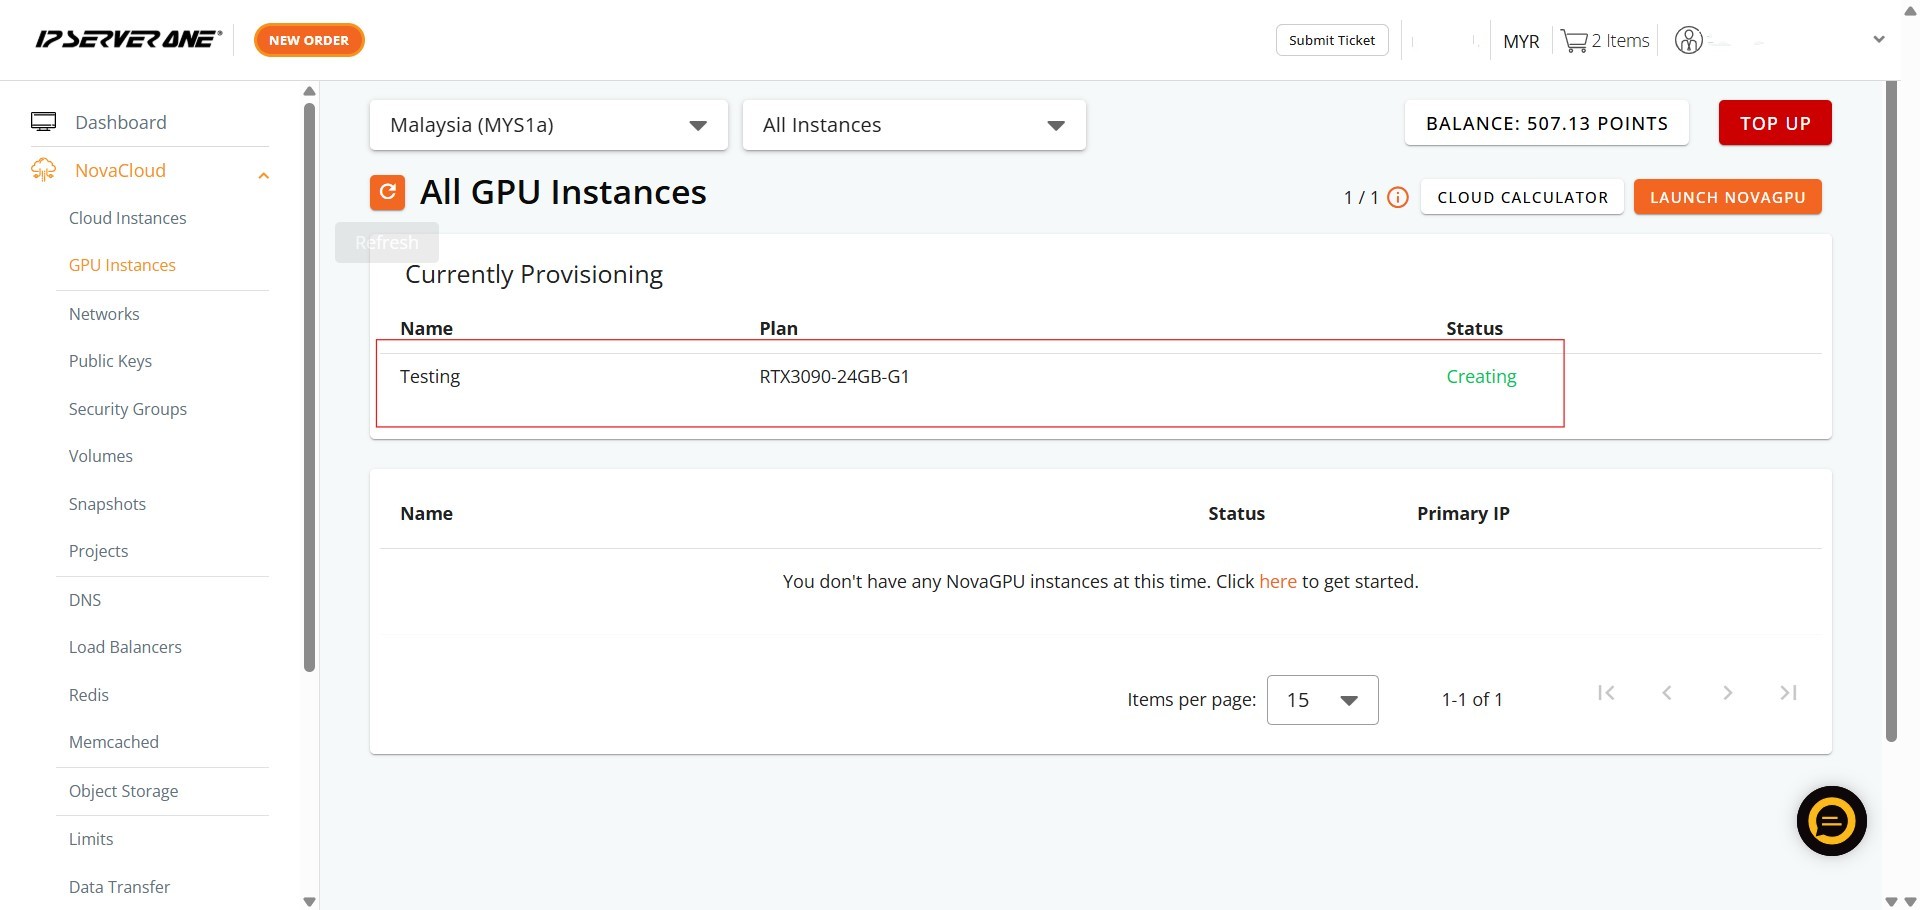
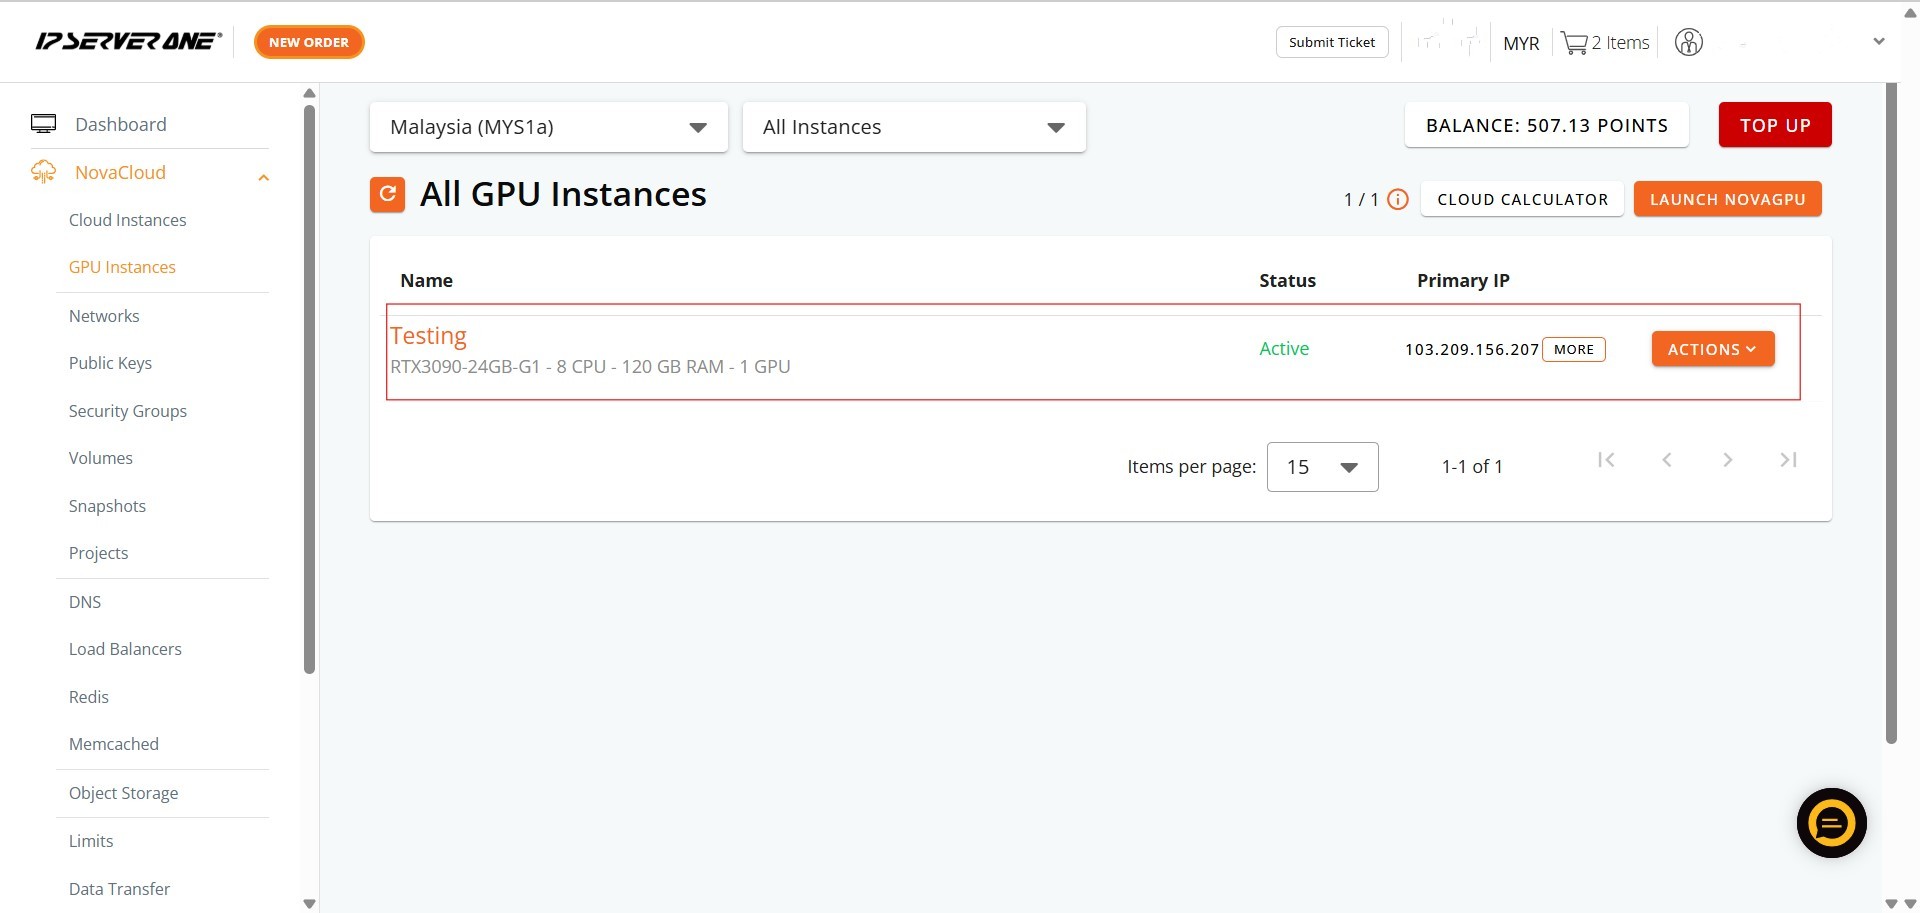
Step 13: Verifying Successful Provisioning
- On the “All GPU Instances” page, you should now see your newly created Redis instance listed with a status of “Creating” or “Active”, indicating that the provisioning process is underway or complete.
Conclusion:
By following the detailed procedures outlined in this guide, you have successfully navigated the Customer Portal to launch your NovaGPU instance [Query] by selecting a persistent Available Volume or Available Snapshot. This “Create Instance from Volume / Snapshot” method is specifically beneficial because it grants you the ability to restore your instance in case of any problems or if you need to revert any unwanted changes.
The completion of this launch confirms that you have selected your computing plan, secured access by choosing a Public Key, and defined traffic allowances using Security Groups within the NovaCloud > GPU Instances section of the portal. You can verify the success of the provisioning process by confirming the instance status transitions to “Active” on the list of all cloud instances. Please be aware that, like all instances, the NovaGPU instance is charged hourly, with credits deducted on a prorated basis immediately after launch.
Should you have any inquiries about the guidelines, please feel free to open a ticket through your portal account or contact us at support@ipserverone.com. We’ll be happy to assist you further.