Search Our Database
How to Launch a Cloud Instance from an Existing Volume in Customer Portal
Introduction:
Harnessing the power of persistent storage is vital for maintaining a resilient and flexible cloud environment. Within the NovaCloud ecosystem, users can provision high-availability virtual machines by leveraging pre-existing data resources to meet specific business and budget goals.
Launching a cloud instance from an existing volume is a streamlined deployment method in the IP ServerOne Customer Portal that allows for rapid recovery and environment replication. This functionality is particularly critical for restoring instances during technical failures or reverting unwanted changes to a system, as it utilizes a persistent, bootable volume as the primary drive for the new virtual machine.
This guide provides the necessary steps to navigate the Volumes section of the portal and initiate an instance deployment while ensuring your configuration adheres to naming and sizing standards.
Prerequisites:
- Active Customer Portal Account
- You must have at least one existing persistent storage volume that is currently unattached to any other instance.
- Sufficient Account Credit
- Pre-configured Public Key
- Be aware that charging for any unattached volumes continues even if they are not linked to a running instance
Step-by-step Guide:
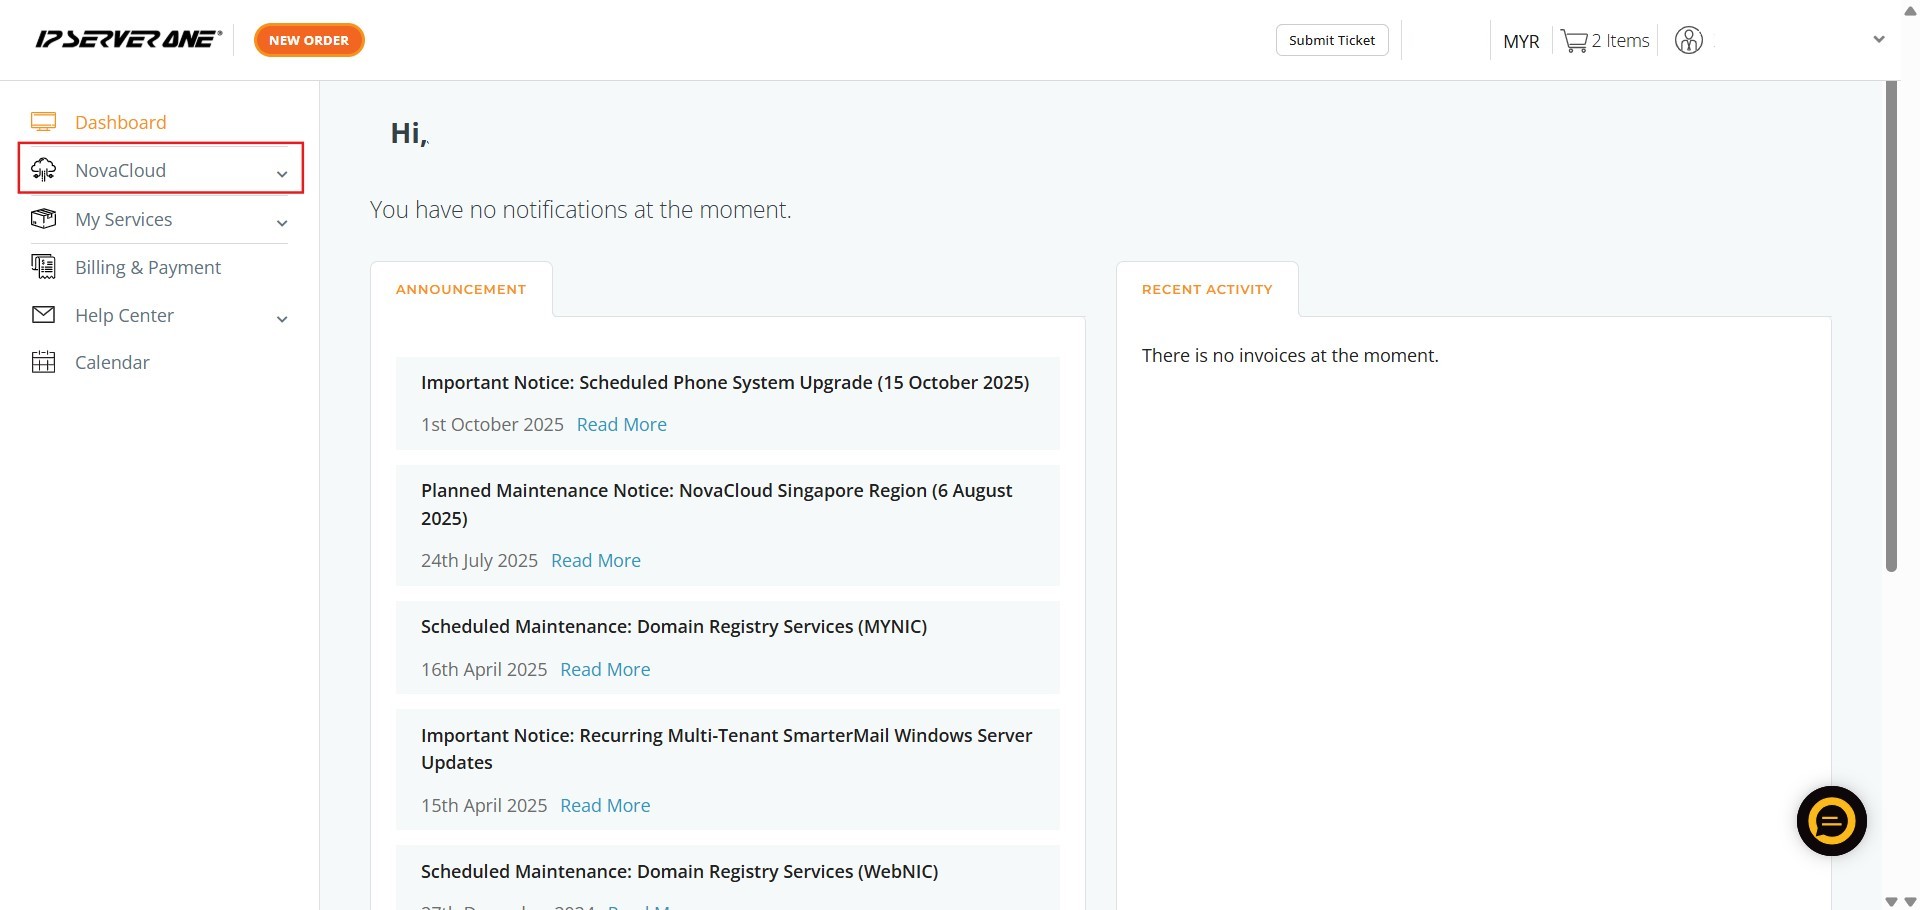
Step 1: Click NovaCloud
- Locate and select the NovaCloud option from the main navigation menu on the left.
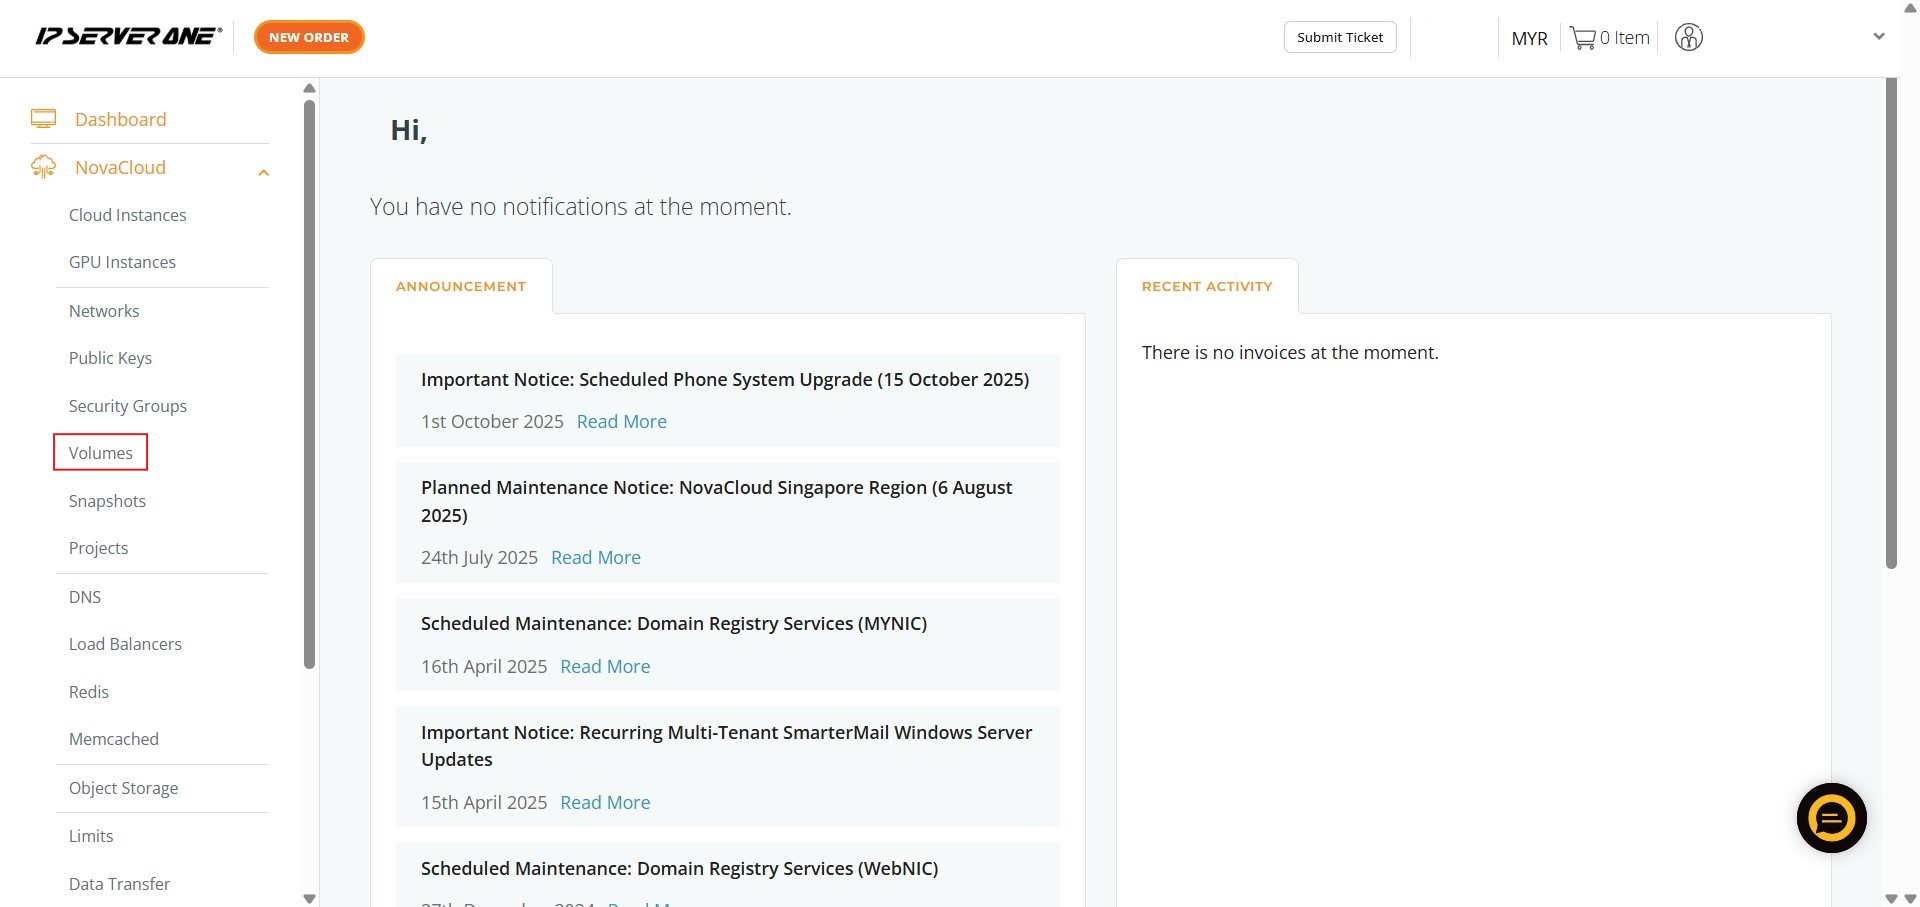
Step 2: Select Volume
- Within the NovaCloud menu, click on the Volumes section to view your existing storage.
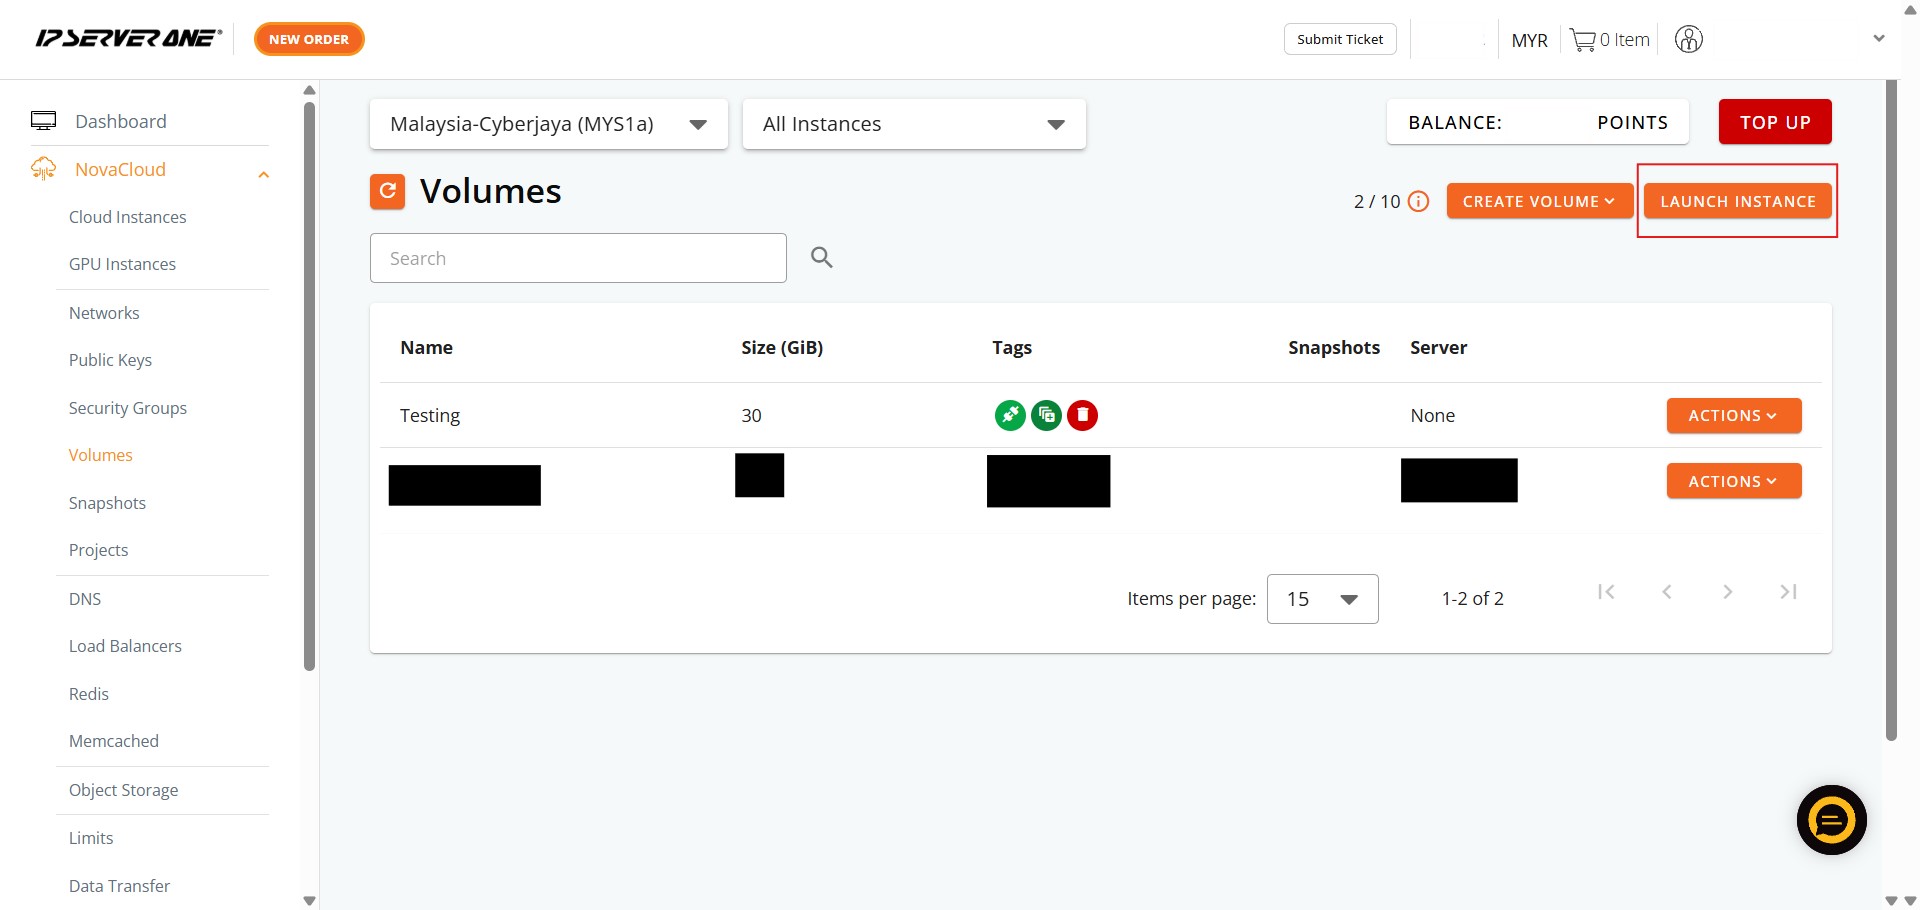
Step 3: Click Launch Instance
- Find the desired bootable volume and click the Launch Instance button.
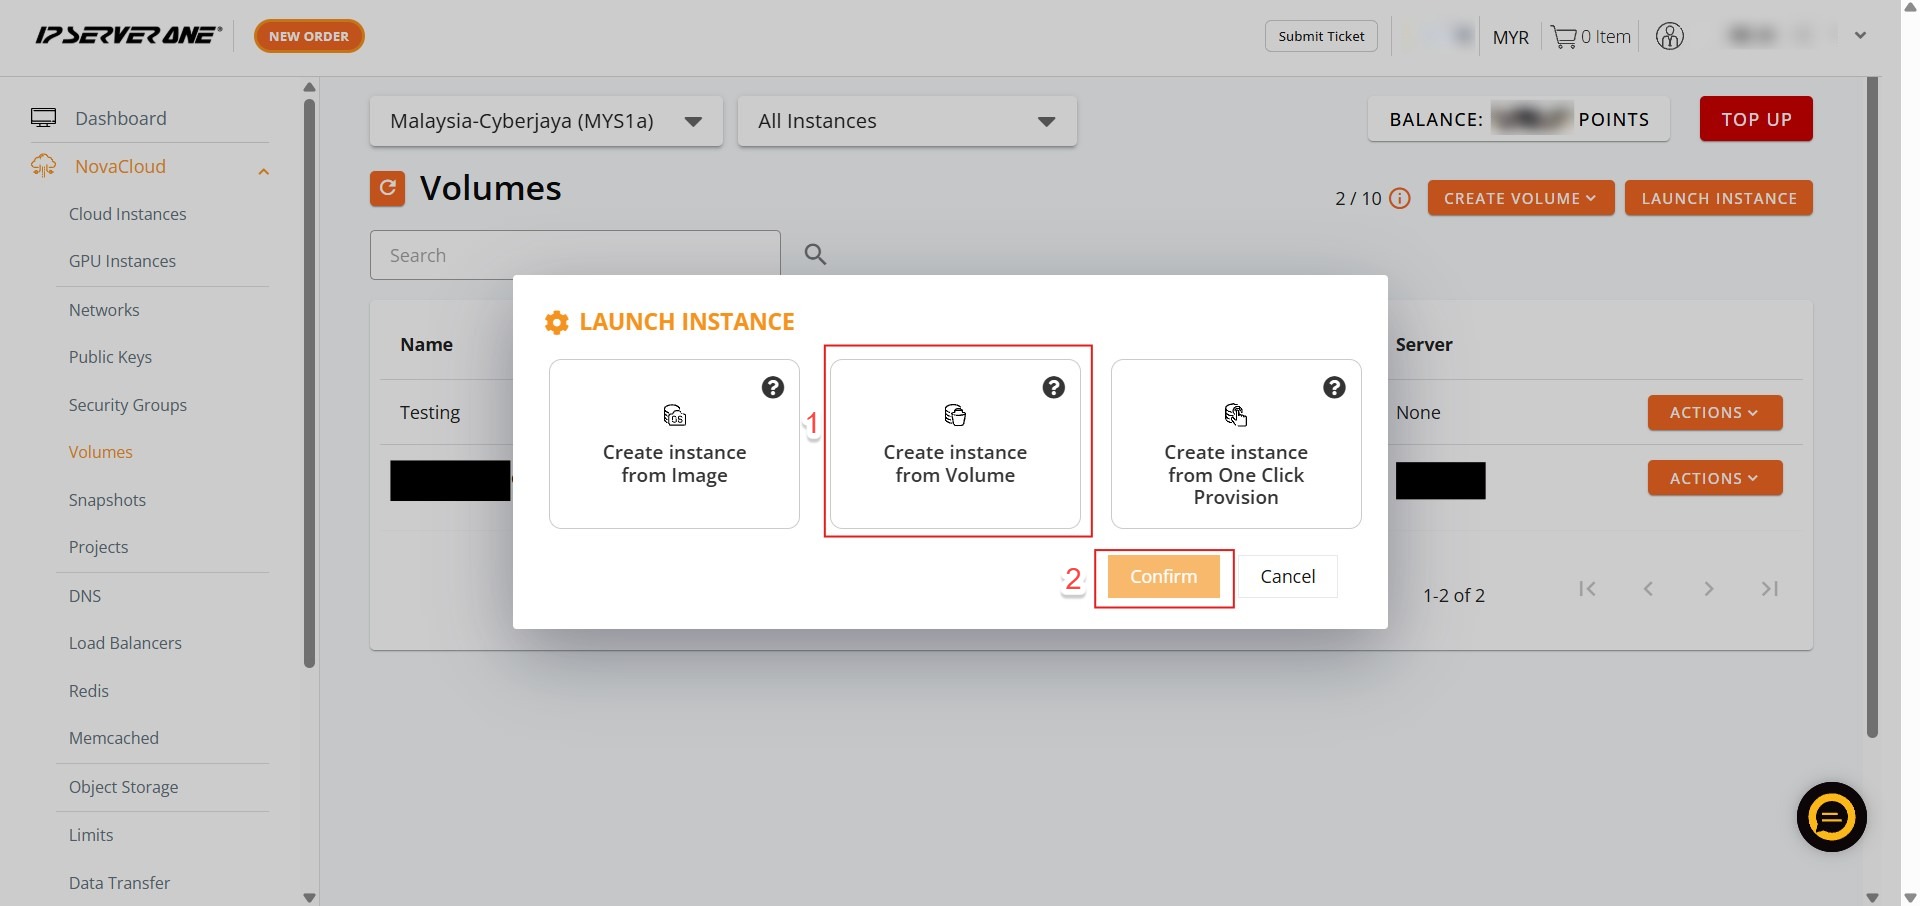
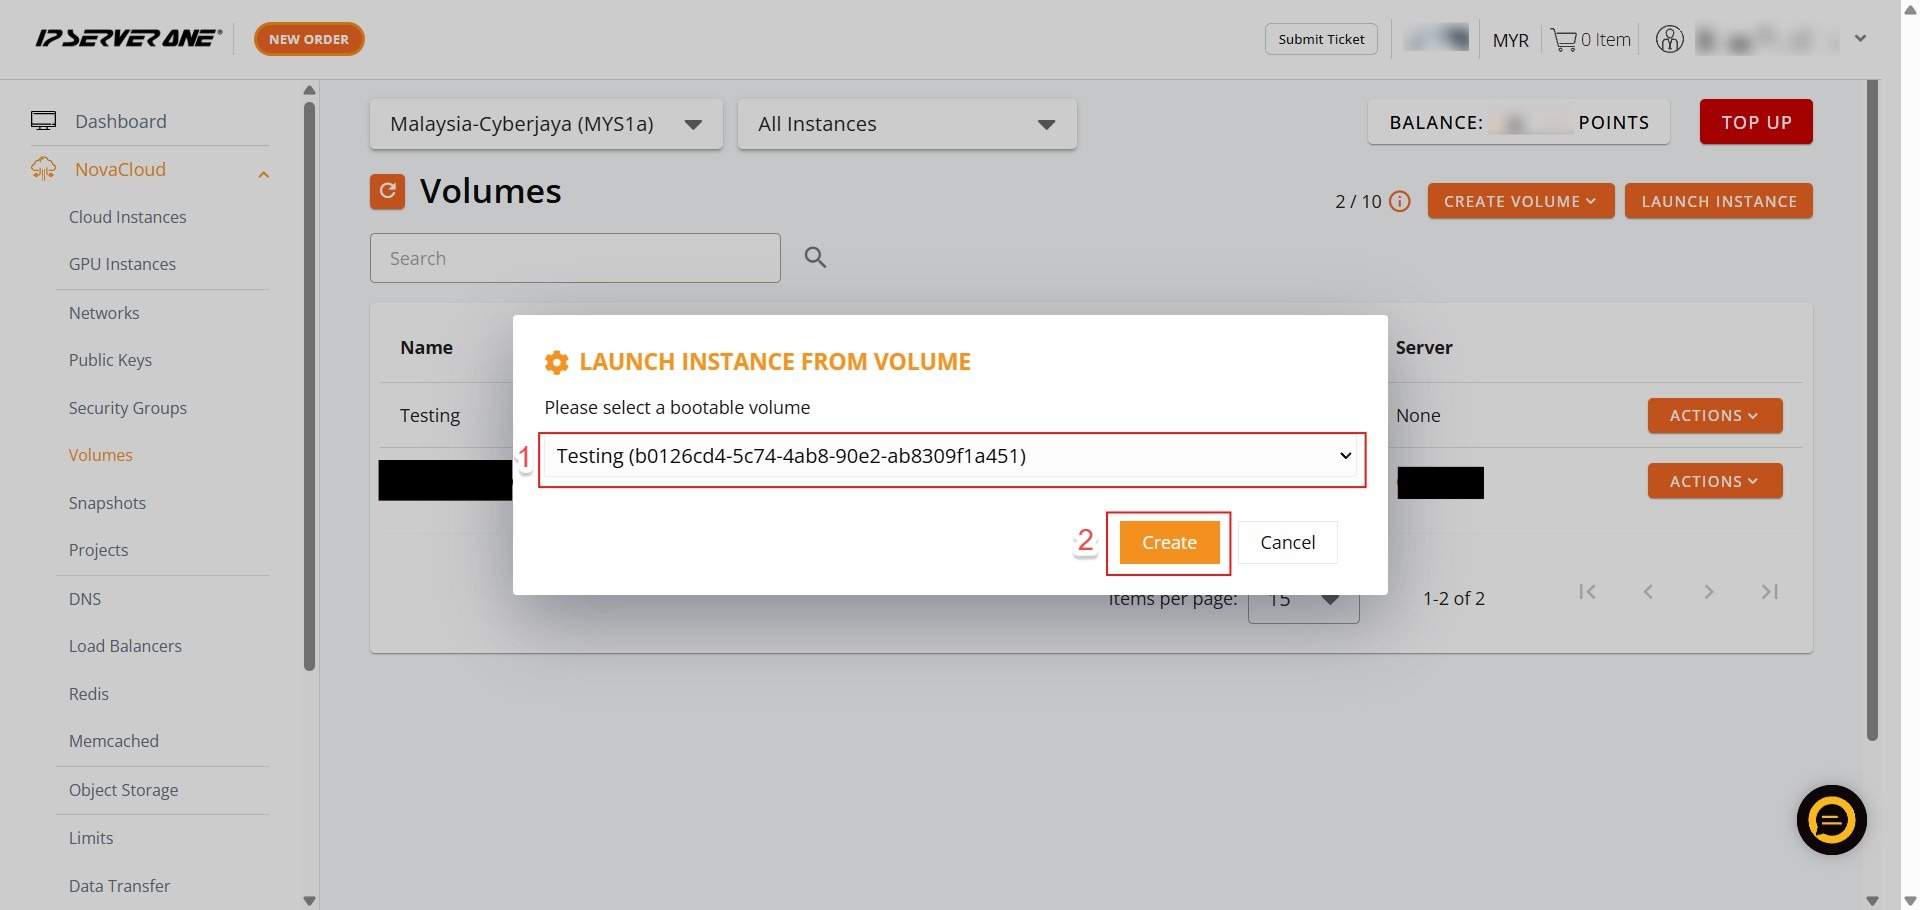
Step 4: Confirm Source
- Select Create Instance from Volume
- Confirm your selection to proceed.
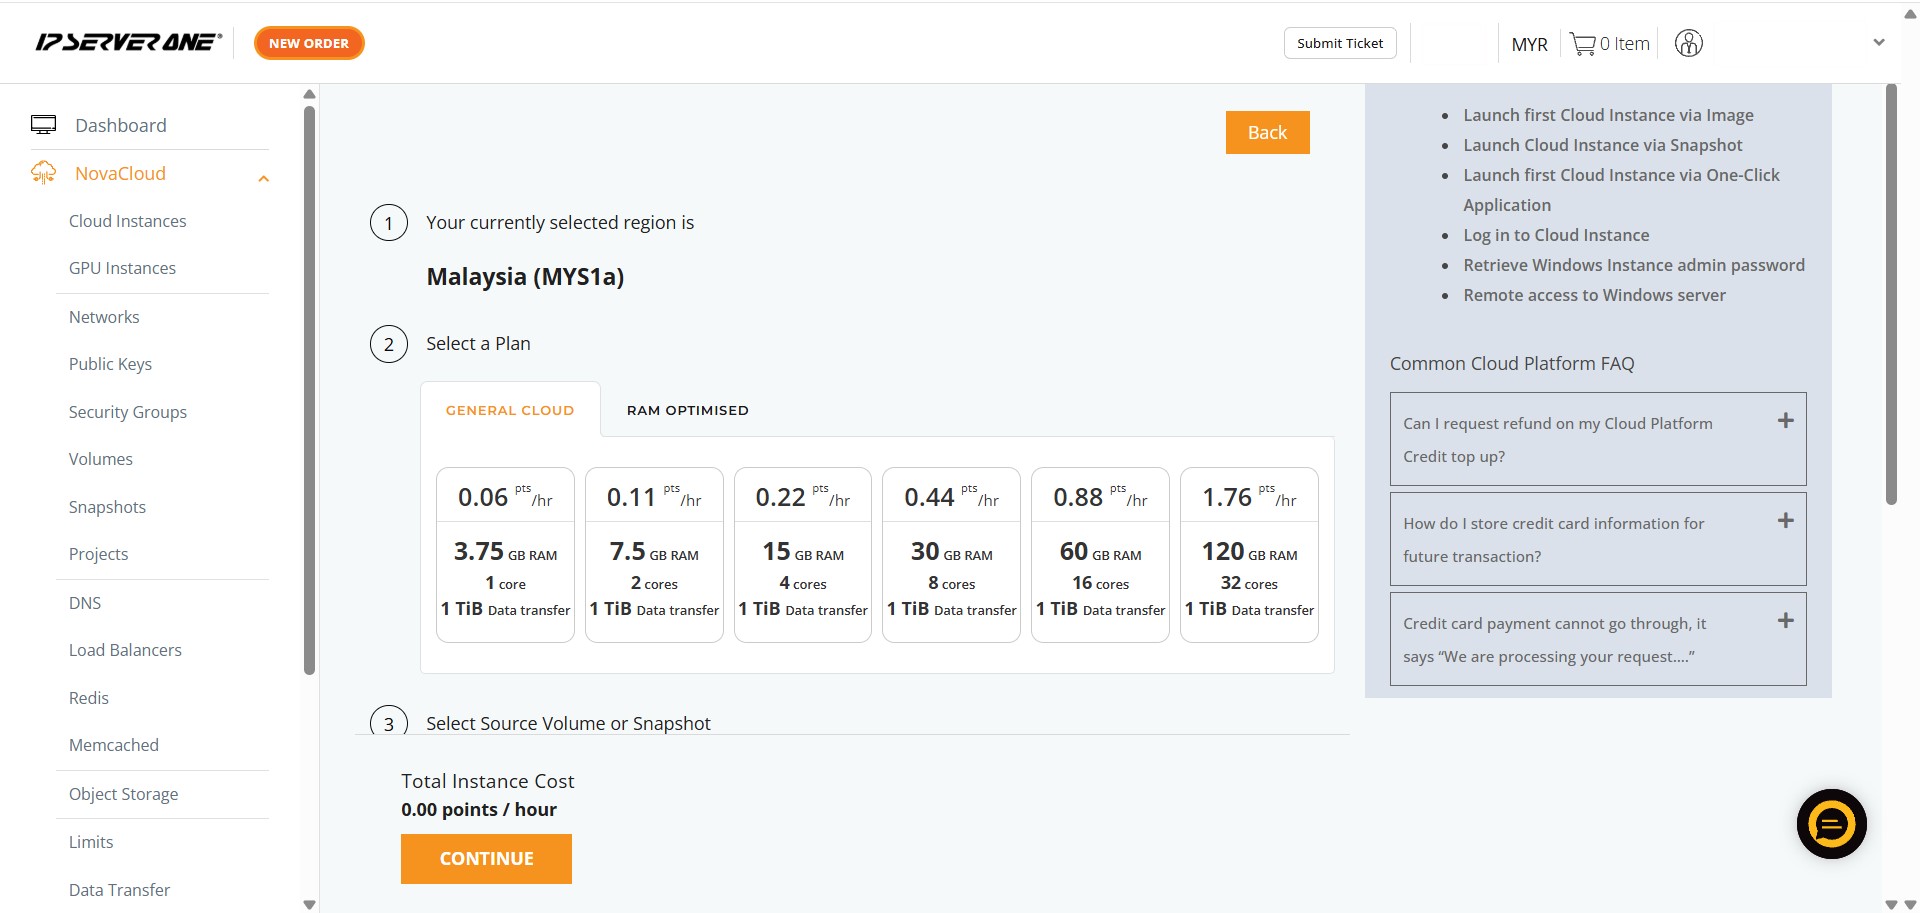
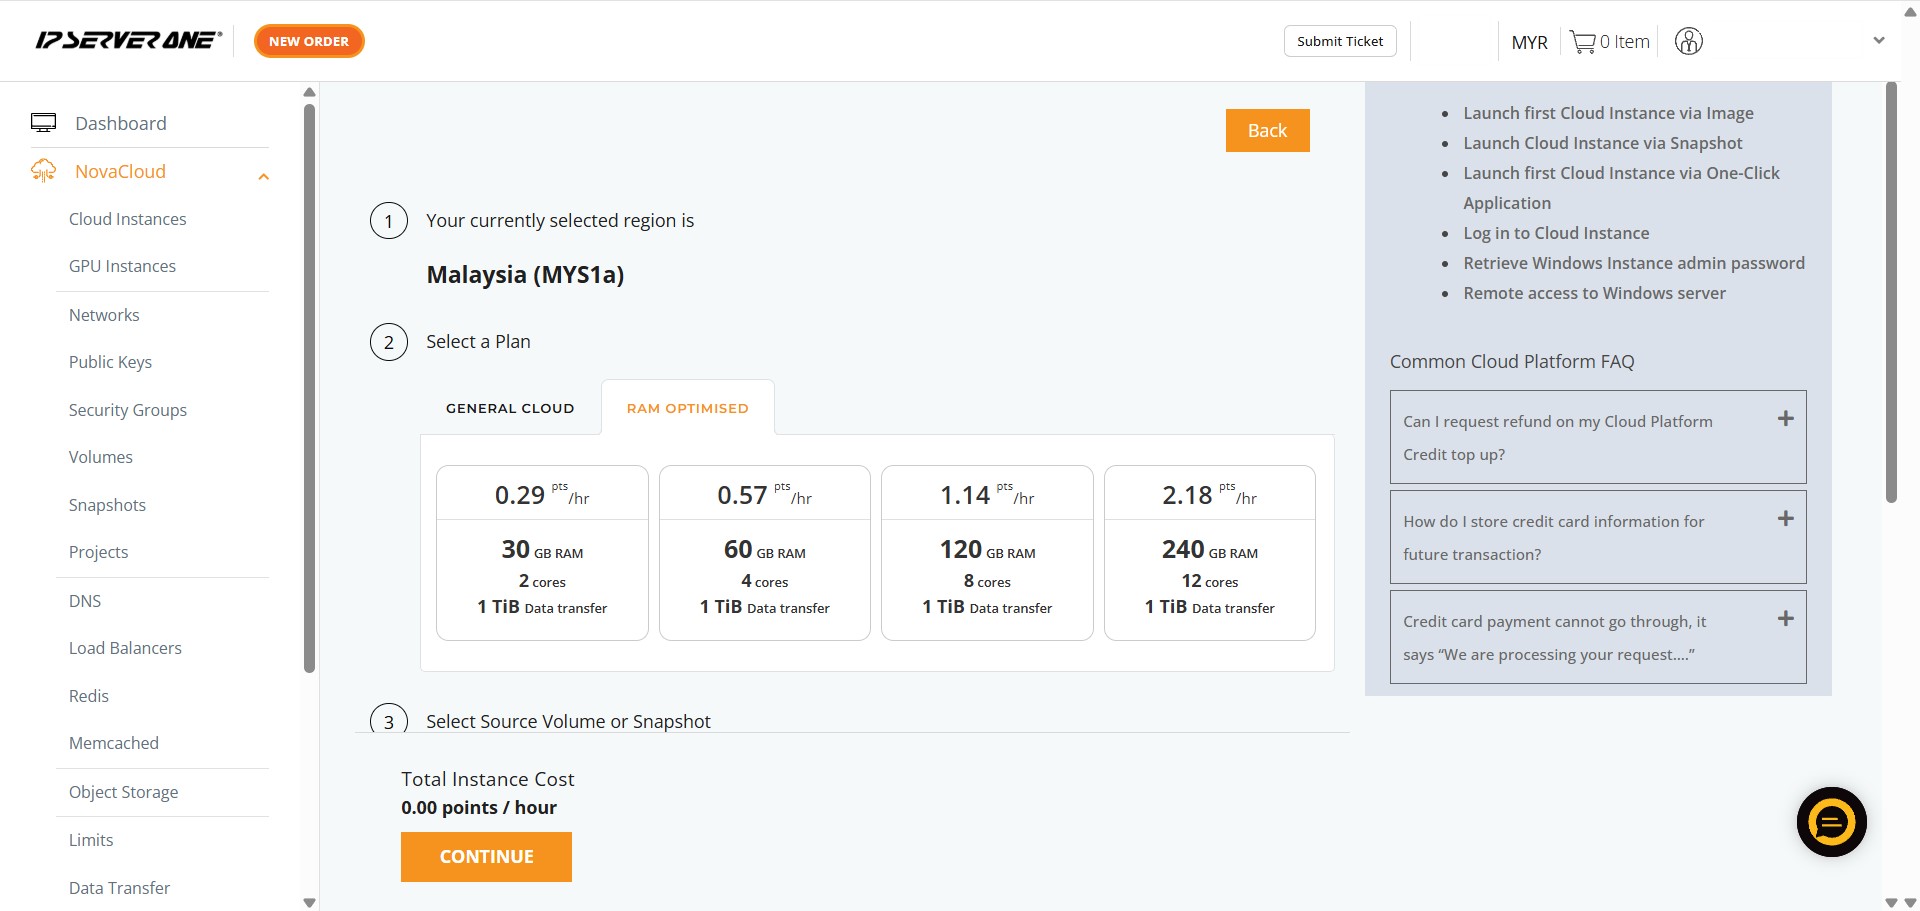
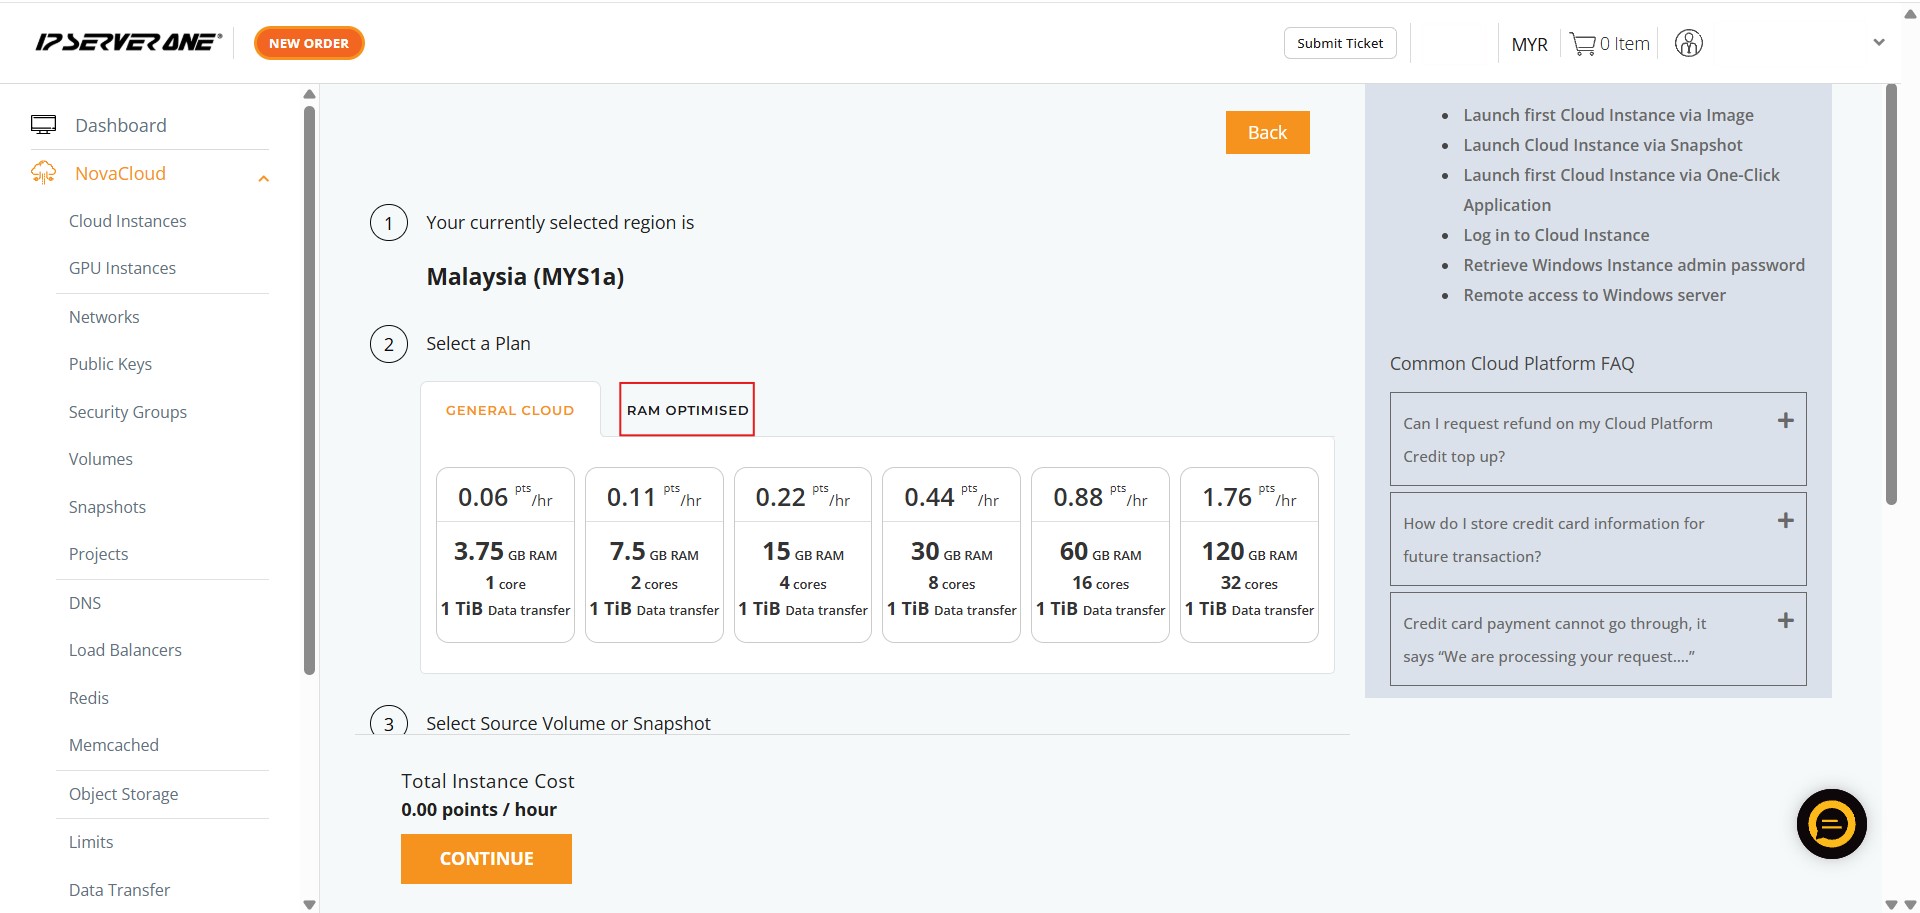
Step 5: Select a Plan
- Choose a performance plan that fits your needs, such as a General Cloud or RAM Optimised plan.
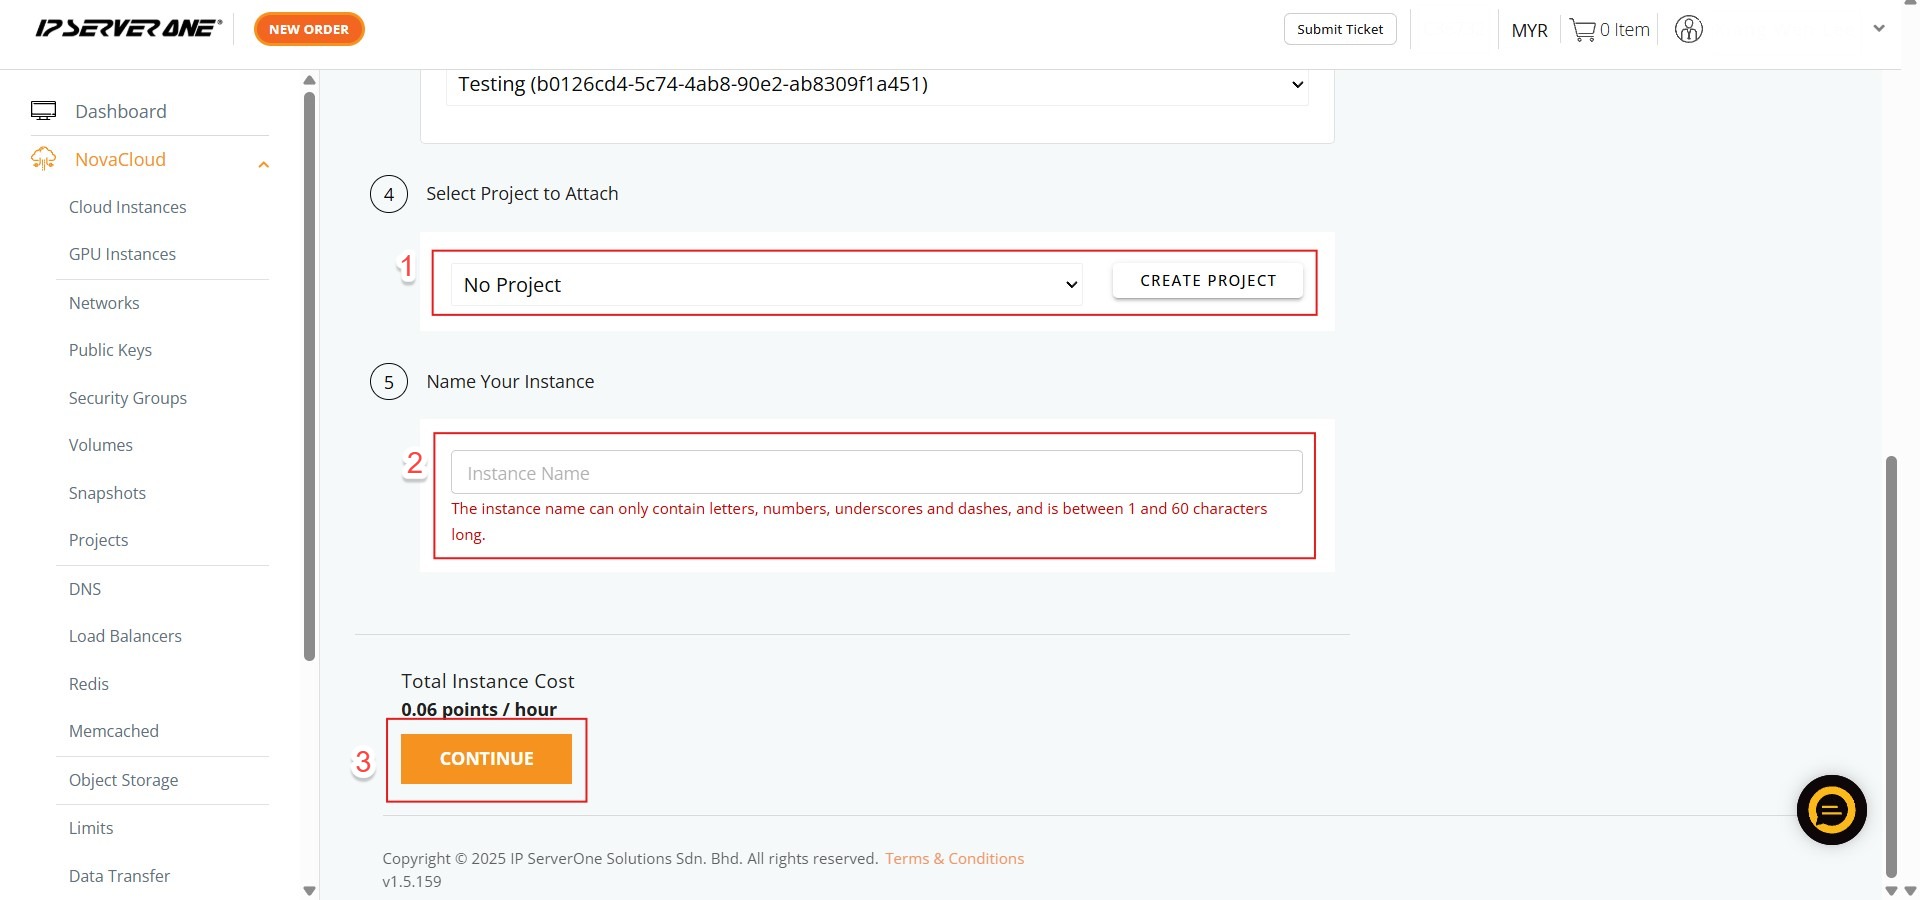
Step 6: Select Project to Attach, Key in Name Instance and Click Continue
- Associate the instance with an existing project (if desired) and provide a unique name for your instance.
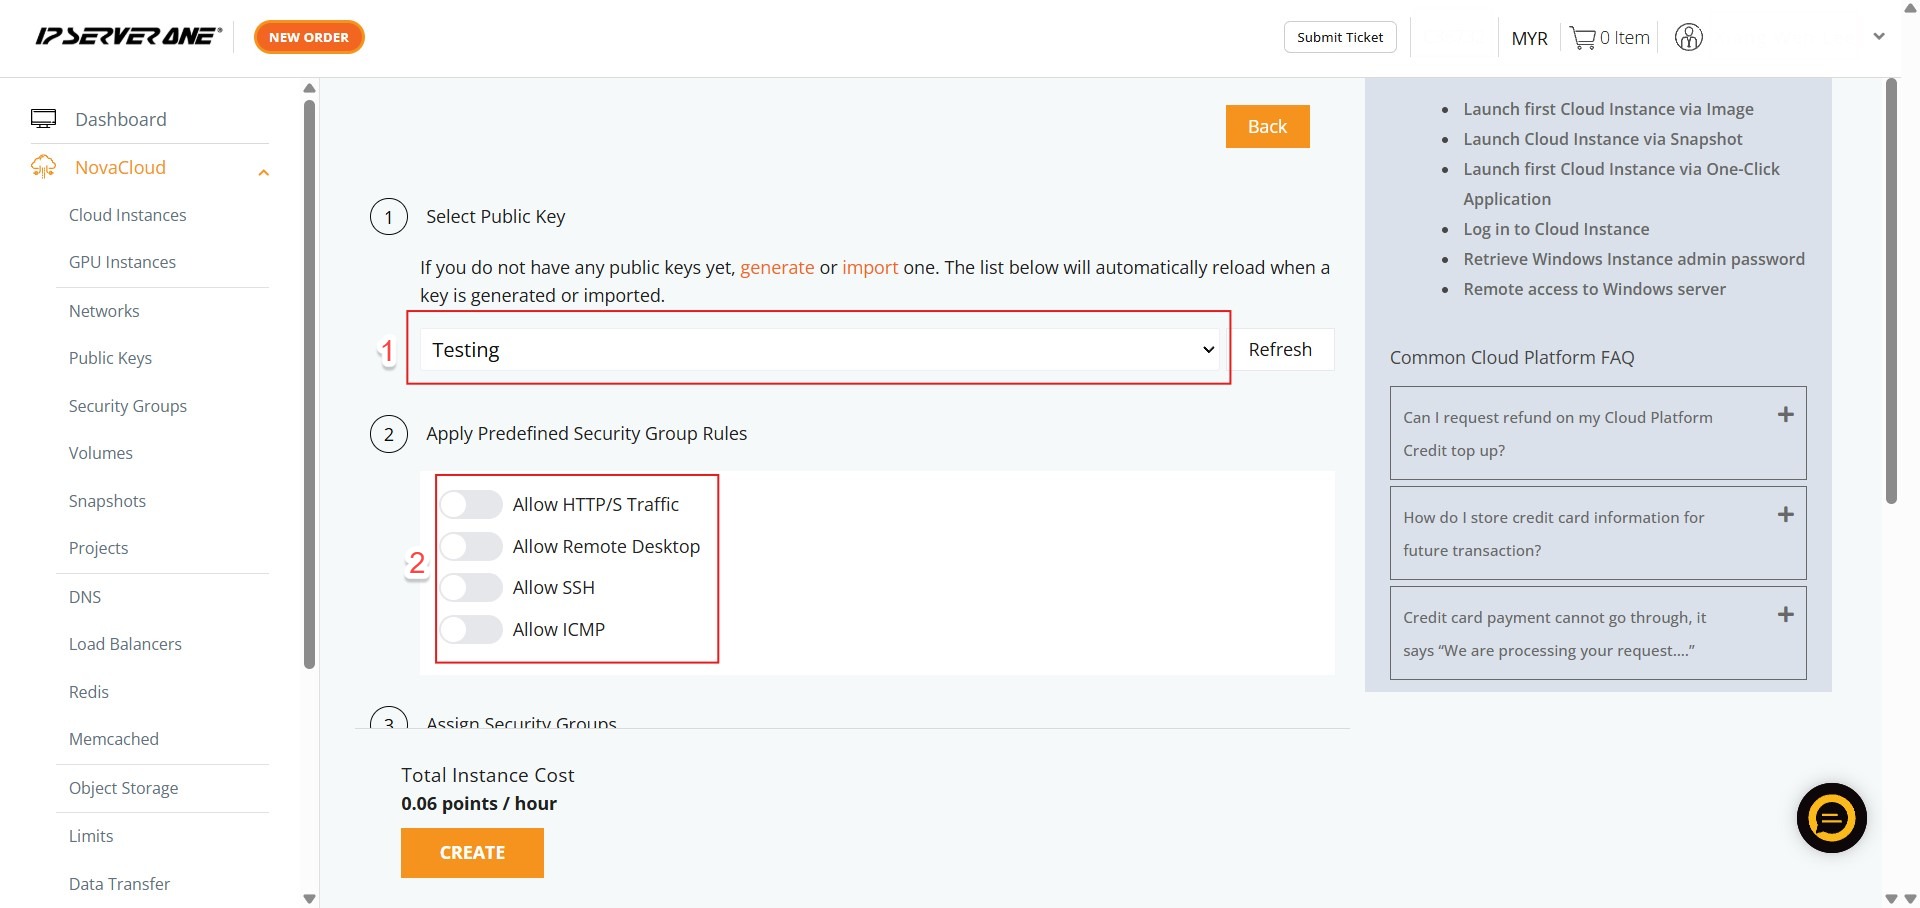
Step 7: Set Security
- Select your Public Key
- Apply Predefined Security Group Rules (e.g., Allow SSH, Allow HTTP/S).
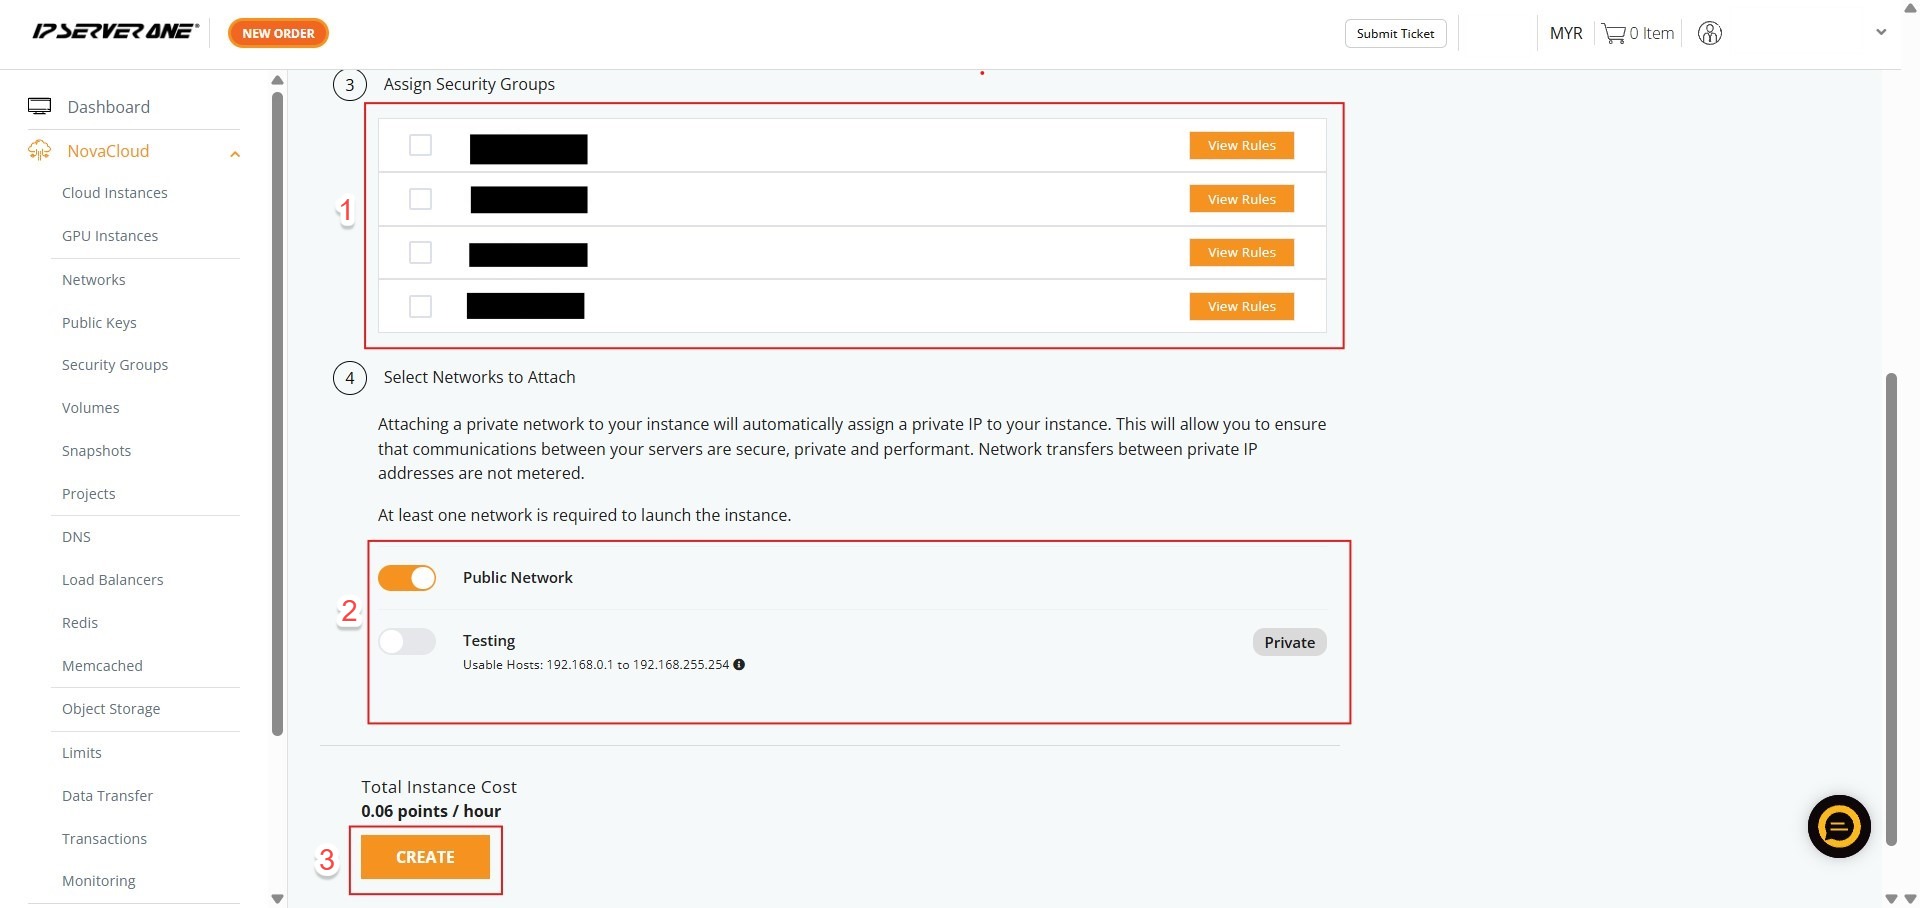
Step 8: Assign Network
- Assign specific Security Groups
- Select the Network to attach
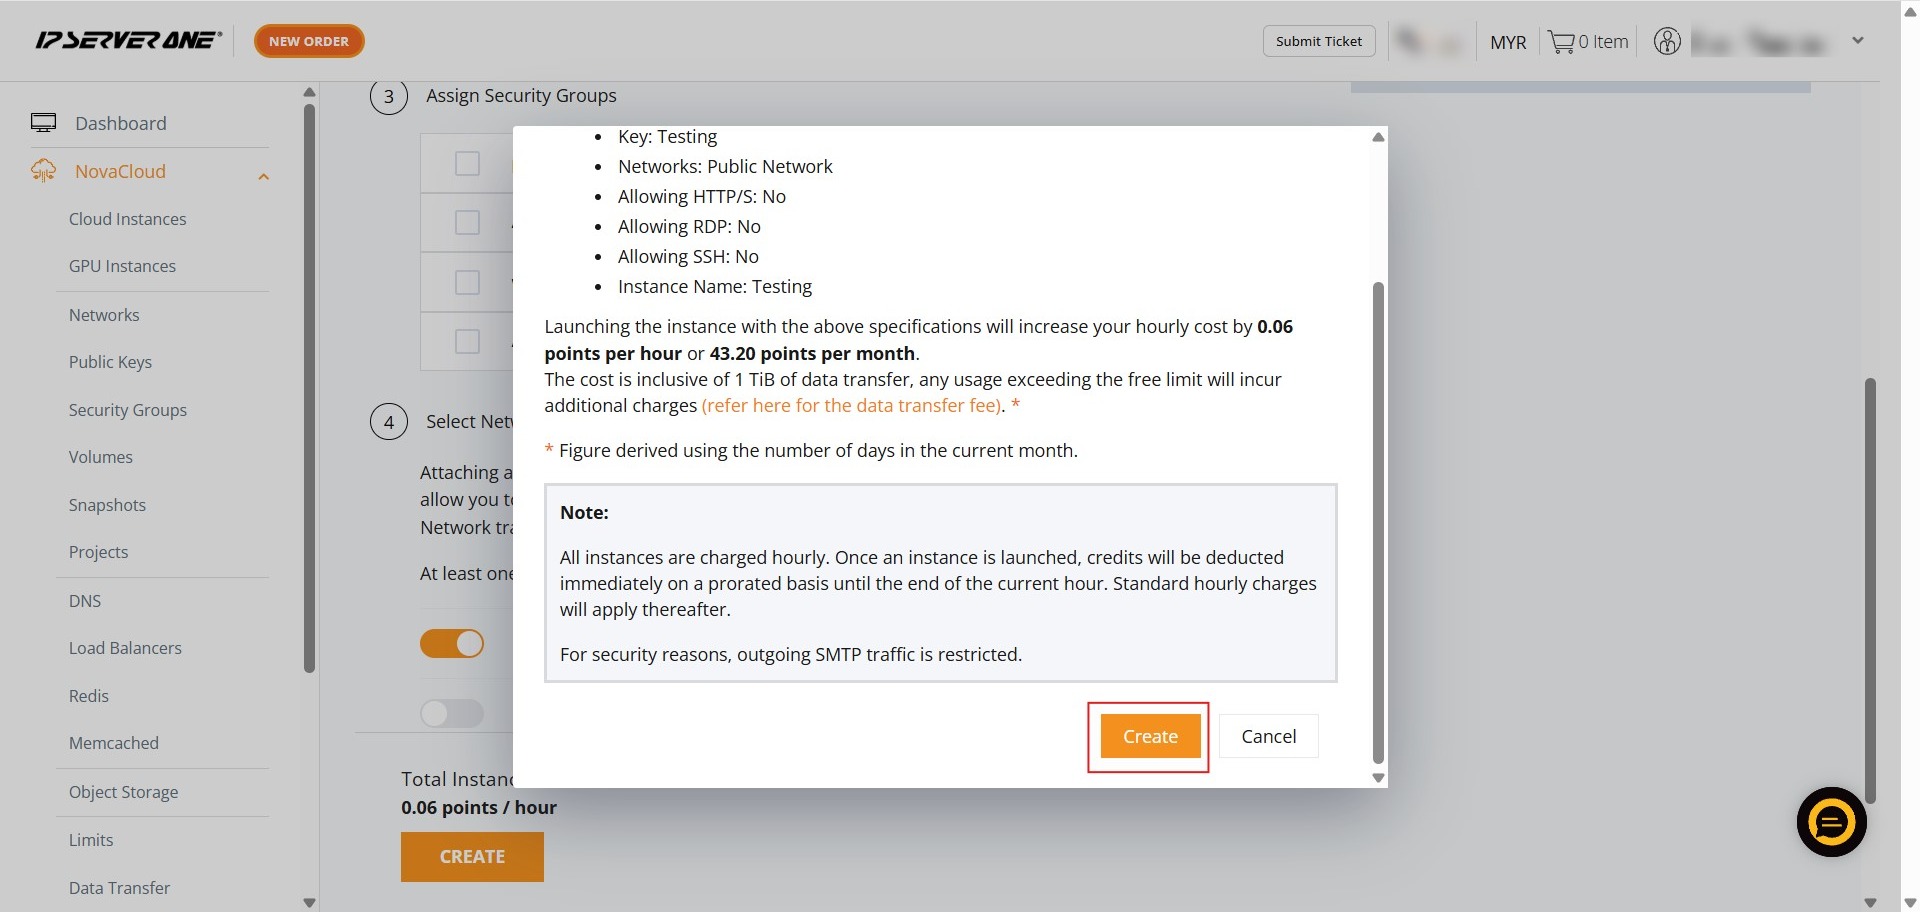
- Click Create.
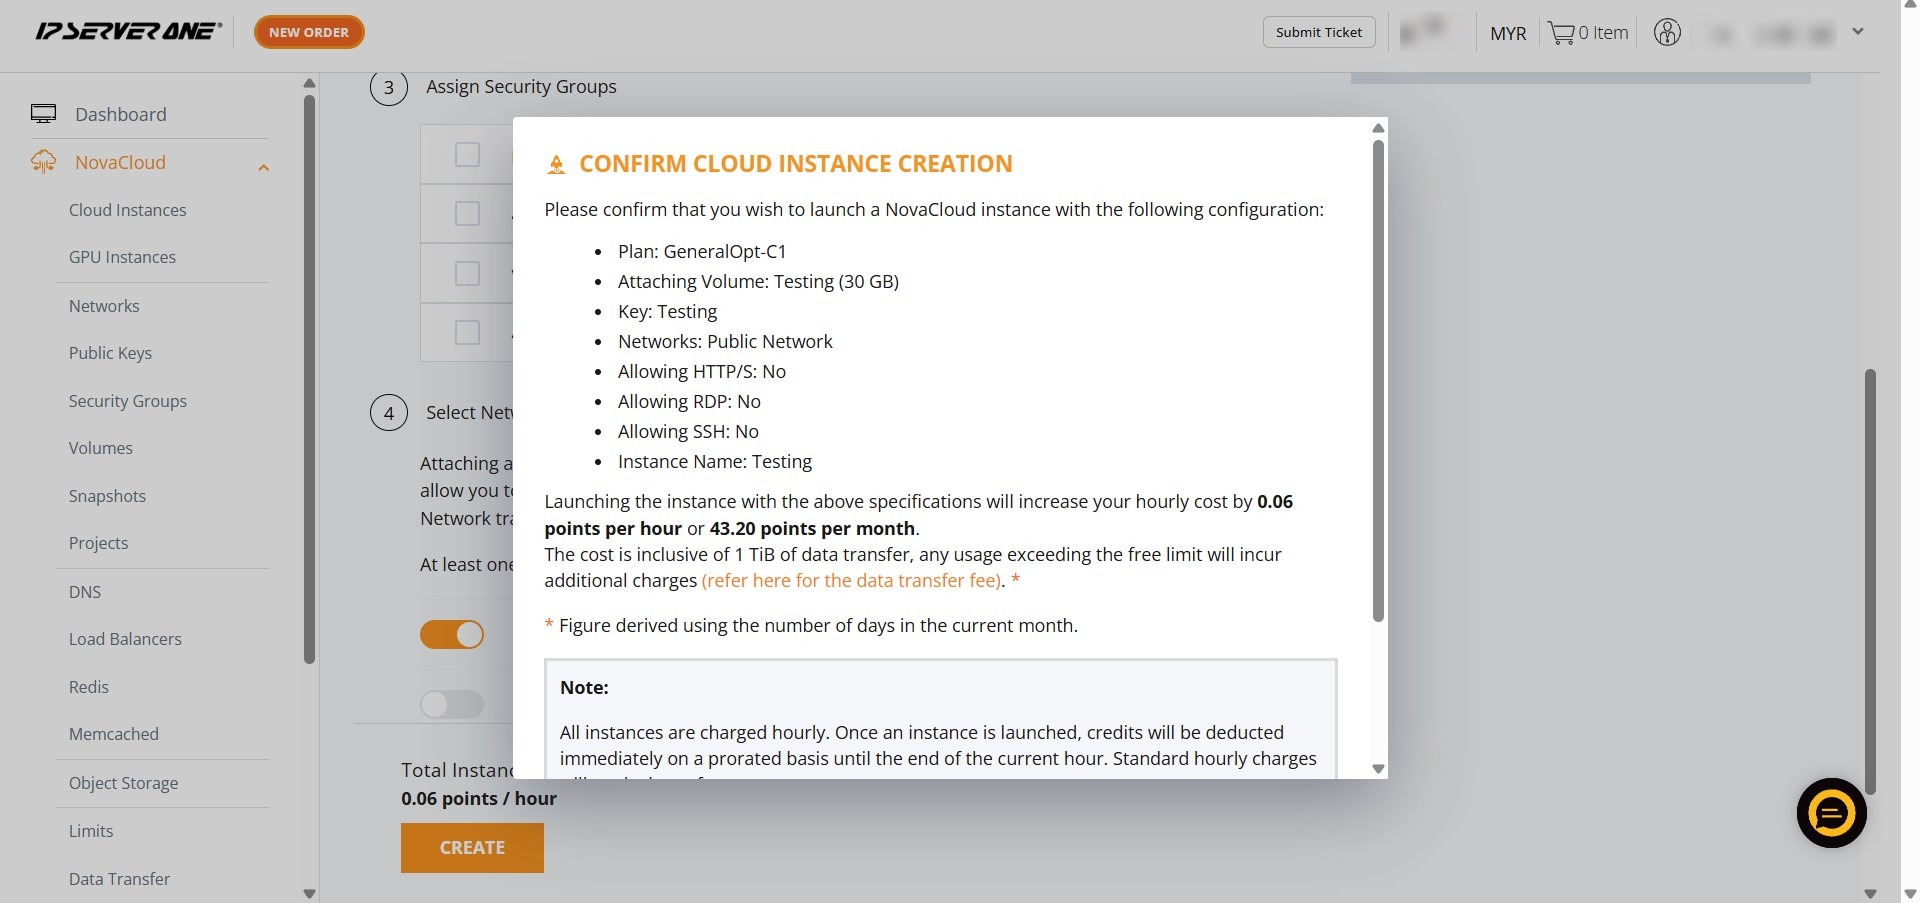
Step 9: Final Confirmation
- In the pop-up window, scroll to the bottom and click Confirm to initiate the launch.
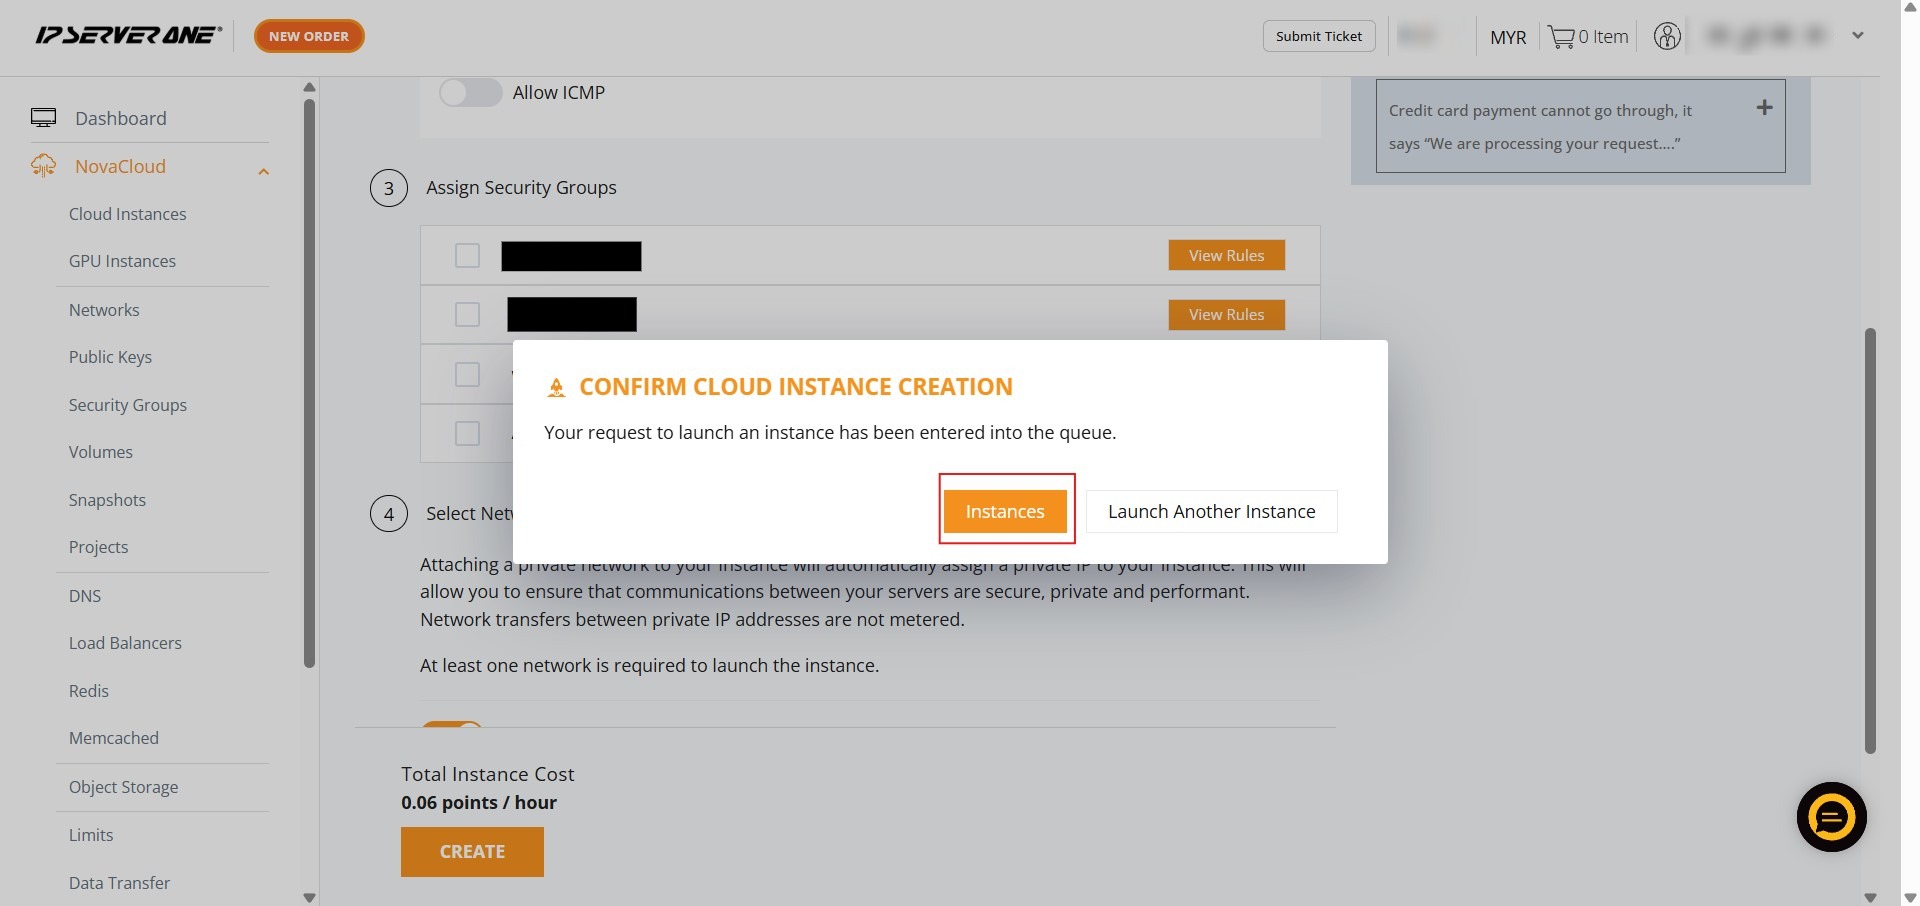
Step 10: Verify Status
- Click Instances to navigate to your instance list
- Verify the status is “Active.”

Conclusion:
By following the steps outlined in this guide, you have successfully deployed a new NovaCloud instance using a pre-existing persistent storage volume as the boot source. This process was completed by navigating through the NovaCloud dashboard to the Volumes section and utilizing the “Launch Instance” functionality.
If you encounter any issues with your instance configuration or require further assistance, please contact the support team at support@ipserverone.com.