Search Our Database
How to Install cPanel on CentOS 7
cPanel is an online Linux-based web hosting control panel that provides a graphical interface and automation tools designed to simplify the process of hosting a web site or email.
Prerequisite:
- Launch a CentOS 7 instance (Only install cPanel & WHM on a freshly-installed operating system).
- Access the instance via SSH.
- Run all the following commands from the shell/terminal (All commands need to be run as the root user).
- You need to purchase your own cPanel license to use the control panel.
Instructions:
Step 1: Set a valid hostname (FQDN) for your system. Note: Replace “your-hostname.example.com” with a FQDN.
hostname <your-hostname.example.com>
Step 2: Disable SELinux.
sed -i 's/SELINUX=enforcing/SELINUX=disabled/' /etc/selinux/config
Step 3: Download and run the installation script. Tips: You may use the screen utility in case your session disconnects during installation.
cd /home && curl -o latest -L https://securedownloads.cpanel.net/latest && sh latest
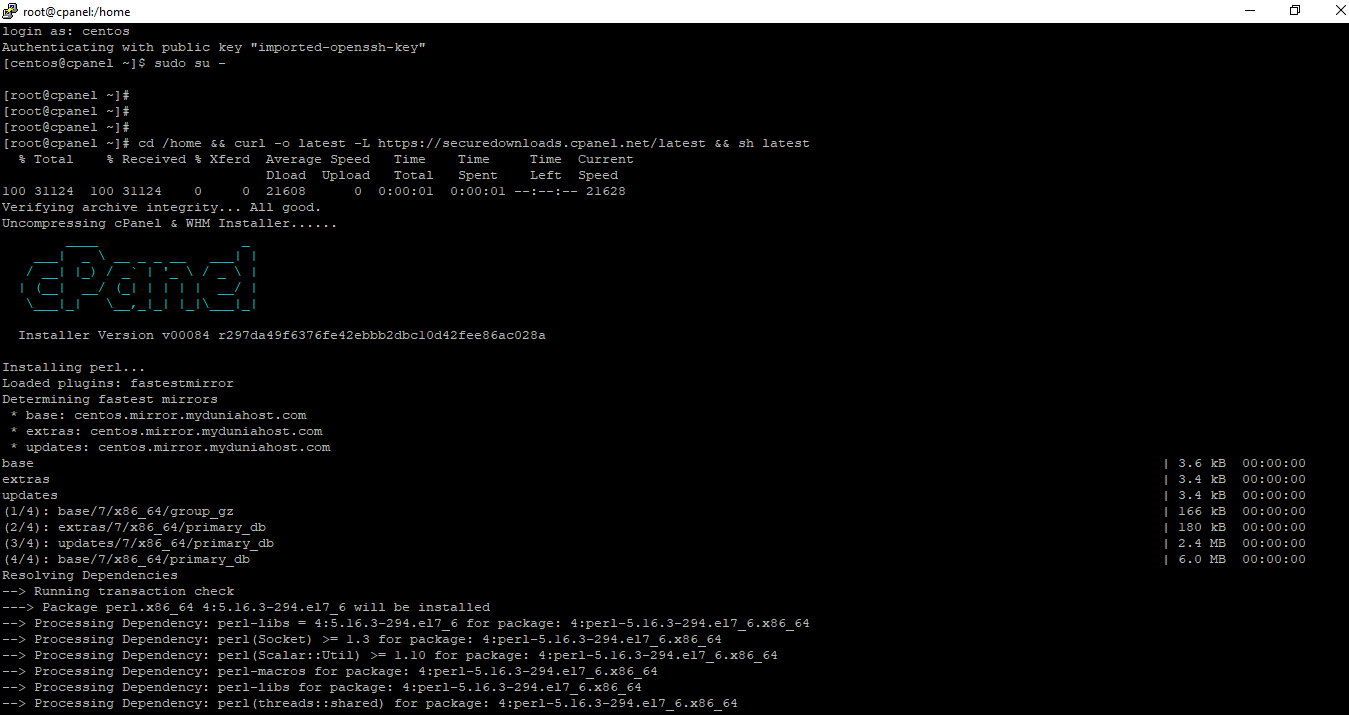
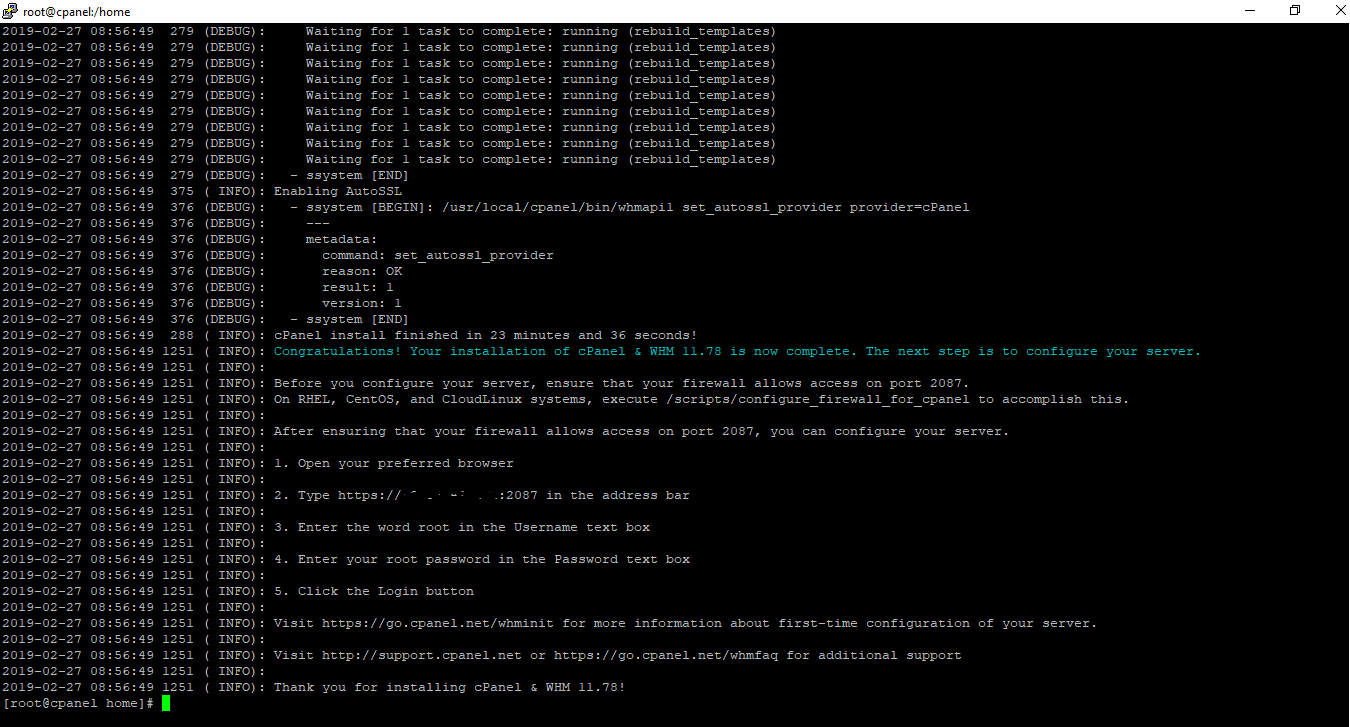
Step 4: Wait for the installation to complete.
Step 5: While waiting for the installation, you might want to allow all the required ports on the security group for your instance (eg: WHM SSL, FTP, HTTP, HTTPS). Please follow the guide here.
Note: To know which ports are used by cPanel & WHM, please refer to this official documentation: https://documentation.cpanel.net/display/CKB/How+to+Configure+Your+Firewall+for+cPanel+Services
Step 6: Set a password for root. You will be prompted to enter the new root password after entering the command below:
passwd
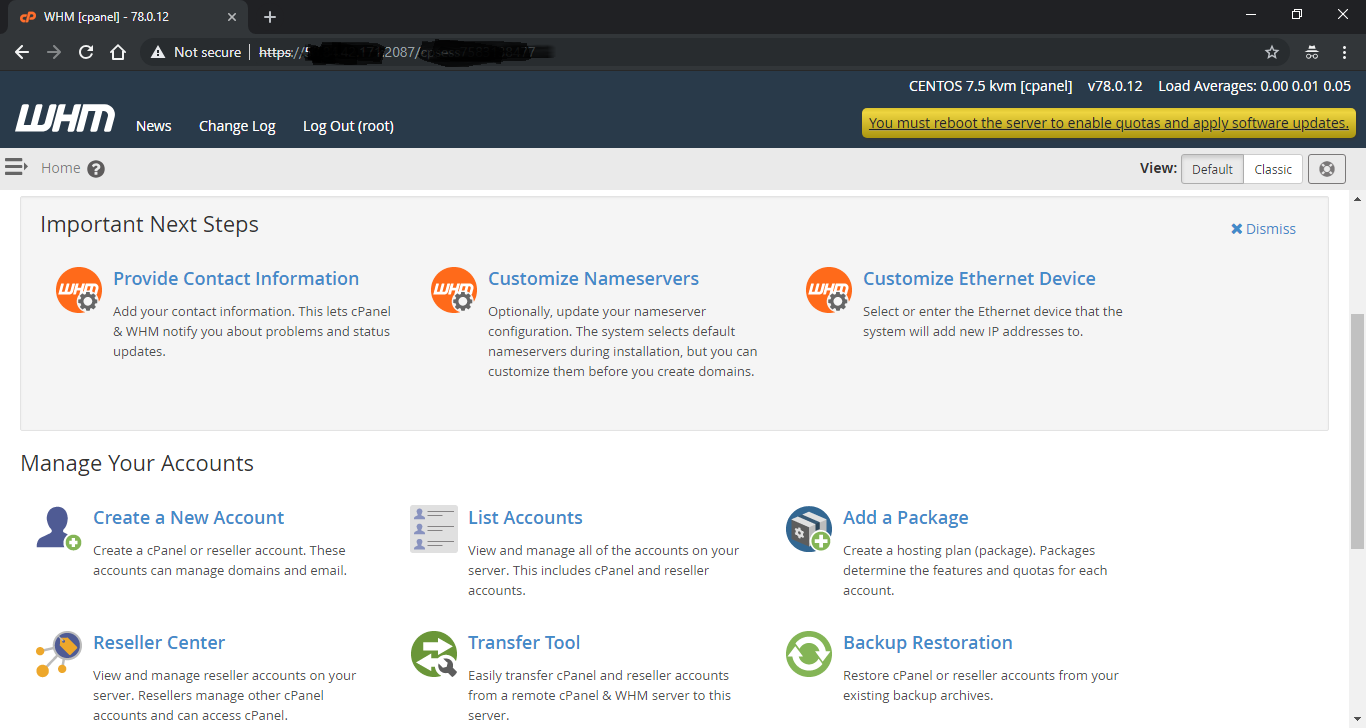
Step 7: Browse to https://<your-server-ip>:2087 to access the WHM, and login as root.
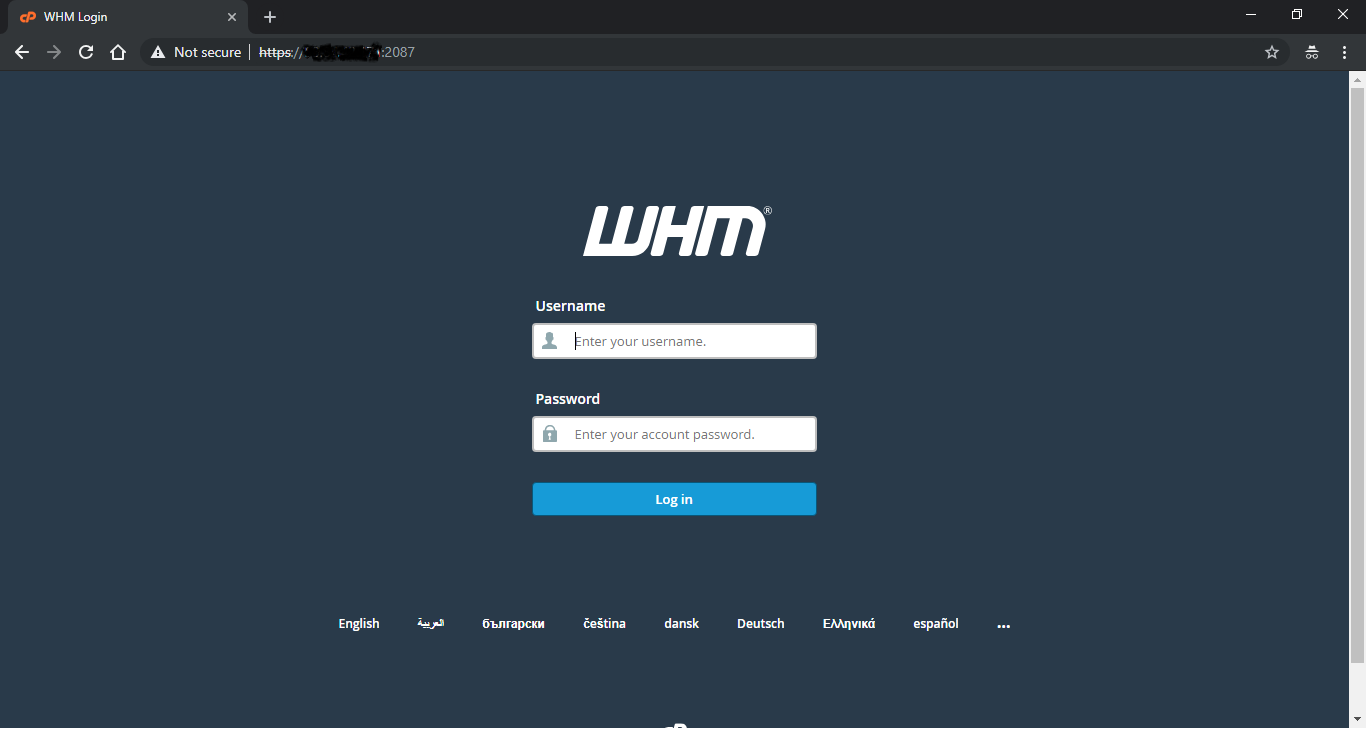
After completing all the steps above, you should now be logged in to your WHM on your server.