Search Our Database
How to install AnyDesk on Windows
Introduction
AnyDesk is a lightweight and secure remote desktop application used for remote support, access, and collaboration. This guide walks you through the process of downloading, installing, and setting up AnyDesk on a Windows computer.
Prerequisites
- A Windows-based system (Windows 7, 8, 10, or 11)
- Administrator rights on the system
- An internet connection
Step-by-Step Guide
Step 1: Download AnyDesk Installer
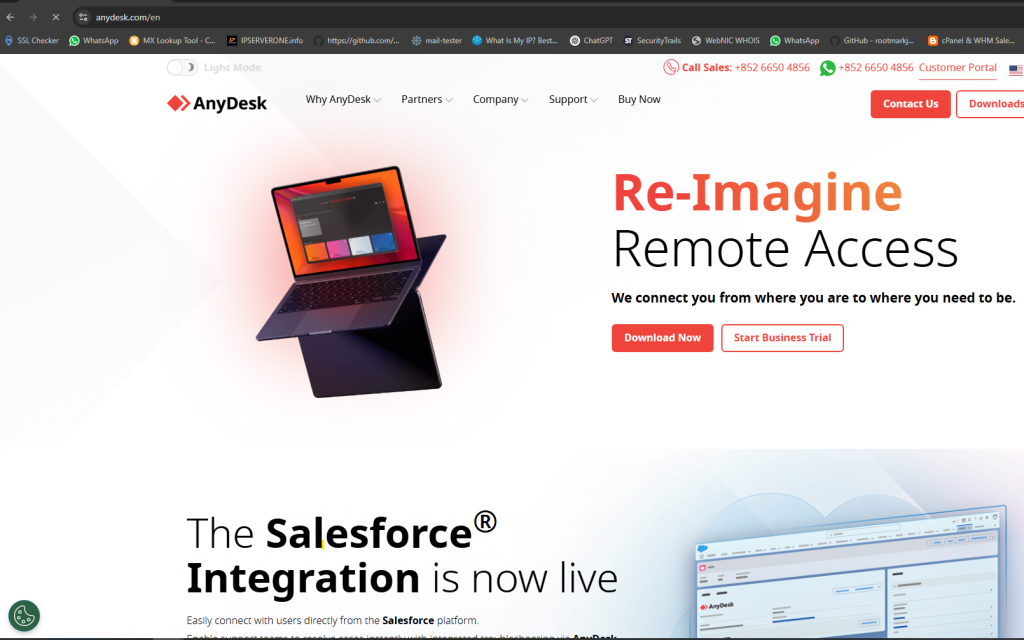
- Open your web browser and go to https://anydesk.com.

- Click the Download Now button for Windows.
- Save the
.exe
file to your preferred location.
Step 2: Run the Installer
- Double-click the downloaded
AnyDesk.exe
file.
- AnyDesk will open in portable mode (no installation required yet).
Step 3: Install AnyDesk (Optional but Recommended)
- In the AnyDesk window, click Install AnyDesk on this device.
- In the installer window, click Accept & Install.
- Wait for the installation to complete.
Step 4: Allow Necessary Permissions
- If prompted by Windows Security, click Yes to allow the installer to make changes.
- Once installed, AnyDesk will start automatically.
Step 5: Configure AnyDesk (Optional)
- Take note of your AnyDesk Address – this is the ID others will use to connect to your computer.
- Go to Settings to configure permissions, security, and unattended access if needed.
Conclusion
Installing AnyDesk on Windows is a quick and simple process, allowing you to start remote sessions within minutes. For enhanced security and convenience, configure unattended access if you’ll need to connect remotely without interaction.
For further assistance, please contact our support team at support@ipserverone.com.