Search Our Database
How to enable outgoing mail scanning with Apache SpamAssassin in WHM
Introduction
This article guides you through how to enable outgoing mail scanning with Apache SpamAssassin in WHM. Enabling this feature allows the server to scan outgoing emails for spam and reject them if they exceed the configured spam score. This helps prevent compromised accounts from sending spam and protects your server’s reputation.
Prerequisites
-
Root access to WHM (Web Host Manager).
-
Exim mail server enabled (default in WHM).
-
Apache SpamAssassin installed and active.
Steps to Enable Scan Outgoing Mail with Apache SpamAssassin in WHM
Step 1: Log in to WHM
- Open your browser and navigate to your WHM login page (e.g., https://your-server-ip:2087).
-
Enter your root or reseller credentials and click Login.
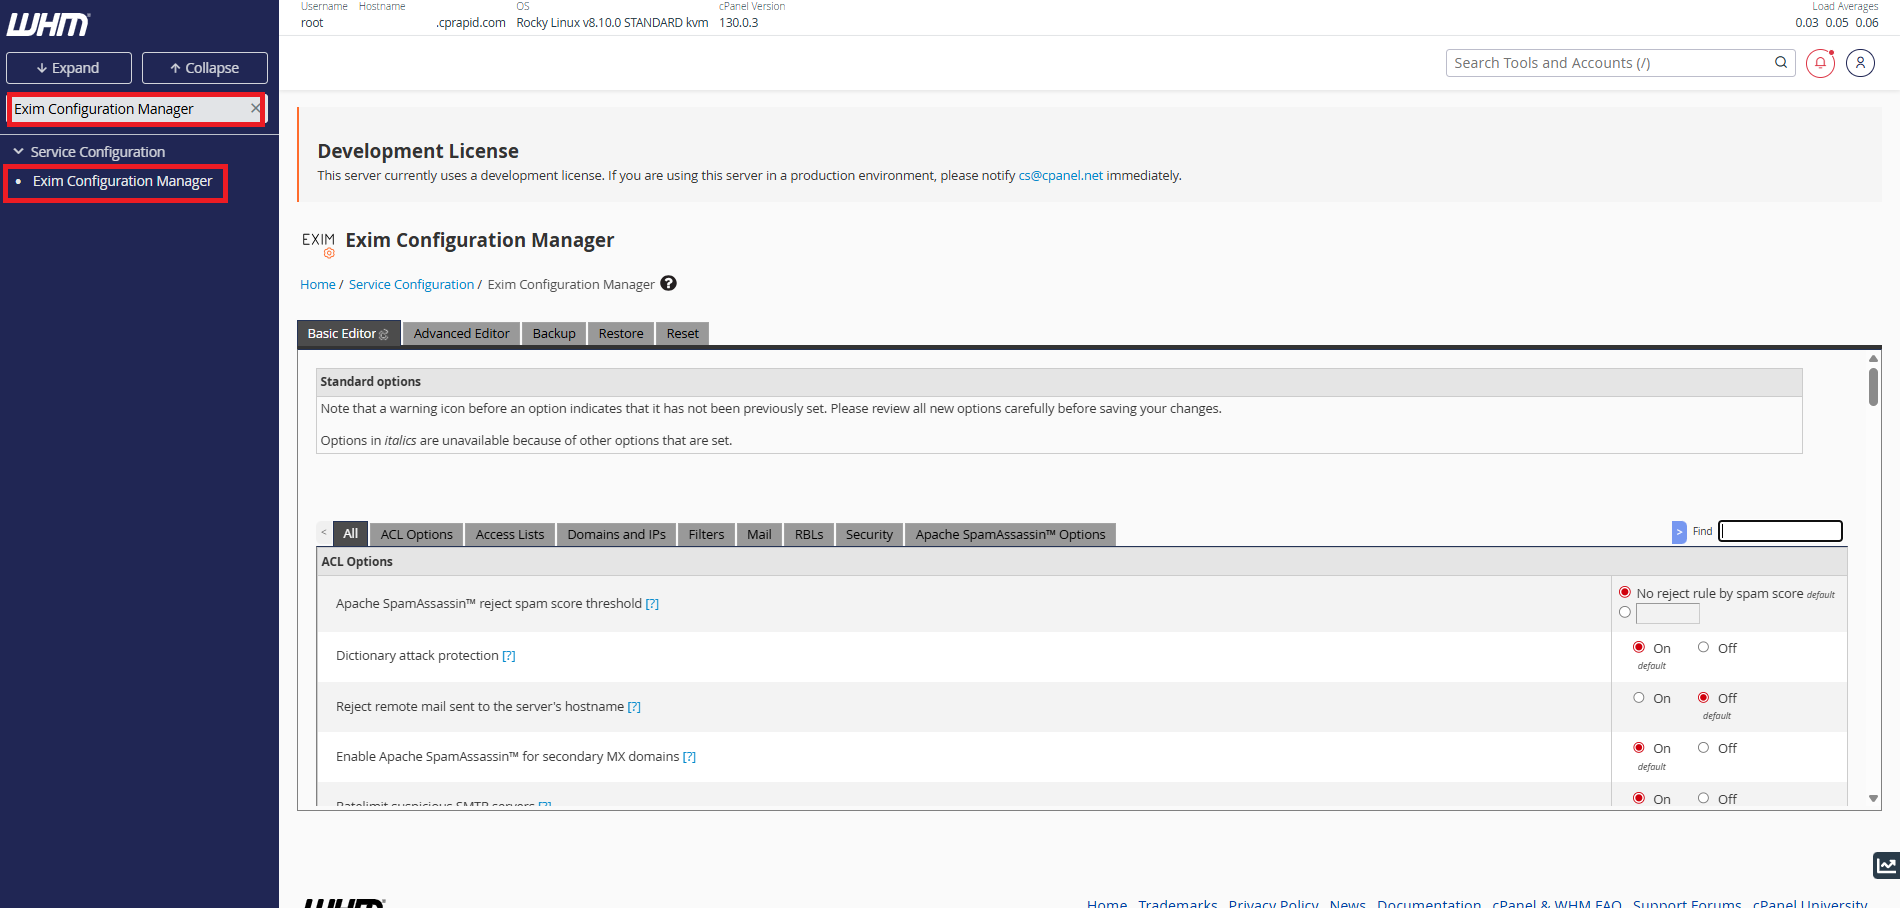
Step 2: Open Exim Configuration Manager
-
In the WHM search bar, type Exim Configuration Manager.
-
Click on the Exim Configuration Manager option from the menu
Step 3: Enable Outgoing Mail Scanning
-
Inside Exim Configuration Manager, click on the Apache SpamAssassin™ Options tab.
-
Look for the option:
-
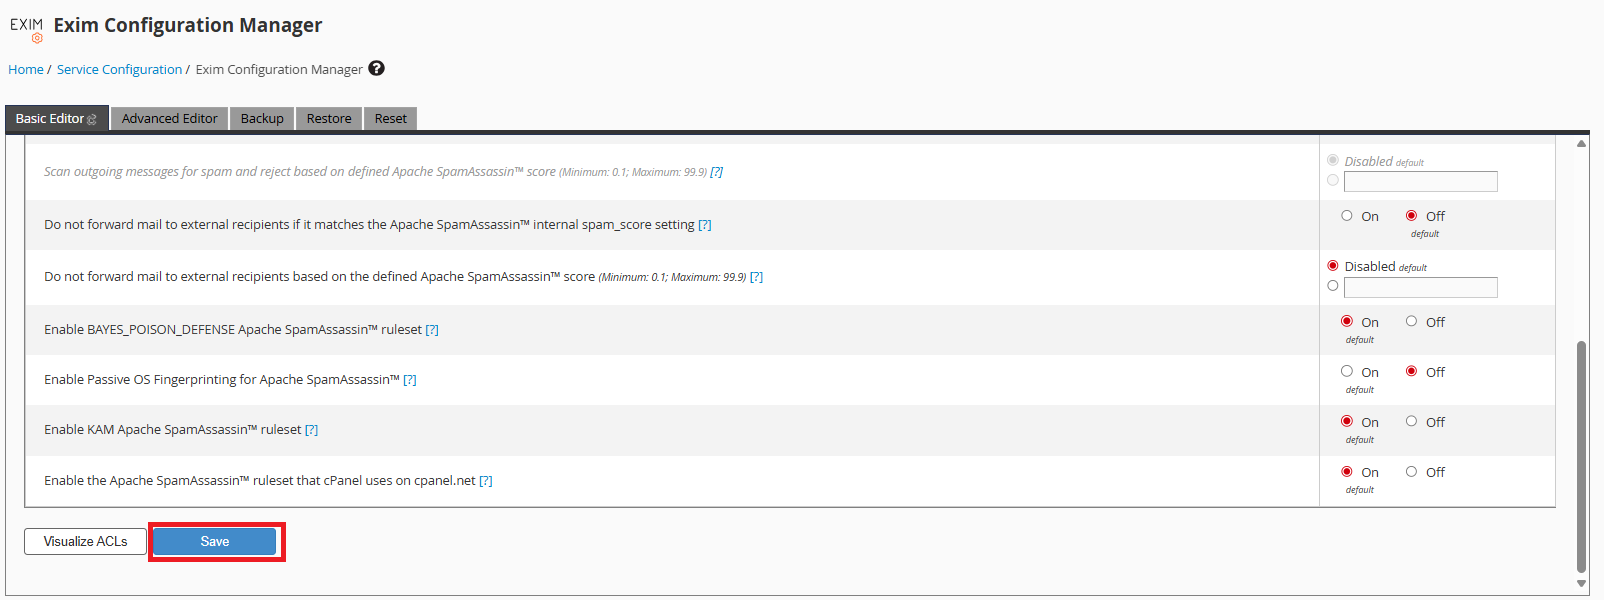
Scan outgoing messages for spam and reject based on the Apache SpamAssassin™ internal spam_score setting.
-
-
Set this option to On.

Step 4: Save Changes
-
Scroll down to the bottom of the page and click Save to apply the new settings.
Conclusion
By enabling Scan outgoing mail with Apache SpamAssassin in WHM, the server will automatically scan and reject spam-like outgoing emails. This helps to reduce abuse, maintain email deliverability, and protect the server’s IP reputation.
For further assistance, please contact our support team at support@ipserverone.com.