Search Our Database
How to Deploy a Virtual Machines using available vApp Template
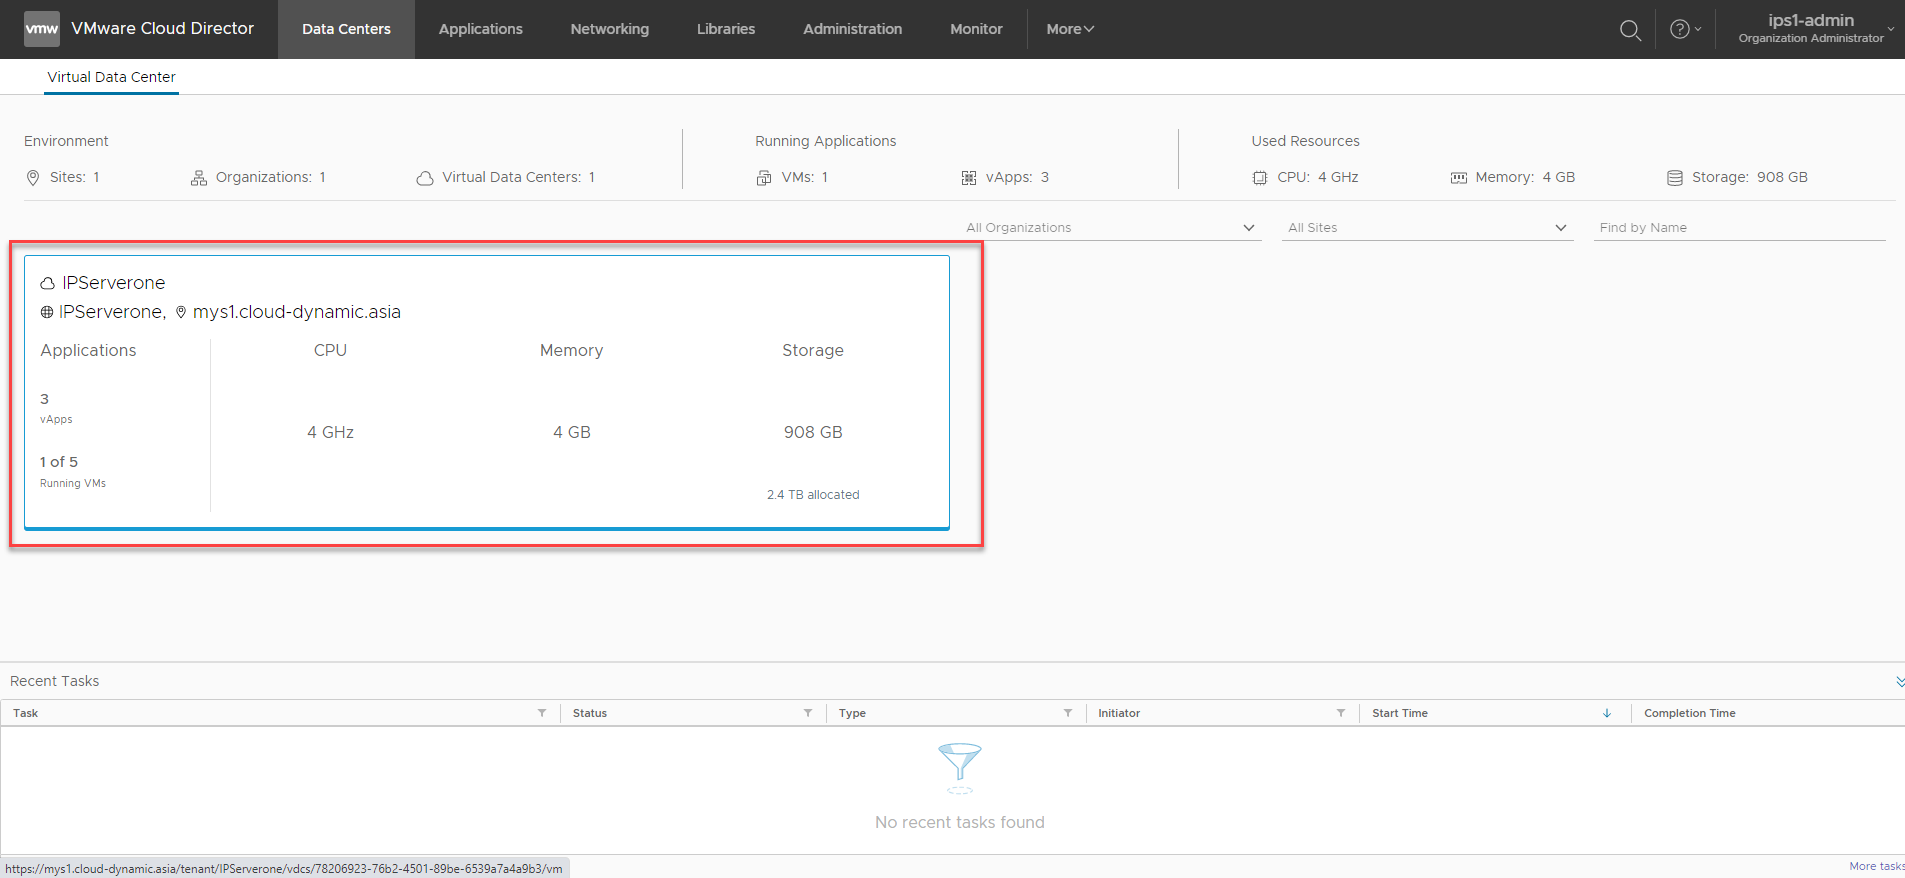
1.At the first page of Login, or at the ‘Data Centers’ page, click on the Data Centers card that you would like to deploy the Virtual Machine on.
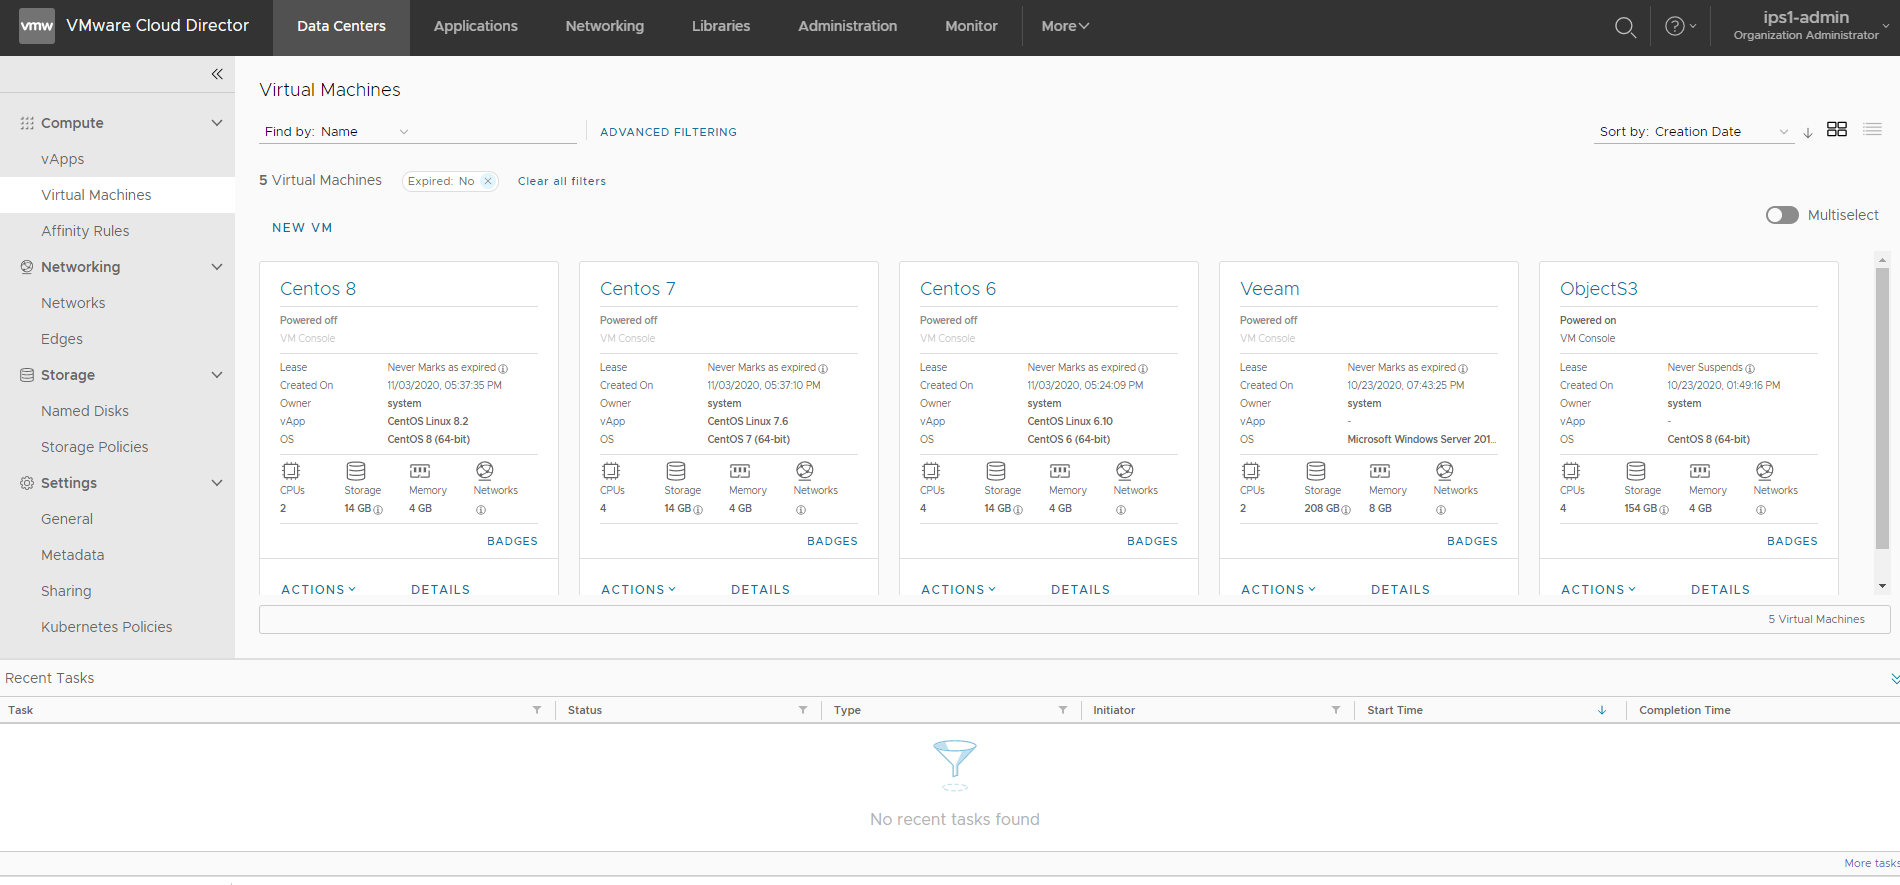
2.You will be shown to the Virtual Machines page, showing the list of virtual machines created on this particular virtual Data Center. If there weren’t any VM created before, the content of Virtual Machines list will be blank.
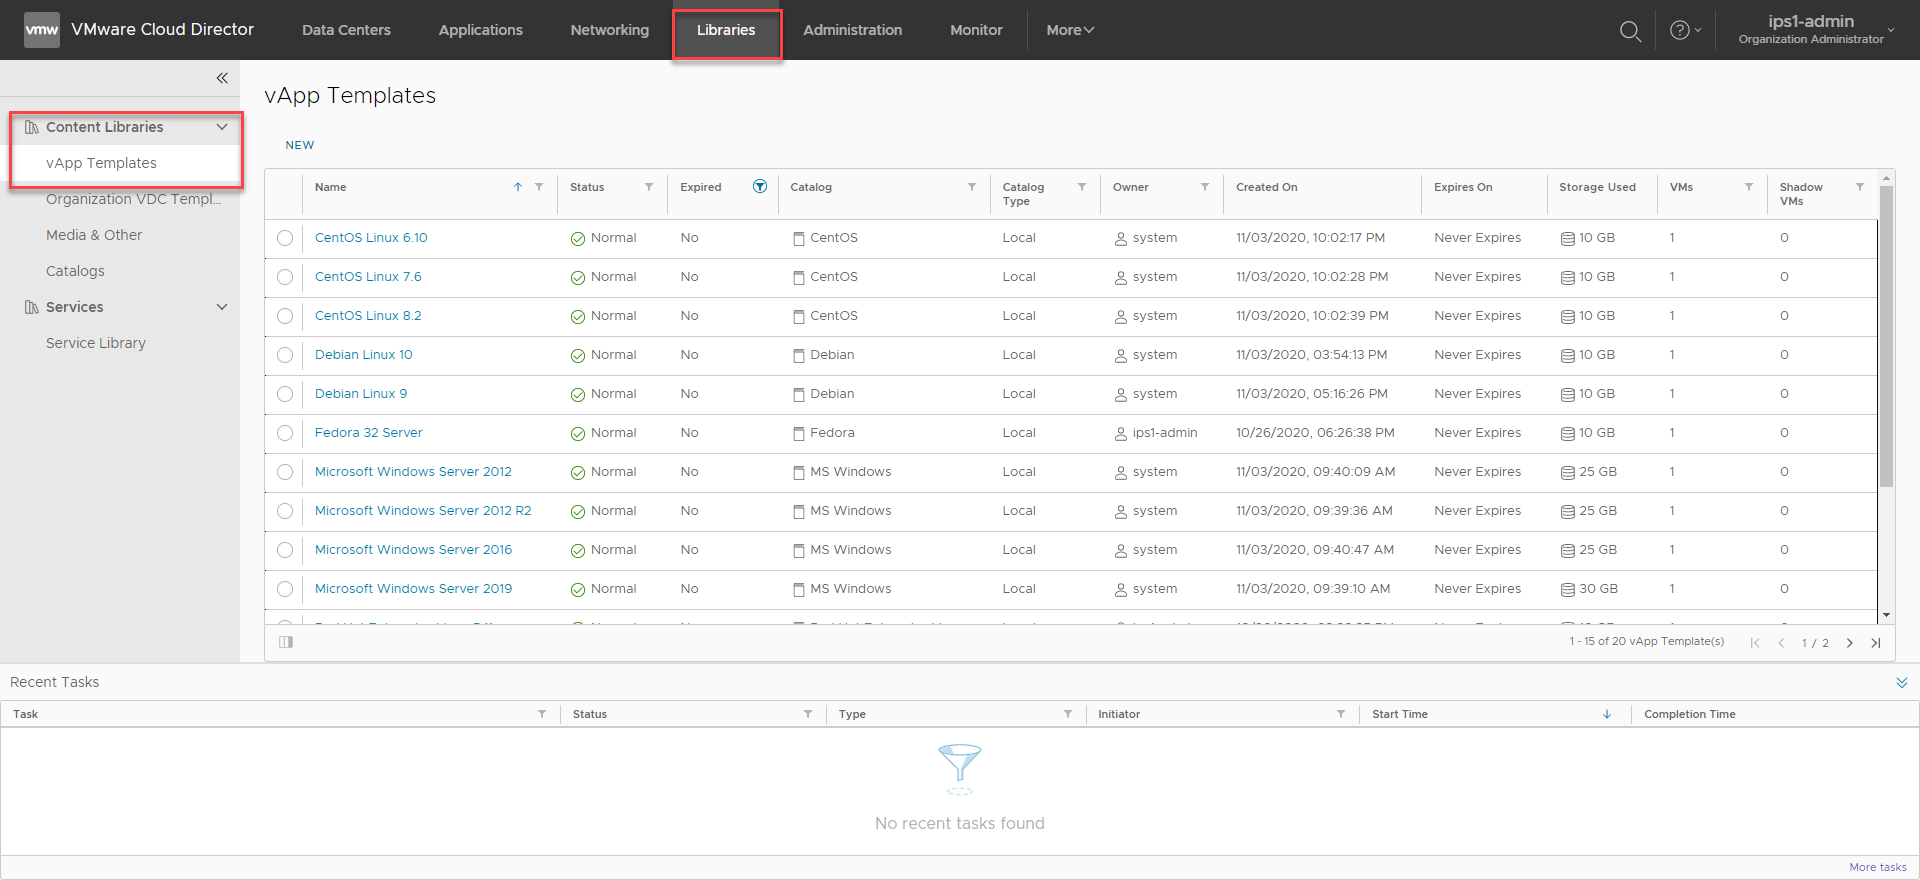
3.Click on the ‘Libraries’ tab at the top first, and then navigate to ‘vApp Templates’ to check the template availability of your organization to check if there is anything you need for your usage. Be default, IPServerone shared the vApp Templates contents to all vCloud Director tenant, the available vApp Template are:
- CentOS version 6,7, and 8 64-bit
- Ubuntu version 12.04, 14.04, 16.04, 18.04, 20.04 64-bit
- Debian version 9 and 10 64-bit
- Fedora 32 64-bit
- MS Windows Server 2012, 2012 R2, 2016, 2019 64-bit Data Center Edition
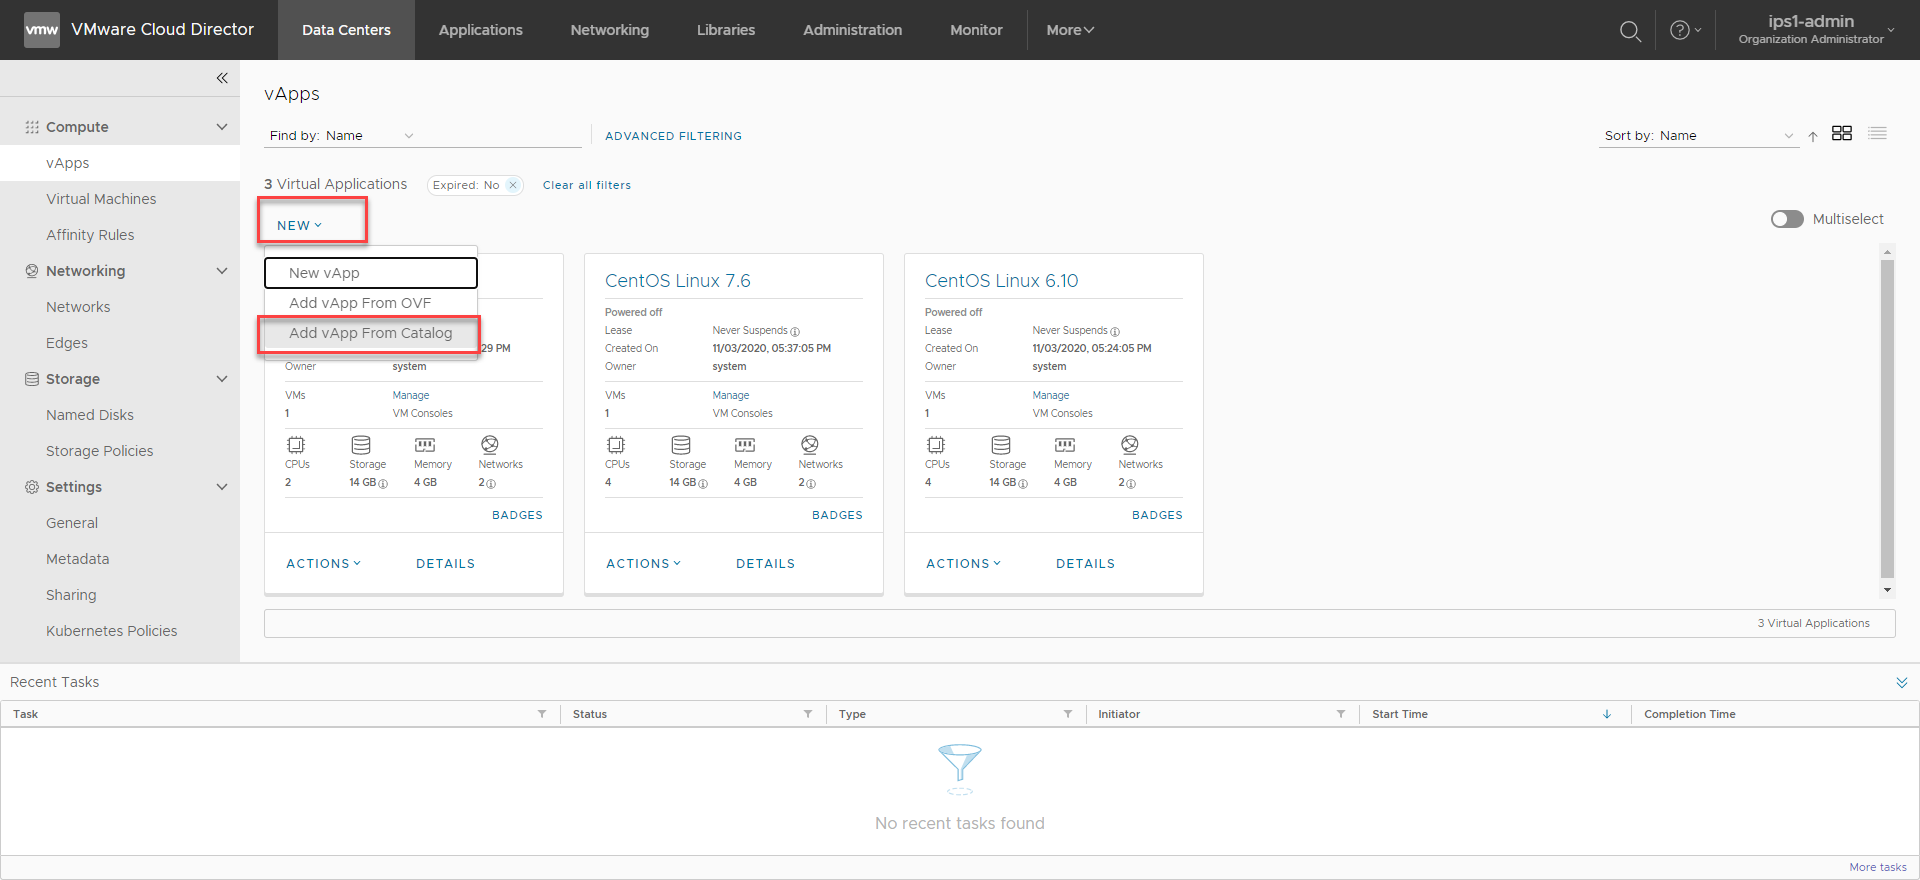
4.To start deploy a new VM from the vApp Template, go back to the ‘Data Centers’ tab and click on ‘vApps’ at the left panel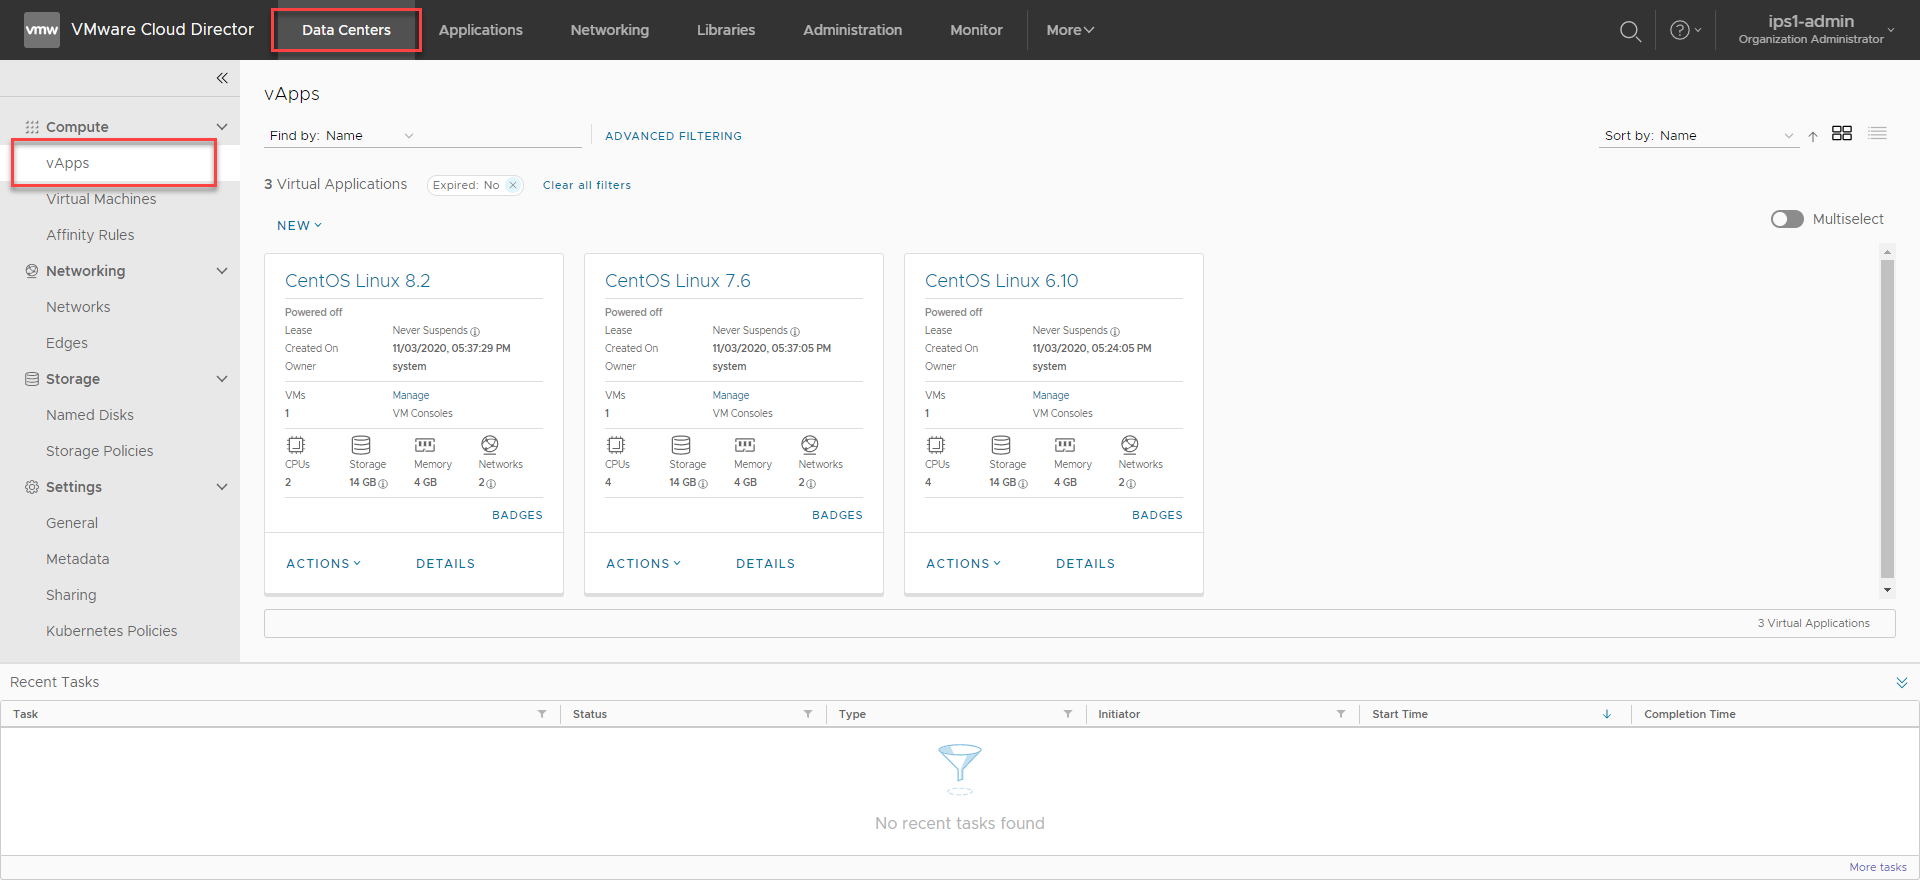
5,Click on NEW and from the dropdown list, select ‘Add vApp from Catalog’.
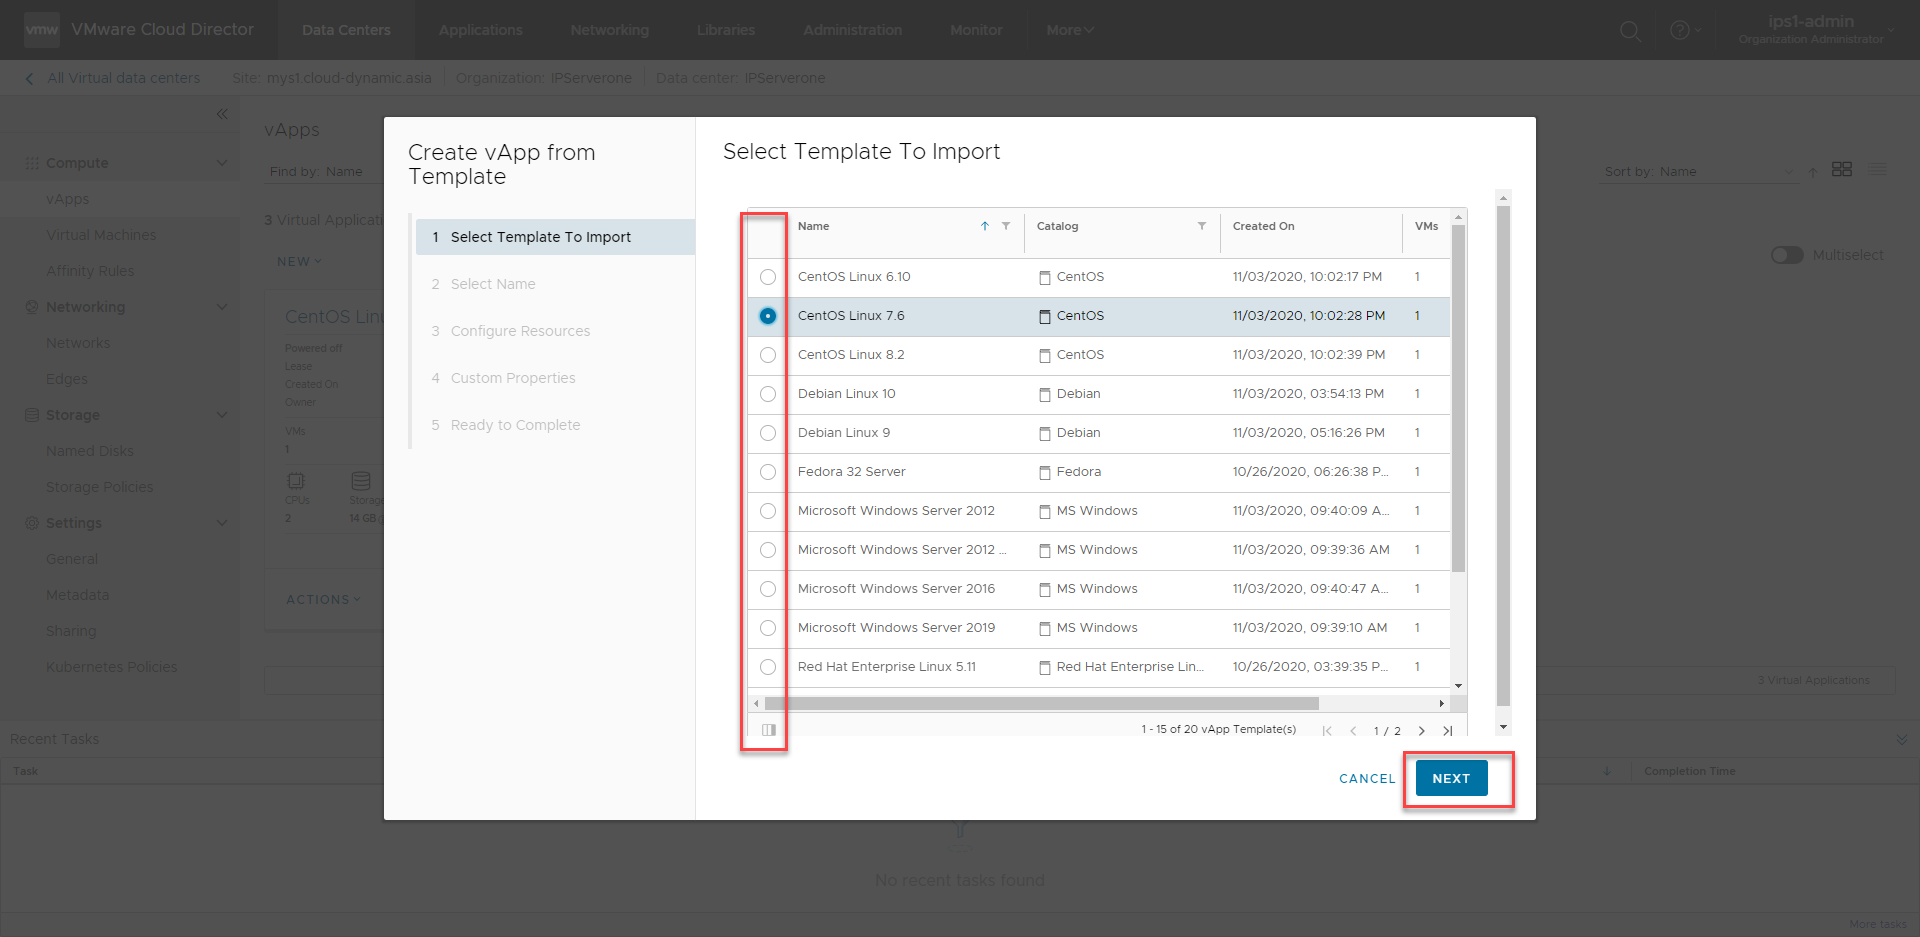
6.A wizard will prompt to assist create a VM using vApp template. Select the OS type you want to deploy, and click ‘Next’.
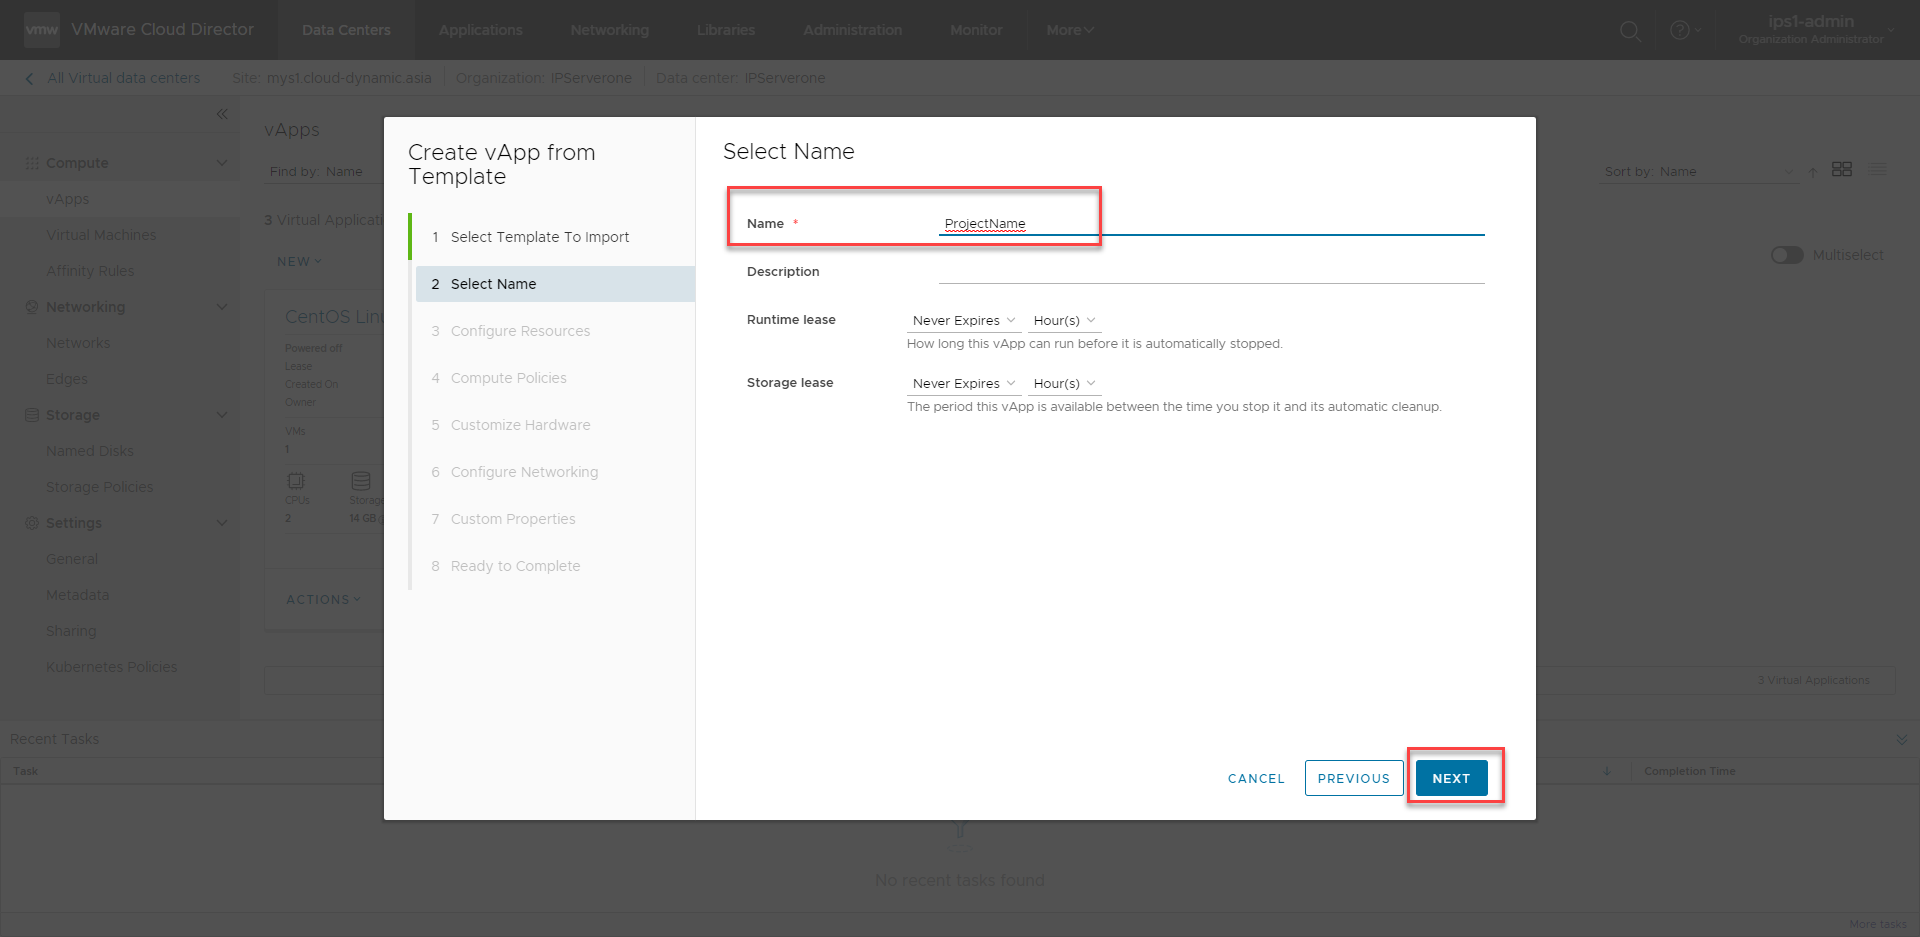
7.After that, you will need to define the name of your vApp, put it the name and your description, and click ‘Next’.
8.Define the name of your VM and your storage policy (Either default or encrypted), and then click ‘Next’.

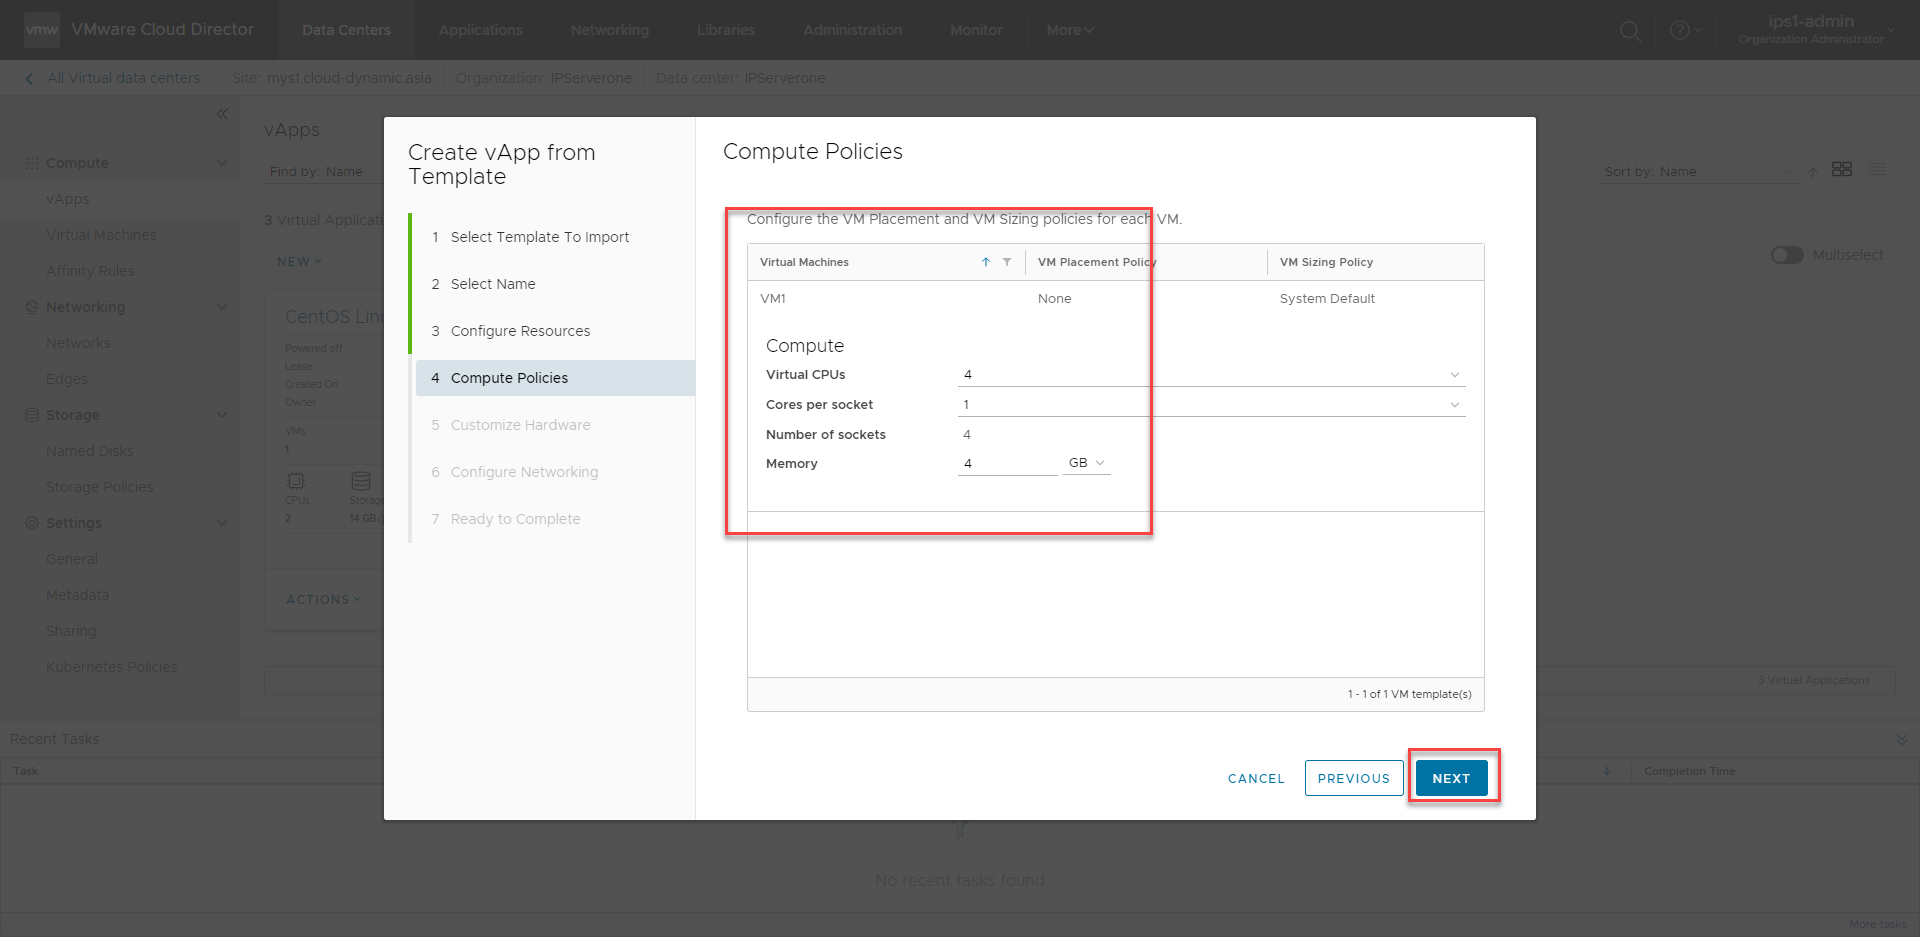
9.Define the compute resources (CPU core and RAM) for your VM at the next steps, and click ‘Next’
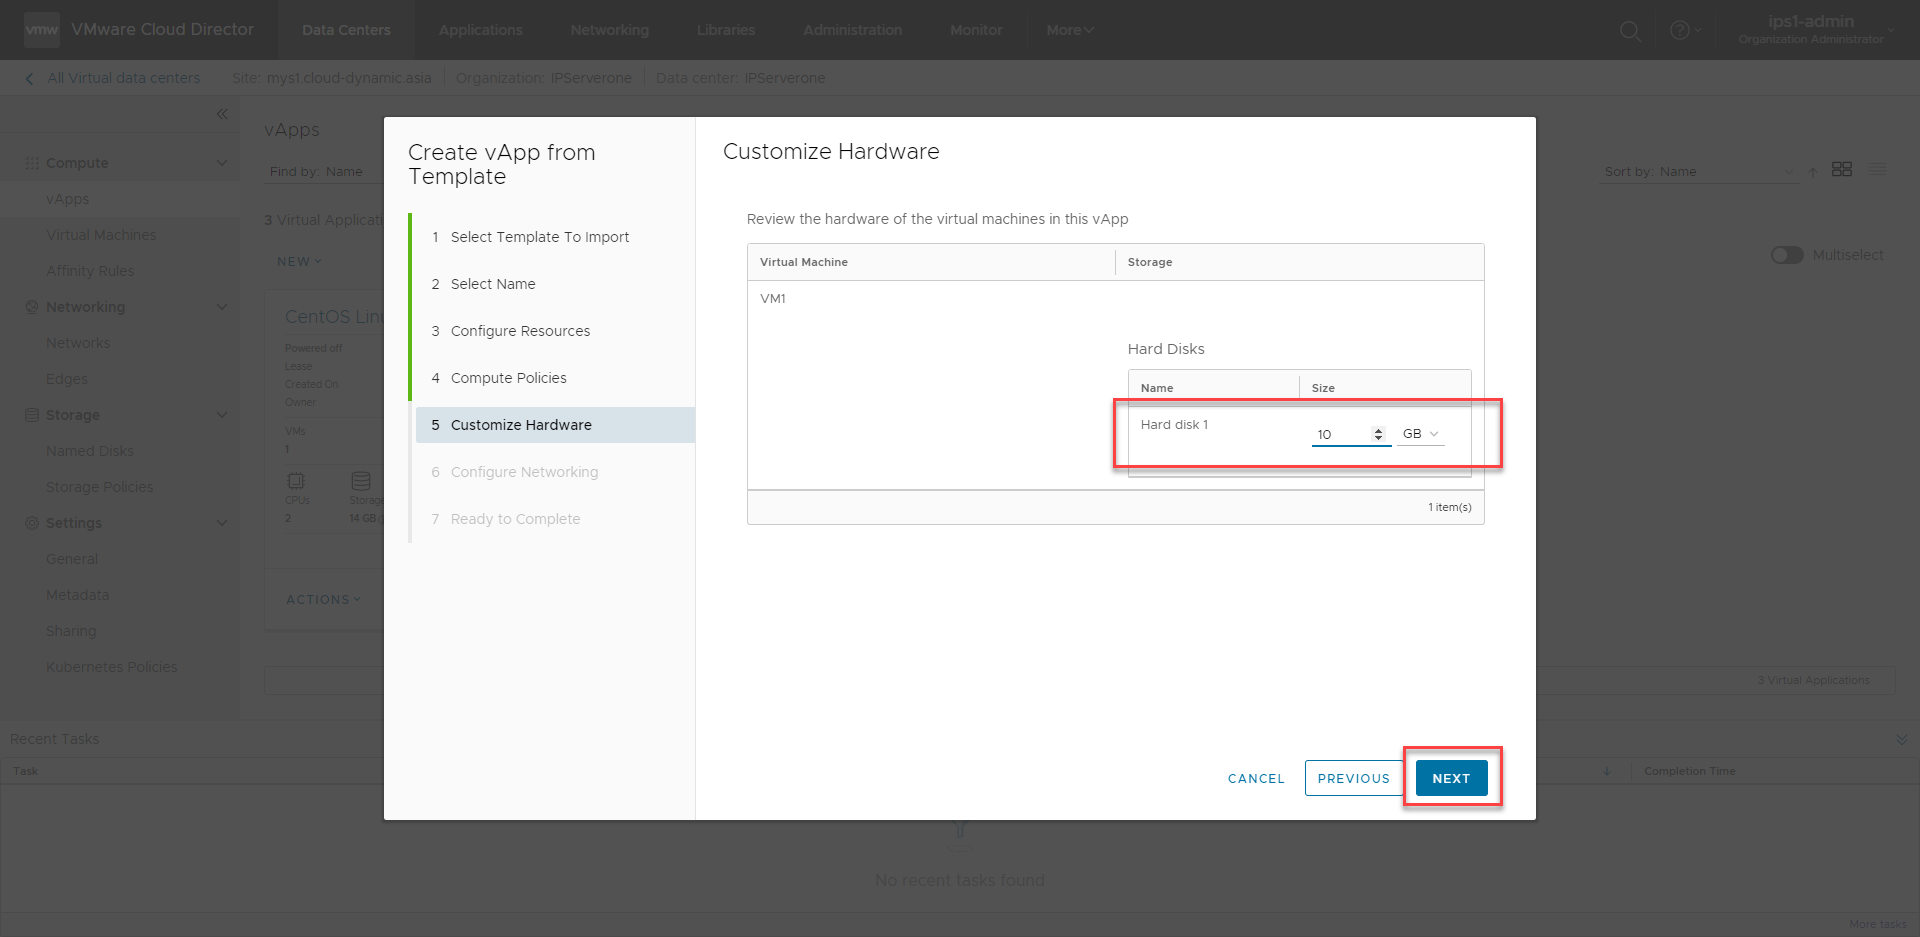
10.Define the hard disk space you going to deploy for this particular VM. It’s typically 10GB hard disk space minimum for all linux based template, or 25GB hard disk space minimum for all windows based template. You can only enlarge the hard disk space but not lower it down. We will enlarge the hard disk from 10GB to 20GB in this KB. Decide your hard disk space here and click ‘Next
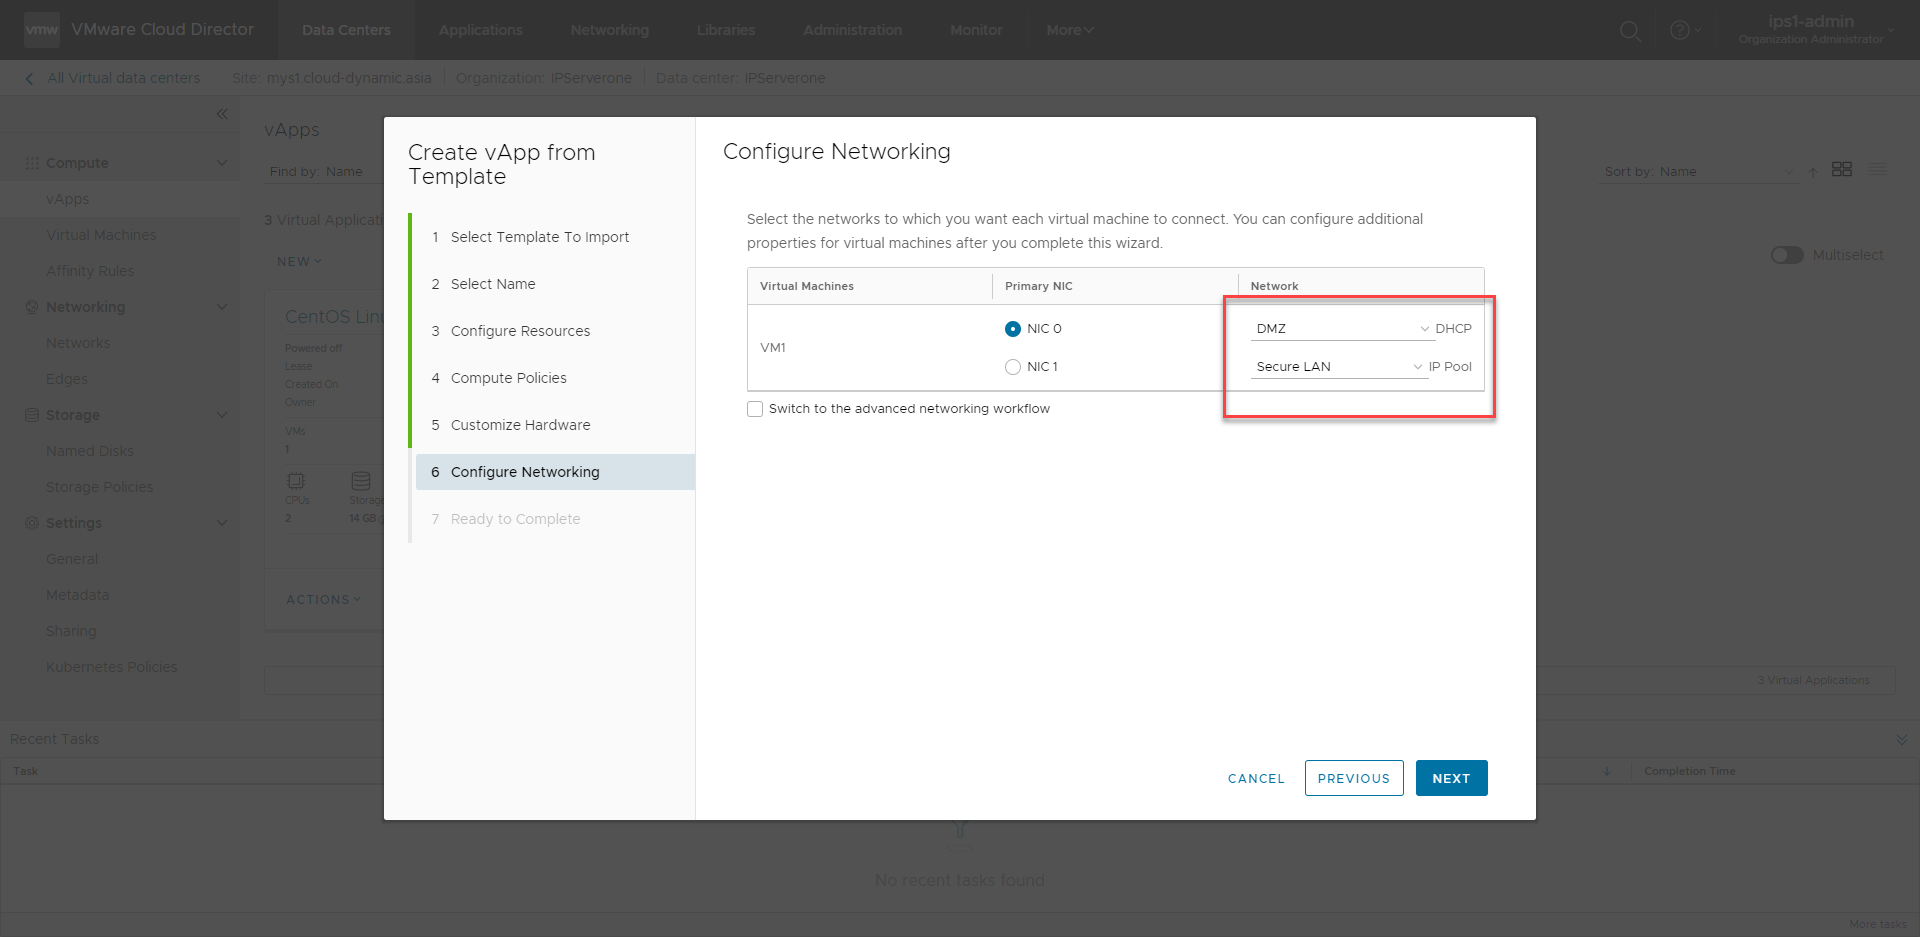
11.Next you will need to define the network to connect to this VM. IPServerone will typically create 2 network zone as starting. Typically DMZ network will be the main NIC for your VM.
- DMZ zone as the routed network that allow NAT, Firewall features to be running on it
- Secured LAN as the isolated network that allow each VM to communicate to each other without interference from the T1 Router
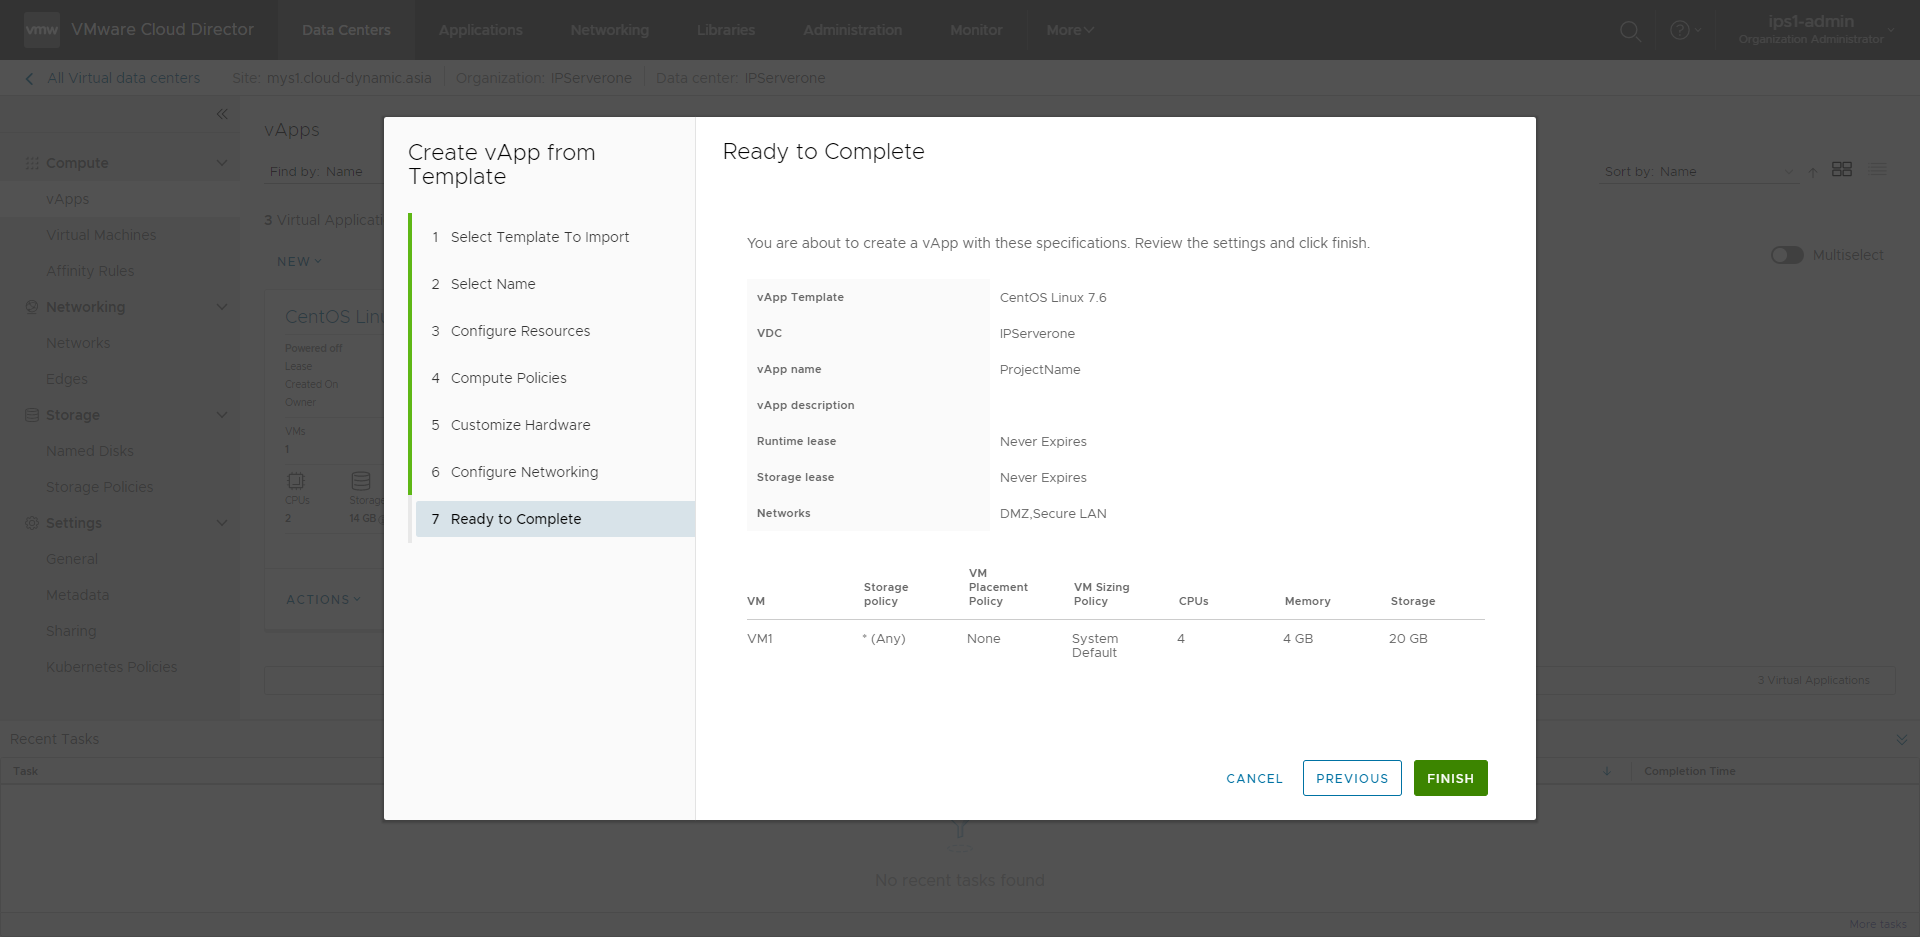
12.At the last confirm, confirm your created VM details and click ‘Finish’ to create the VM
13.A new vApp card will appear and a progress bar at the task bar below will be displayed to show the progress of the VM creation.

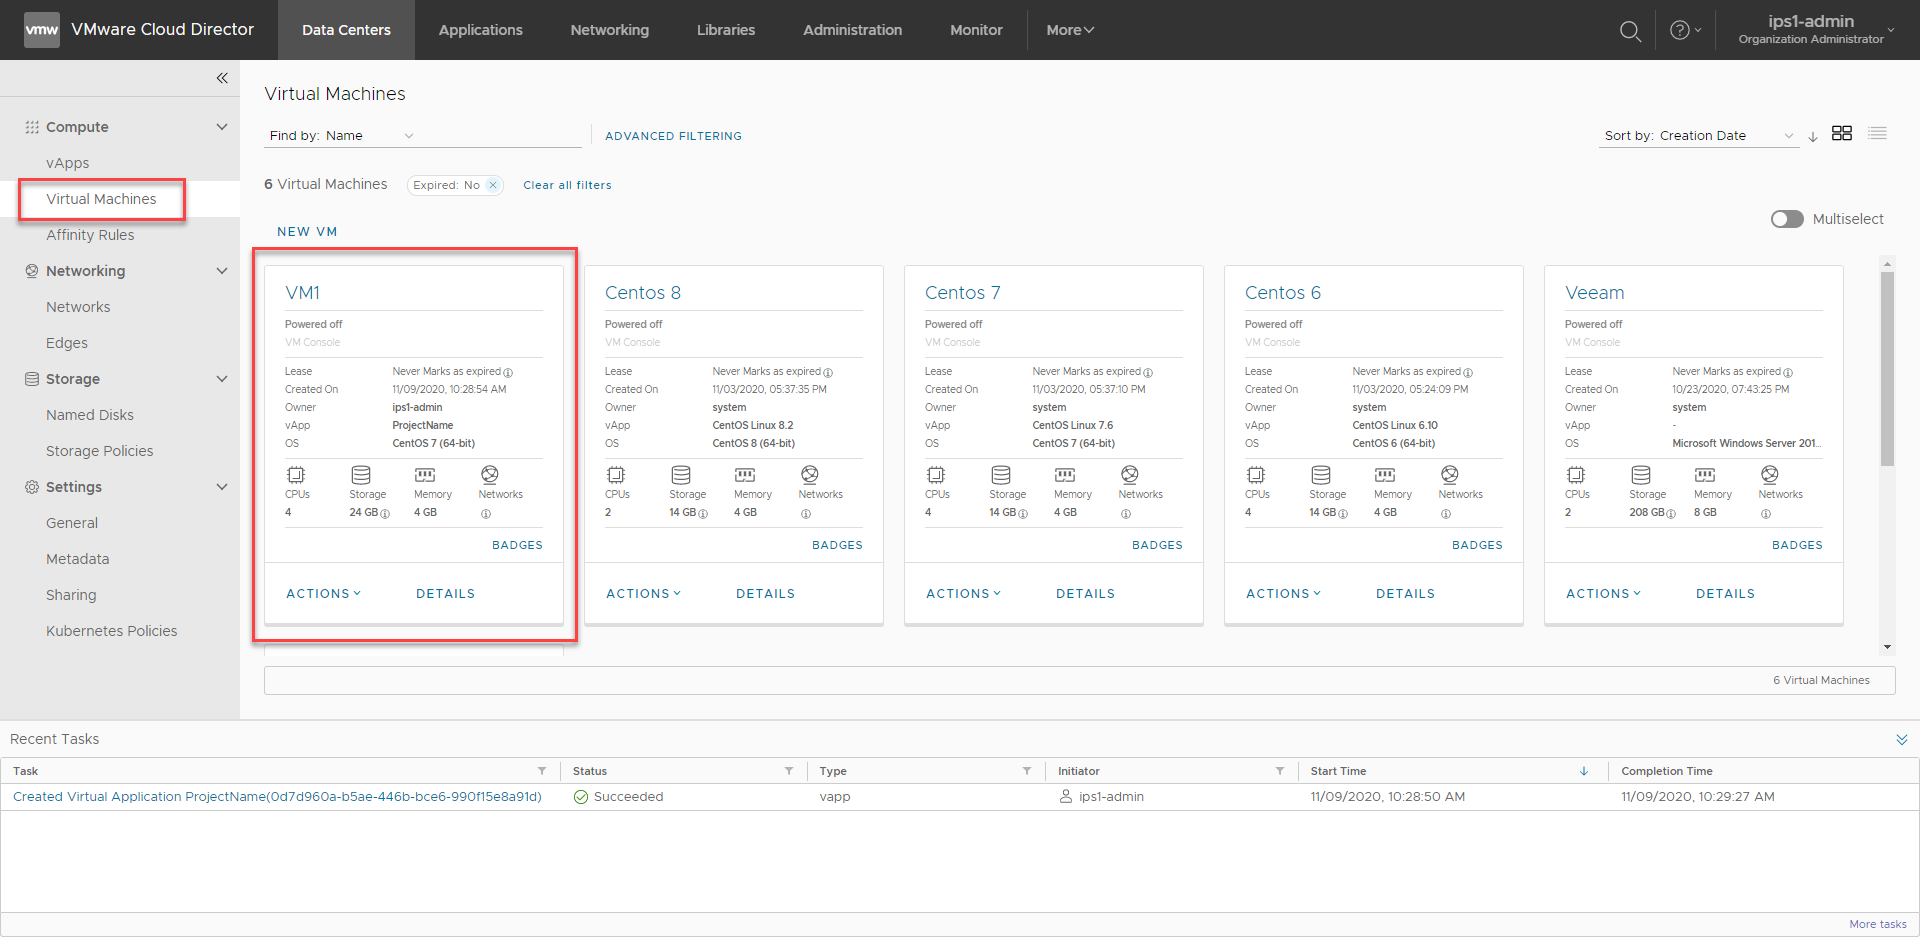
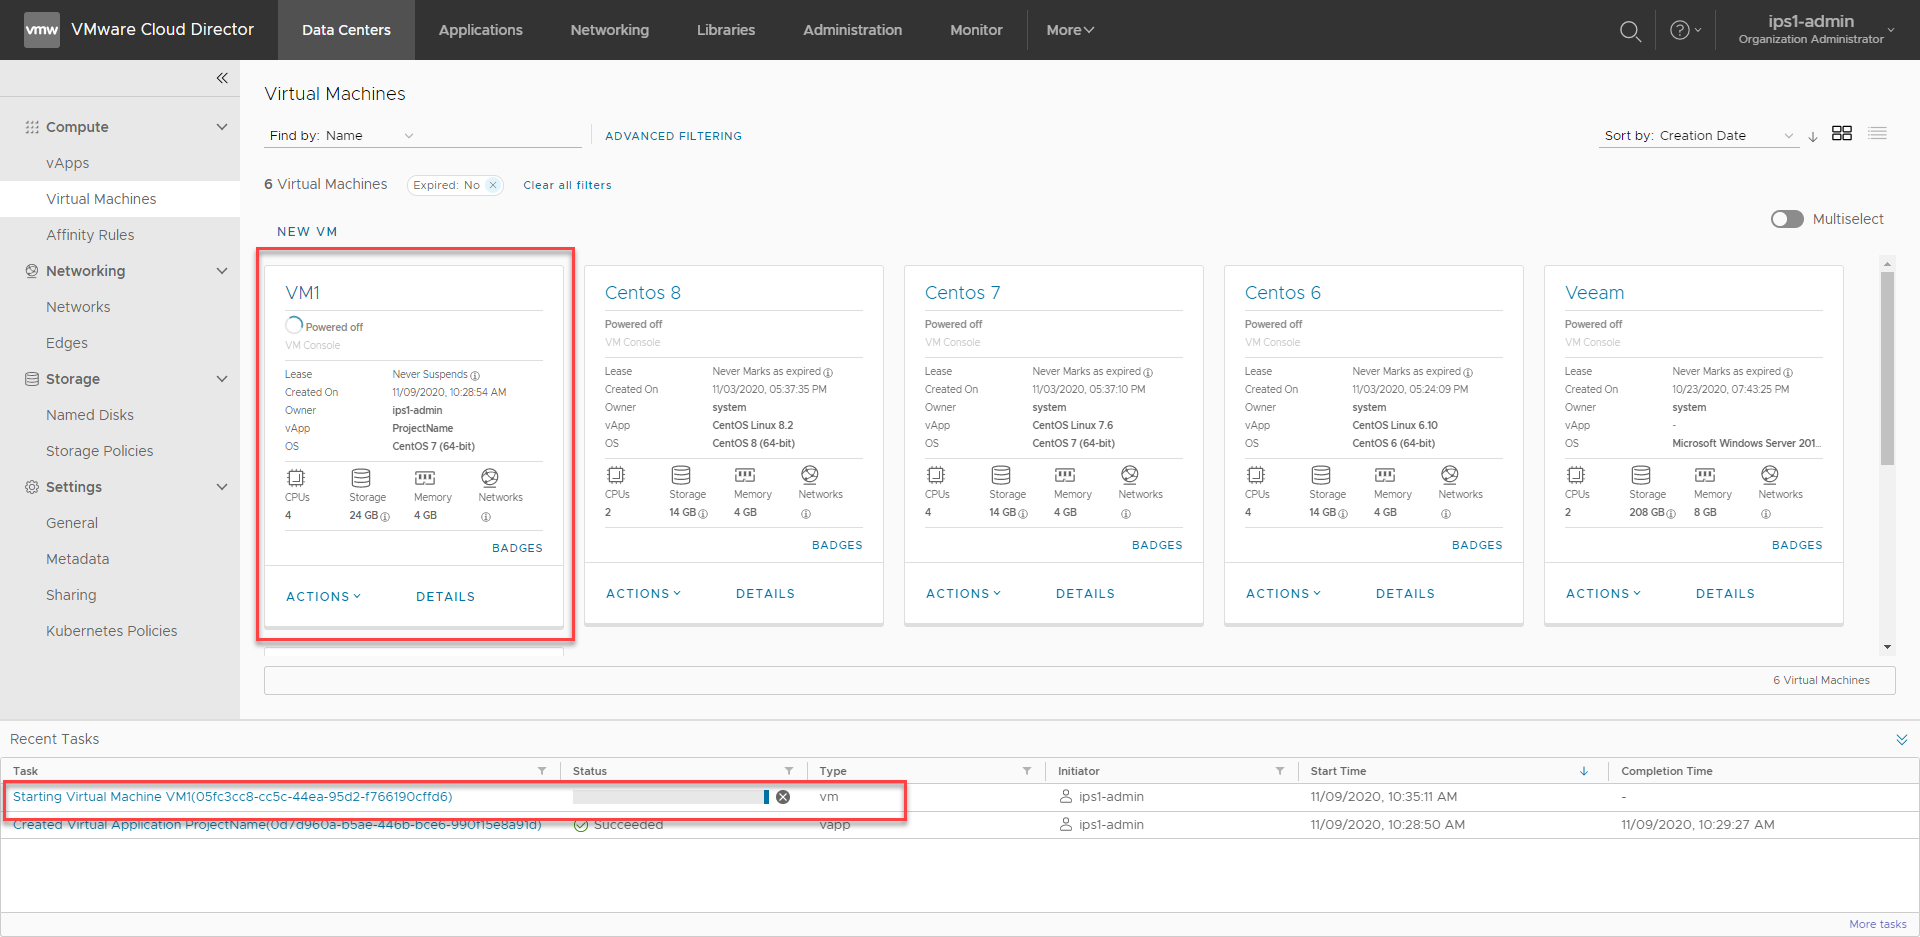
14.Once VM done deployed, click on ‘Virtual Machines’ at the left panel again, you will see the new VM has been created.
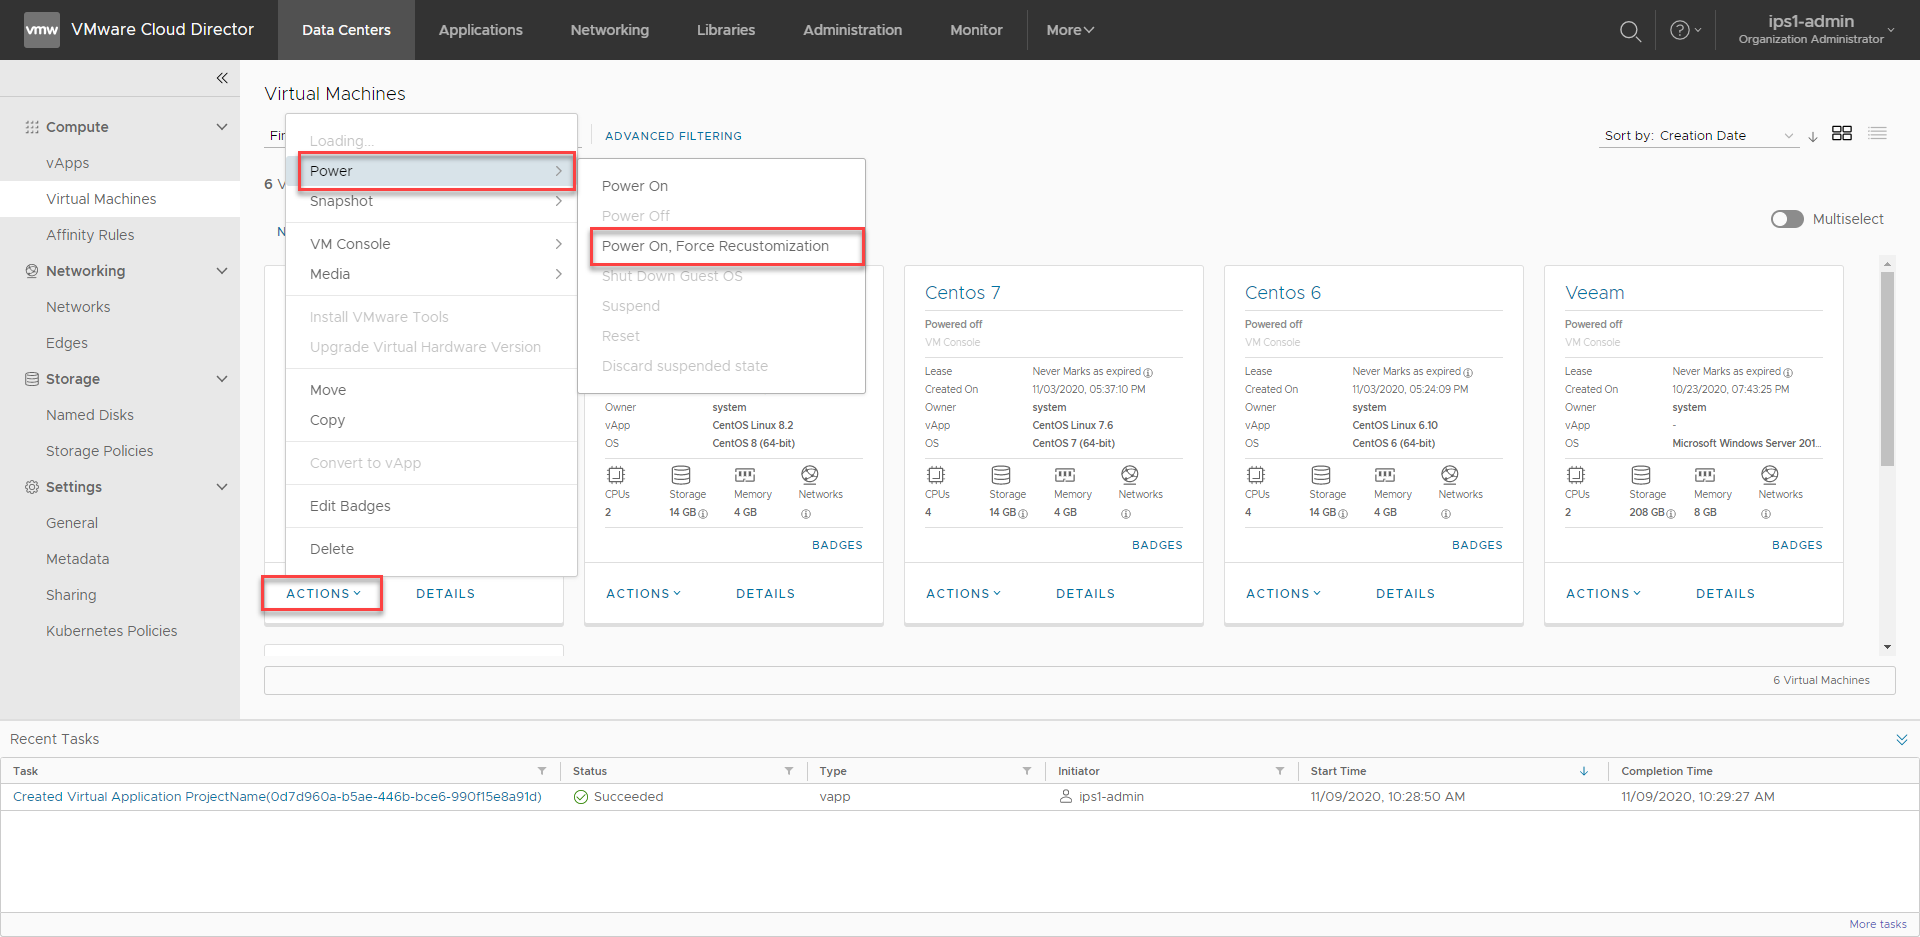
15.In the new VM card, click on ‘Actions’, Navigate to ‘Power’ and click on ‘Power on, Force Re-customization’.
Notes: This steps is CRUCIAL to ensure the newly created VM has adjusted Hard disk size according to your input, recreate the SSH host keys, and some customization job for your new VM. IF you miss this step, the VM cannot be login at all from the beginning. YOU SHOULD ONLY CLICK ON RECUSTOMIZATION BUTTON AT THE FIRST TIME OF VM DEPLOYMENT. RUNNING THIS AT THE LIVE VM MAY CAUSE DATA DISRUPTION.
16.Wait for the VM to finish the customization job.
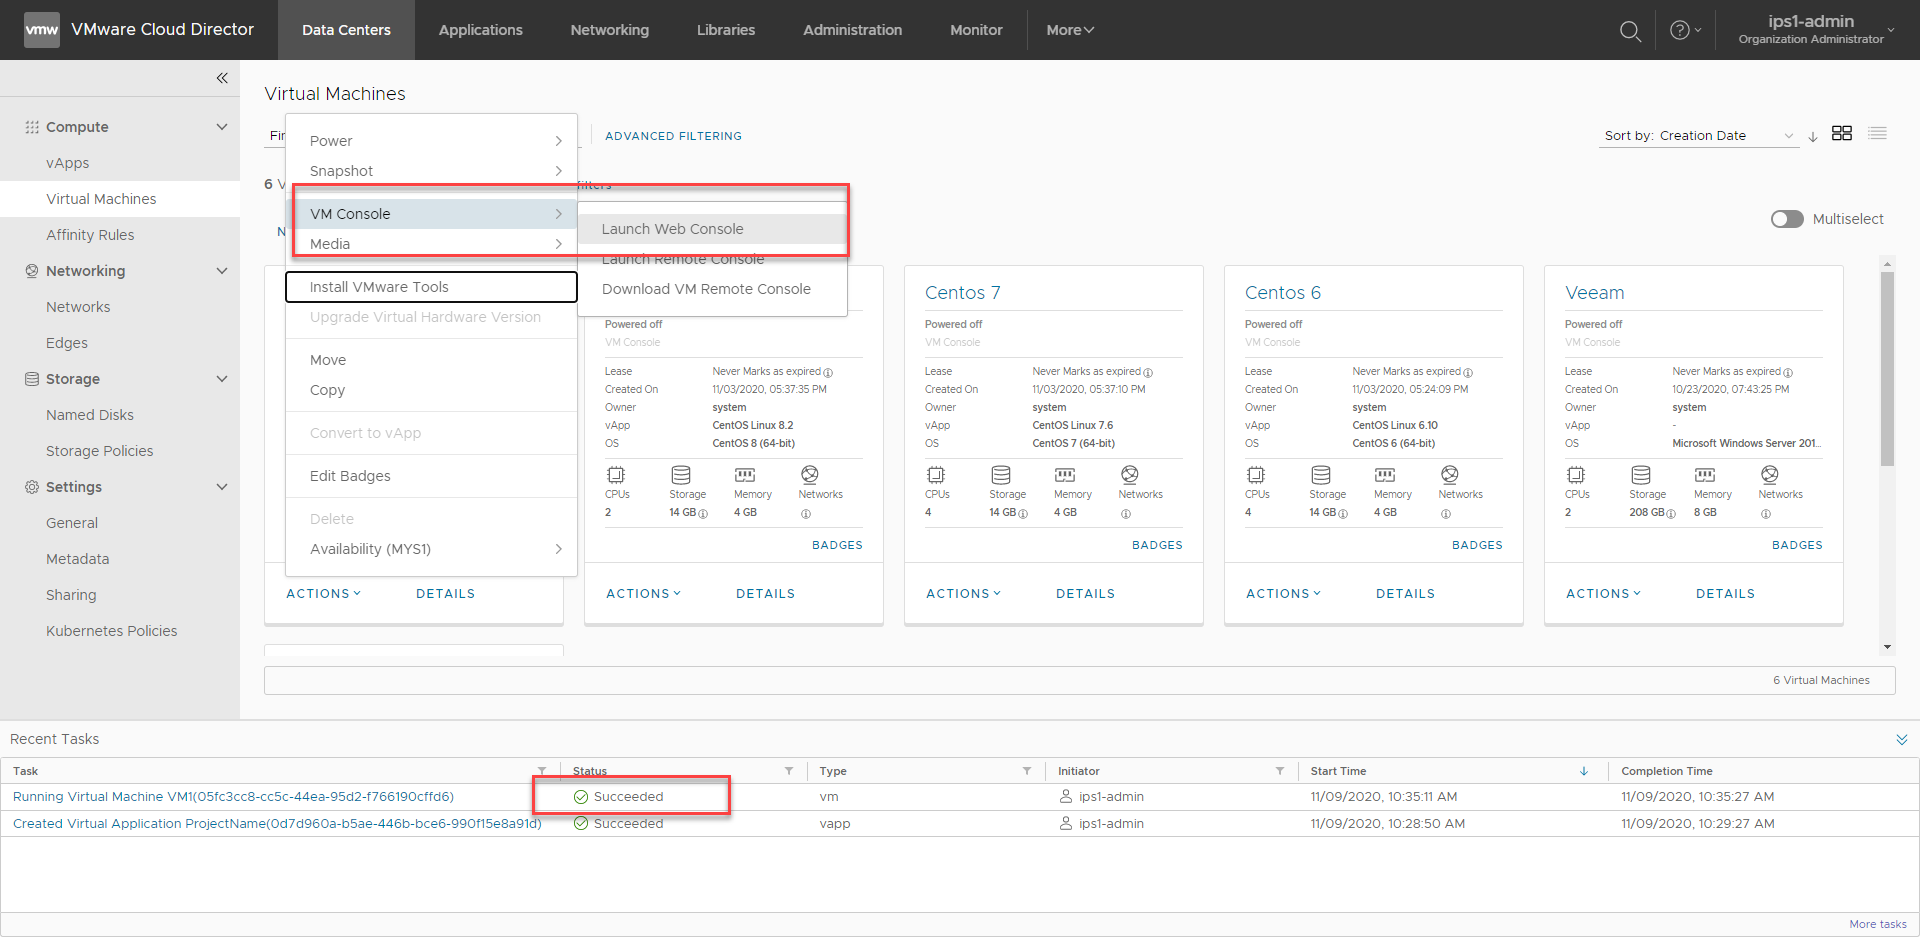
17.Once you saw a ‘succeeded’ message being displayed, the customization is done, now you can launch the console of this VM on web console to check the status.
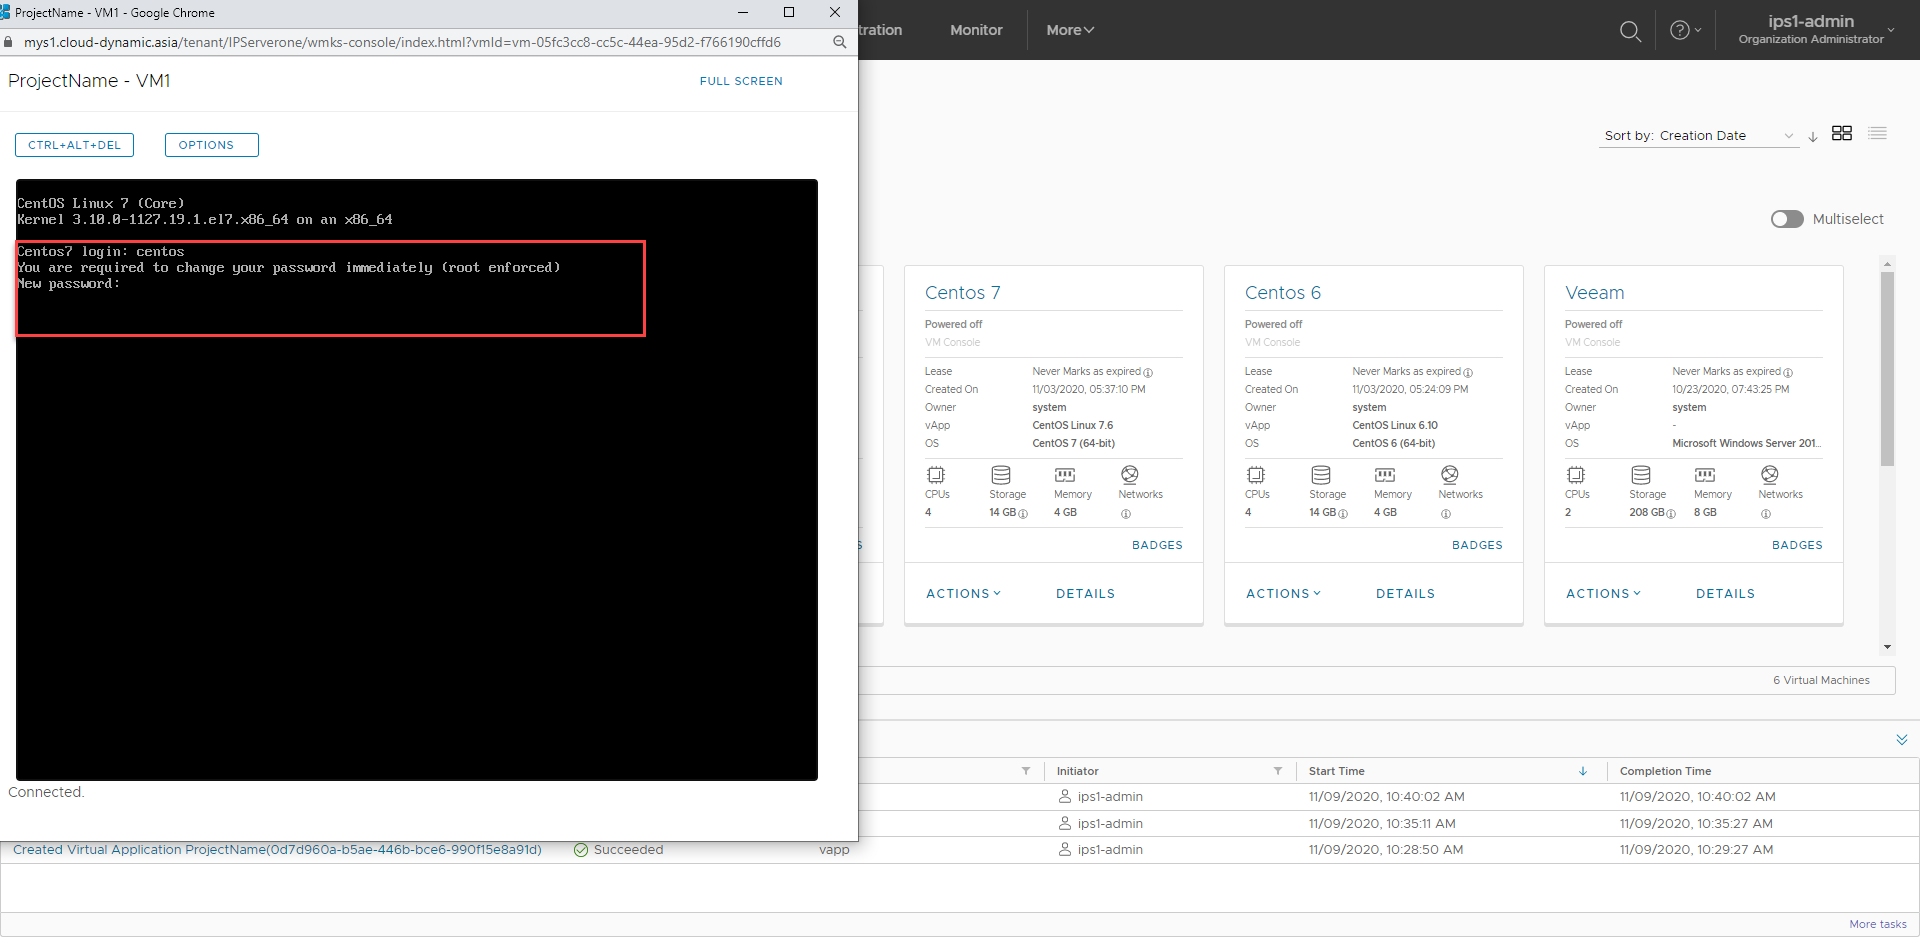
18.You will be prompted to type in new password immediately for your access after you key in the default username ‘centos’ for centos image. Key in your password twice accordingly.
Noted: For each linux image, their default username are as listed as below, and each of these users has been added to the sudoers to be able to impersonate as root user:
CentOS all versions default username – centos
Ubuntu all versions default username – ubuntu
Debian all versions default username – debian
Windows all version – Prompted for password insert upon first access
19.After reconfirm your password, use the command ‘sudo su –‘ to impersonate as root user.

20.Check and make sure the Compute resource (CPU core and RAM size) and hardisk size is as per you inserted earlier at the wizard page.

Up to this point you are good to go with the newly created VM. Please contact IPServerone support for any issue faced in creating new VM