Search Our Database
How to Delete Project(s) in Customer Portal
Introduction:
For Customer Portal users, maintaining an organized and efficient workspace is essential. When a project has reached its completion, you may want to remove it from your active list to ensure your Project page remains clean and easy to navigate.
This guide provides a clear, step-by-step process on how to delete projects directly within the Customer Portal, allowing you to effectively manage your cloud environment by decluttering your project overview.
It is crucial to understand that deleting a project will remove all instances attached to it. Therefore, before proceeding, always verify that all necessary data or resources associated with the project have been backed up or migrated, as this action is irreversible and designed to fully clear out completed work. By following these steps, you can keep your project list tidy and focused on your active endeavors.
Prerequisites:
- Confirm Project Completion and No Further Operational Need
- Understand the Irreversibility of Deletion
- Understand that deleting a project will remove all instances attached to it
Step-by-step Guide:
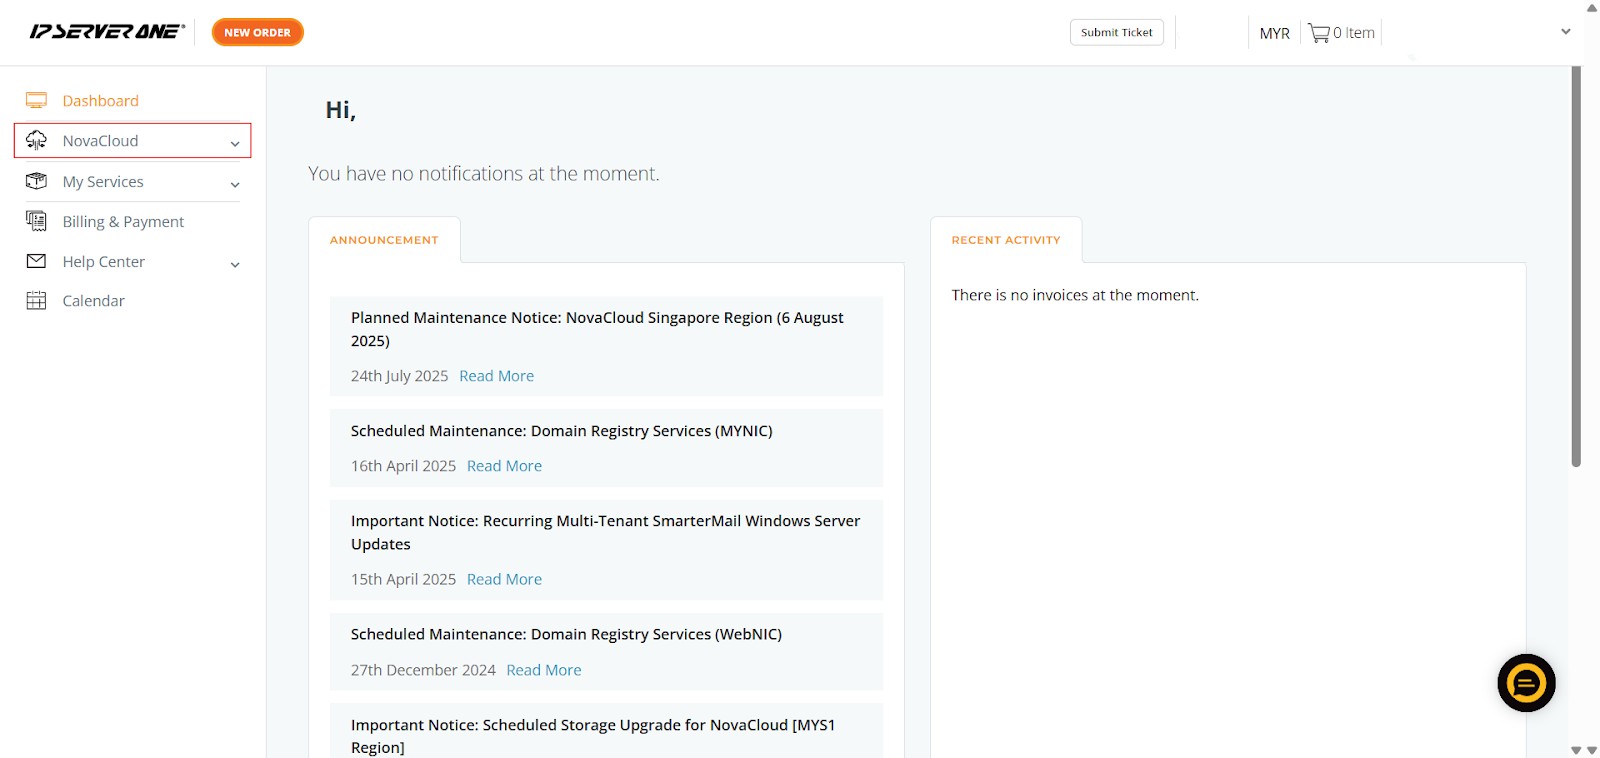
1) Click NovaCloud
- Begin by navigating to the main NovaCloud section. On the left-hand navigation panel of the Customer Portal, locate and click on ‘NovaCloud’. This will expand a dropdown menu revealing various services related to your cloud infrastructure.
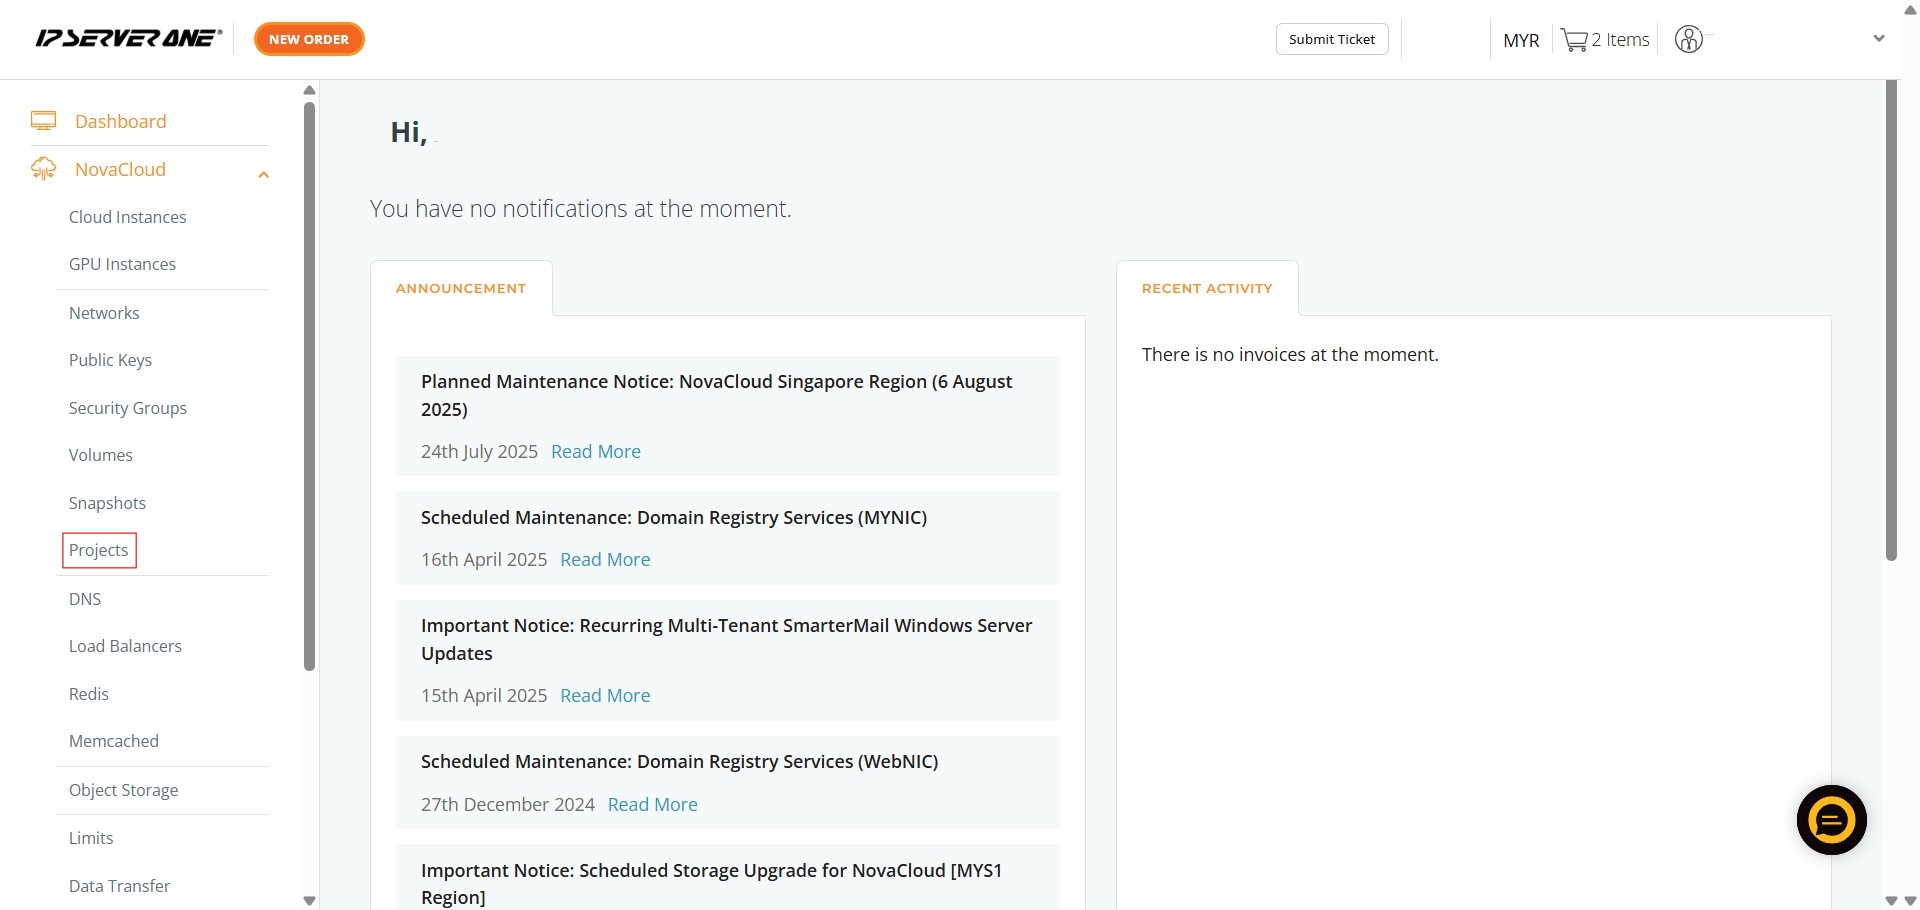
2) Click Projects
- From the expanded NovaCloud dropdown menu, locate the ‘Projects’ option. Click on ‘Projects’ to be directed to the dedicated project management interface within your Customer Portal.
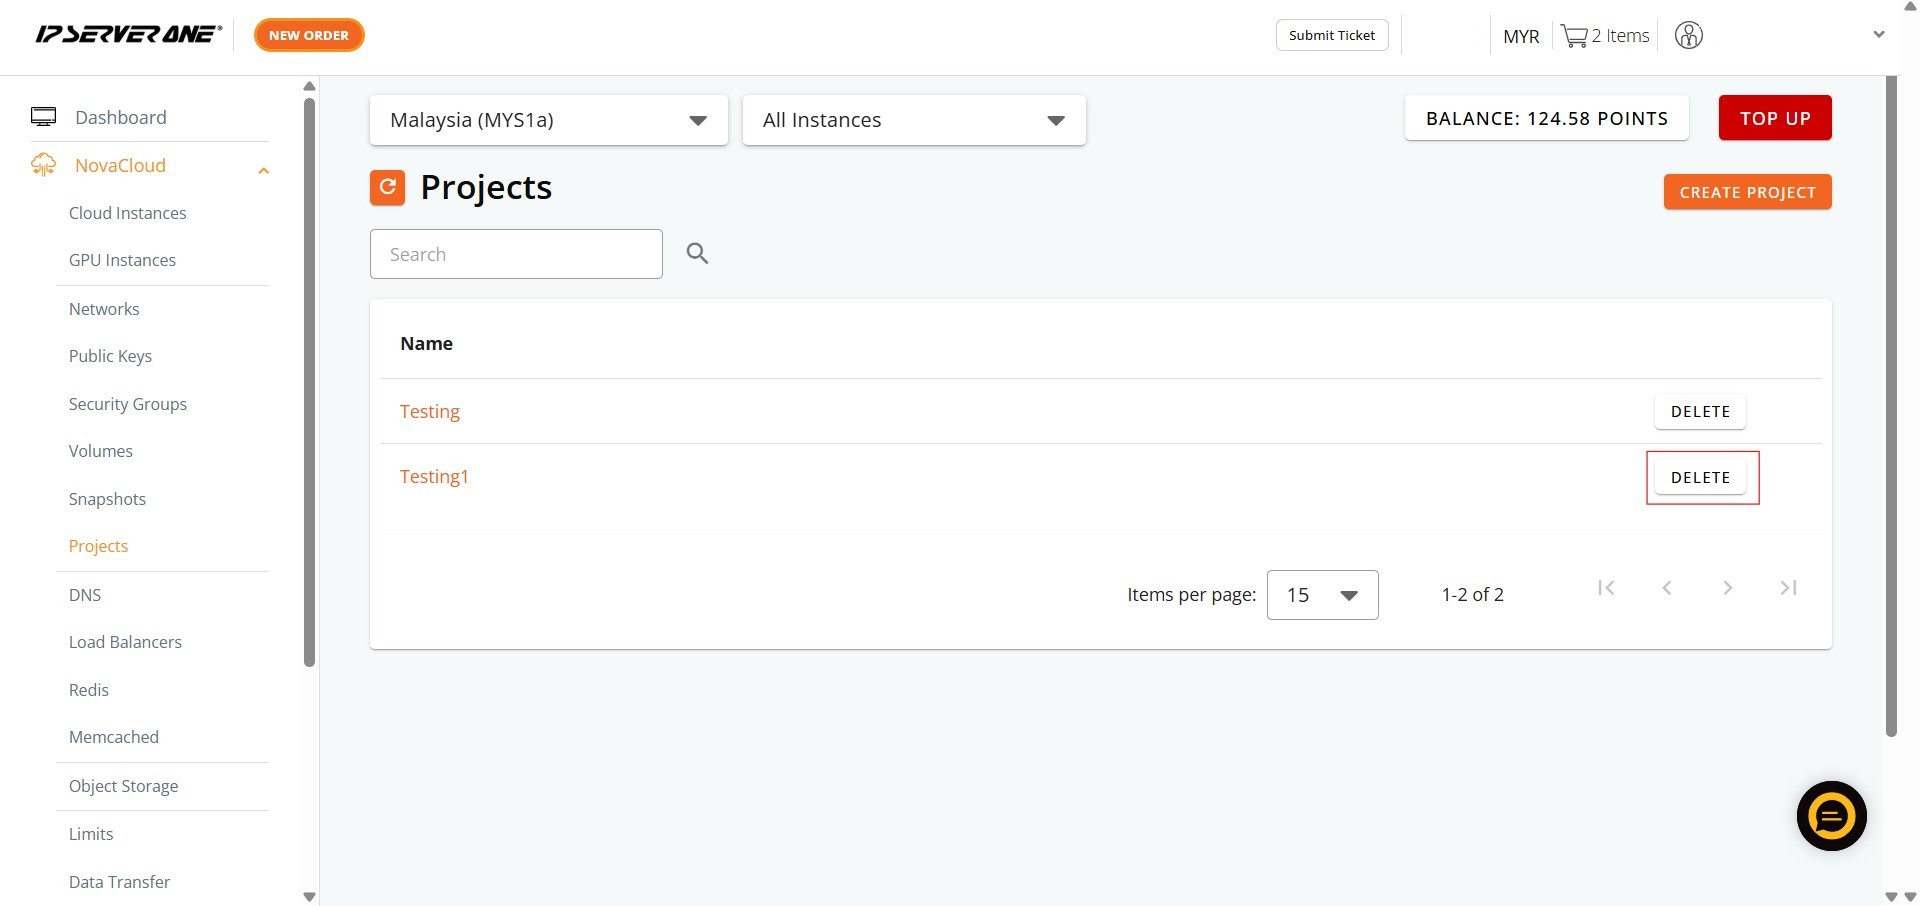
3) Initiate Project Deletion
- On the “Projects” page, carefully identify the specific project you intend to delete. Each project listed will have a “DELETE” button positioned prominently next to its name. After ensuring you have selected the correct project, click this “DELETE” button to begin the removal process.
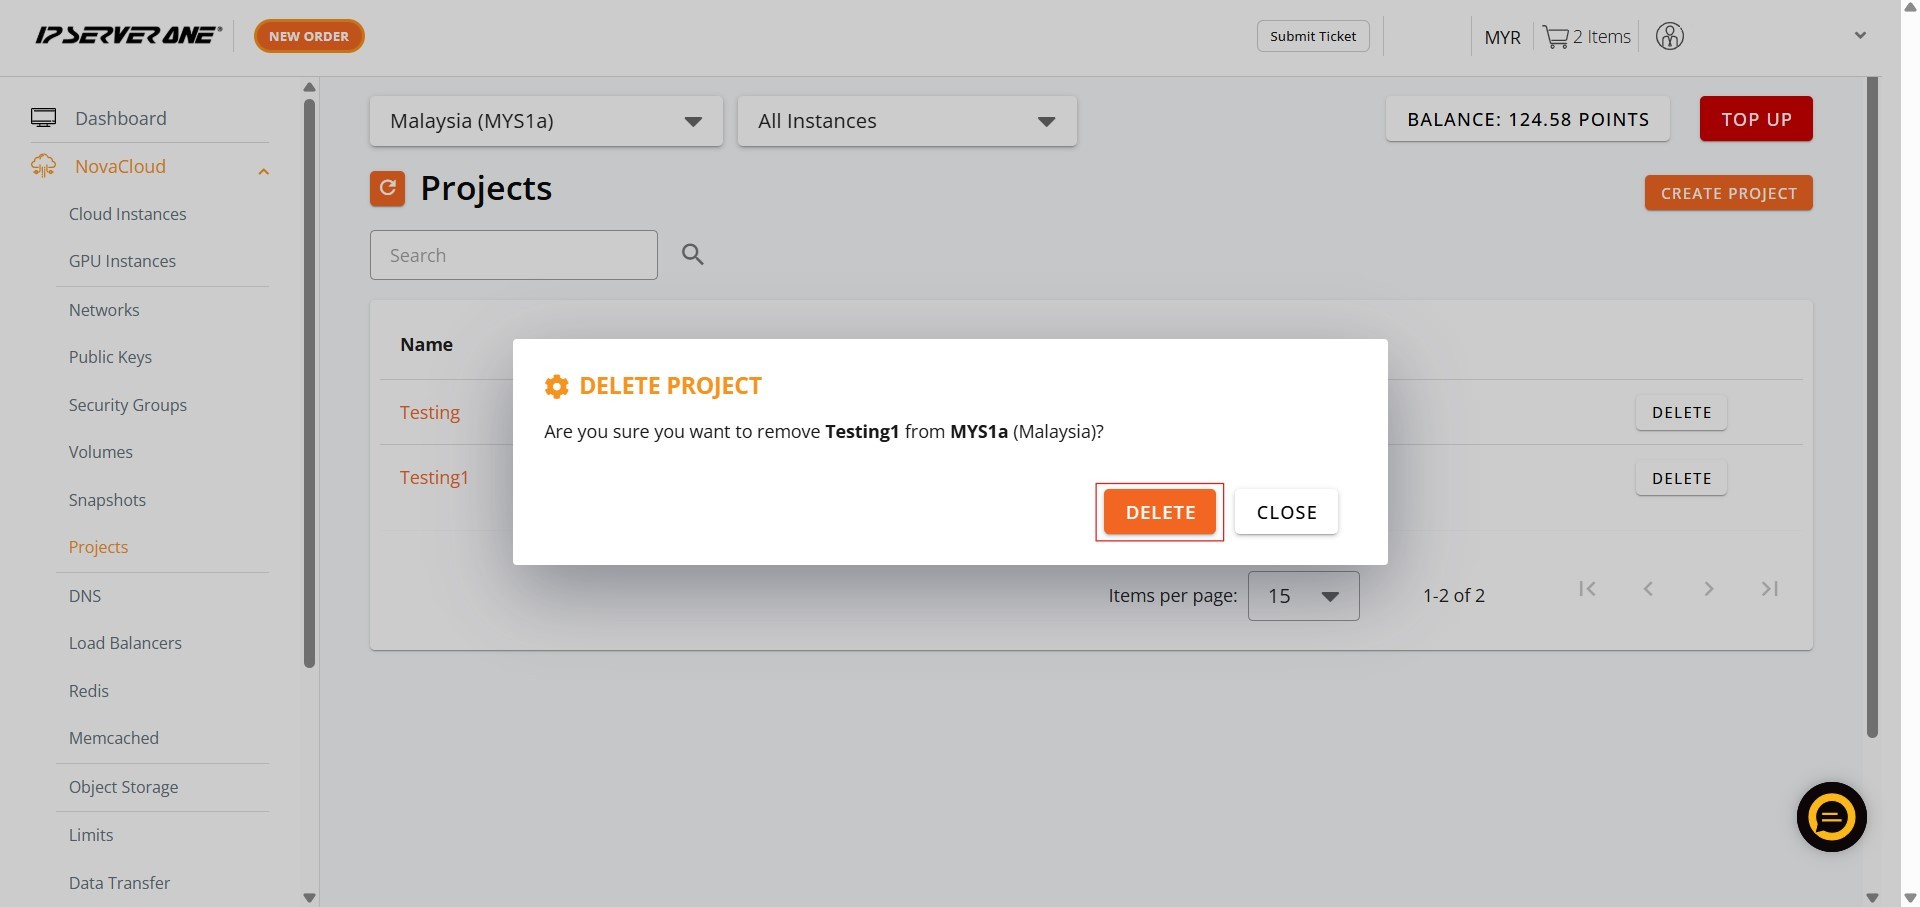
4) Confirm Deletion (First Prompt)
- Upon clicking the “DELETE” button, a confirmation dialog box will appear.
- To proceed with the removal, click the “DELETE” button within this dialog window.
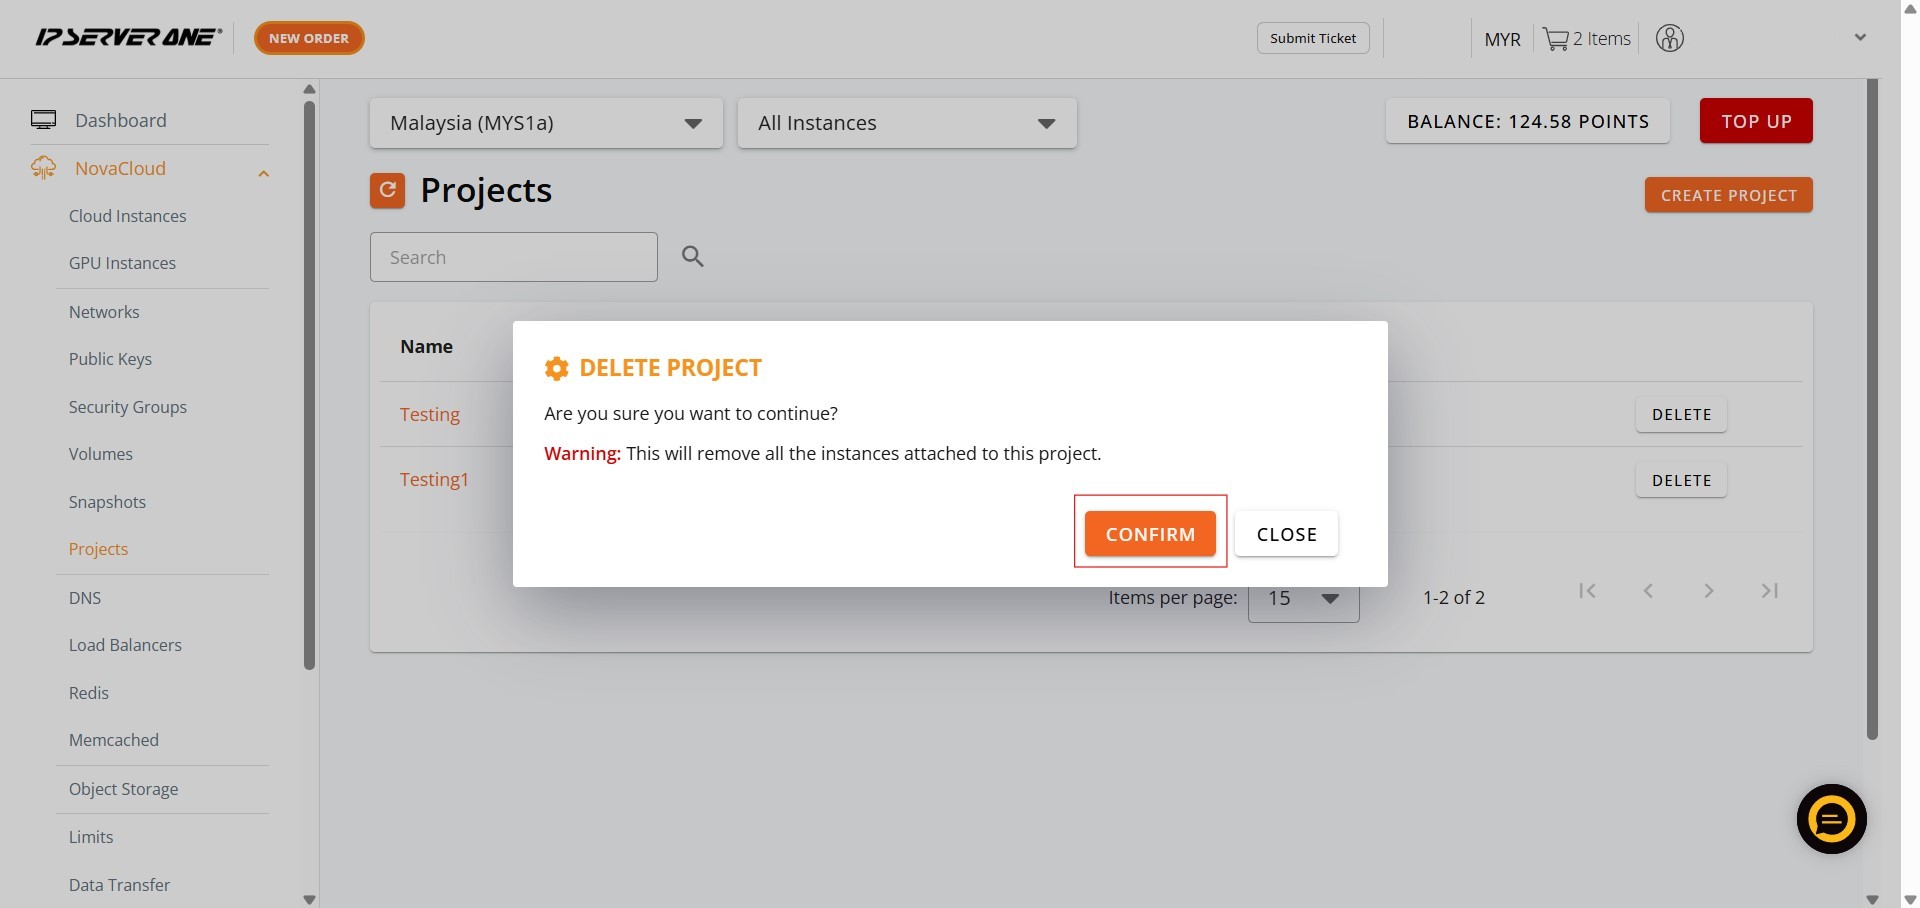
5) Acknowledge Critical Warning and Final Confirmation
- Following the initial confirmation, a second, more critical confirmation dialog box will be displayed.
- Click the “CONFIRM” button to finalize your decision and proceed with the deletion.
6) Close the Deletion Confirmation
- After successfully confirming a project deletion, a notification dialog stating “Your project has been deleted.” will appear, click “CLOSE”.

Conclusion
By following these steps, Customer Portal users can effectively delete completed projects and their associated instances, contributing to a more organized and clean Project page.
It is crucial to remember that deleting a project is an irreversible action that permanently removes all instances attached to it. Therefore, meticulous attention to the prerequisites, including backing up any necessary data and ensuring no further operational need for the project, is paramount before proceeding.
This guide empowers you to maintain an efficient cloud environment by regularly clearing out completed work. Ultimately, proactive project deletion ensures that your Customer Portal accurately reflects your active endeavors, preventing unnecessary clutter and aiding in more streamlined cloud resource management.