Search Our Database
How to Delete GPU Instance(s) in Customer Portal
Introduction:
This guide provides a step-by-step process for customer portal users who need to delete their NovaGPU instances. This action is typically performed when a customer’s ML and AI project is done and they are no longer using the NovaGPU to train, fine-tune, or deploy models.
The NovaGPU service is offered as GPU as a Service (GPUaaS) for AI workloads. To manage and terminate these resources, customers must access the customer portal where they hold their subscription.
The deletion process is initiated within the NovaCloud section of the customer portal and requires navigating to the GPU Instances menu and selecting the Delete action. When deleting an instance, it is crucial to note that simply deleting the instance may not stop all associated charges; users must ensure that they also delete any attached volumes if they are no longer needed, as charges will still apply for unattached volumes.
By following the steps outlined in this guide, you can ensure that unneeded GPU resources are decommissioned through the customer portal once your project is complete.
Prerequisites:
- The user must have logged in to the Customer Portal
- The user must have at least one active NovaGPU instance
- All critical data stored on the GPU Instance and its attached volumes must be backed up, migrated, or no longer required before the deletion process is initiated
Step-by-step Guide:
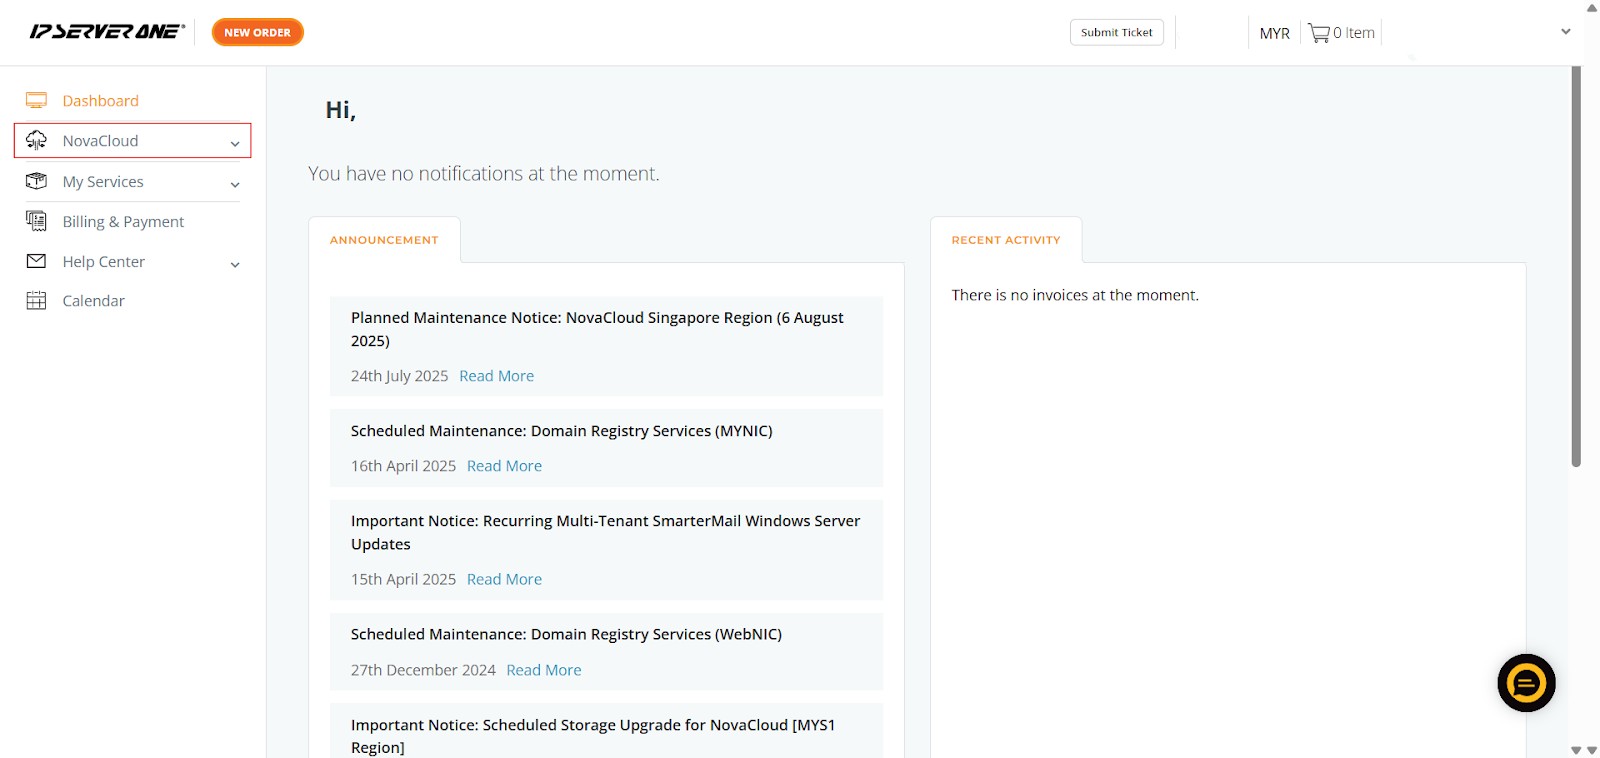
Step 1: Access NovaCloud Services
- After logging into the Customer Portal, locate the left-hand navigation menu. Click NovaCloud.
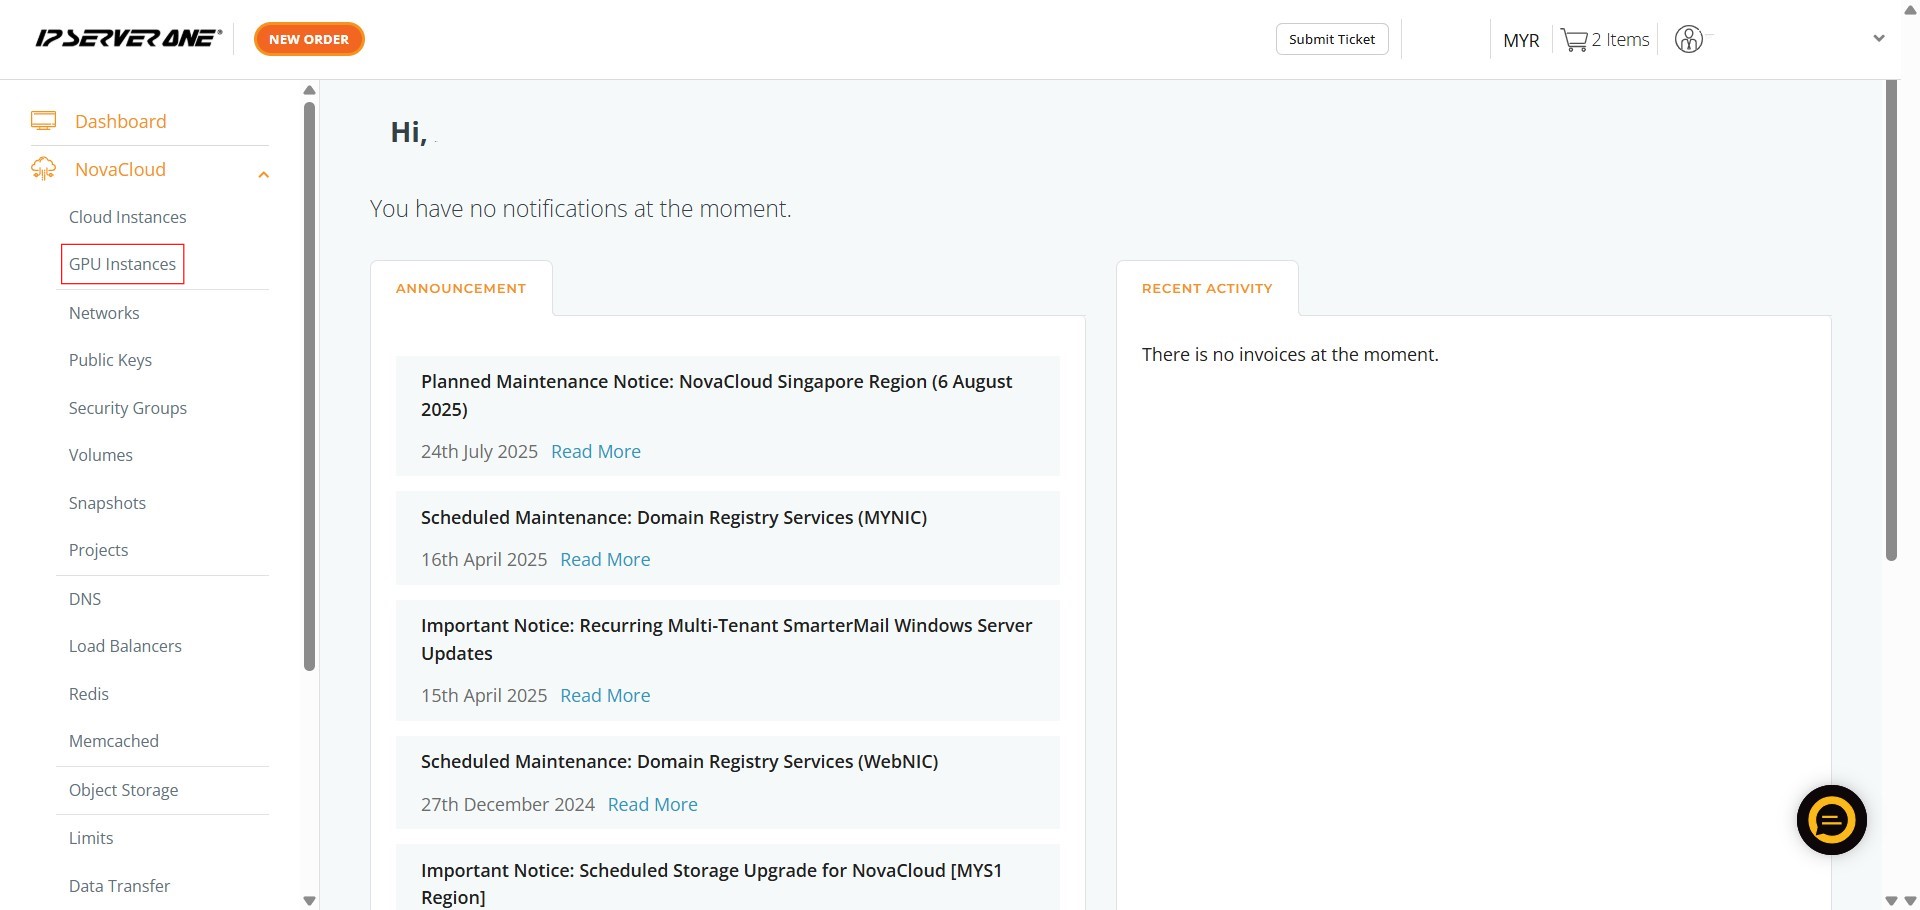
Step 2: Navigate to GPU Instances
- From the expanded NovaCloud menu, locate and Click GPU Instances.
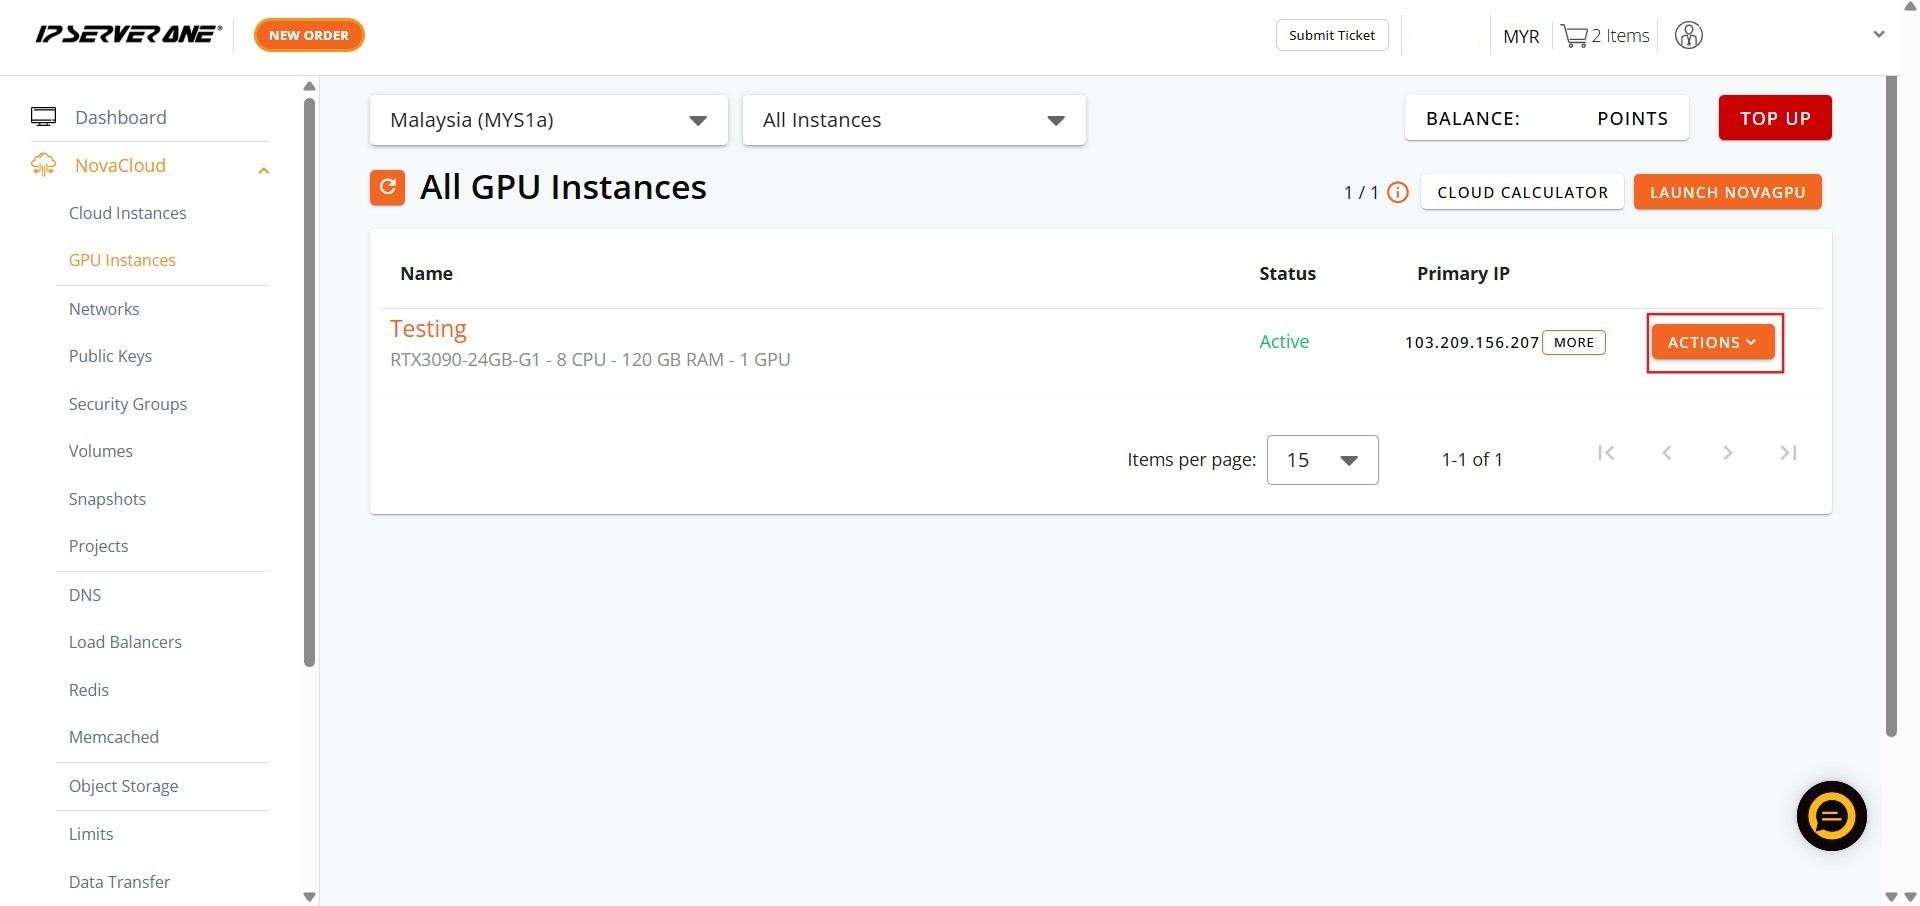
Step 3: Open the Actions Menu
- Identify the specific active GPU instance you intend to stop.
- On the row corresponding to that instance, Click Action. A dropdown menu containing management options will appear.
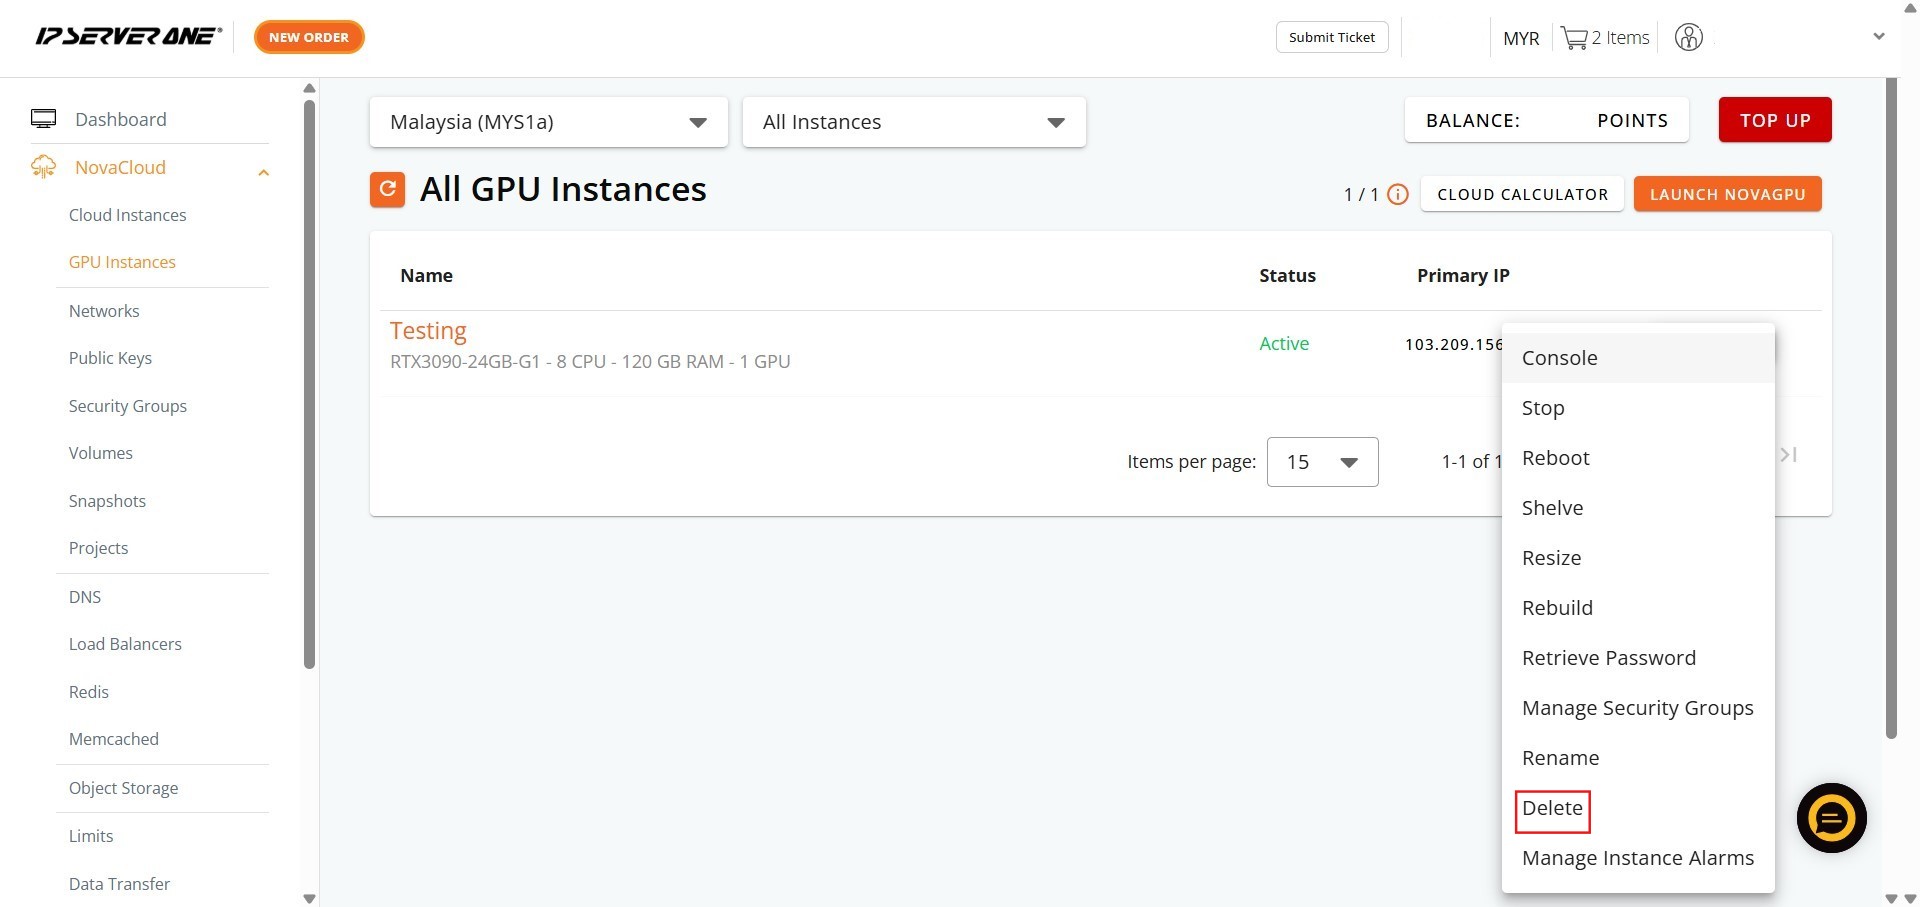
Step 4: Select the Delete Button
- From the available actions displayed in the dropdown menu, click “Delete” option.
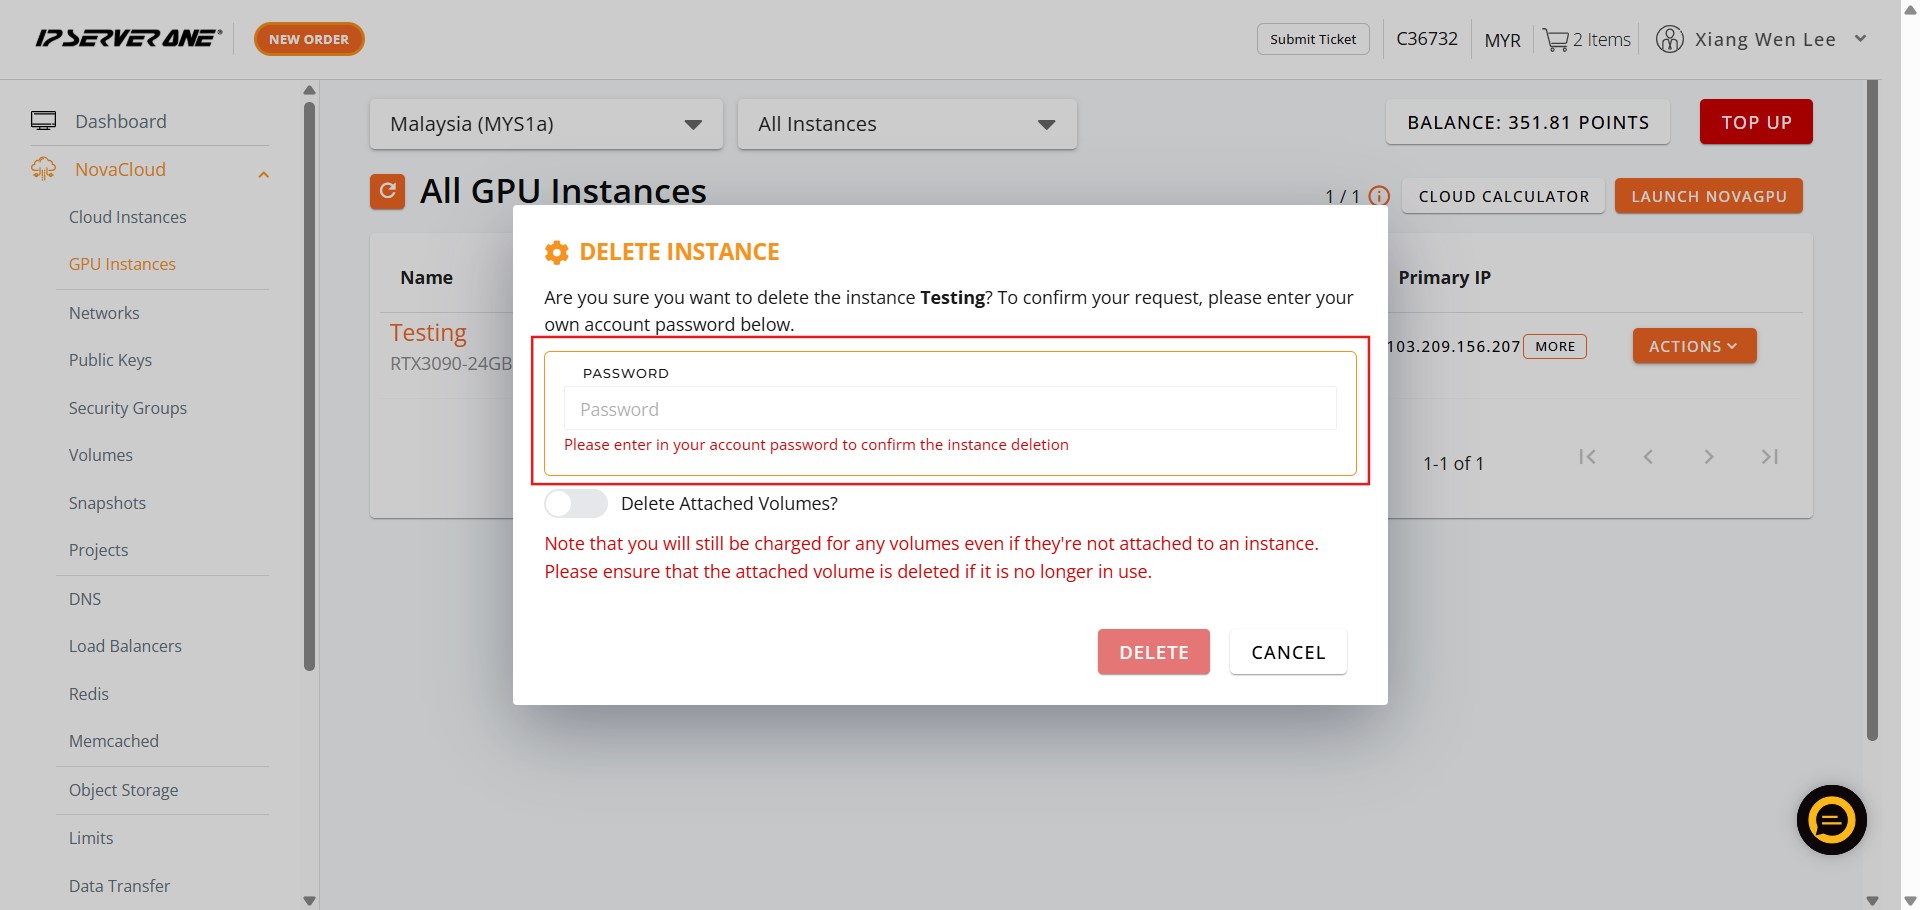
Step 5: Authorize and Manage Attached Volumes (Critical Step)
- A final confirmation window will appear. Because this action is irreversible, you must perform two crucial security and financial steps:
- Key in your password.
- Choose Delete Attached Volume.
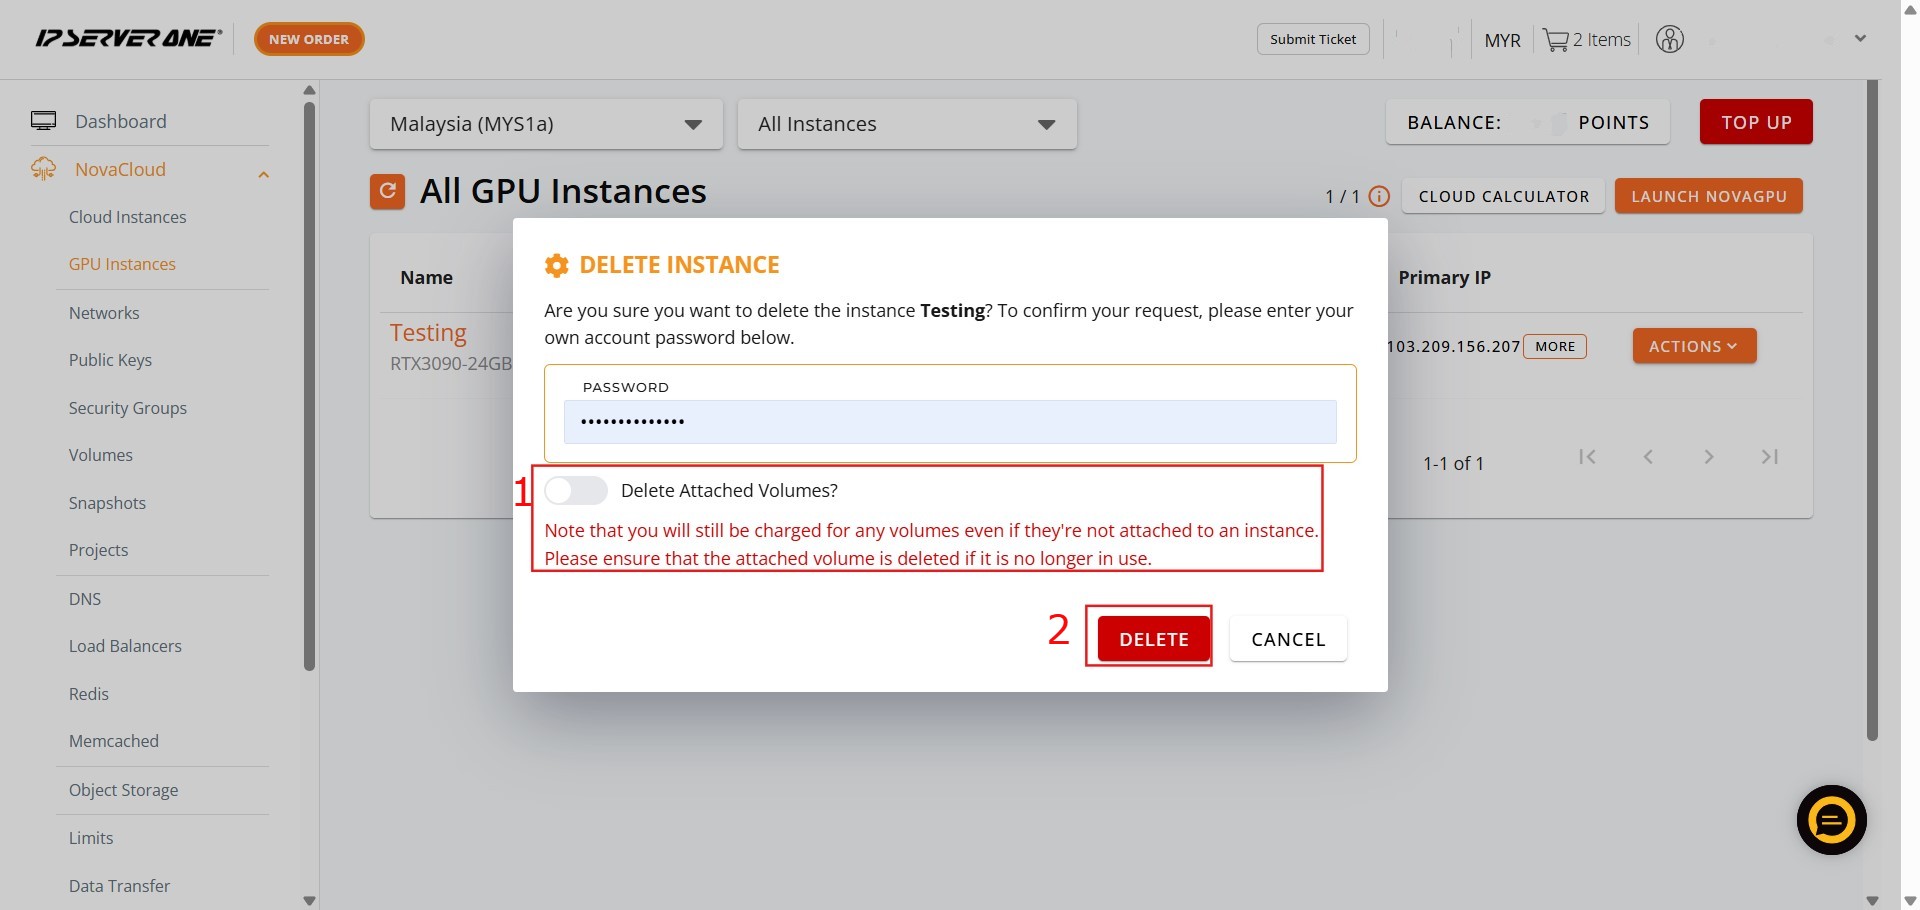
Step 6: Finalize Deletion
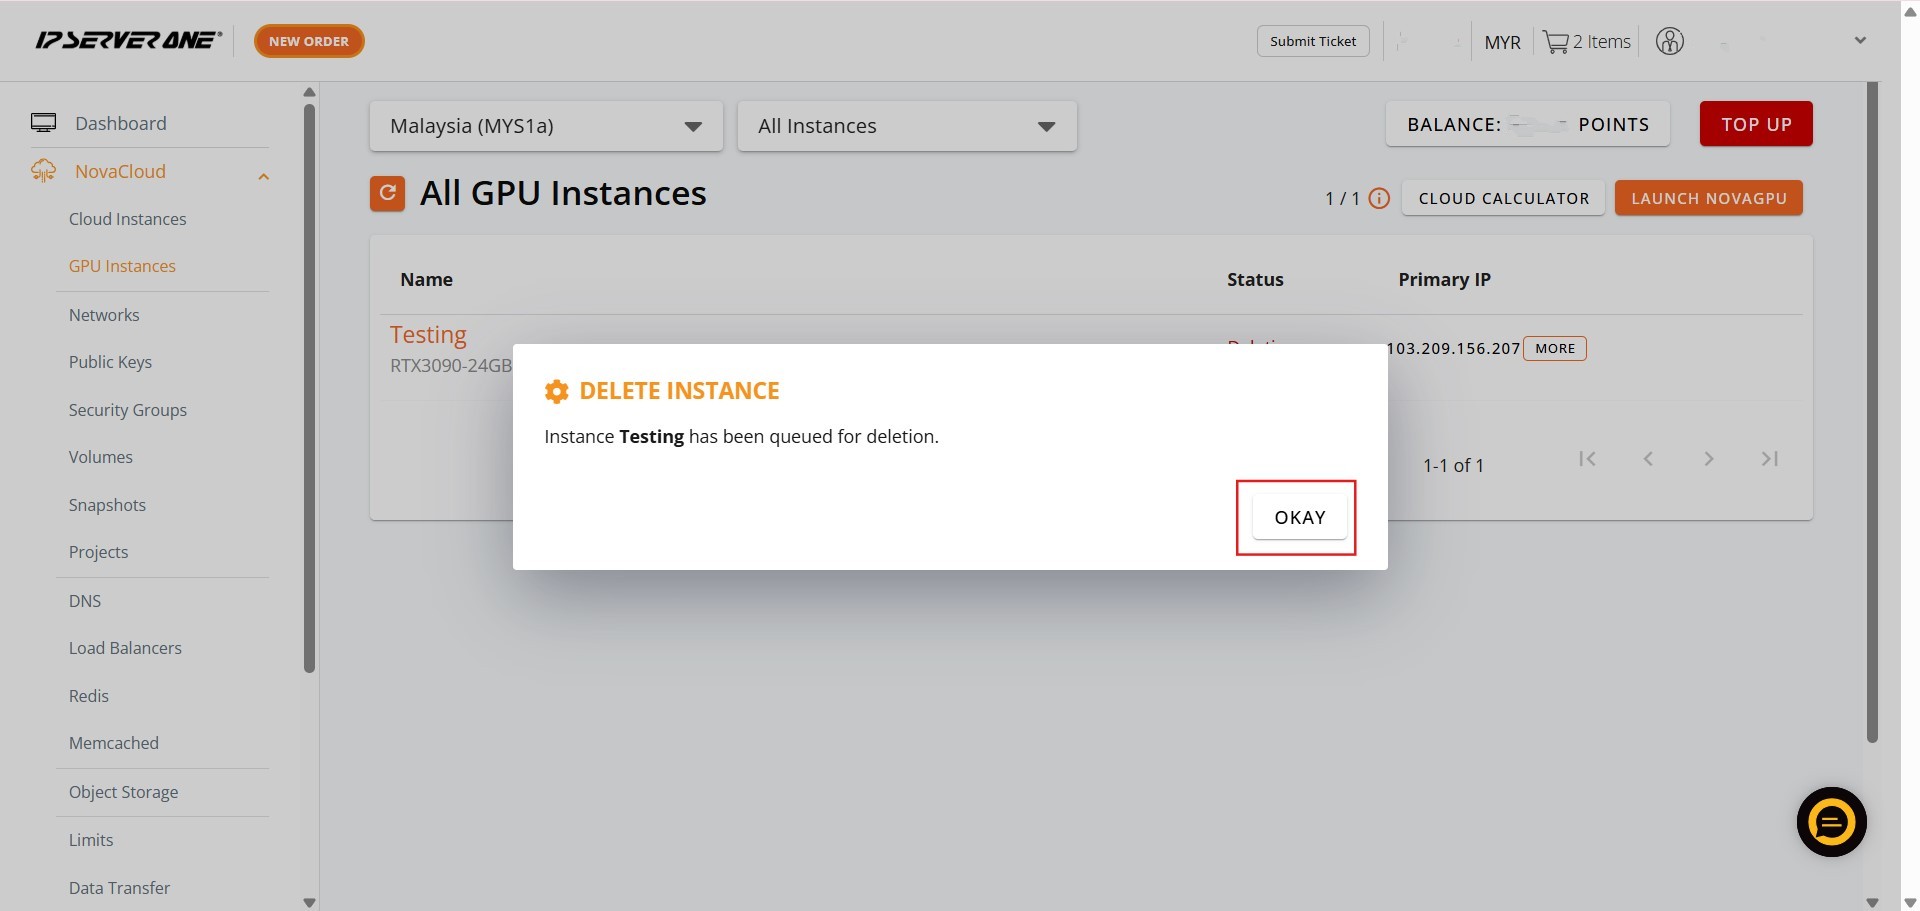
- After entering your password and confirming your decision regarding the attached volume, Click Okay.
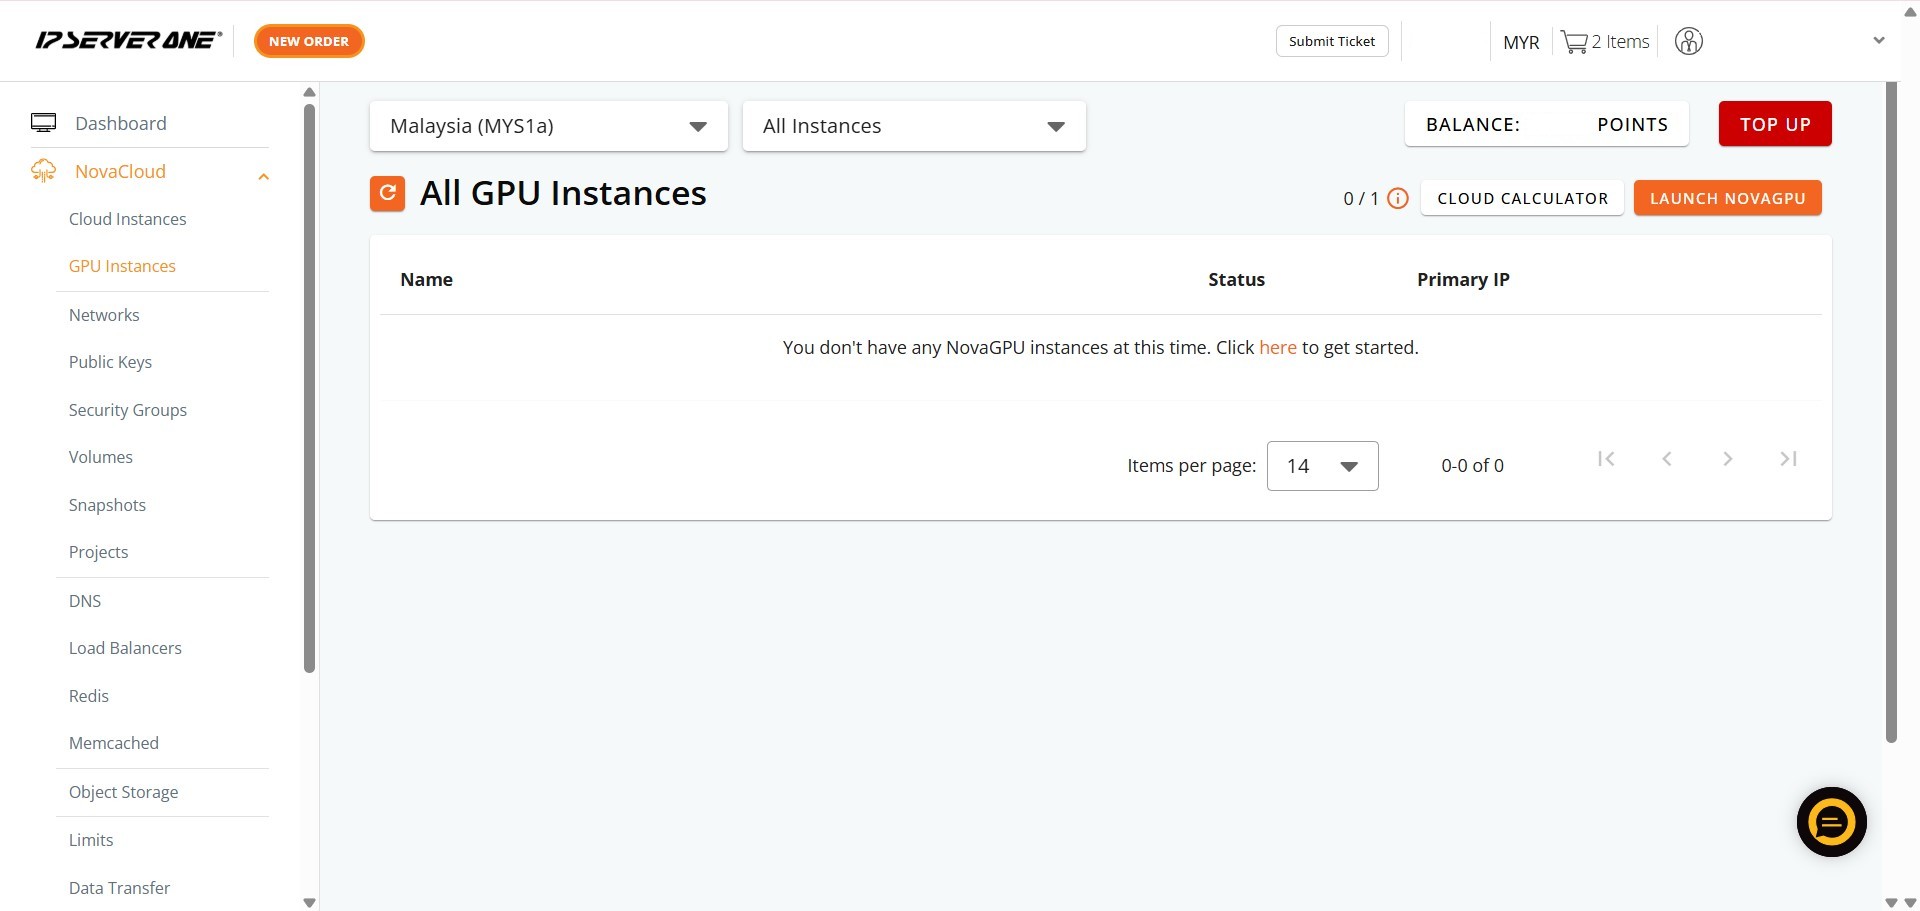
Step 7: Verify Success
- Upon successful execution of the command, the instance removal is finalized.
Conclusion:
By successfully completing the detailed steps outlined in this guide, you have permanently decommissioned your NovaGPU instance(s) through the NovaCloud section of the Customer Portal. This action ensures that you are no longer using the NovaGPU resource for AI/ML training or deployment now that your project is finished.
The critical elements of this process are centered on the finality and cost management of your cloud resources:
- Finality of Deletion: Remember that the deletion of a GPU instance is not reversible.
- Billing Management: You have minimized unnecessary expenditure by confirming the termination of the GPU instance and ensuring that you correctly managed the associated storage. It is essential to reiterate that you will still be charged for any volumes if they were not explicitly deleted alongside the instance.
Should you require any further assistance, or if you encounter any issues during this process, please do not hesitate to reach out to our support team at support@ipserverone.com.