Search Our Database
How to Create Project(s) in Customer Portal
Introduction
Welcome to the guide for the ‘Create Project’ feature within your Customer Portal. This powerful tool is designed to help you effectively organize and manage your NovaCloud instances and GPU instances by assigning them to specific projects.
As a Customer Portal user, you can leverage this functionality to group your cloud resources, making it simpler to oversee related instances, track usage, or separate resources for different teams or initiatives. The Customer Portal provides dedicated options for project management. You will find a prominent ‘CREATE PROJECT’ button conveniently located on the ‘All Cloud Instances’ page, alongside the ‘Launch Instance’ button. Additionally, to assign an existing instance, an ‘Add to Project’ option is available within the ‘Actions’ menu for each individual cloud instance. These features allow you to seamlessly create new projects and associate your NovaCloud and GPU instances with them directly through the Customer Portal interface.
Prerequisites:
- You must have at least one existing NovaCloud Instance or GPU Instance in your Customer Portal account.
Step-by-step Guide:
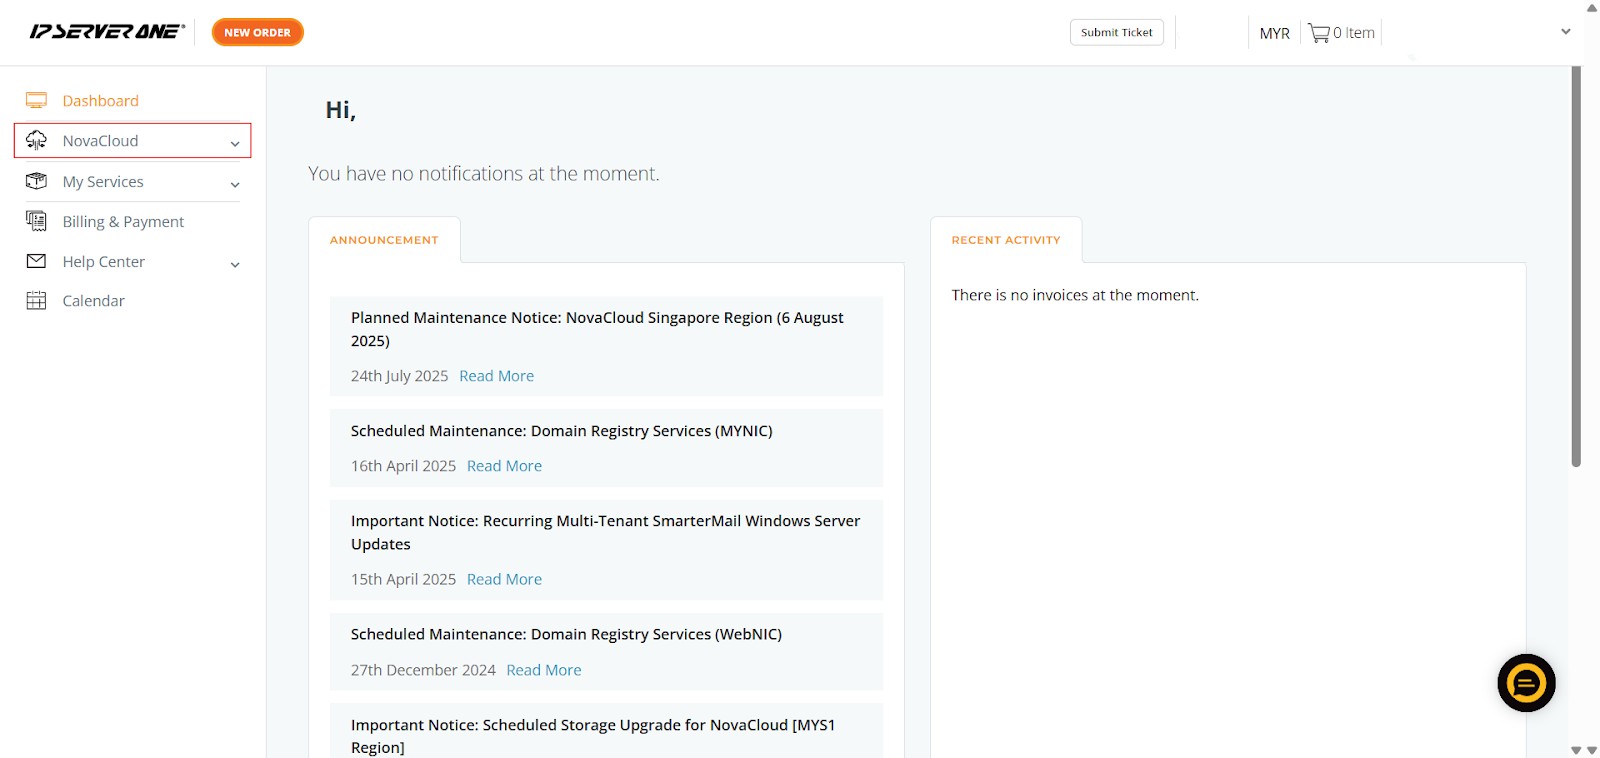
1) Click NovaCloud
- Begin by navigating to the main NovaCloud section. On the left-hand navigation panel of the Customer Portal, locate and click on ‘NovaCloud’. This will expand a dropdown menu revealing various services related to your cloud infrastructure.
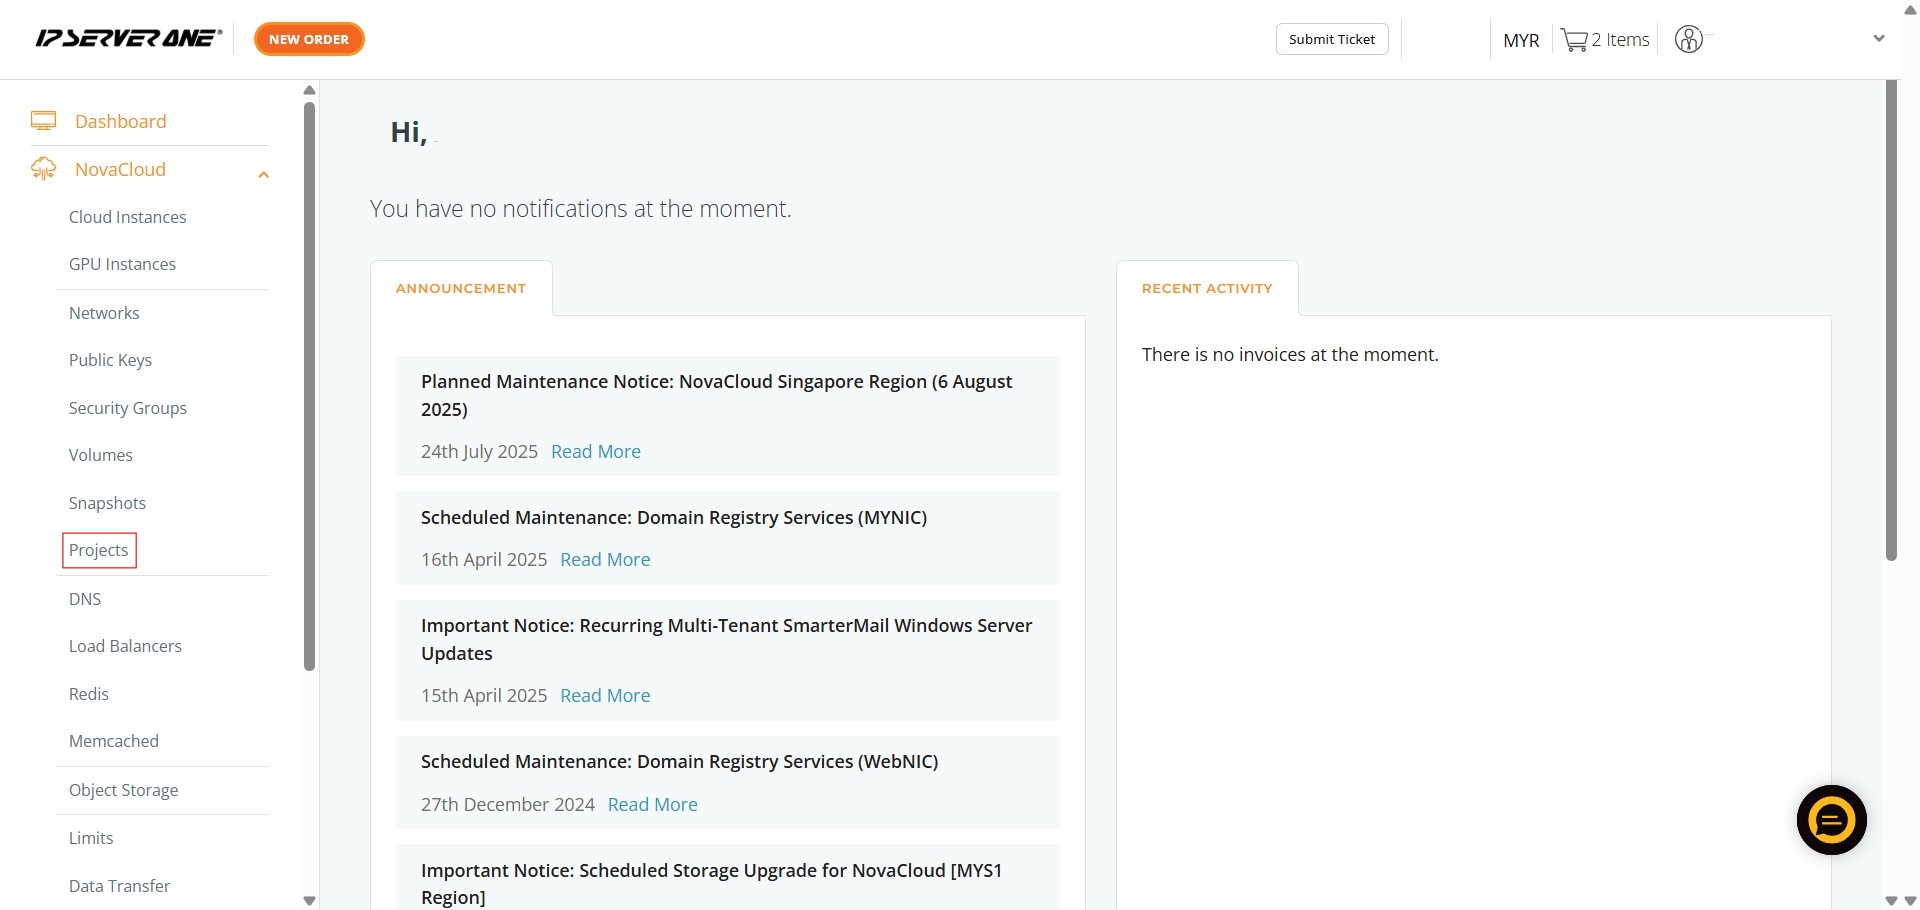
2) Click Projects
- From the expanded NovaCloud dropdown menu, locate the ‘Projects’ option. Click on ‘Projects’ to be directed to the dedicated project management interface within your Customer Portal.
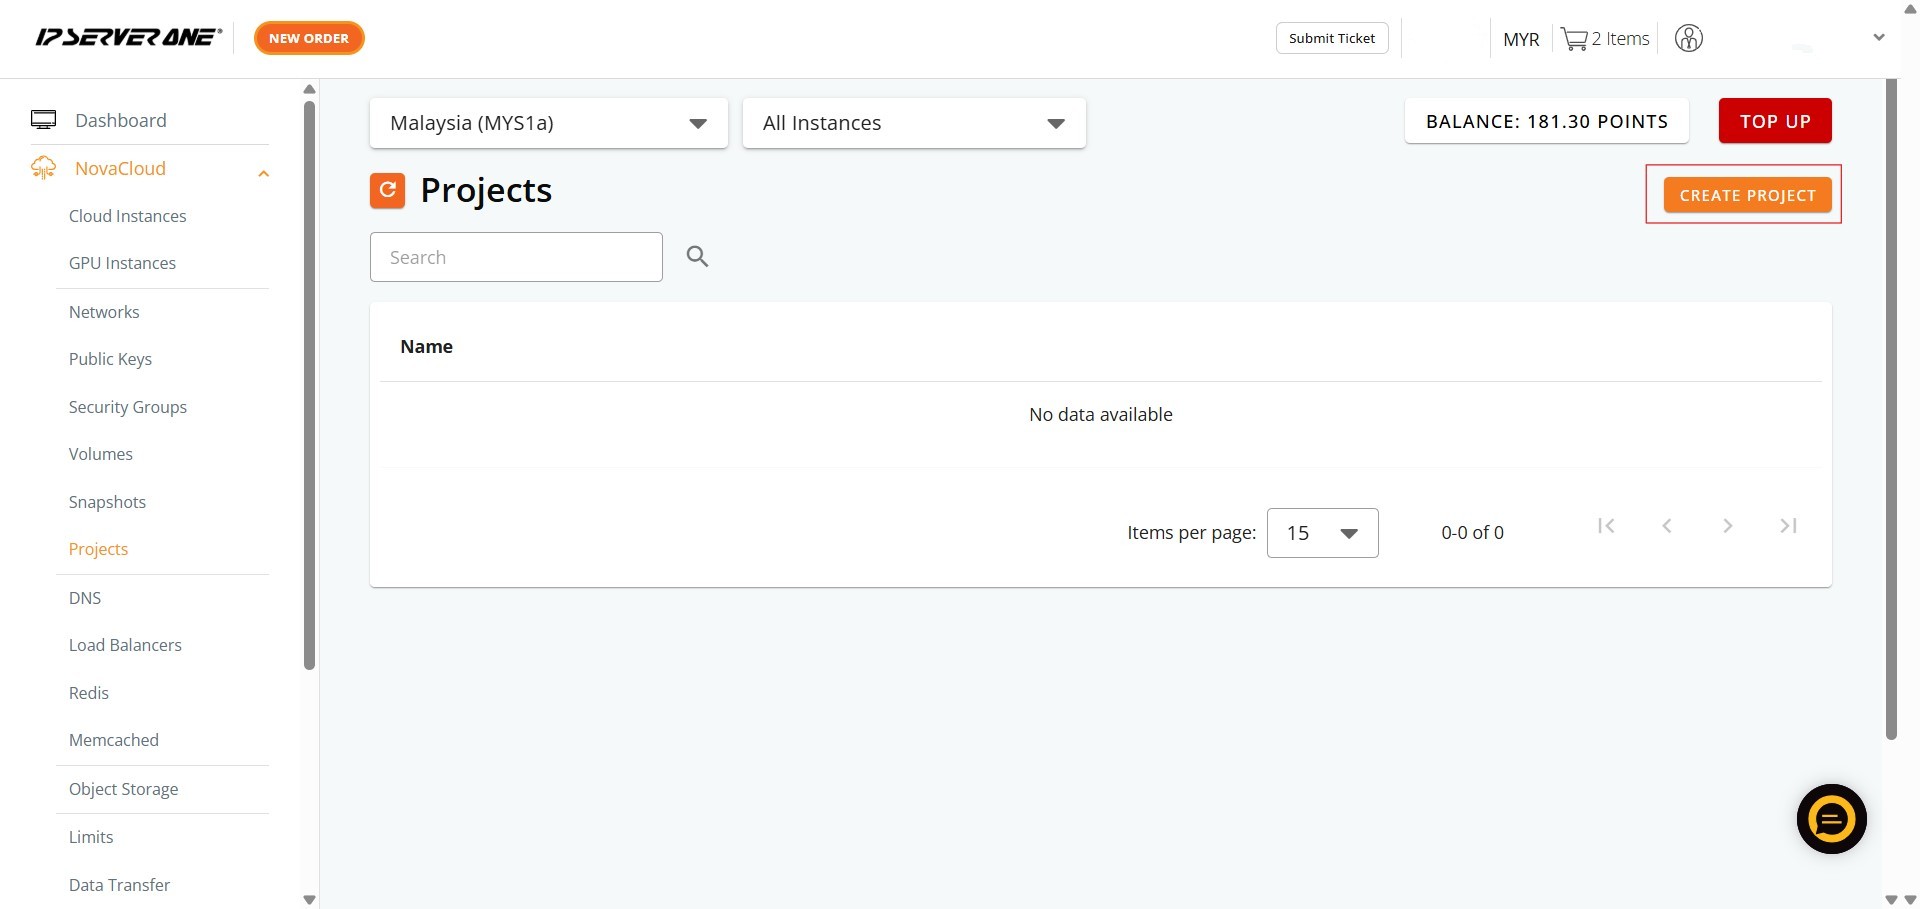
3) Click Create Project
- Once you are on the ‘Projects’ page, you will see a prominent ‘CREATE PROJECT’ button. This button is typically located in the upper right-hand corner of the page, next to a search bar. Clicking ‘CREATE PROJECT’ button initiates the process of defining your new project.
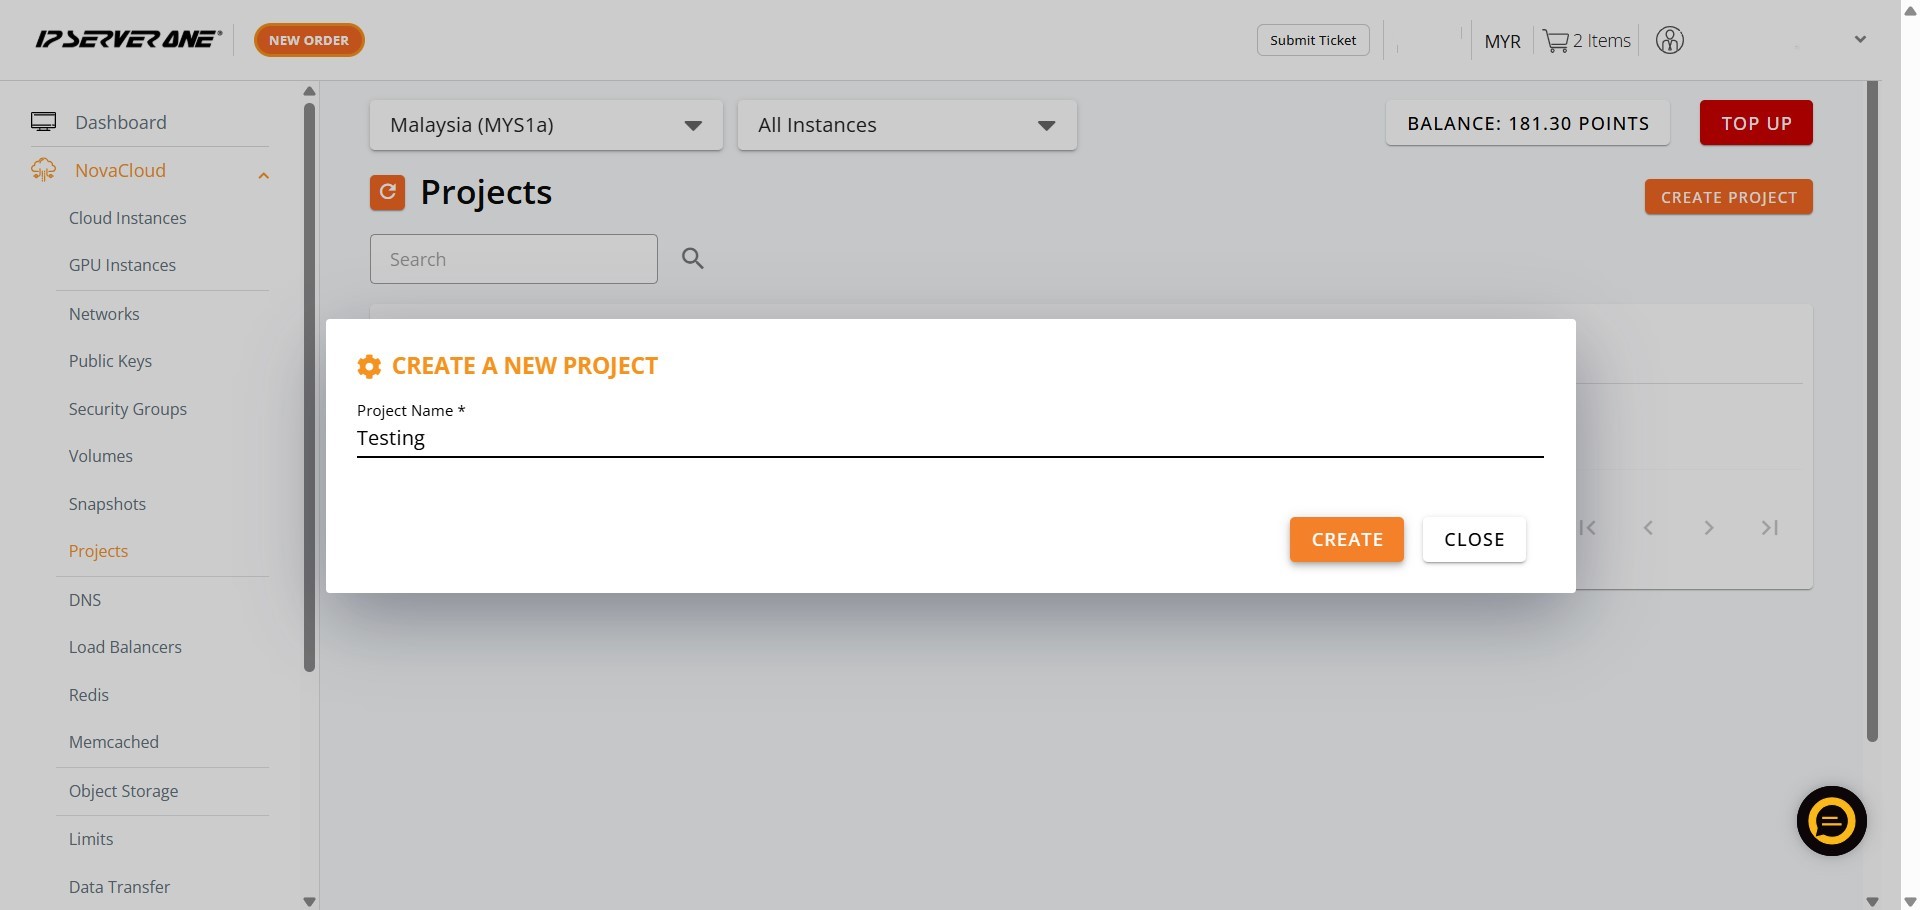
4) Enter Project Name then Click Create
- After clicking ‘Create Project’, a pop-up window titled ‘CREATE A NEW PROJECT’ will appear. Within this pop-up, you will find a field labeled ‘Project Name’. Carefully enter the desired name for your project.
- Once you have entered a valid project name, click the ‘Create’ button within the pop-up to proceed.

Sample:
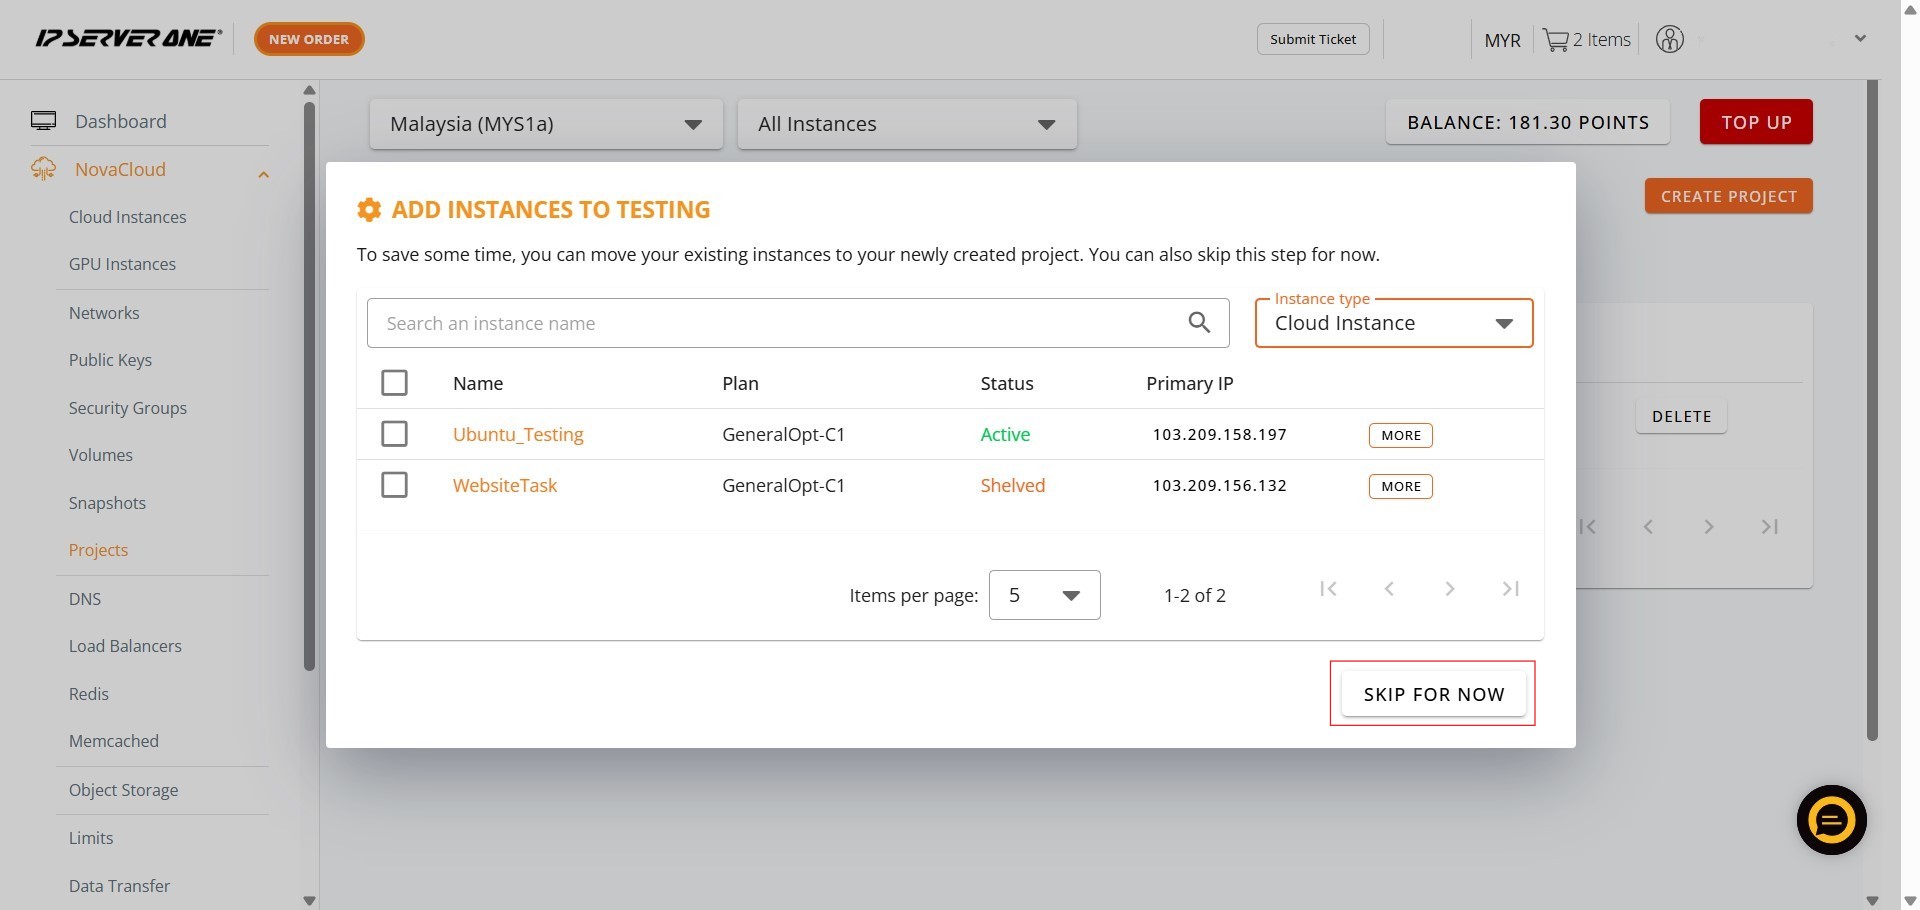
5) Click Skip For Now
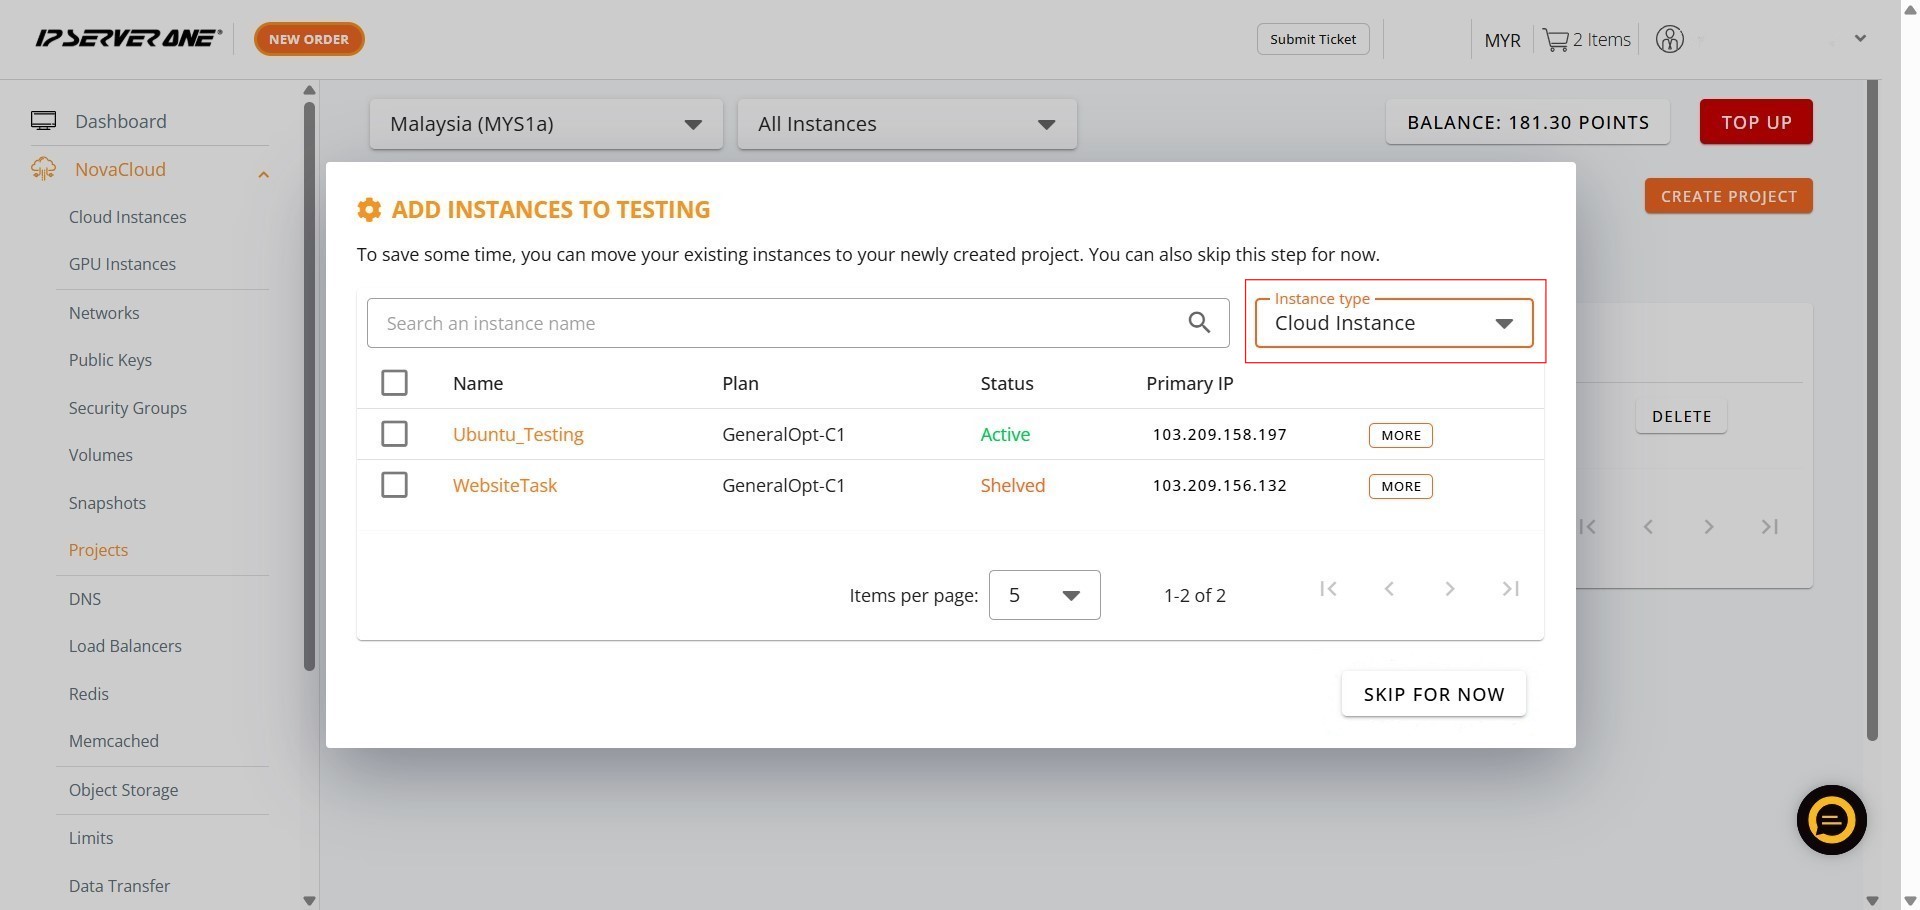
- After project creation, a pop-up titled ‘ADD INSTANCES TO [PROJECT NAME]’ appears.
- To bypass this and create the project without assigned instances, click ‘Skip For Now’.
Conclusion
By following these steps, you have successfully utilized the ‘Create Project’ feature within your Customer Portal, thereby establishing a new project to enhance the organization and management of your cloud resources. This functionality allows you to group your NovaCloud and GPU instances under specific projects, fostering a more structured approach to managing your infrastructure.
The process, accessible via the NovaCloud > Projects menu, streamlines project creation with clear steps for naming and immediate or deferred instance assignment. You have the flexibility to either assign existing Cloud Instances or GPU Instances directly after creating the project by using the ‘Instance type’ dropdown menu, or to choose to ‘Skip For Now’ and assign them at a later time. This robust project management capability ensures that you can efficiently categorize and oversee your instances, aligning with your operational needs directly from the Customer Portal.