Search Our Database
How to Create NovaCloud Storage Volume from Image Source in Customer Portal
Introduction:
The ability to create cloud resources efficiently is foundational to leveraging platforms like NovaCloud, which provides affordable, reliable, and highly secure cloud computing services,. One essential aspect of cloud resource deployment is establishing persistent data storage.
This guide details the process for initiating the creation of a persistent NovaCloud Storage Volume directly from a Source Image within the Customer Portal. Unlike creating an empty volume, utilizing a Source Image ensures your new volume is pre-populated with a specific operating system (OS) or foundational data, enabling standardized and expedited deployment. By accessing the Volumes management page, users can select a desired OS image and quickly provision a highly available storage volume ready for attachment to an instance.
This professional, step-by-step walkthrough is designed for Customer Portal users who need to reliably and quickly generate a new storage volume based on a standardized image source, maximizing speed and consistency in their NovaCloud environment.
Volume charges are based on hourly usage. Charging for your newly created Storage Volume begins immediately upon successful creation of the volume. It is important to note that you will continue to be charged for any volumes as long as they exist, even if they are not currently attached to a running instance. To cease charges for the volume, ensure it is permanently deleted from your account.
Prerequisites:
- Active Customer Portal Account and Subscription.
- Sufficient Account Credit
- Acknowledge Billing Structure
Step-by-step Guide:
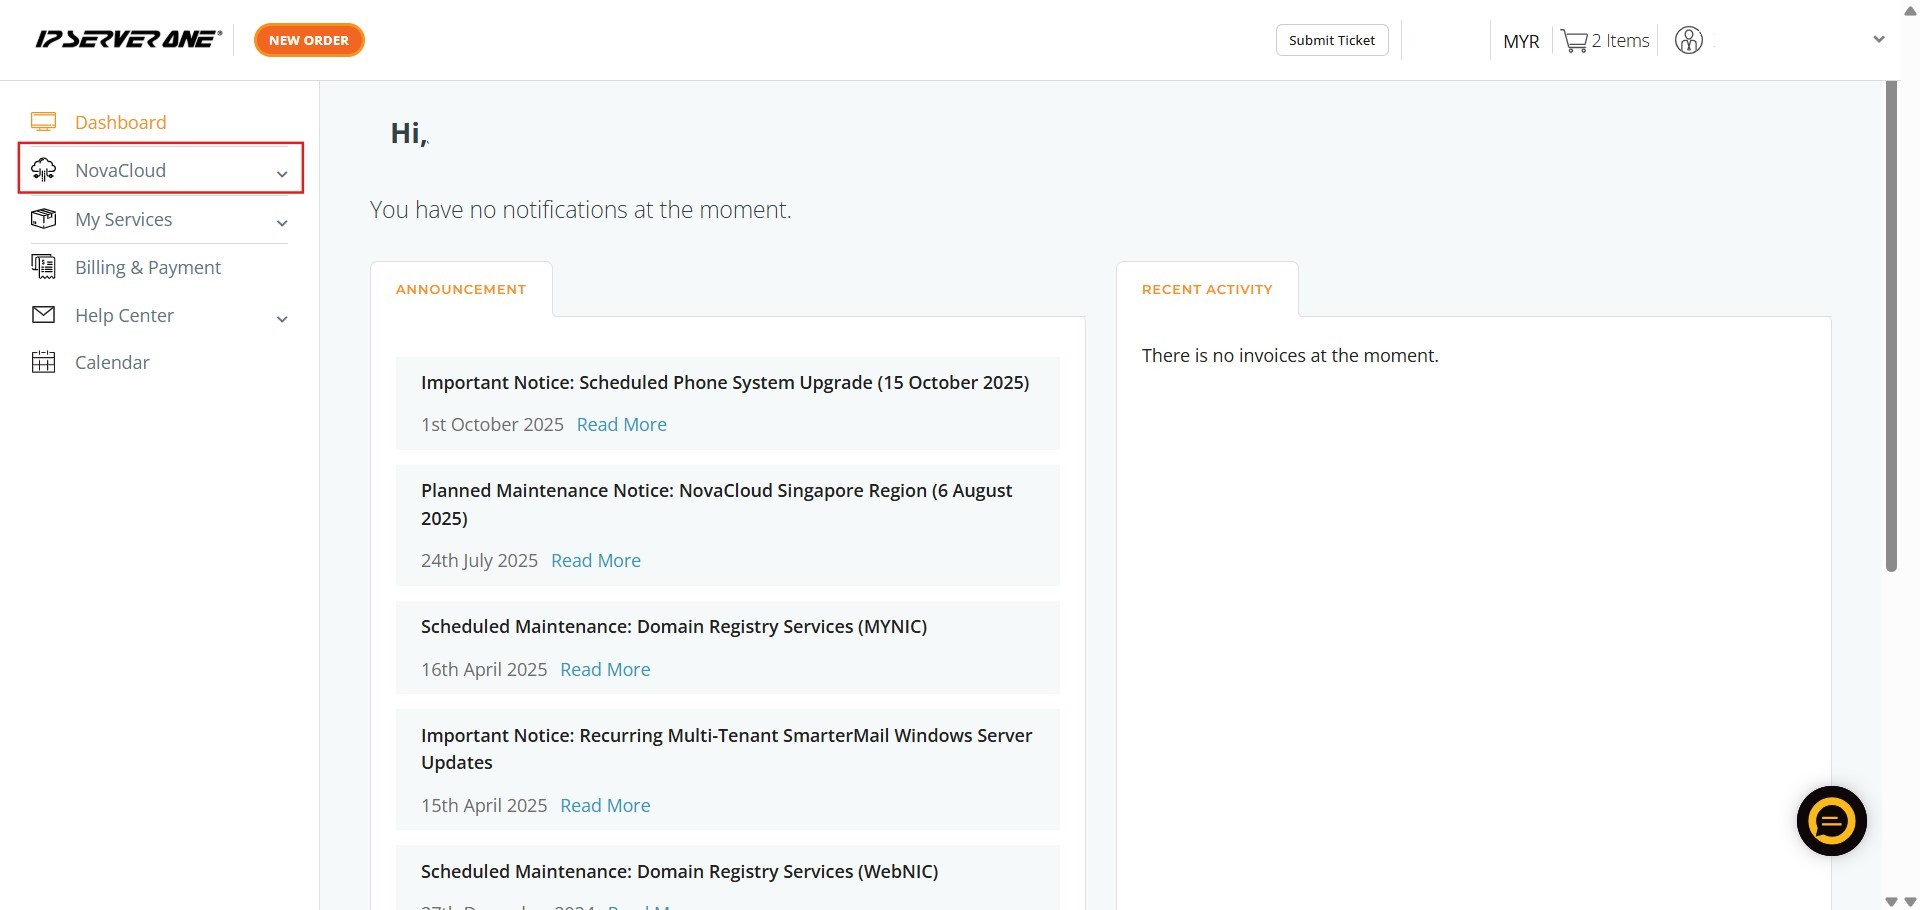
Step 1: Click NovaCloud
- Locate and click on the NovaCloud menu item in the left-hand navigation panel.
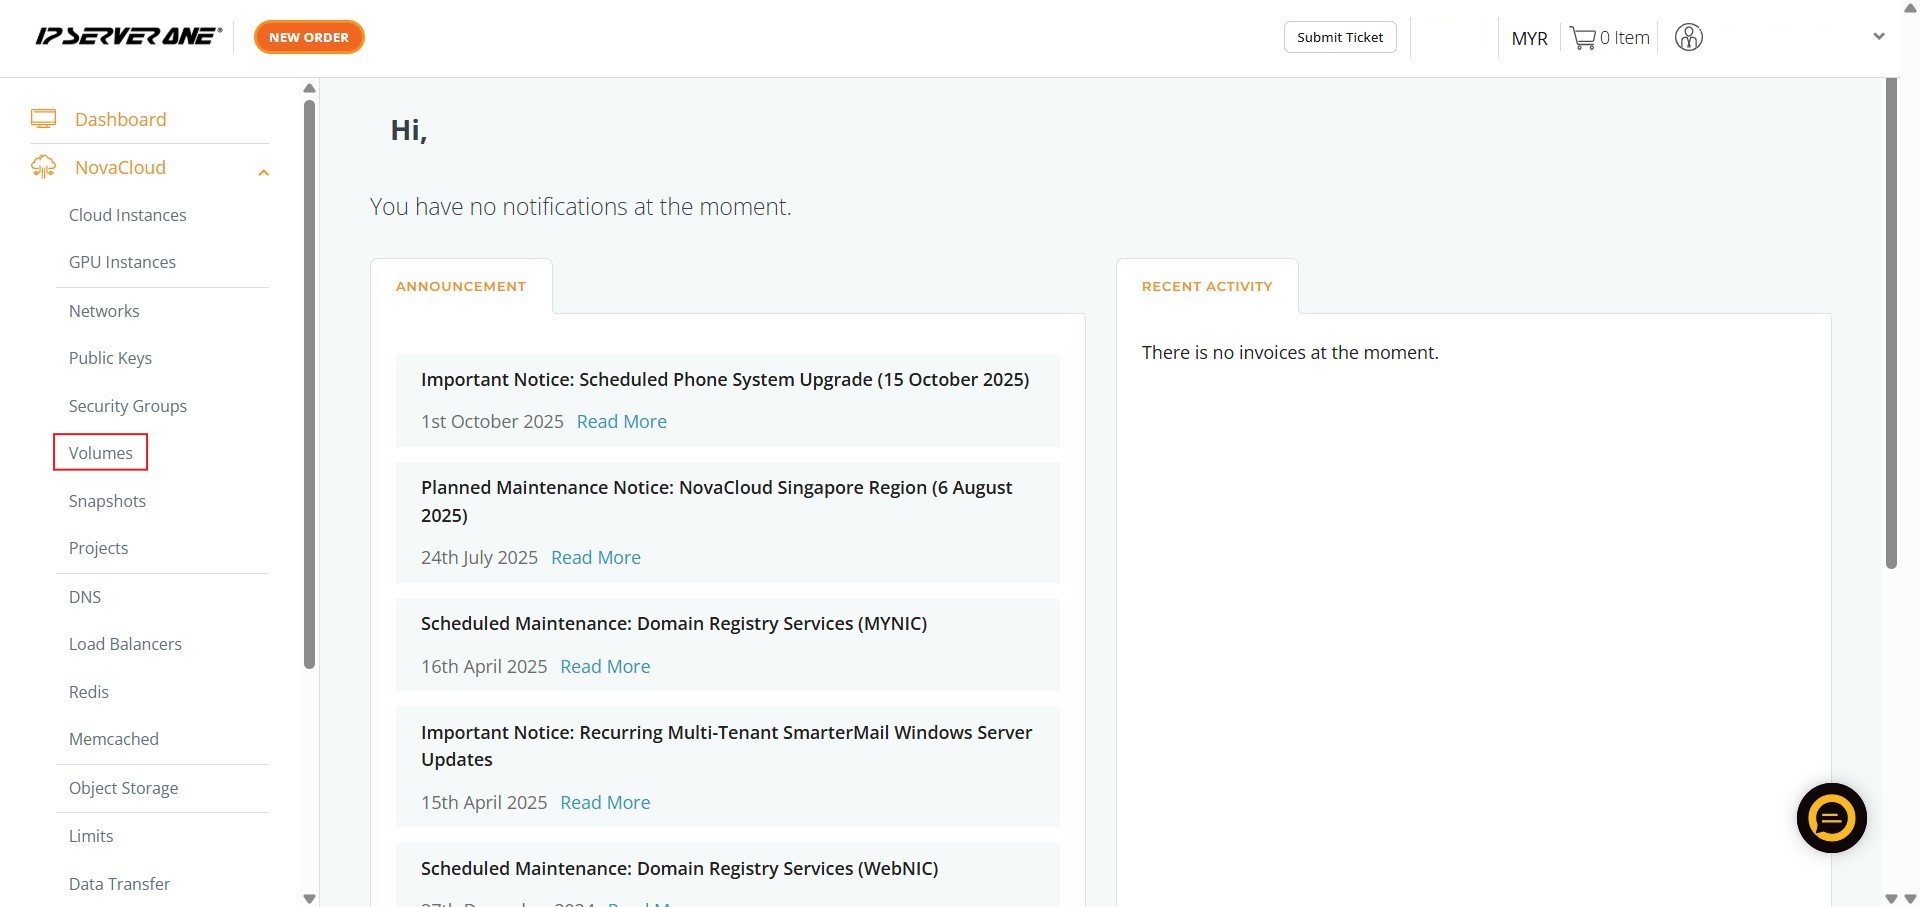
Step 2: Click Volume
- In the NovaCloud sub-menu, click on Volumes to access the storage management section.
Step 3: Click Create Volume
- On the Volumes page, initiate the provisioning process by clicking the Create Volume button.

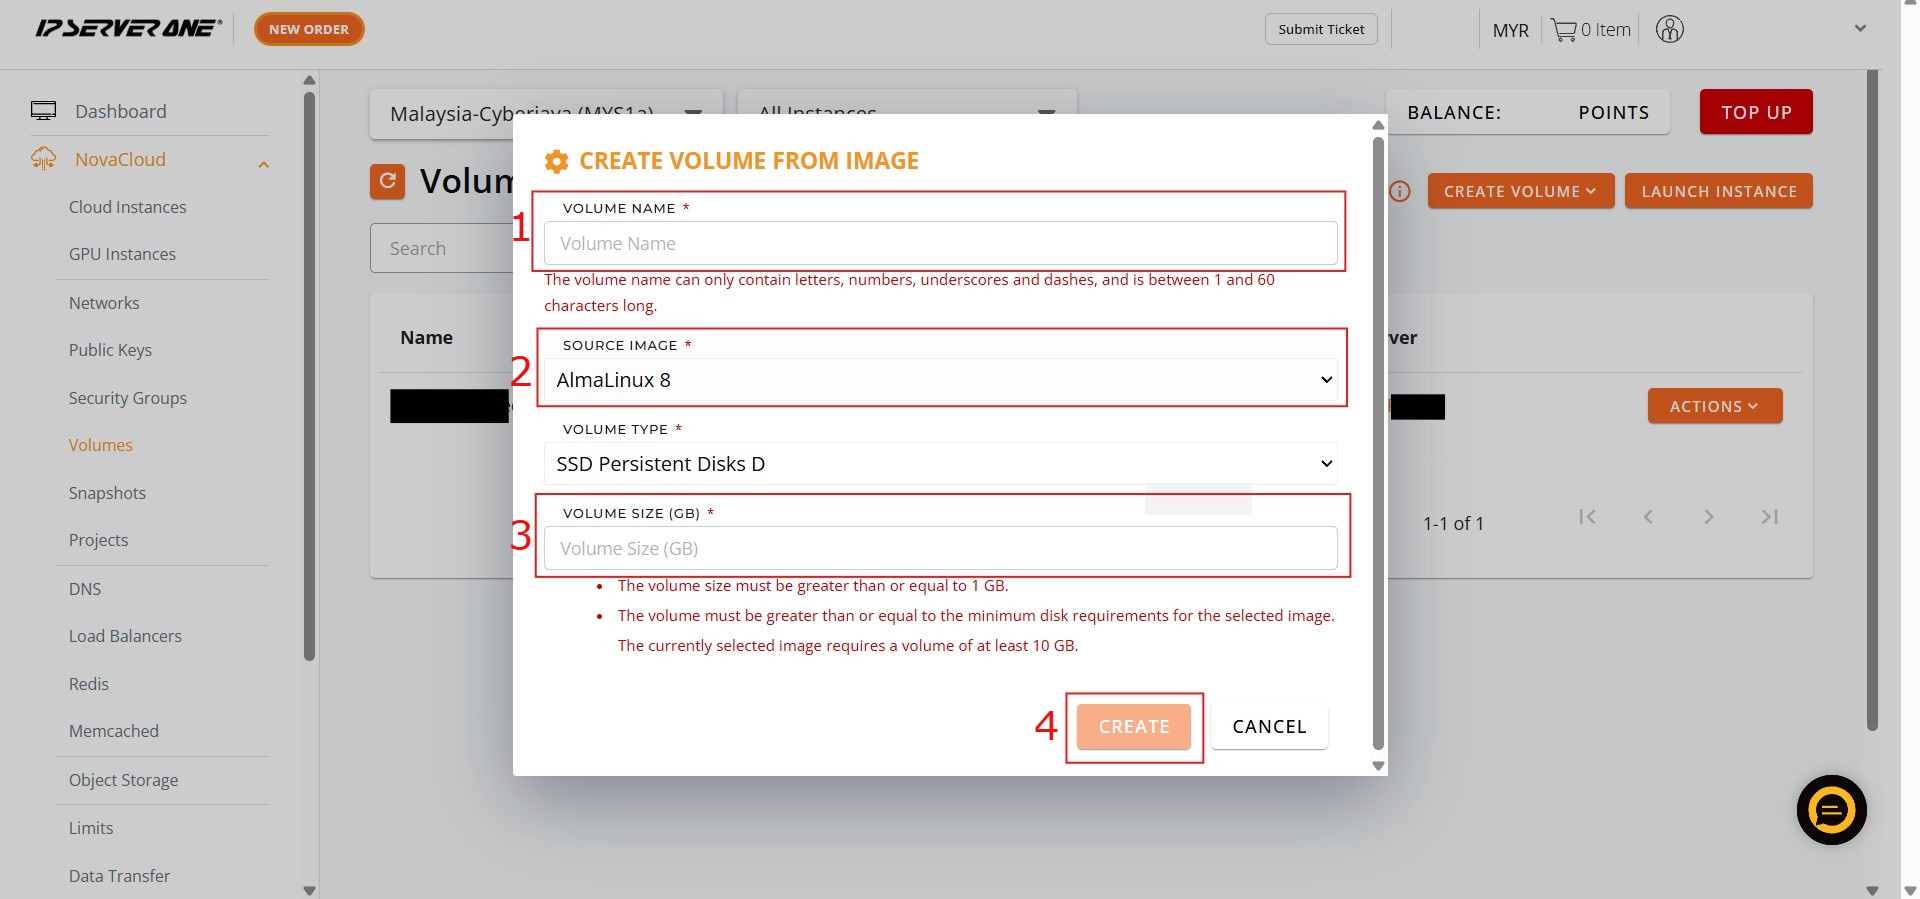
Step 4: Click Create Volume From Image
- Select the option to Create Volume From Image.

Step 5: Enter Details and Click Create
- Fill in the required configuration details: Volume Name, Source Image, and Volume Size.
- After reviewing the settings, click Create.
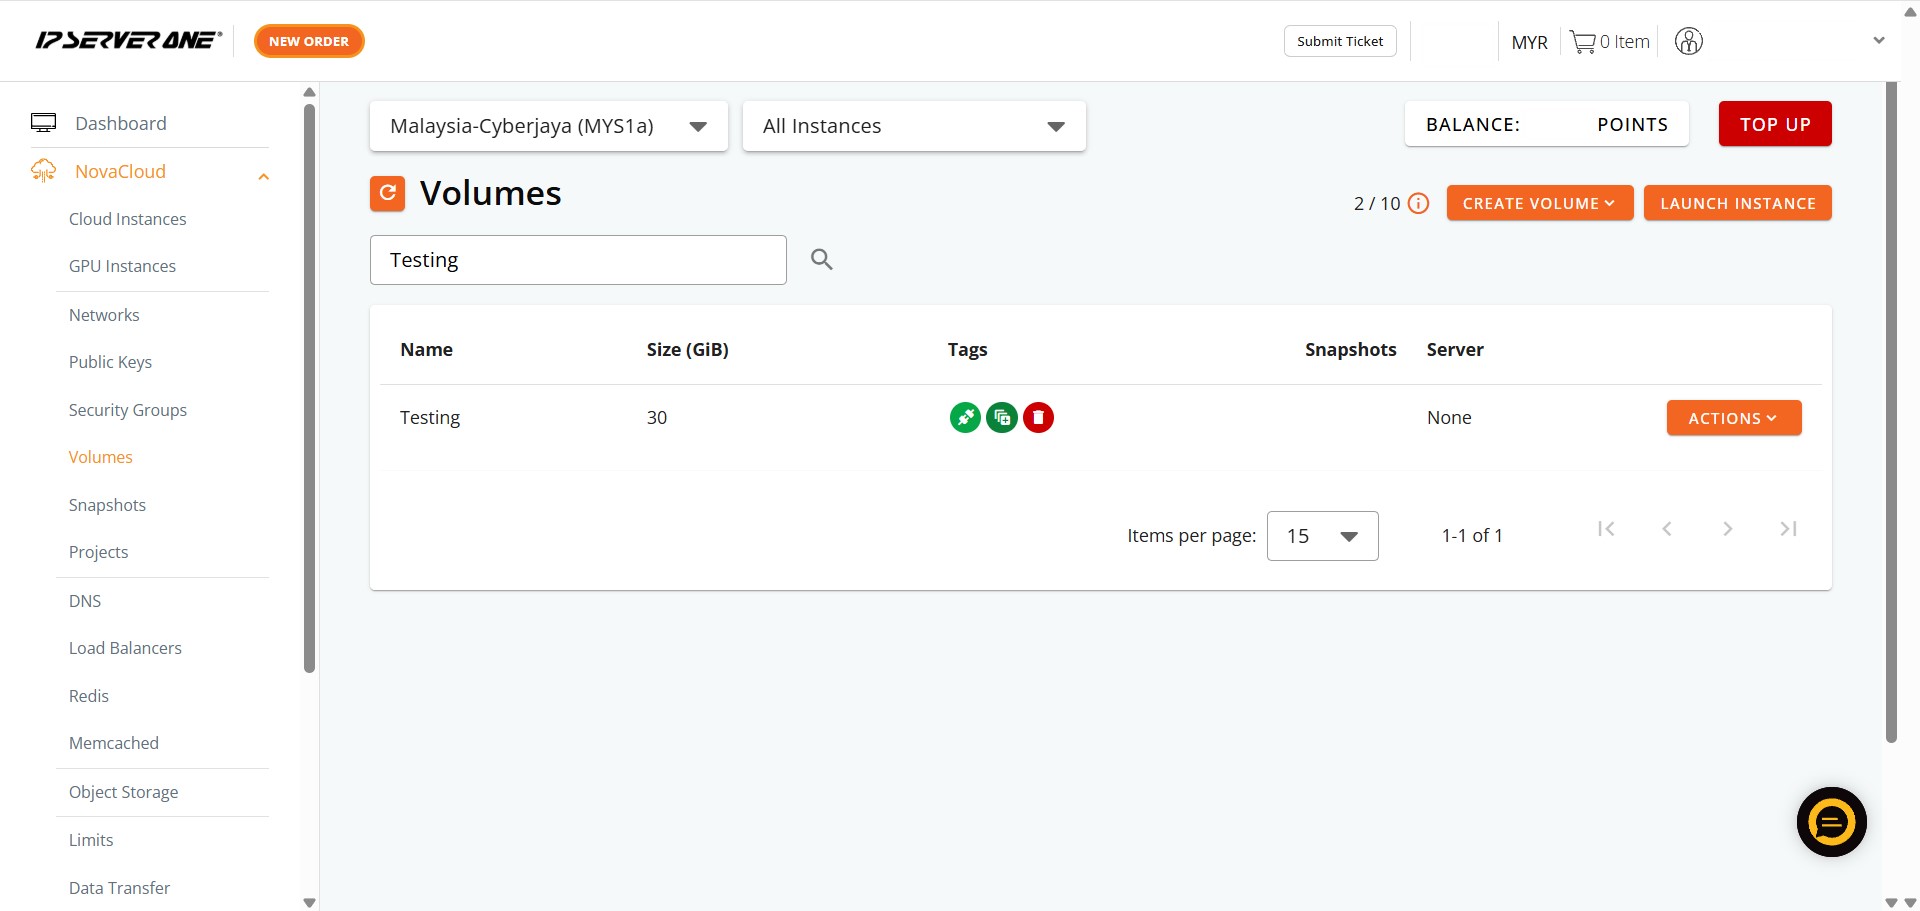
Step 6: Click View Volume
- After submitting the creation request, click the View Volume button to navigate to the volume list.

Step 7: Success
- Verify that your newly created volume appears in the list, confirming the initiation of the provisioning process.
Conclusion:
By executing the seven-step guide, you have successfully leveraged the Customer Portal to initiate the creation of a NovaCloud Storage Volume directly from a Source Image. This process, which involved navigating the NovaCloud and Volumes sections and selecting Create Volume From Image, ensures your persistent storage is provisioned with a standardized operating system or foundational data, enhancing deployment speed.
Remember that volume charges are based on hourly usage and commence immediately upon creation. You will continue to be charged for the volume as long as it exists, regardless of whether it is attached to an instance. You can confirm the successful initiation of the provisioning process by clicking View Volume and checking the resulting volume list.
For assistance or any inquiries regarding your NovaCloud resources, you can contact the support team at support@ipserverone.com.