Search Our Database
How to Create LAMP with Create Instance from One-Click Application in Customer Portal
Introduction:
For anyone looking to deploy a classic web development environment, the LAMP stack—composed of Linux, Apache, MySQL, and PHP—remains a fundamental and widely used solution. NovaCloud supports this need by providing affordable, reliable, highly secure cloud computing for everyone.
The most efficient way to provision this environment is through the Customer Portal’s Create Instance from One-Click Application feature. This functionality significantly accelerates the deployment process by launching a pre-configured Cloud Instance, ready for immediate use. To deploy the LAMP stack, users must specifically select the Application Stack category during the instance creation workflow.
This guide offers a professional, step-by-step introduction on how to launch a Cloud Instance pre-configured with the LAMP application stack using the One-Click Application feature in the NovaCloud Customer Portal, providing a solid, secure foundation for hosting dynamic websites and web applications.
Prerequisites:
- The user must have access to the Customer Portal.
- The account balance must contain sufficient credit/points
- The user must select an existing Public Key during the creation process. If you do not have any keys yet, you are required to generate or import one before proceeding.
Step-by-step Guide:
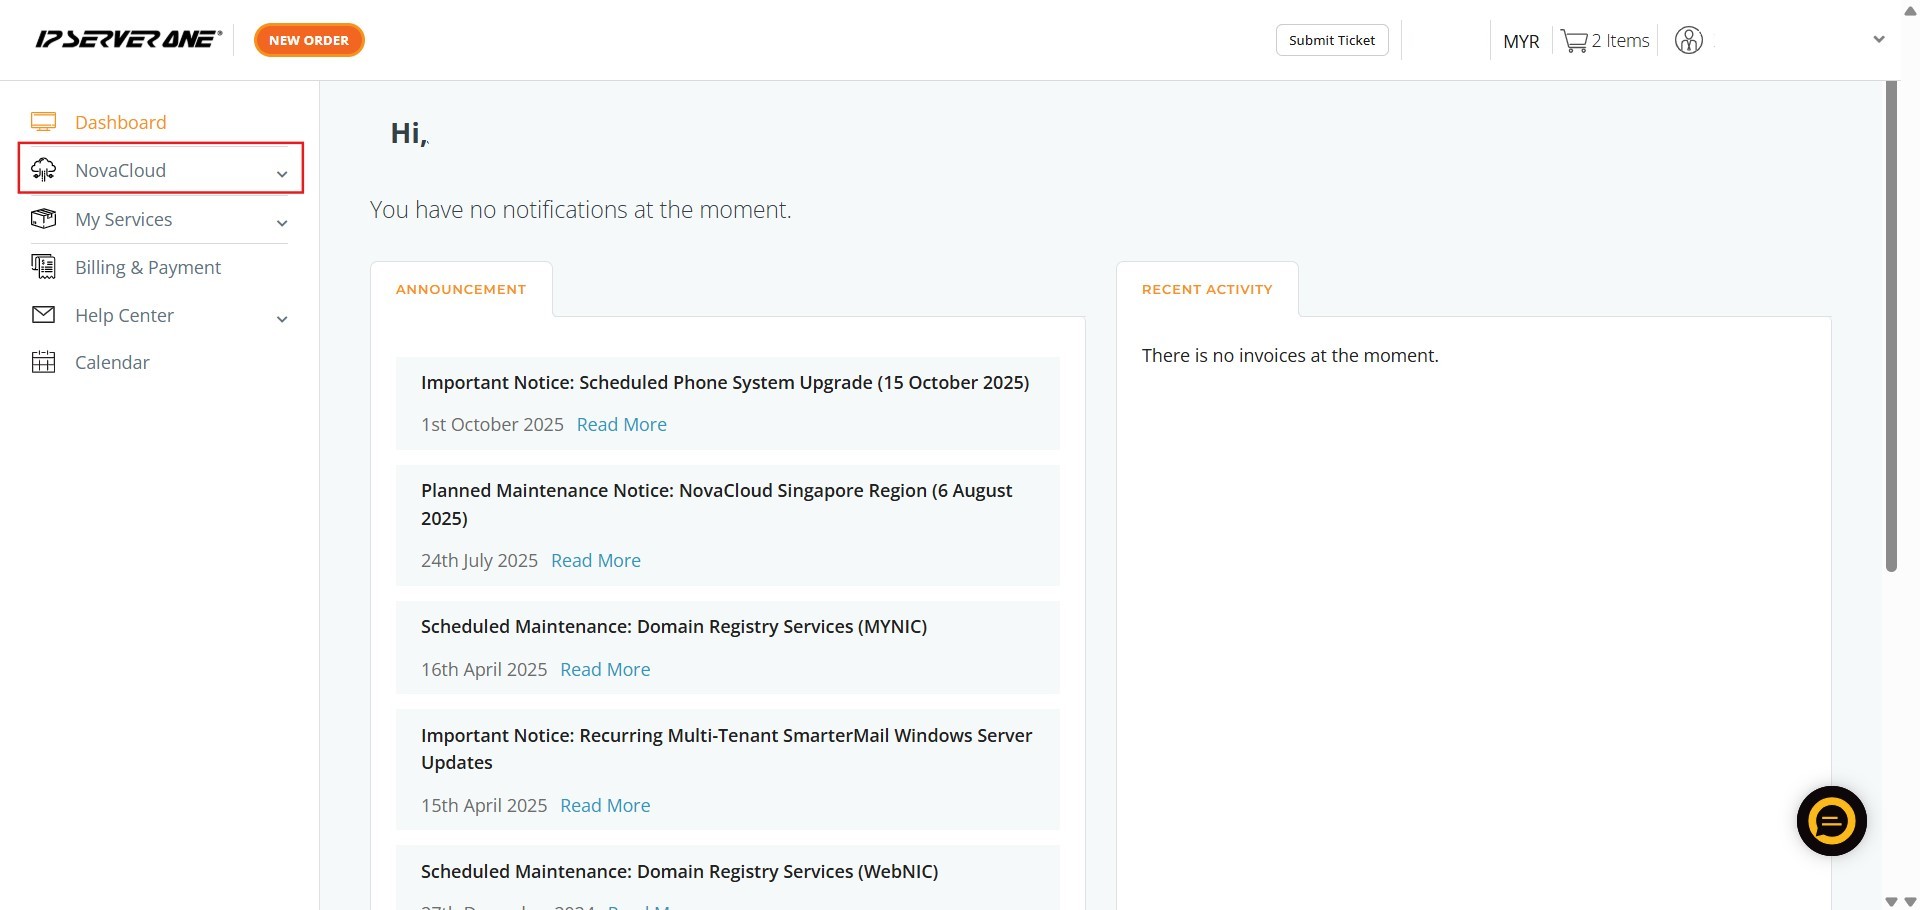
Step 1: Click NovaCloud
- Locate and click on the NovaCloud section in the left-hand navigation menu to access cloud resources.
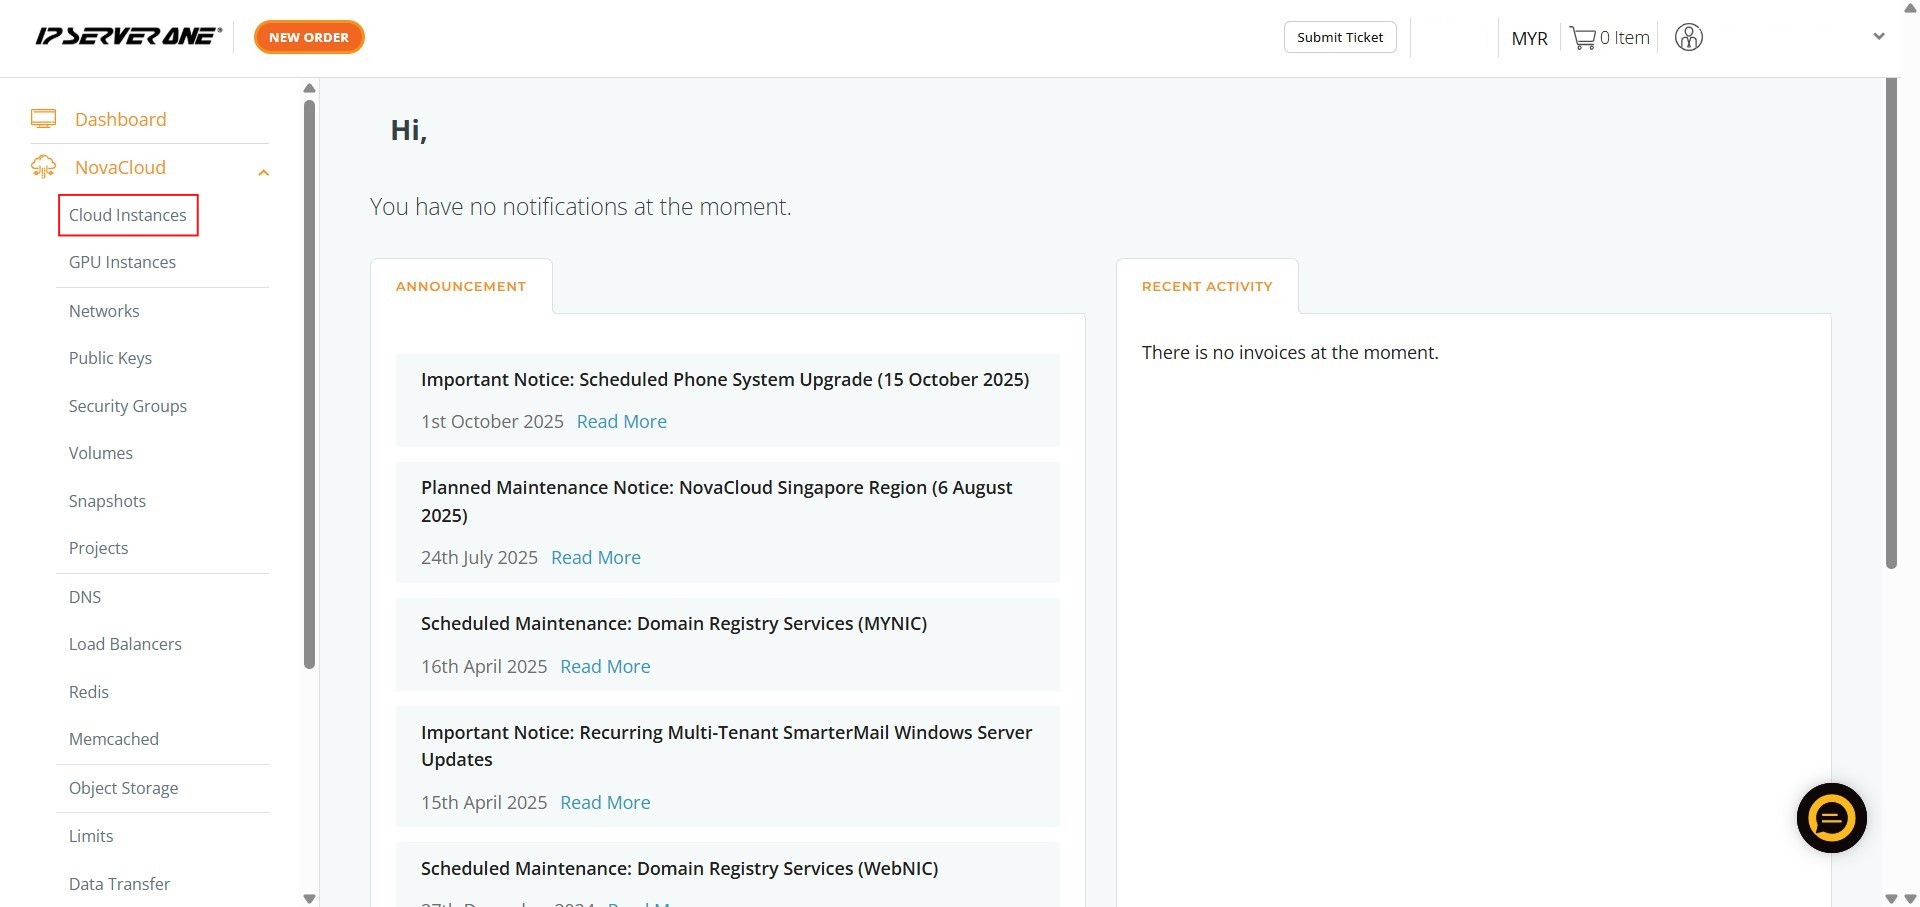
Step 2: Click Cloud Instances
- Navigate to the management interface for your virtual machine resources.
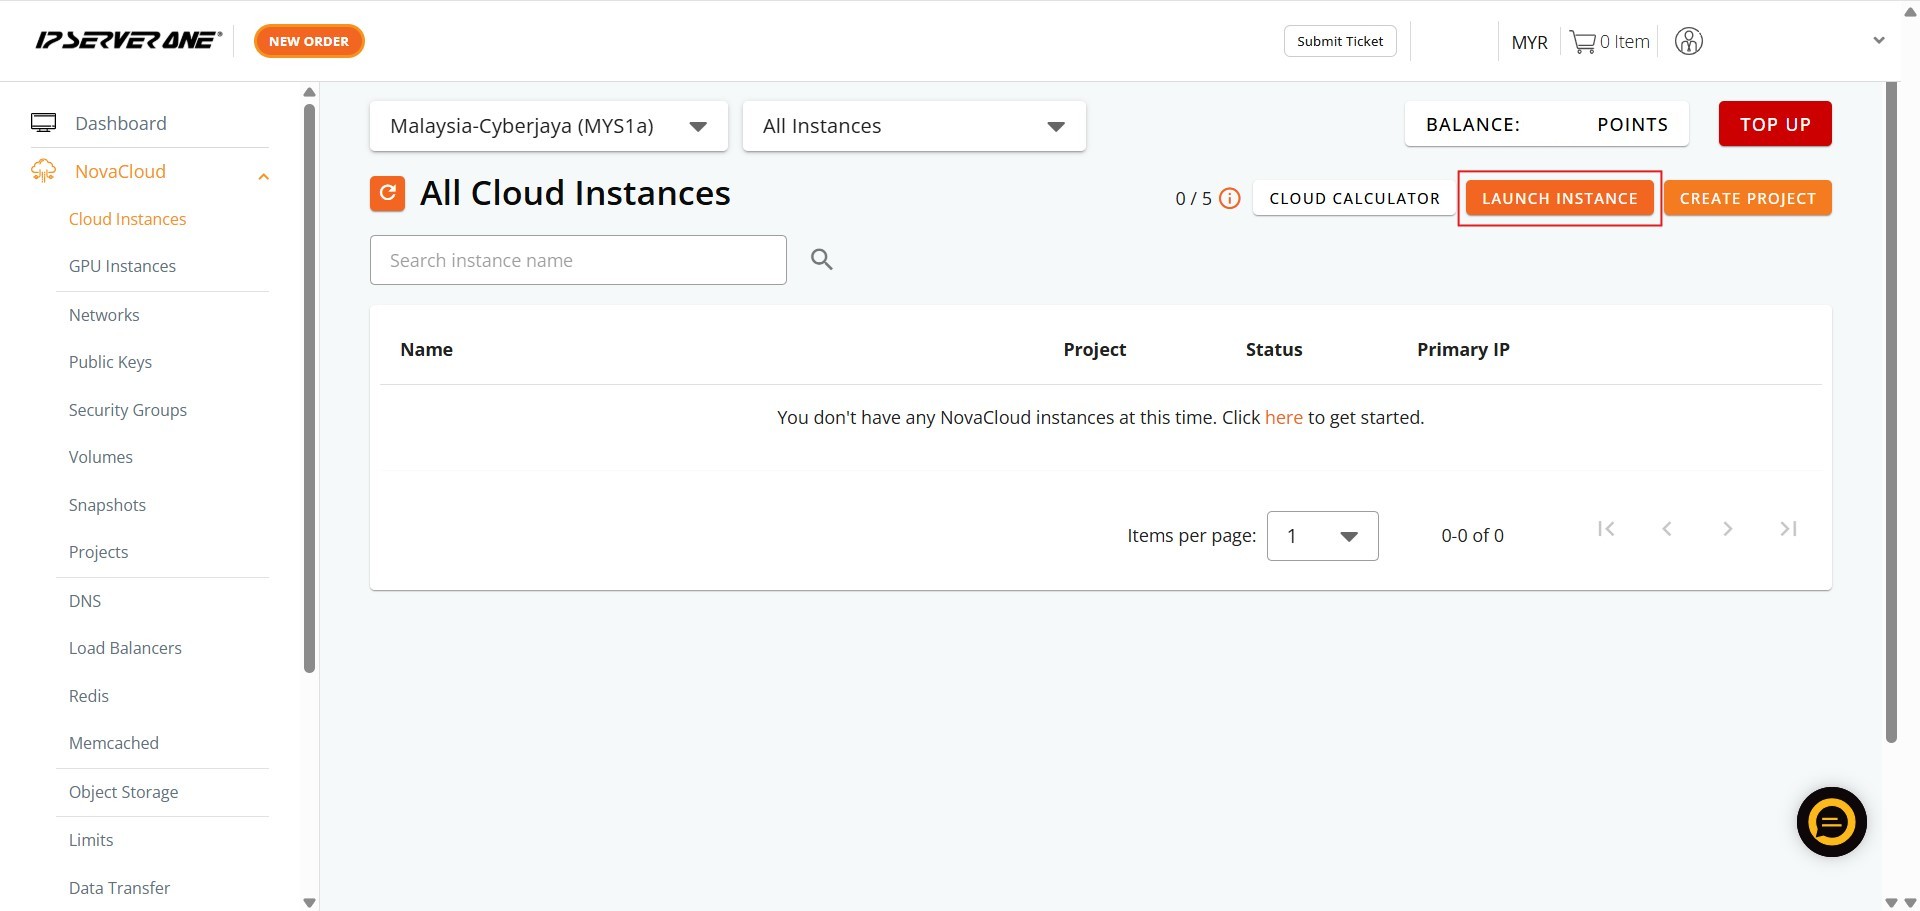
Step 3: Click Launch Project
- Initiate the process for deploying a new cloud resource.
Step 4: Click Create Instance from One-Click Application
- Select the accelerated deployment method designed for provisioning instances pre-installed with your chosen application (database).

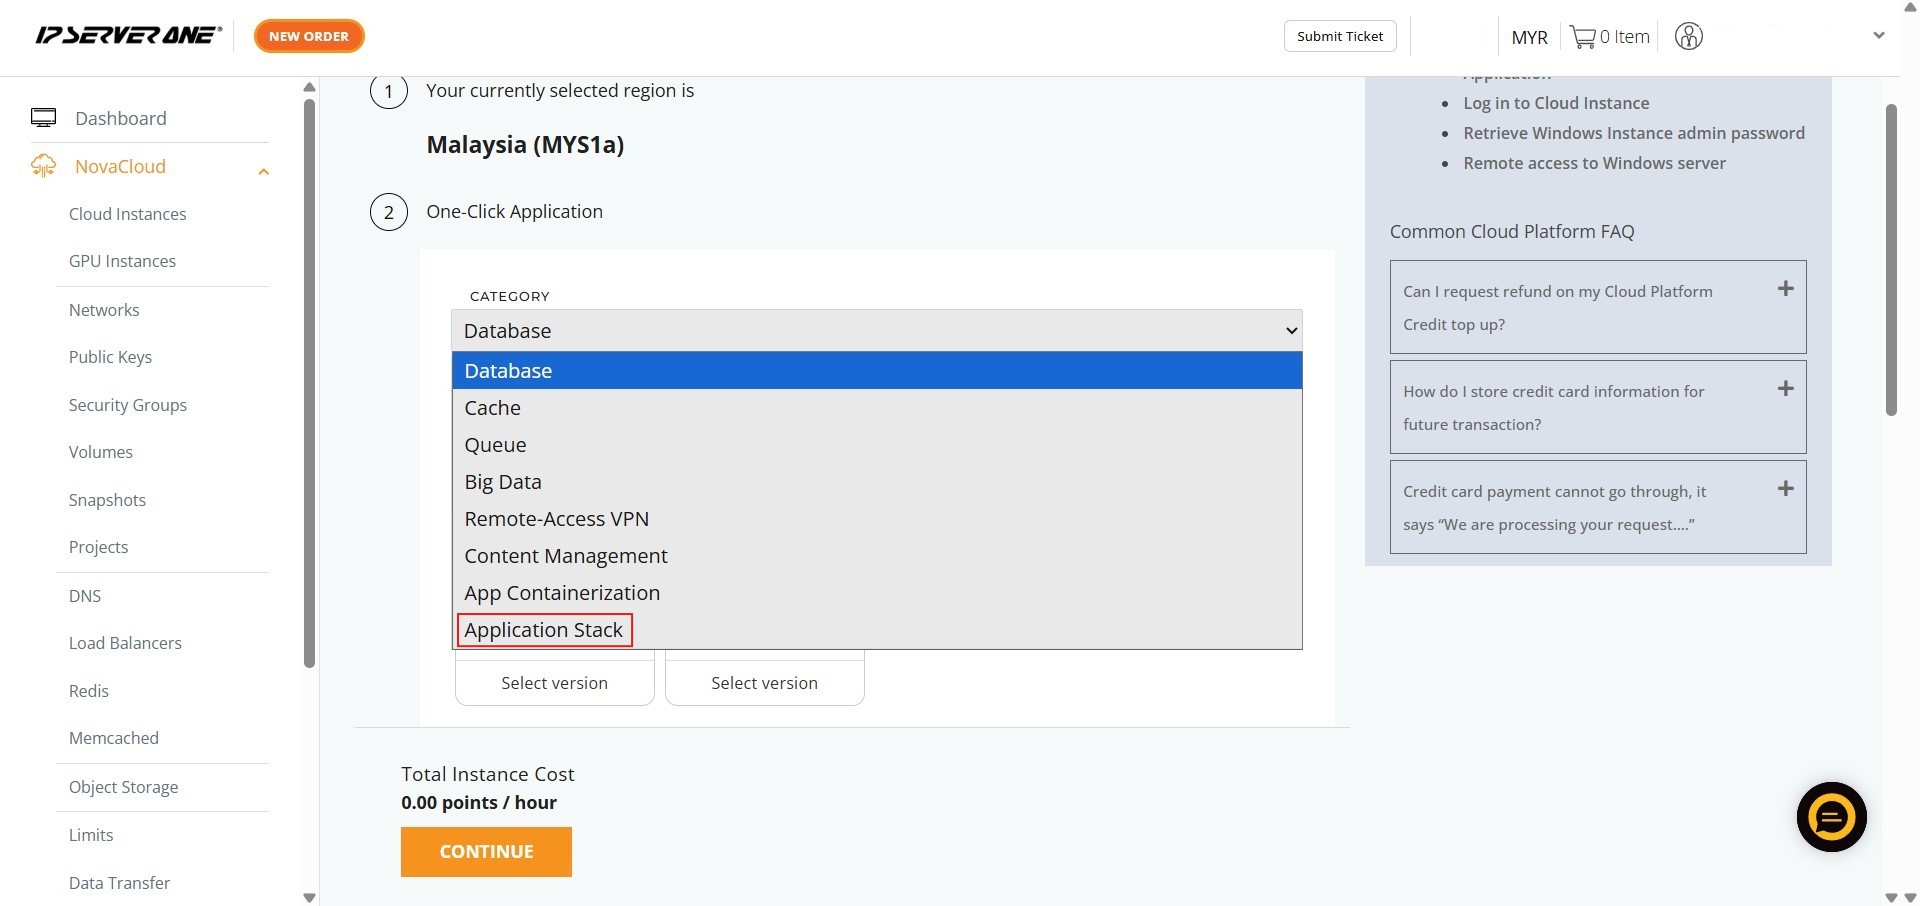
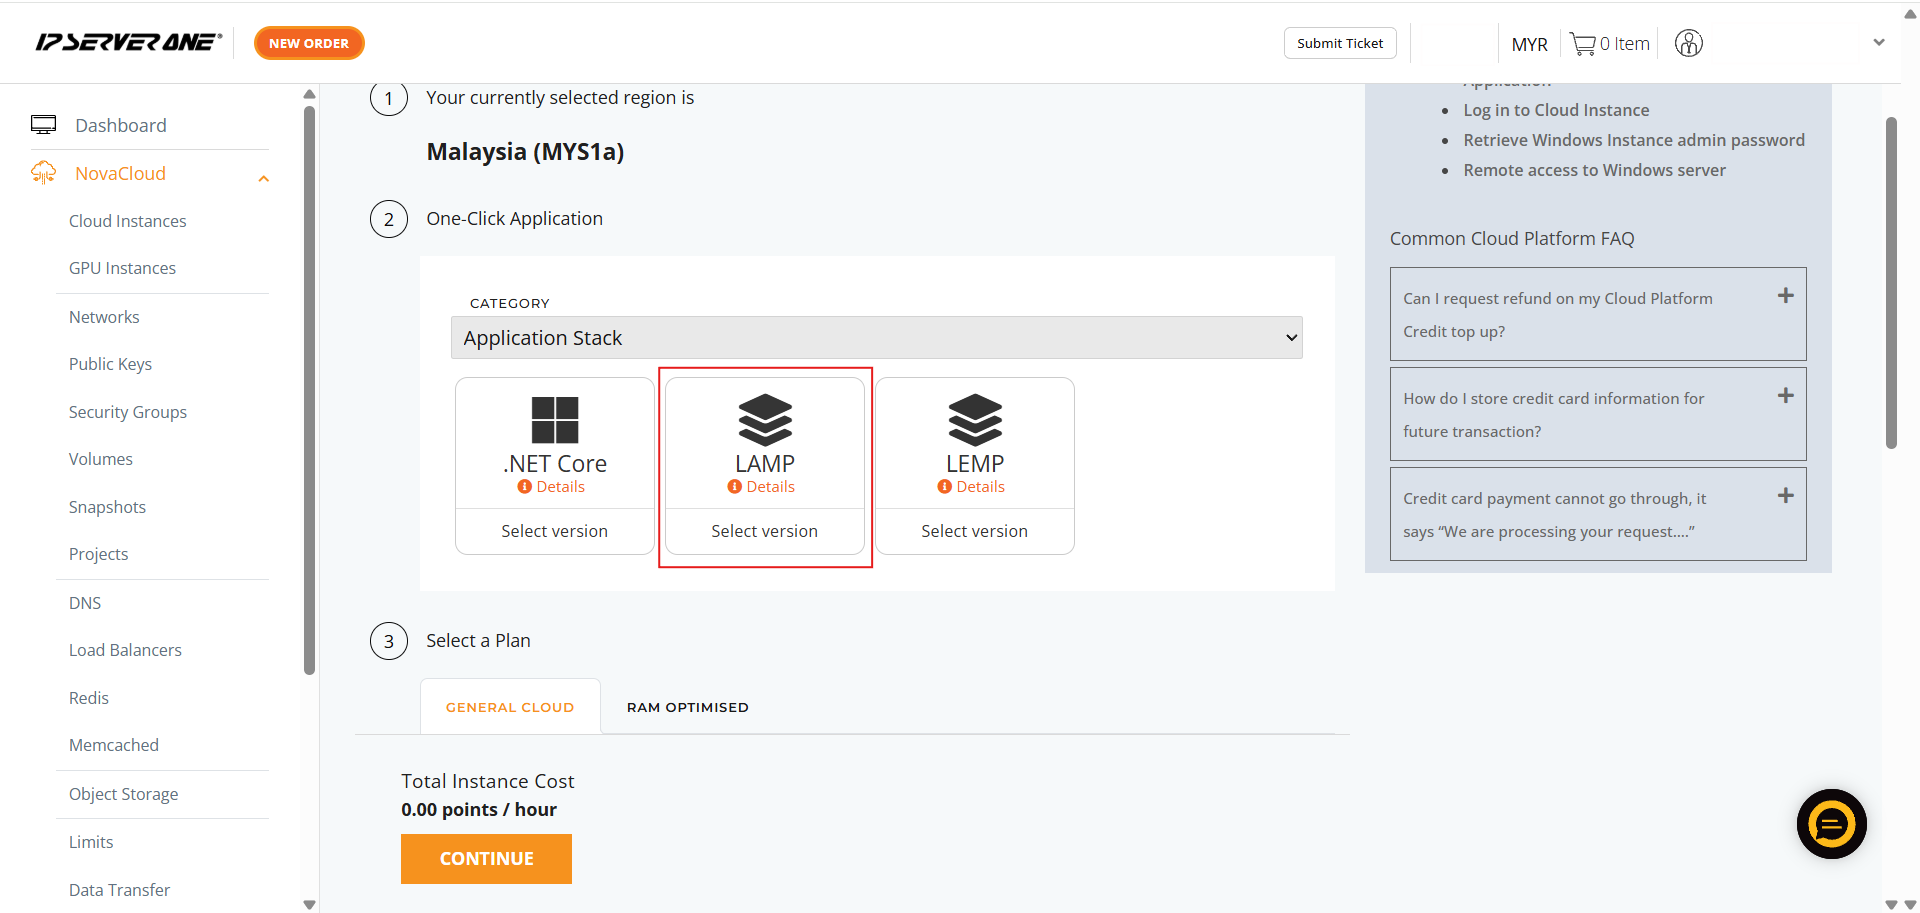
Step 5: Choose Category as Application Stack and Select LAMP and Choose the Version
- Ensure the Category is selected as Application Stack.
- Select the specific application, LAMP
- Choose the required version you wish to deploy

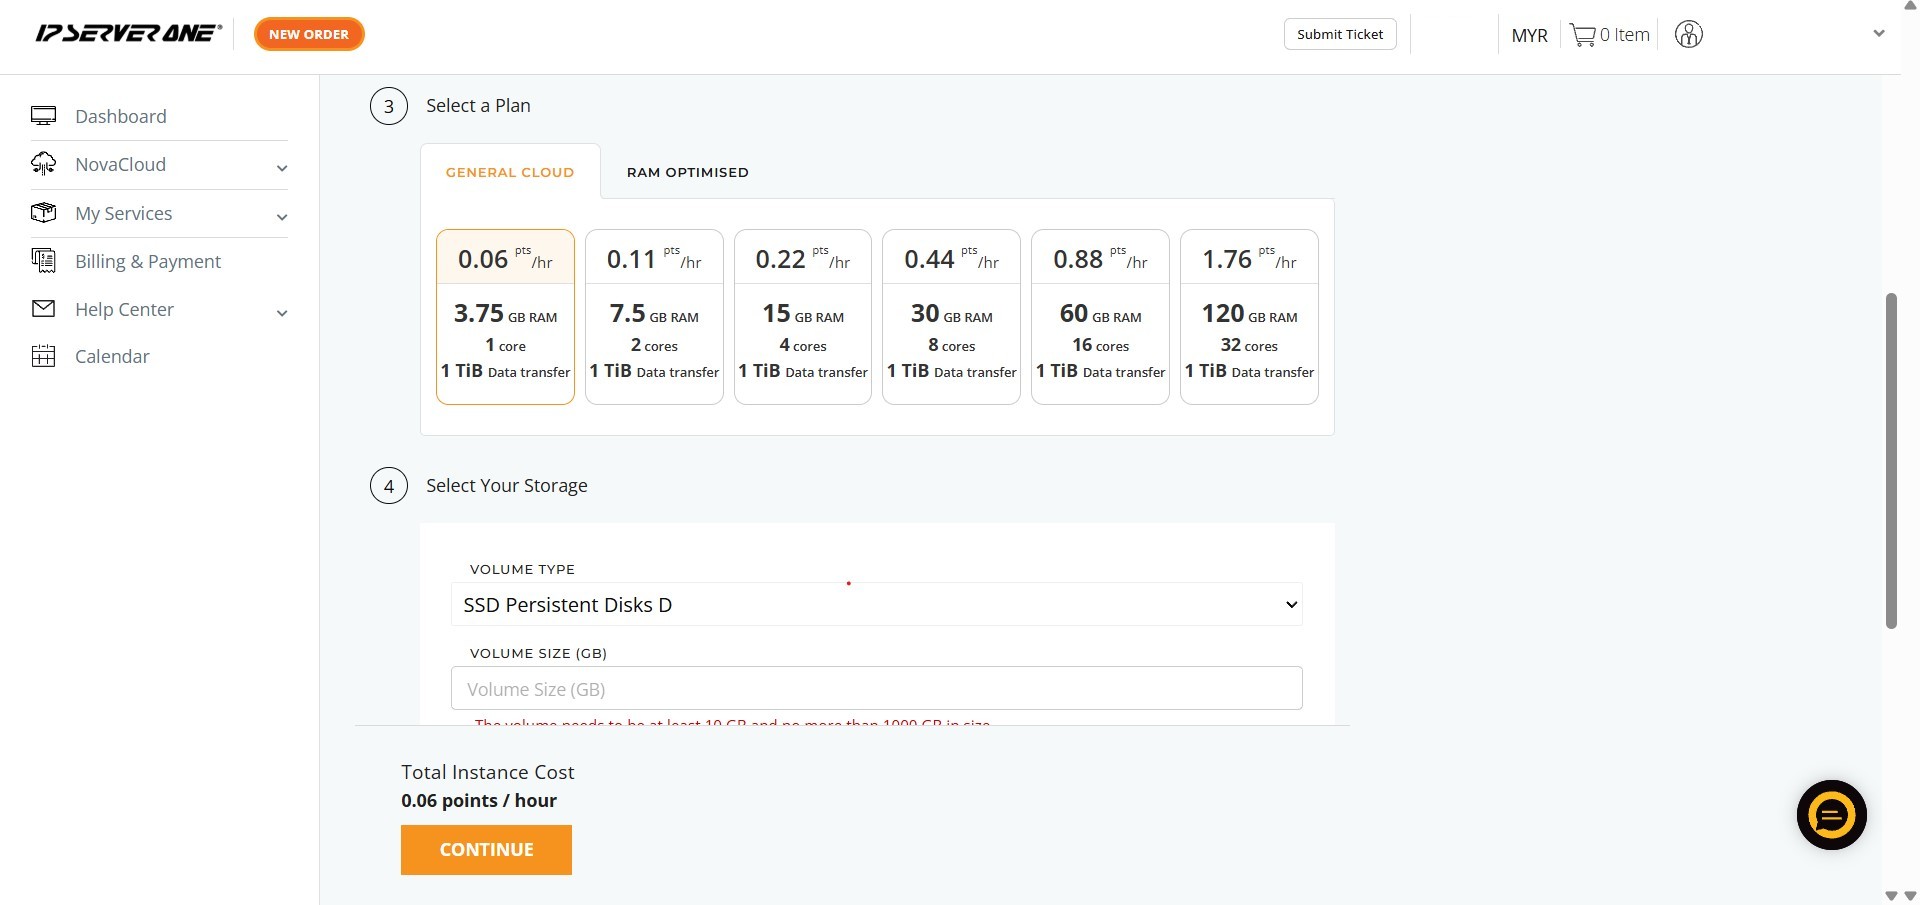
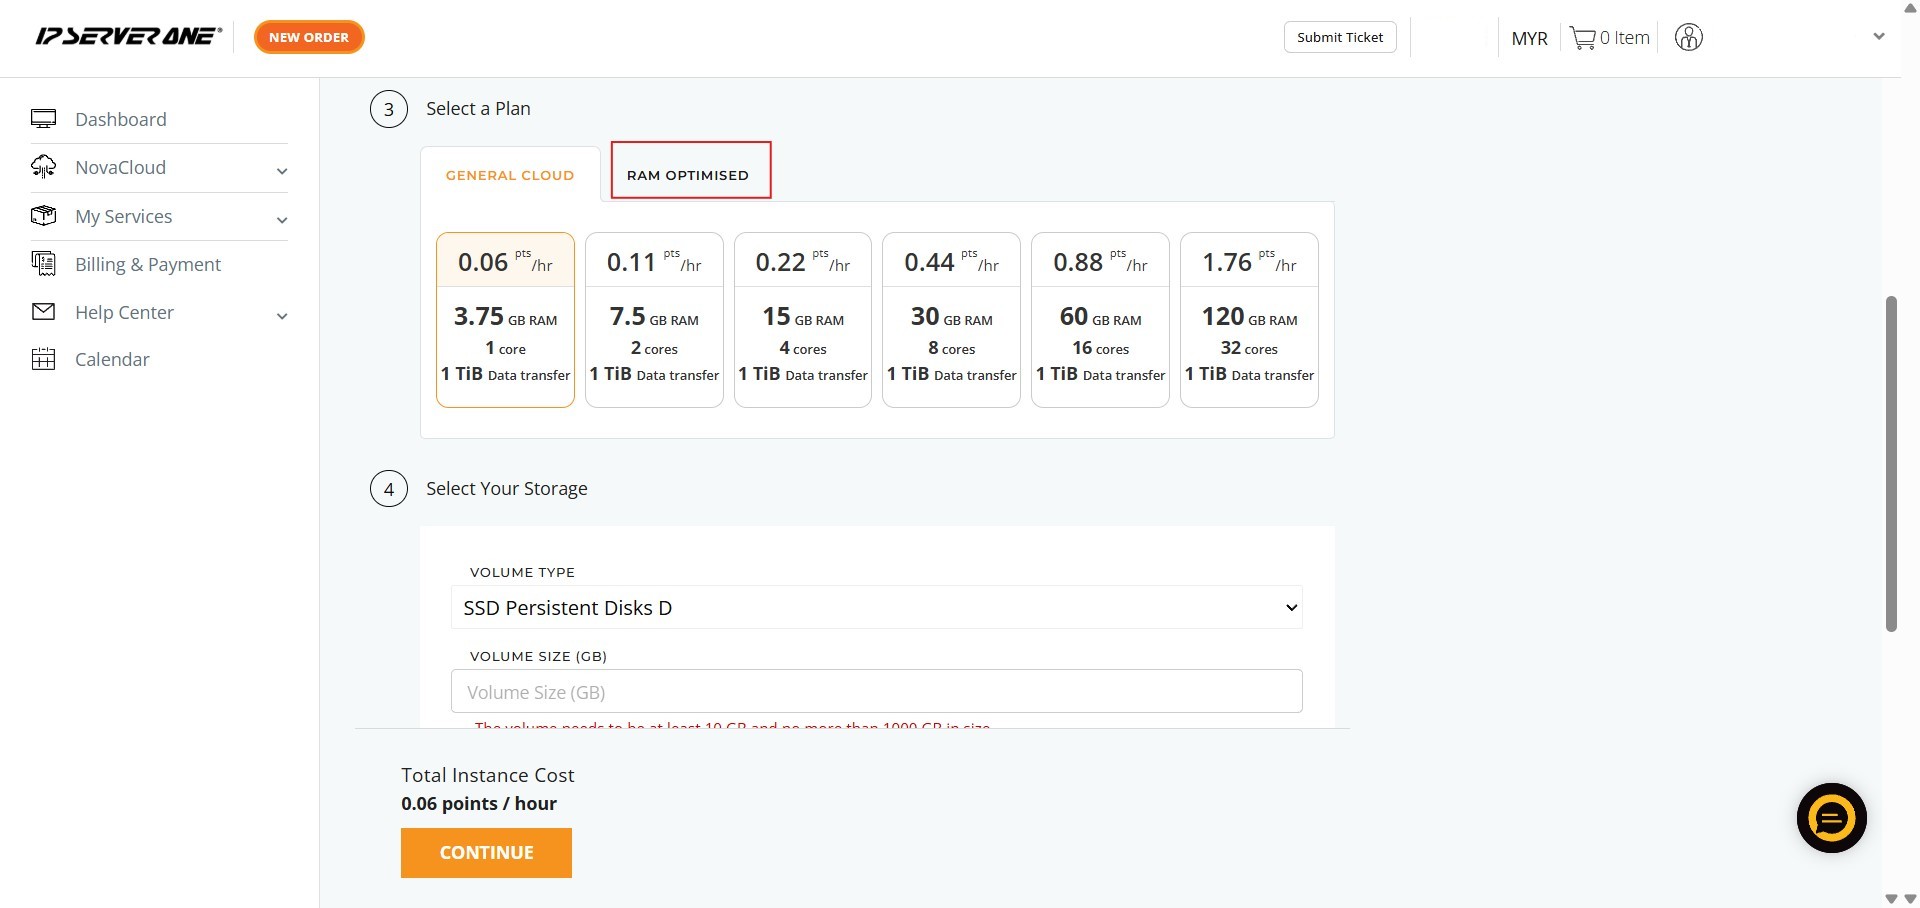
Step 6: Select a Plan
- Choose the appropriate resource plan (CPU, RAM, data transfer limits) for your database instance.

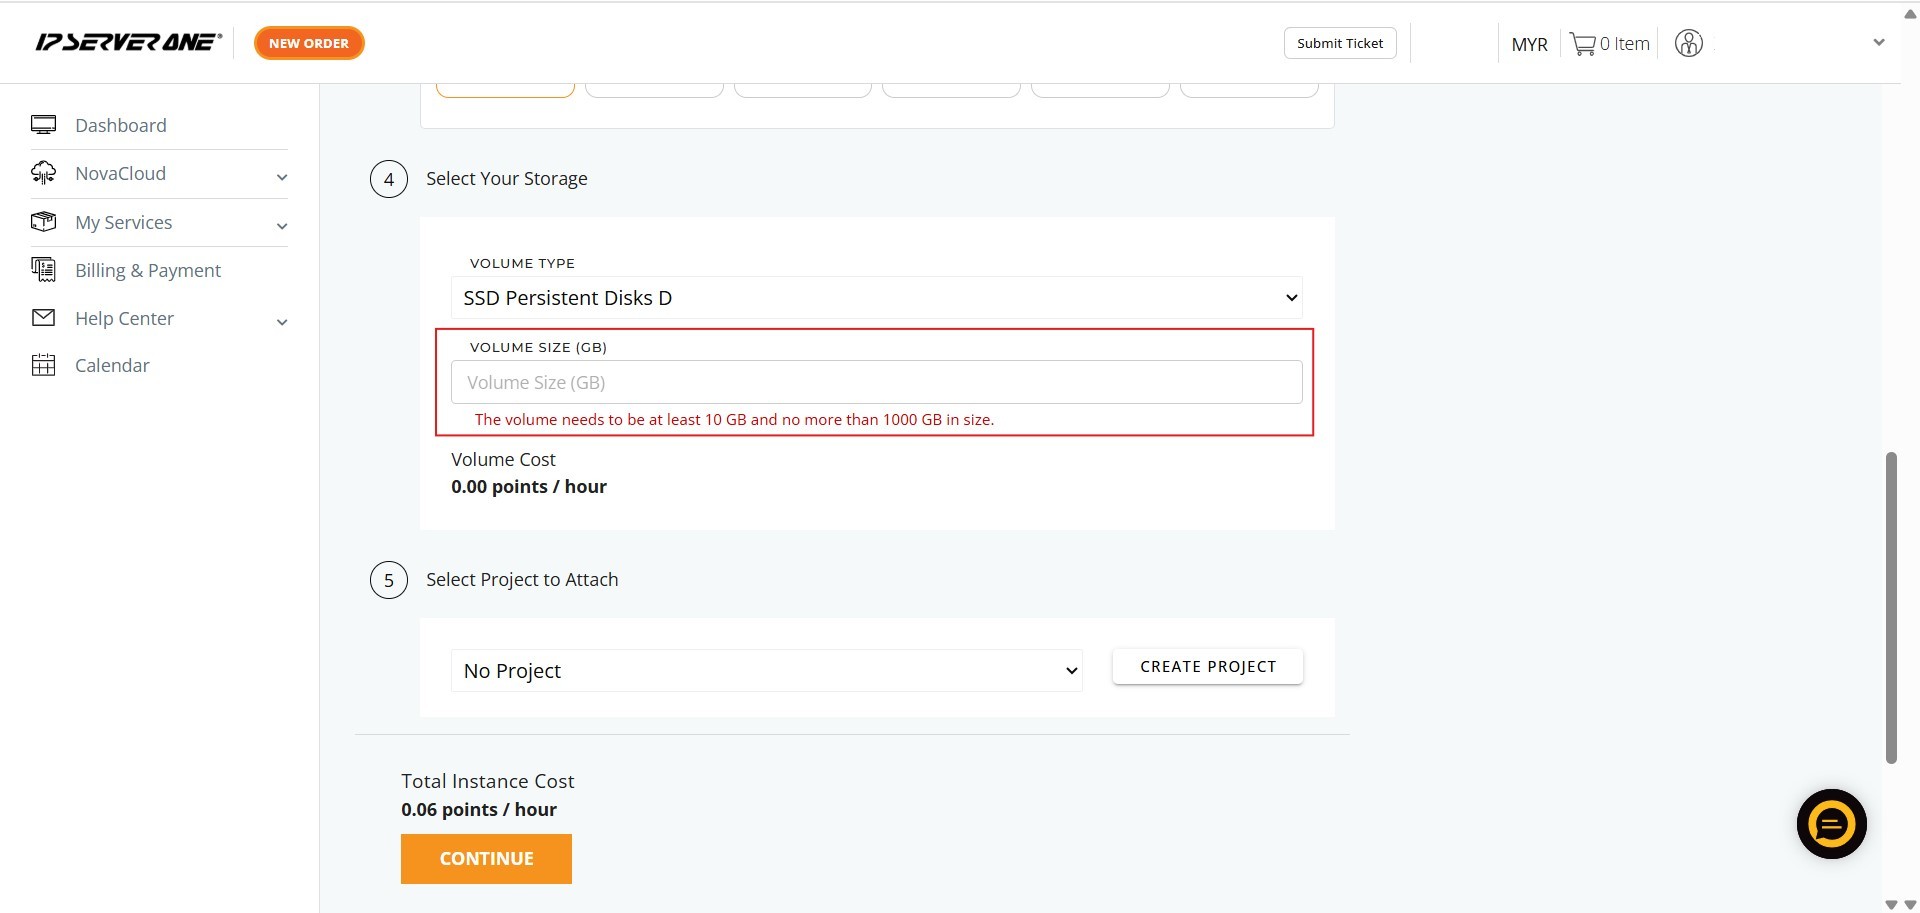
Step 7: Select Your Storage and Key in Volume Size
- Define the volume size for your storage.
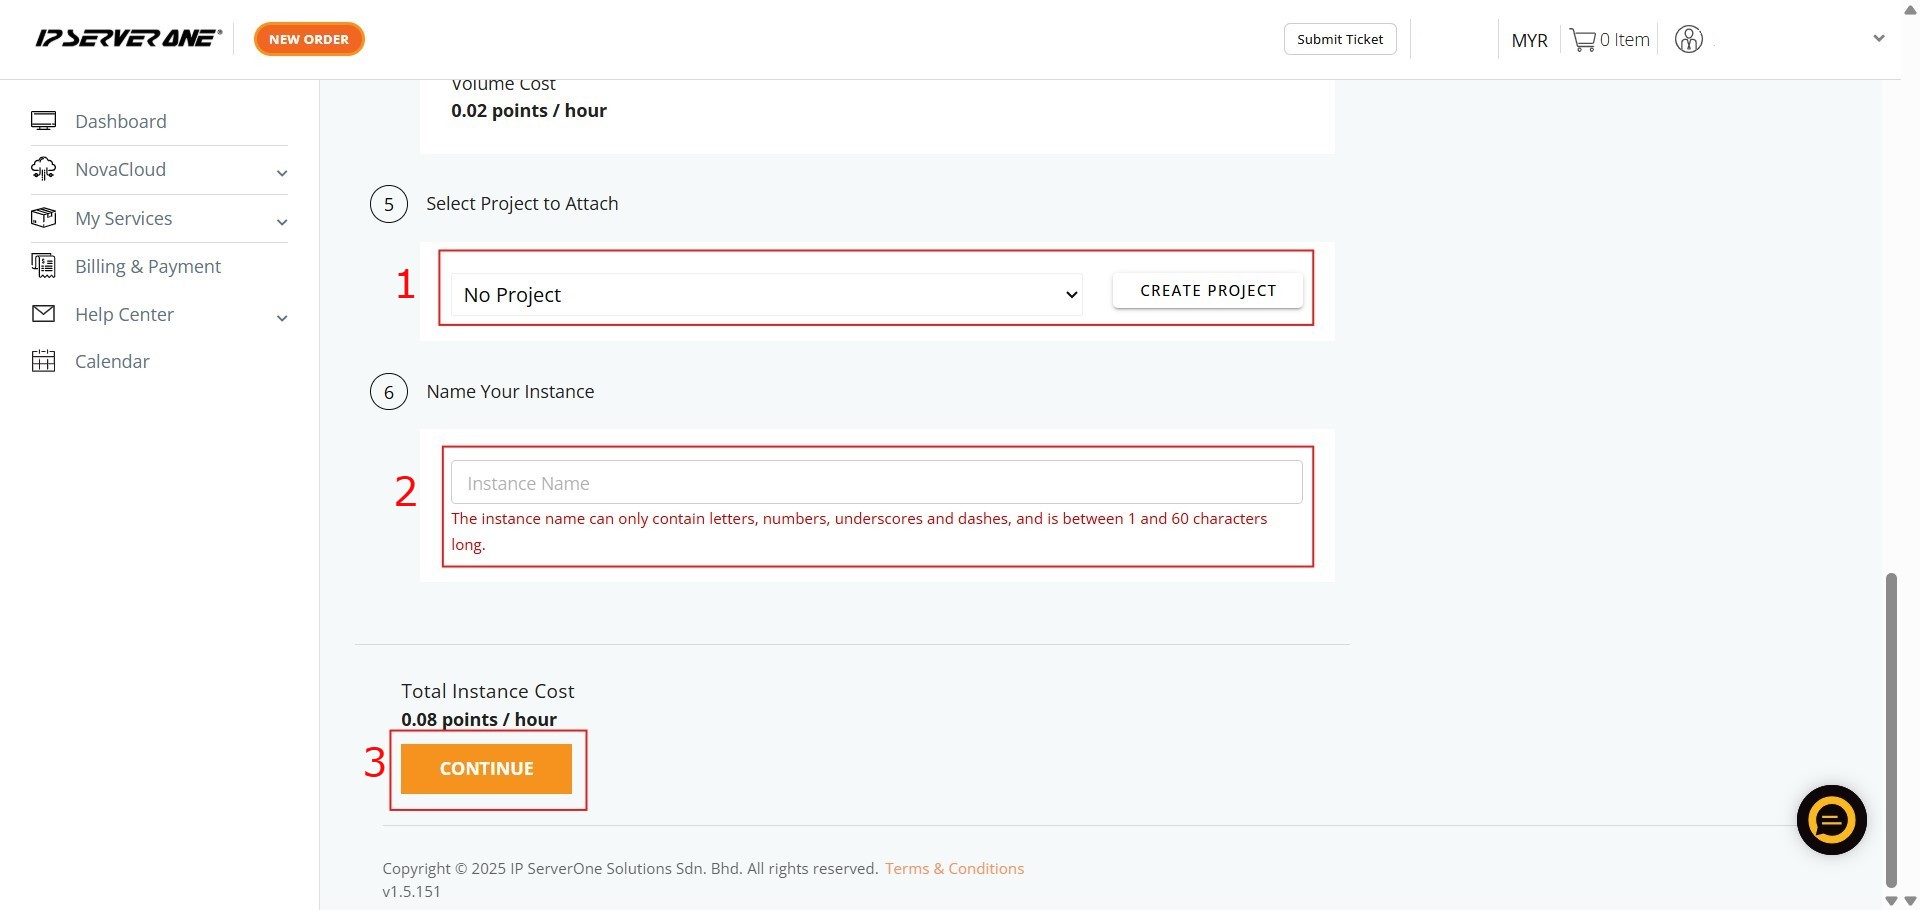
Step 8: Select Project to Attach, Key in Name Instance and Click Continue
- Associate the instance with an existing project (if desired) and provide a unique name for your instance.
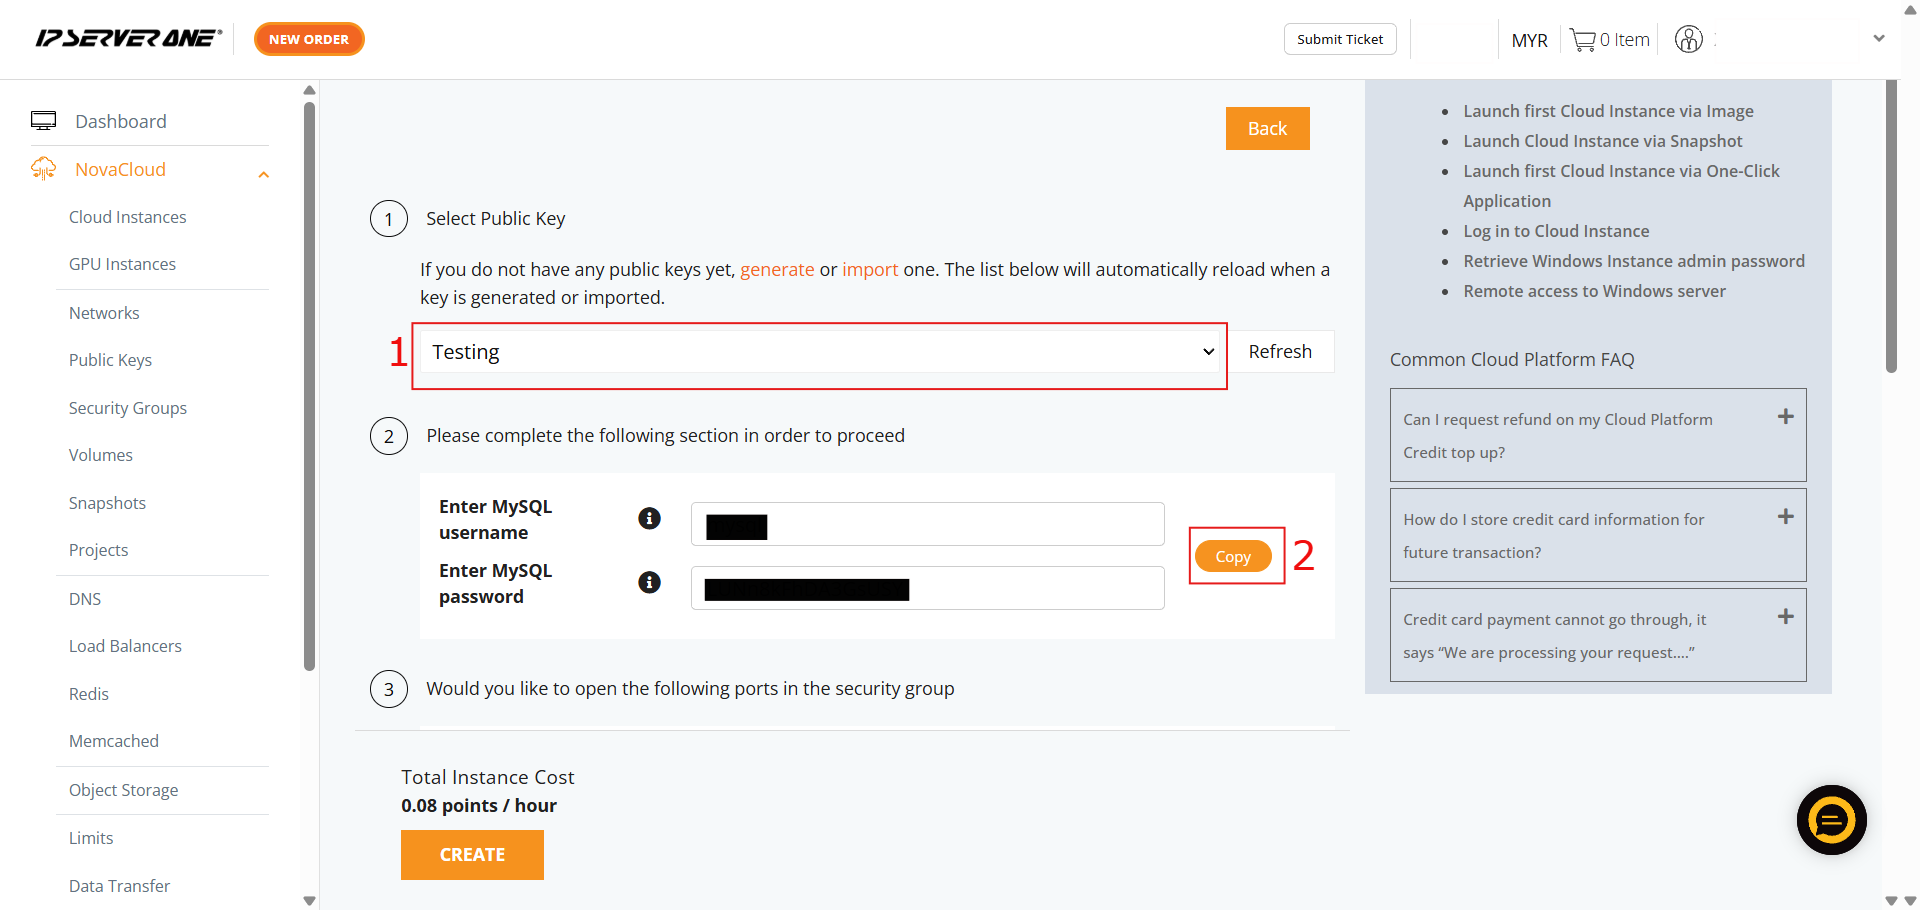
Step 9: Select Public Key and Copy MYSQL Information
- Select the necessary Public Key.
- Copy the provided MYSQL information.
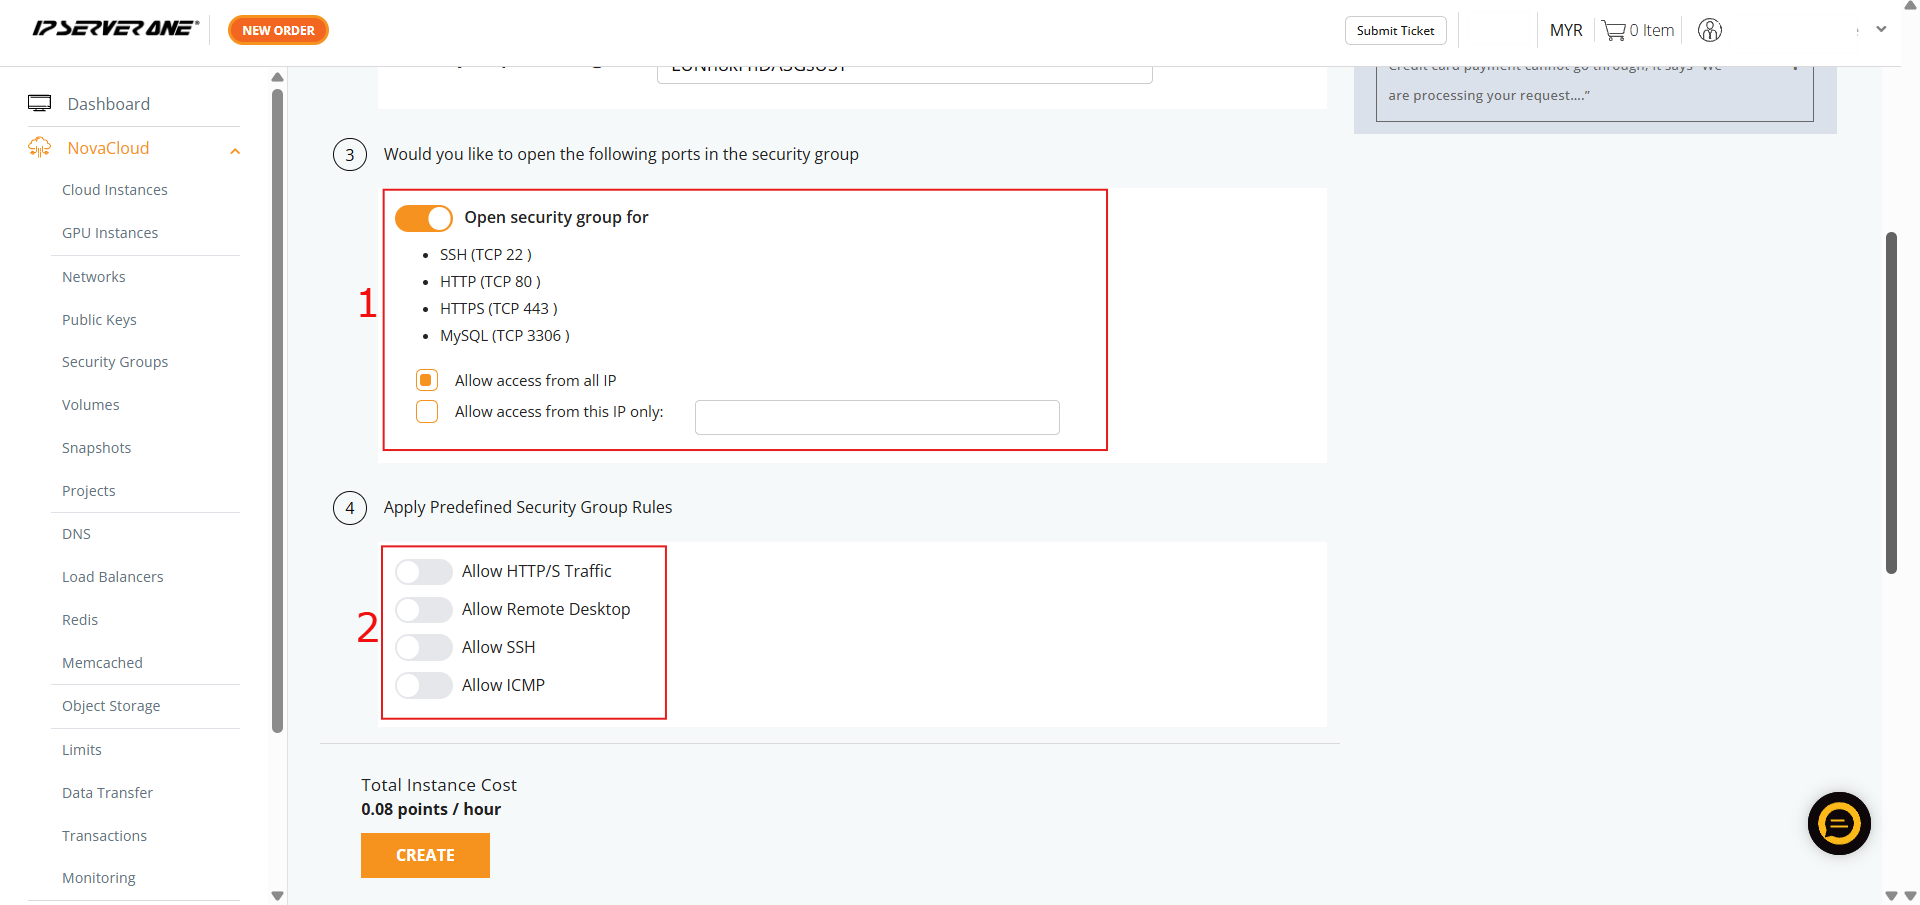
Step 10: Configure Port of Security Group and Security Group Rules
- Define which ports should be opened in the security group for .NET (e.g., specific TCP ports)
- Apply predefined security rules (e.g., allowing SSH or HTTP/S traffic).
Step 11: Assign Security Groups, Select Network to Attach and Click Create
- Apply specific existing security groups (if needed)
- Select the network(s) to attach.
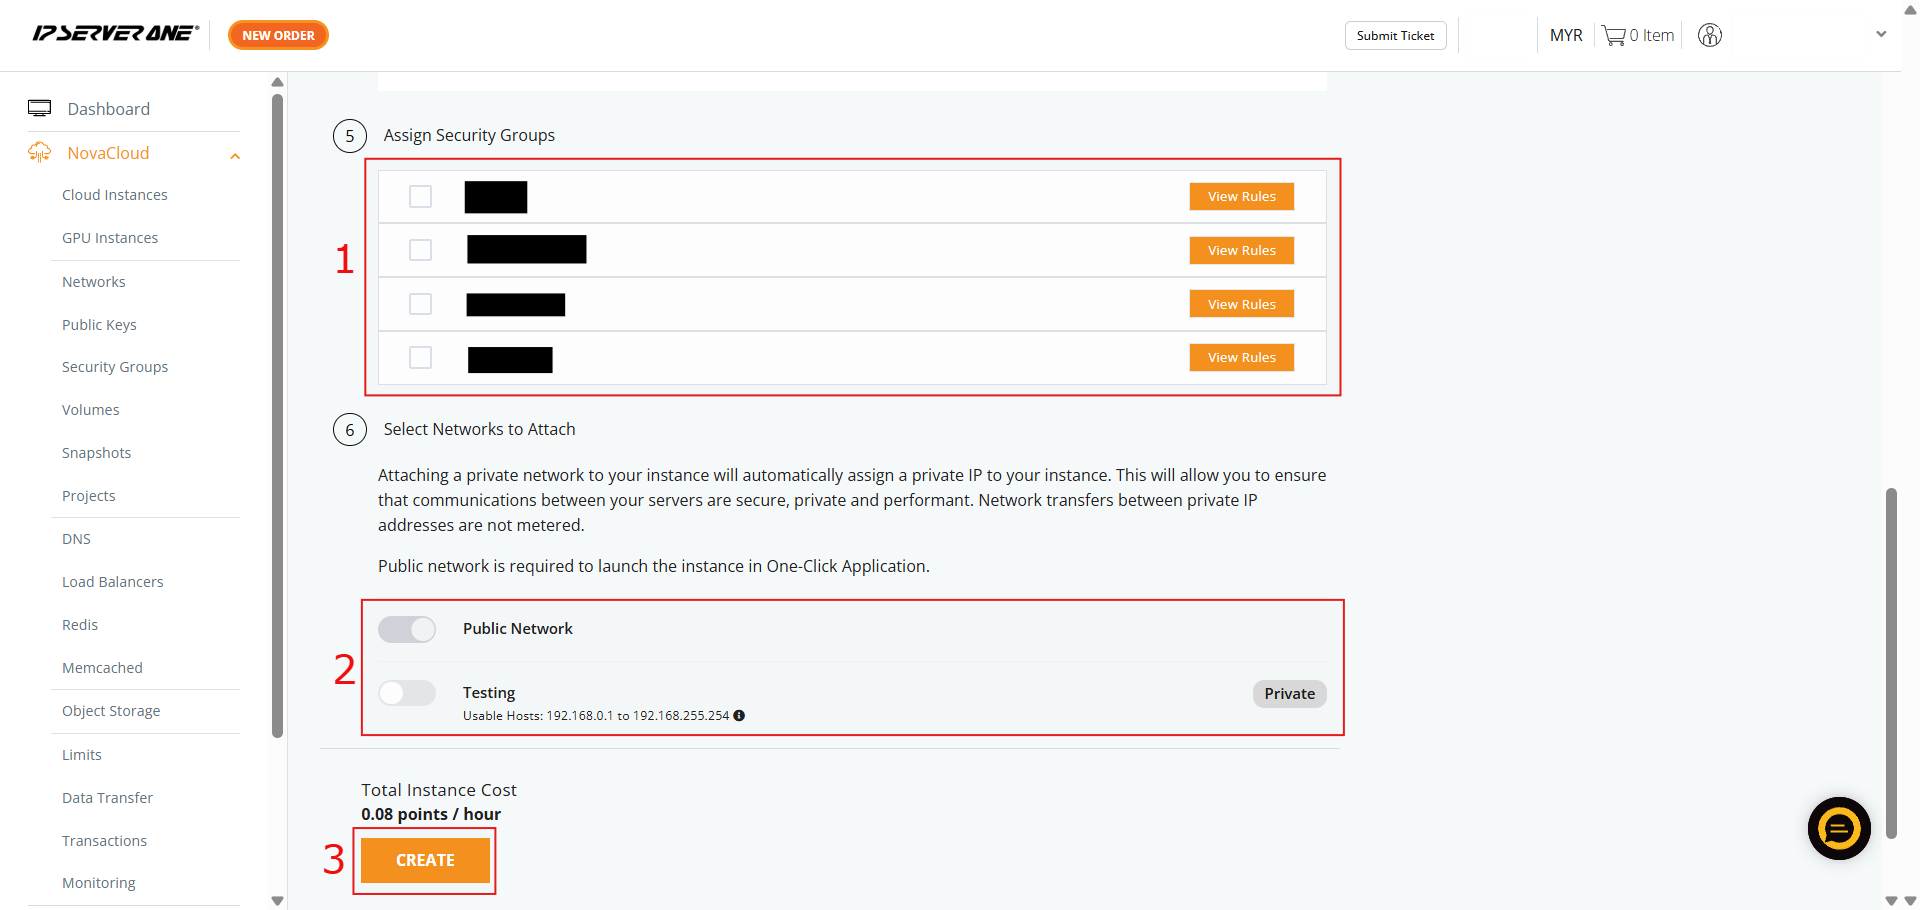
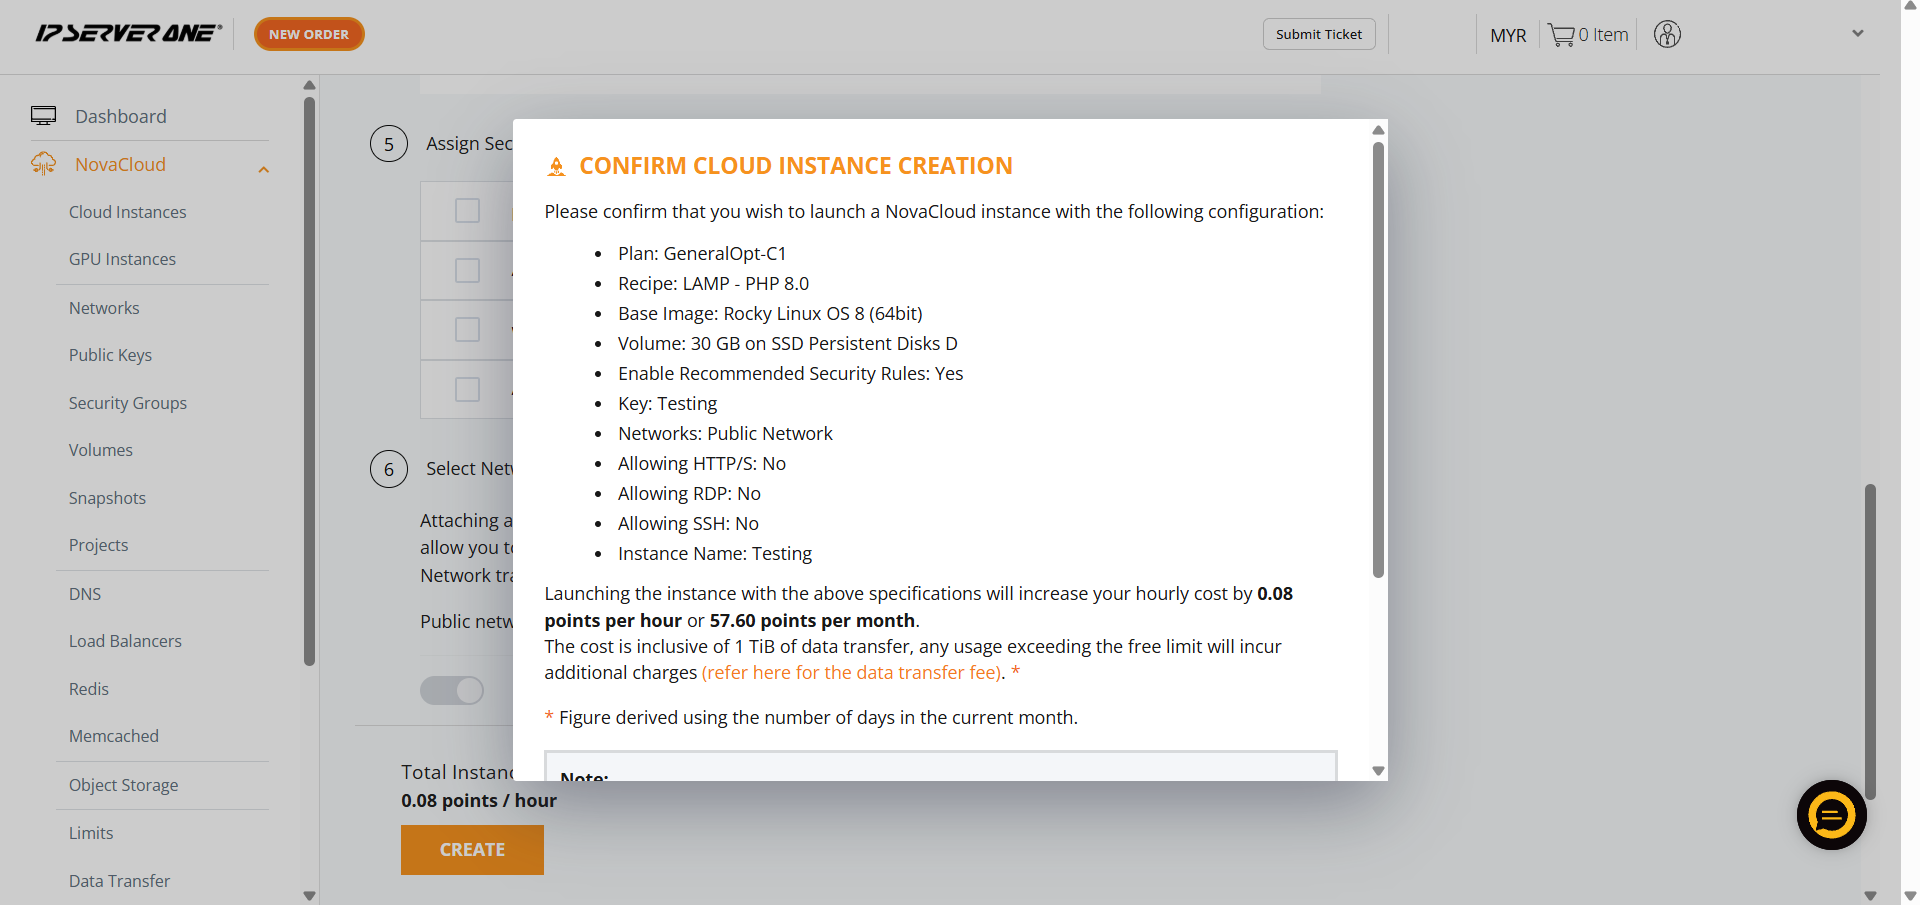
Step 12: Scroll and Click Create
- A confirmation pop-up will appear. Review the specifications, scroll to the bottom, and click Create to launch the instance.

Step 13: Click Instance
- Click the “Instances” button in the confirmation pop-up to navigate to the list of Cloud Instances.
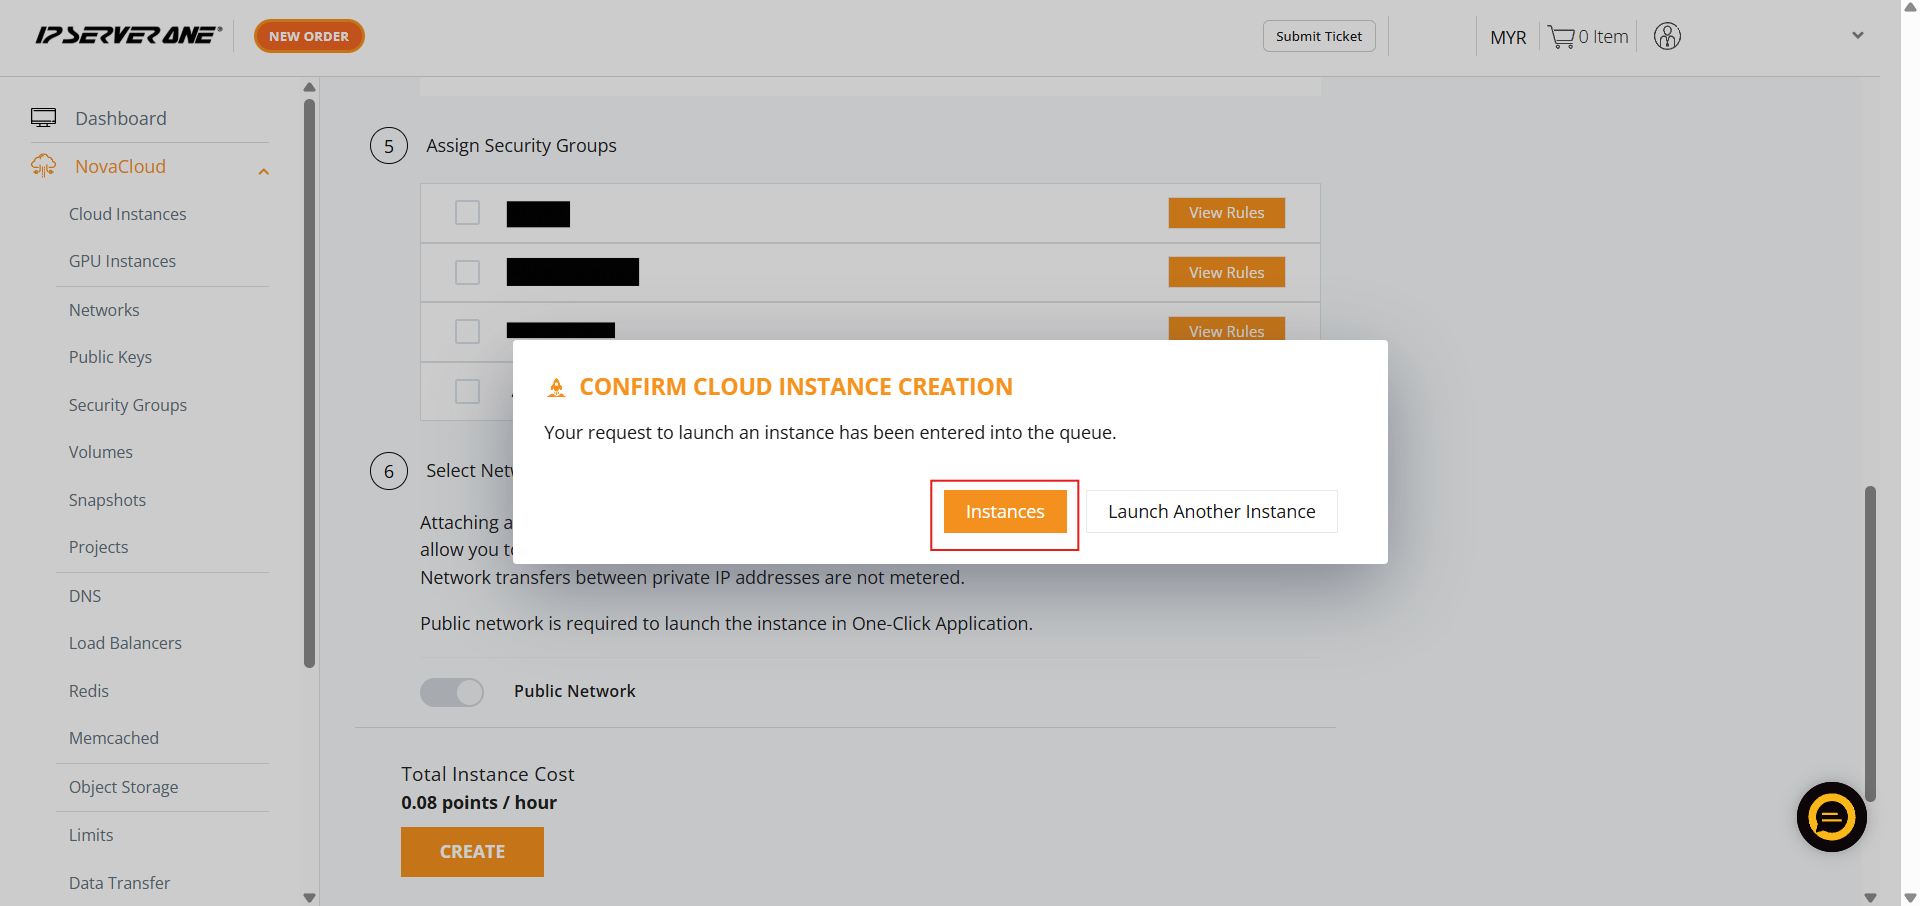
Step 14: Success
- Your request to launch the instance has been queued, and the provisioning process is underway (status “Creating” or “Active”).

Conclusion:
By following the detailed steps, you have successfully deployed a pre-configured LAMP (Linux, Apache, MySQL, PHP) instance using the streamlined Create Instance from One-Click Application feature within the NovaCloud Customer Portal. This process involved selecting the Application Stack category [162, Step 290], specifying a persistent Volume Size (GB) between 10 GB and 1000 GB, and choosing an appropriate resource plan.
A critical step in deploying the LAMP stack was to select your Public Key and copy the MySQL information. This credential is essential for accessing and managing your database component. After clicking “Create”, your new instance was successfully queued for provisioning, and you can view its status (“Creating” or “Active”) on the Cloud Instances page.
Should you encounter any issues or have any questions during the provisioning or configuration of your new Big Data instance, our support team at IPSERVERONE is always here to assist you. Don’t hesitate to reach out to us at support@ipserverone.com or contact the 24×7 Hotline +603 2026 1688.