Search Our Database
How to Create a Folder using File Manager in cPanel
Introduction
This Knowledge Base article provides a step-by-step guide on How to Create a Folder using File Manager in cPanel. Creating folders helps you organize your files better. For example, you might create separate folders for images, CSS files, or backups.
Prerequisite
- Access to your cPanel login page.
Step-by-Step Guide
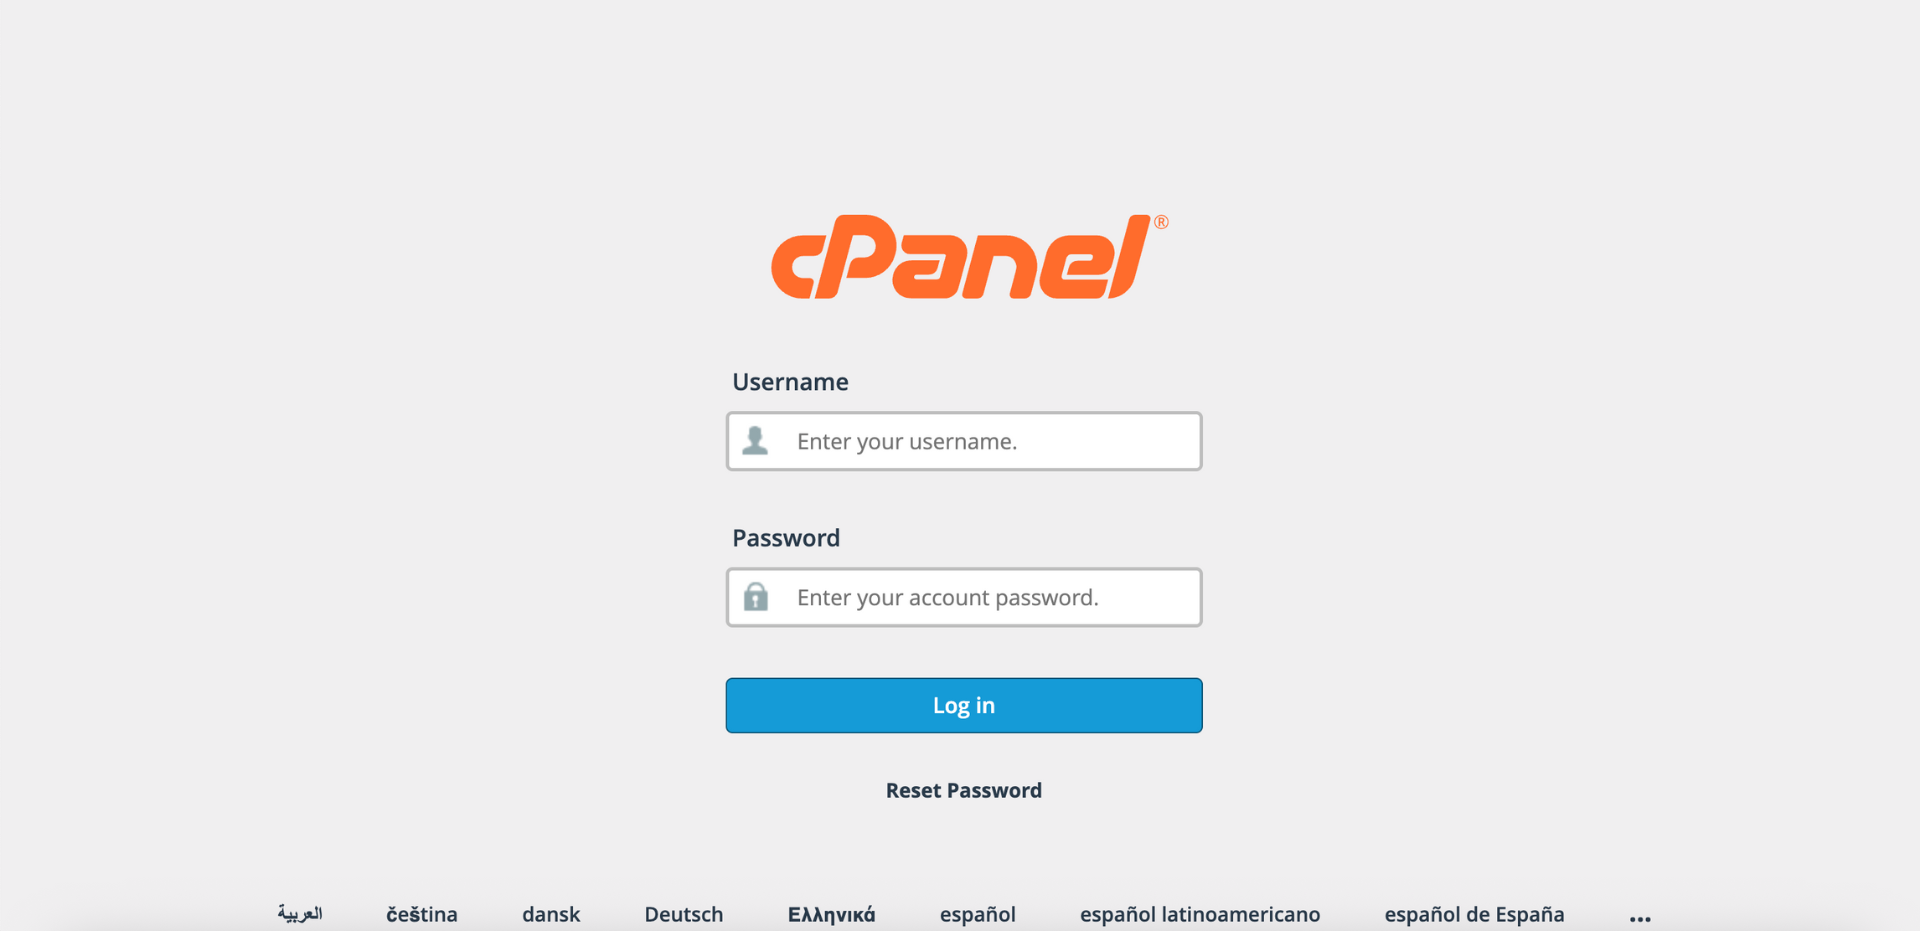
Step 1: Log in to cPanel
- Access and log in to your cPanel account using your username and password.
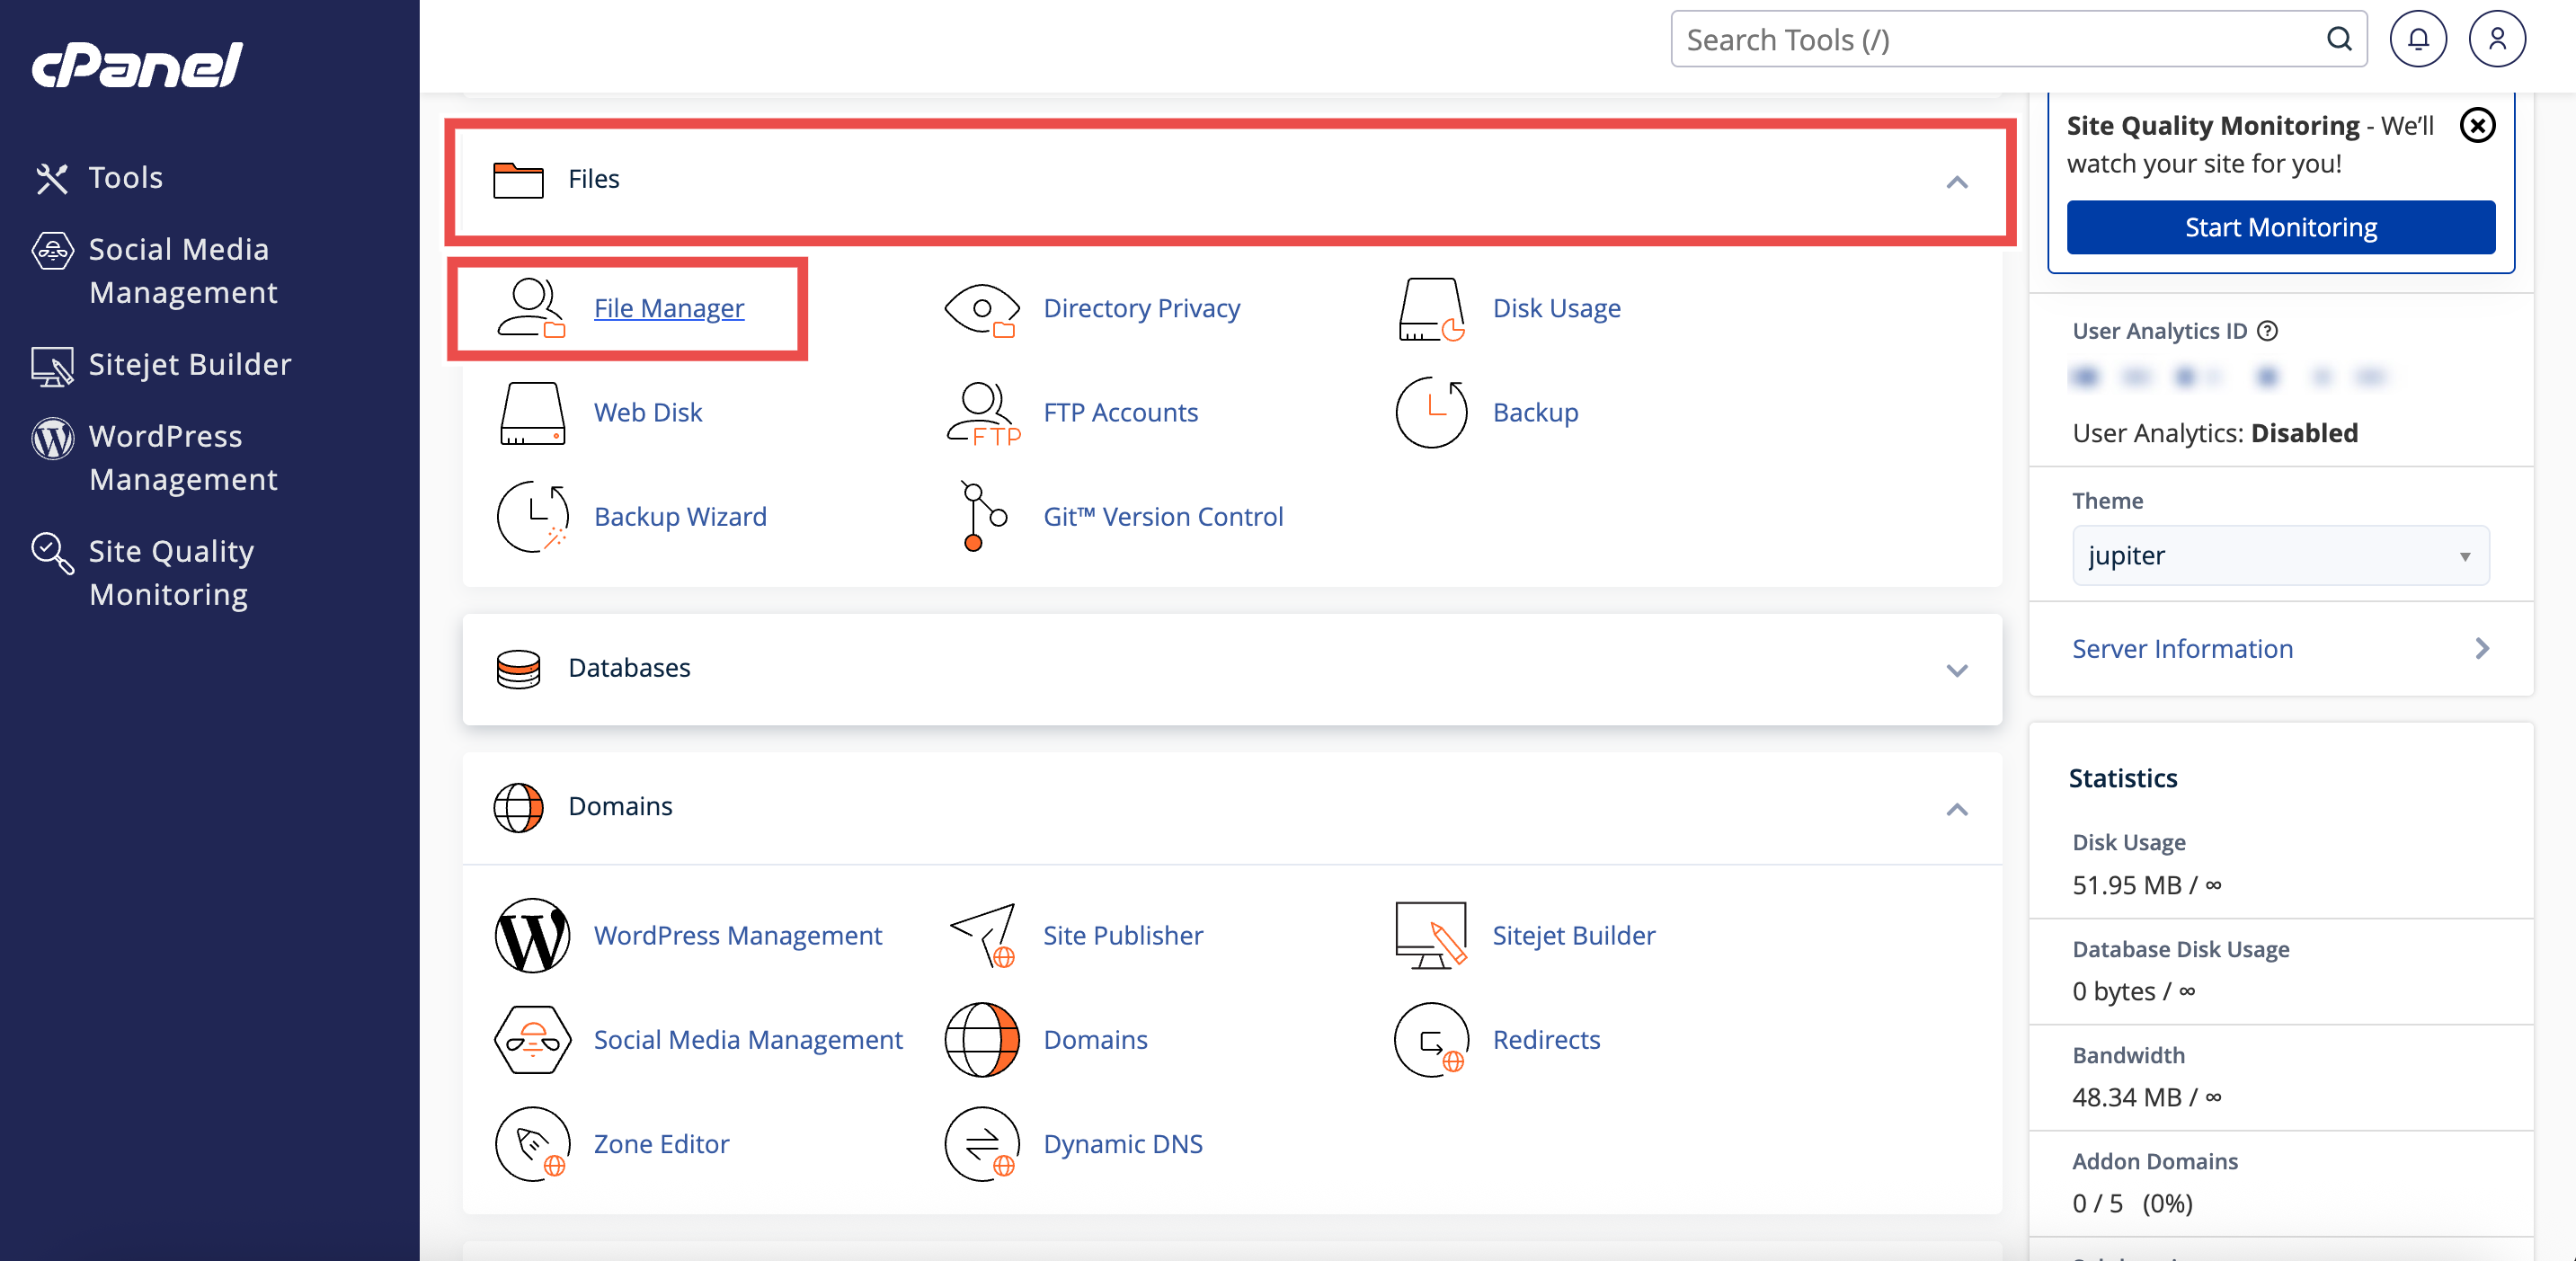
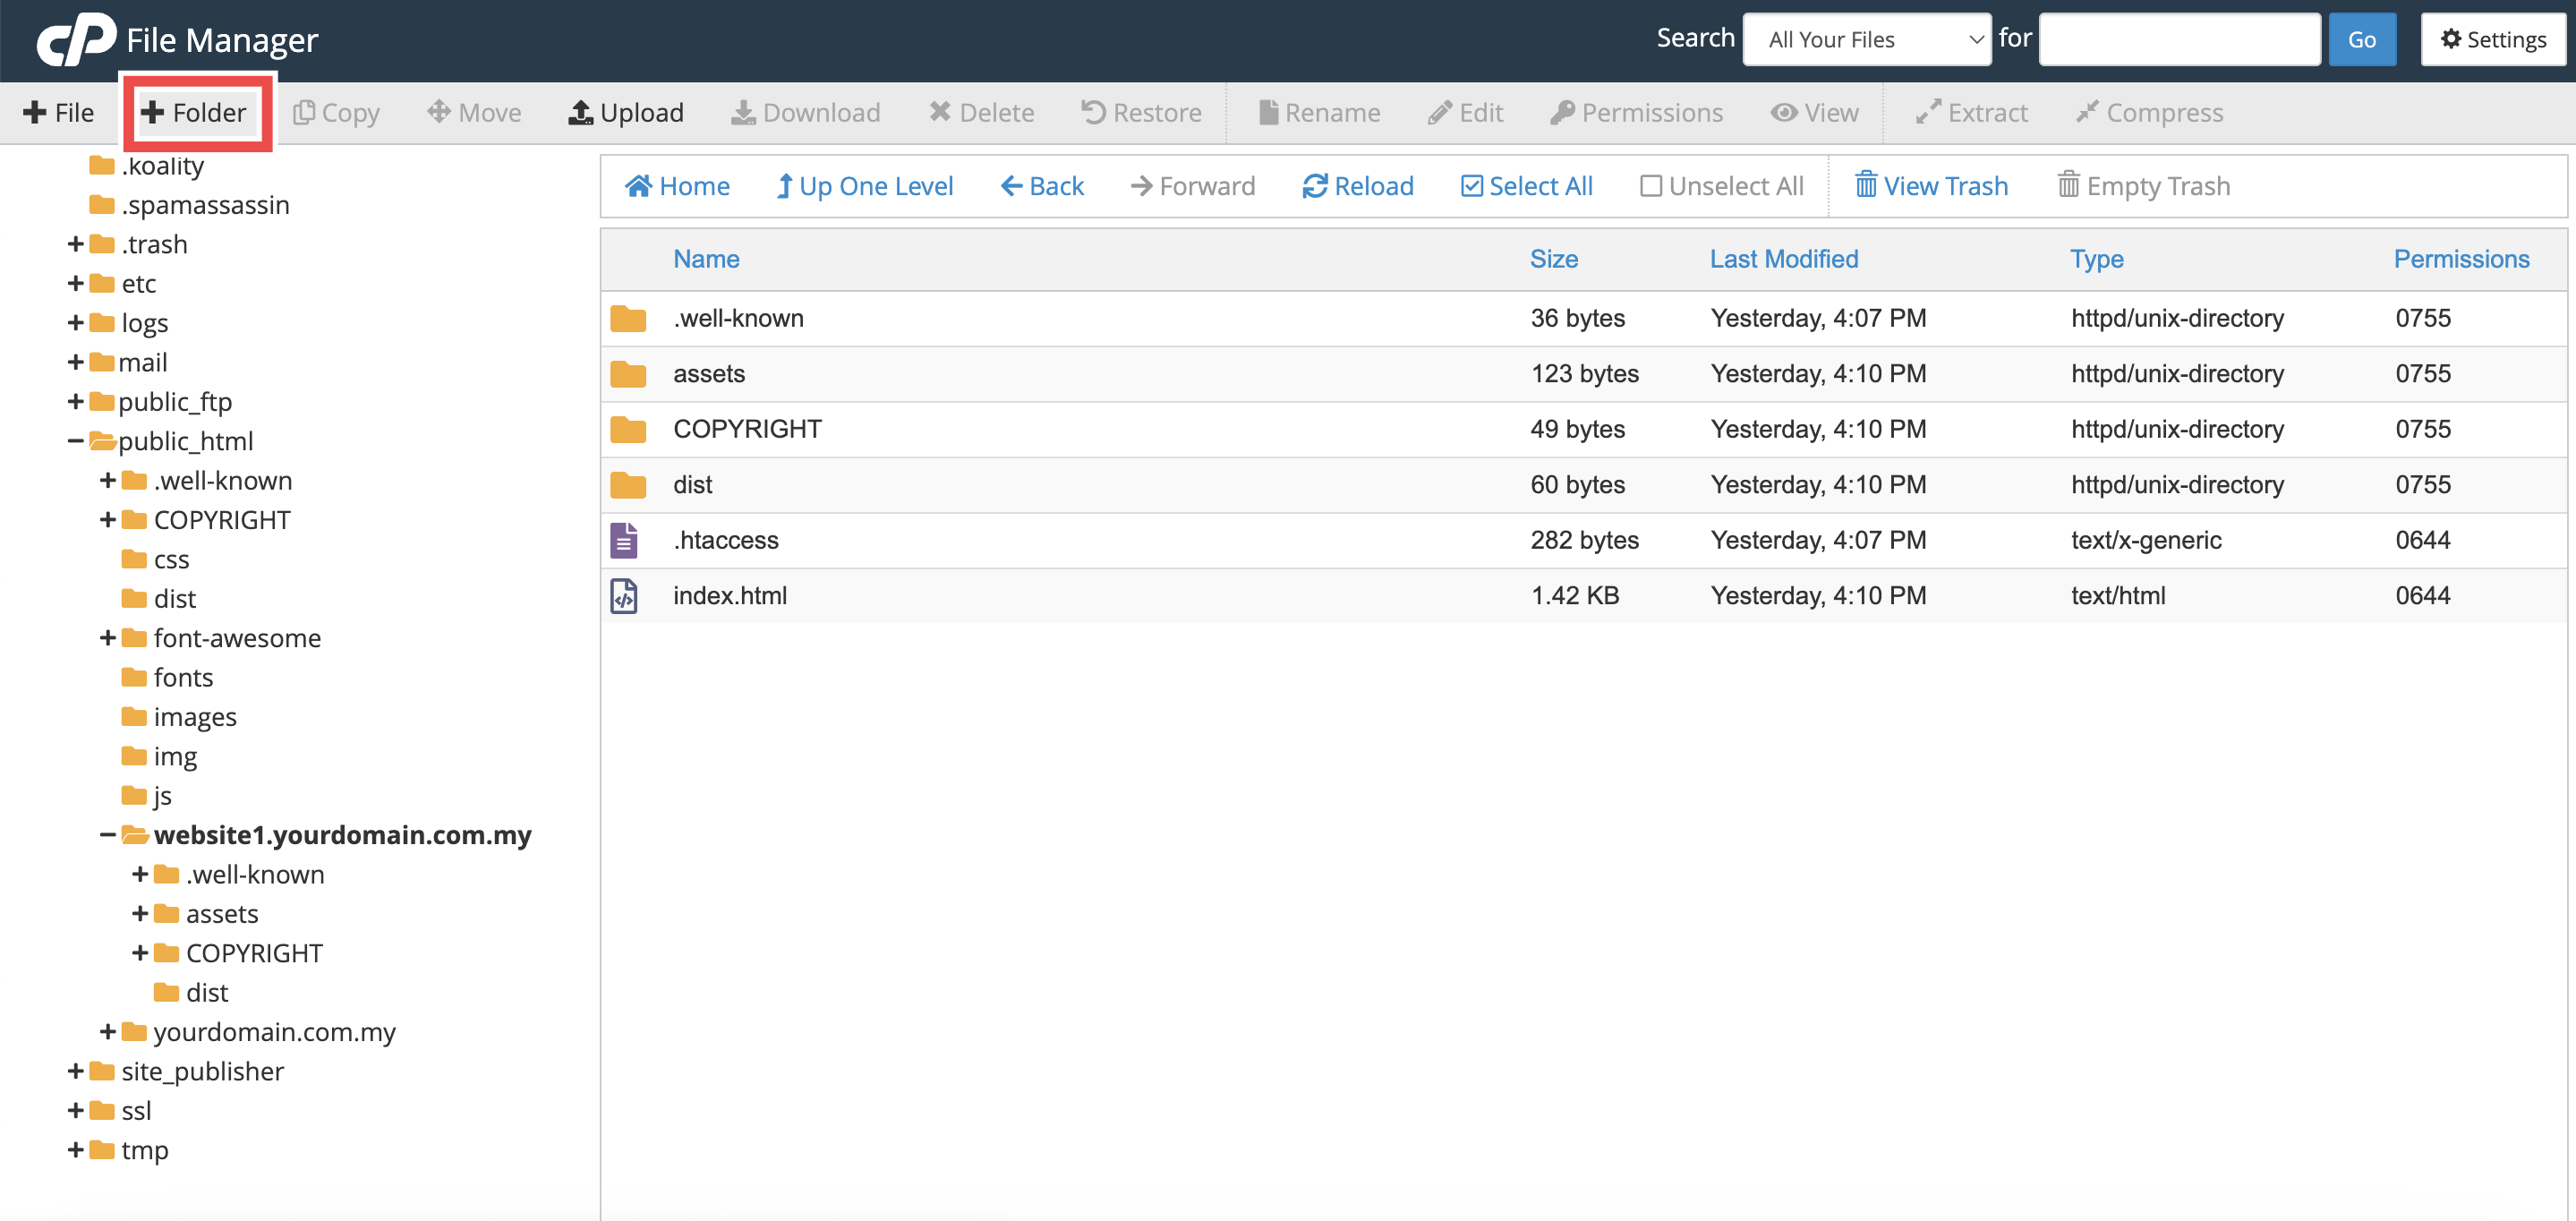
Step 2: Open File Manager
- In the Home page, under Files, click File Manager.
- This will open the File Manager interface.
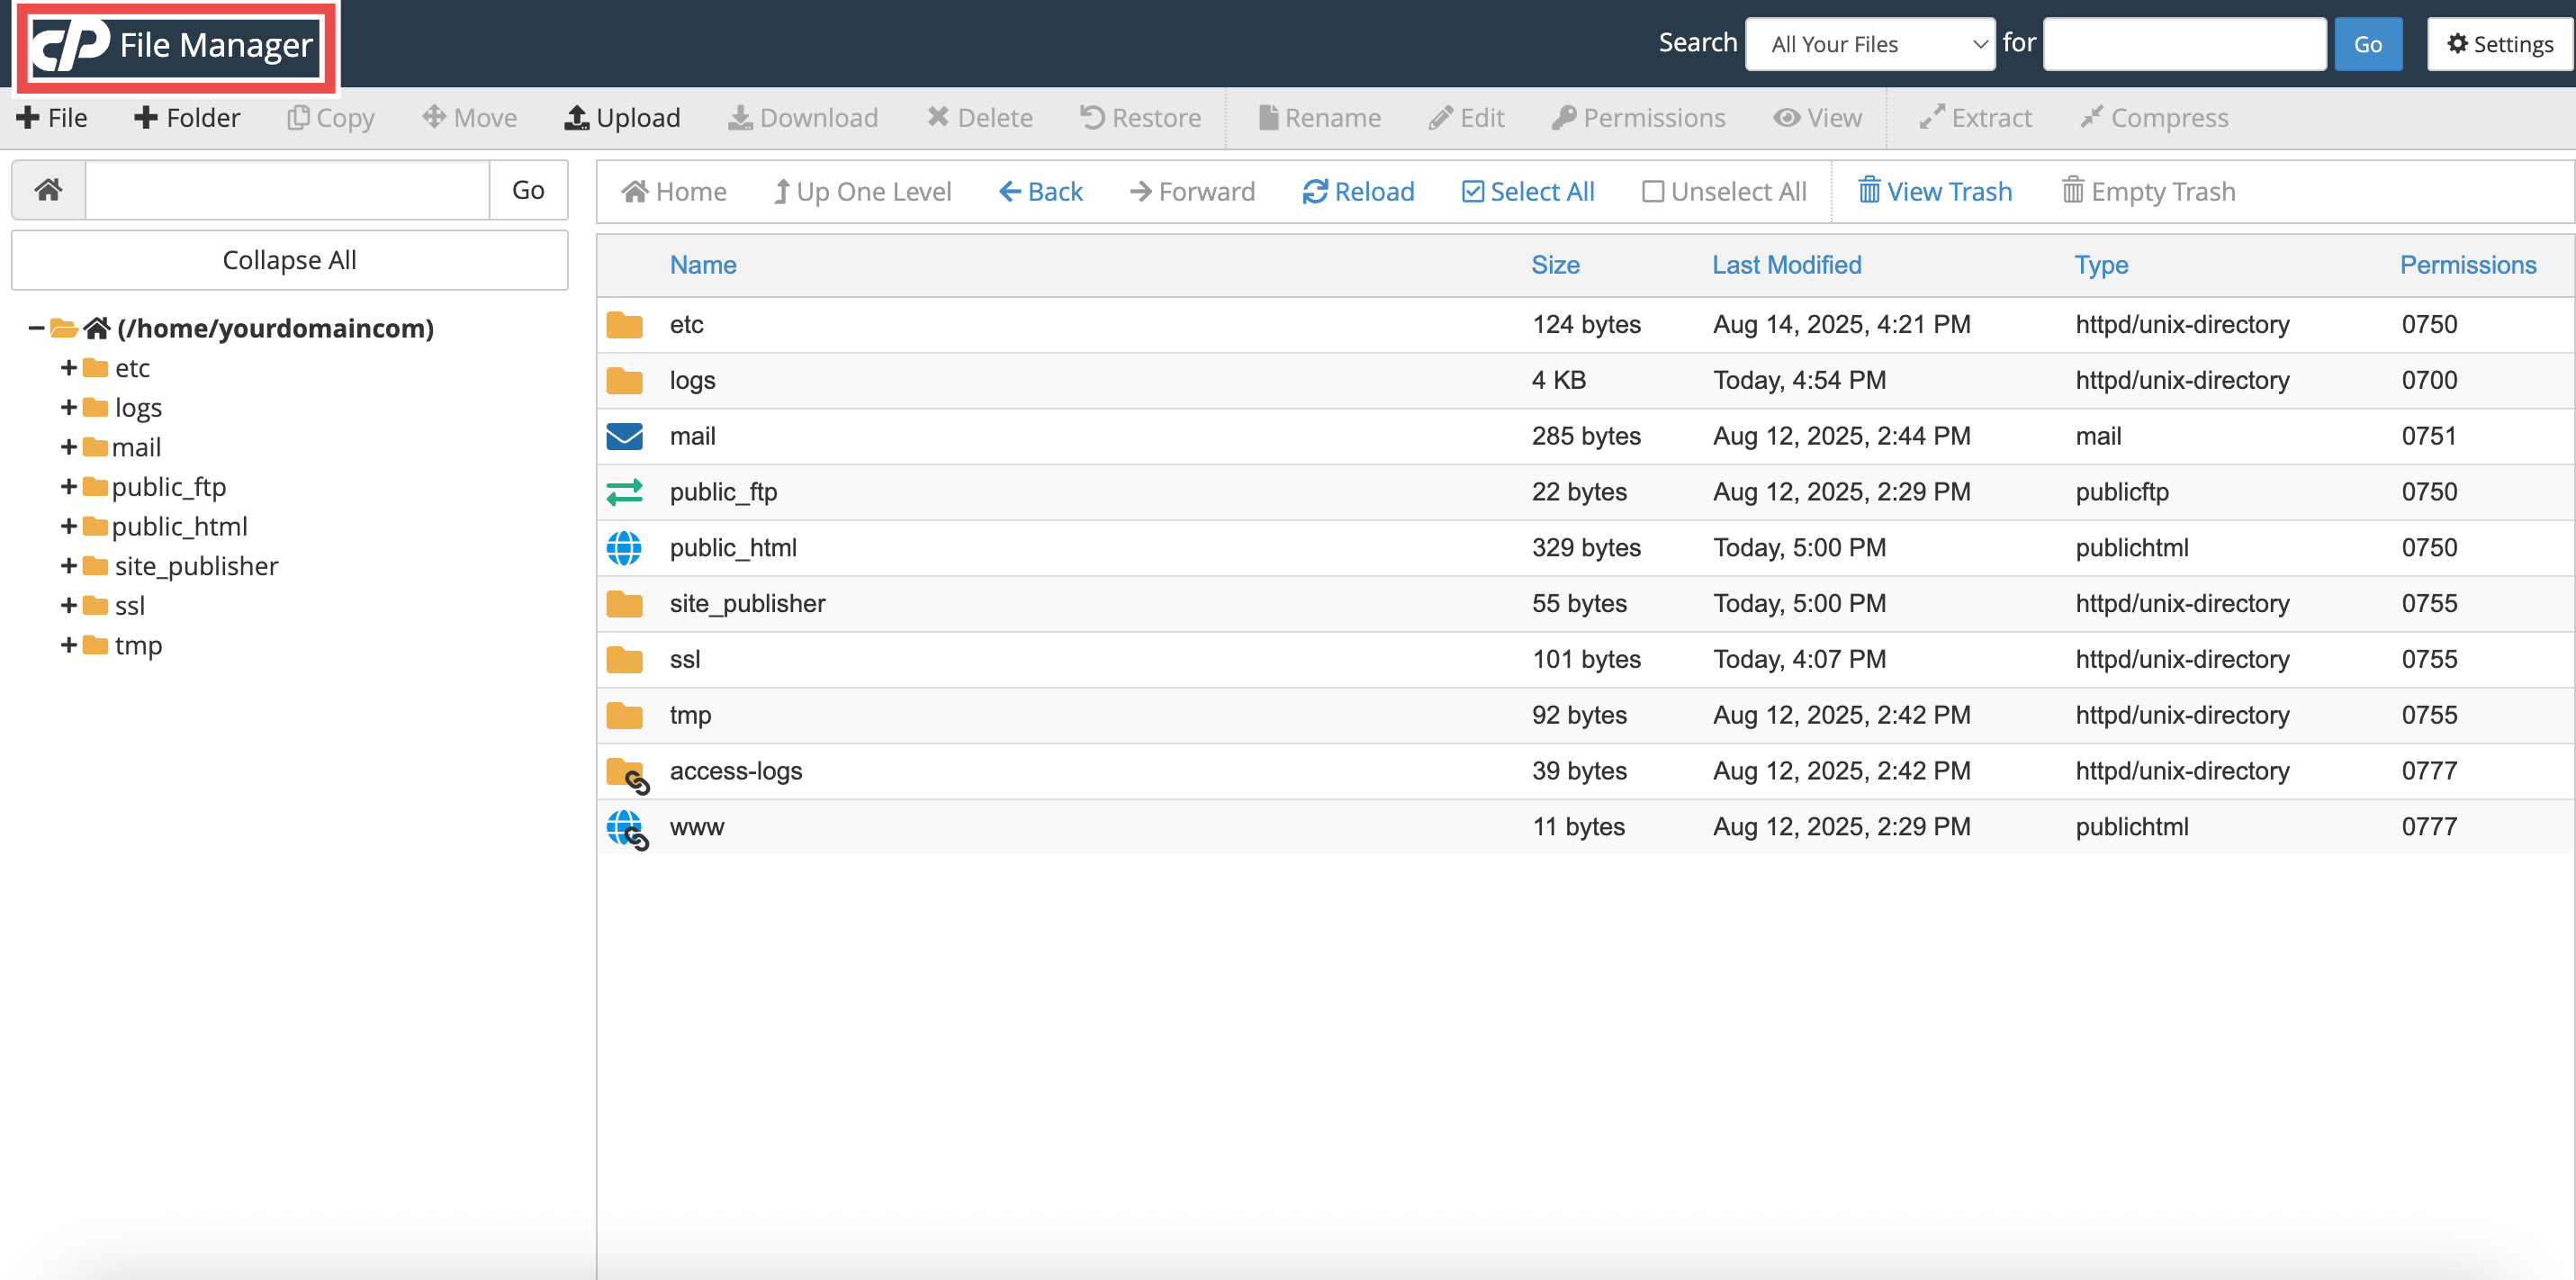
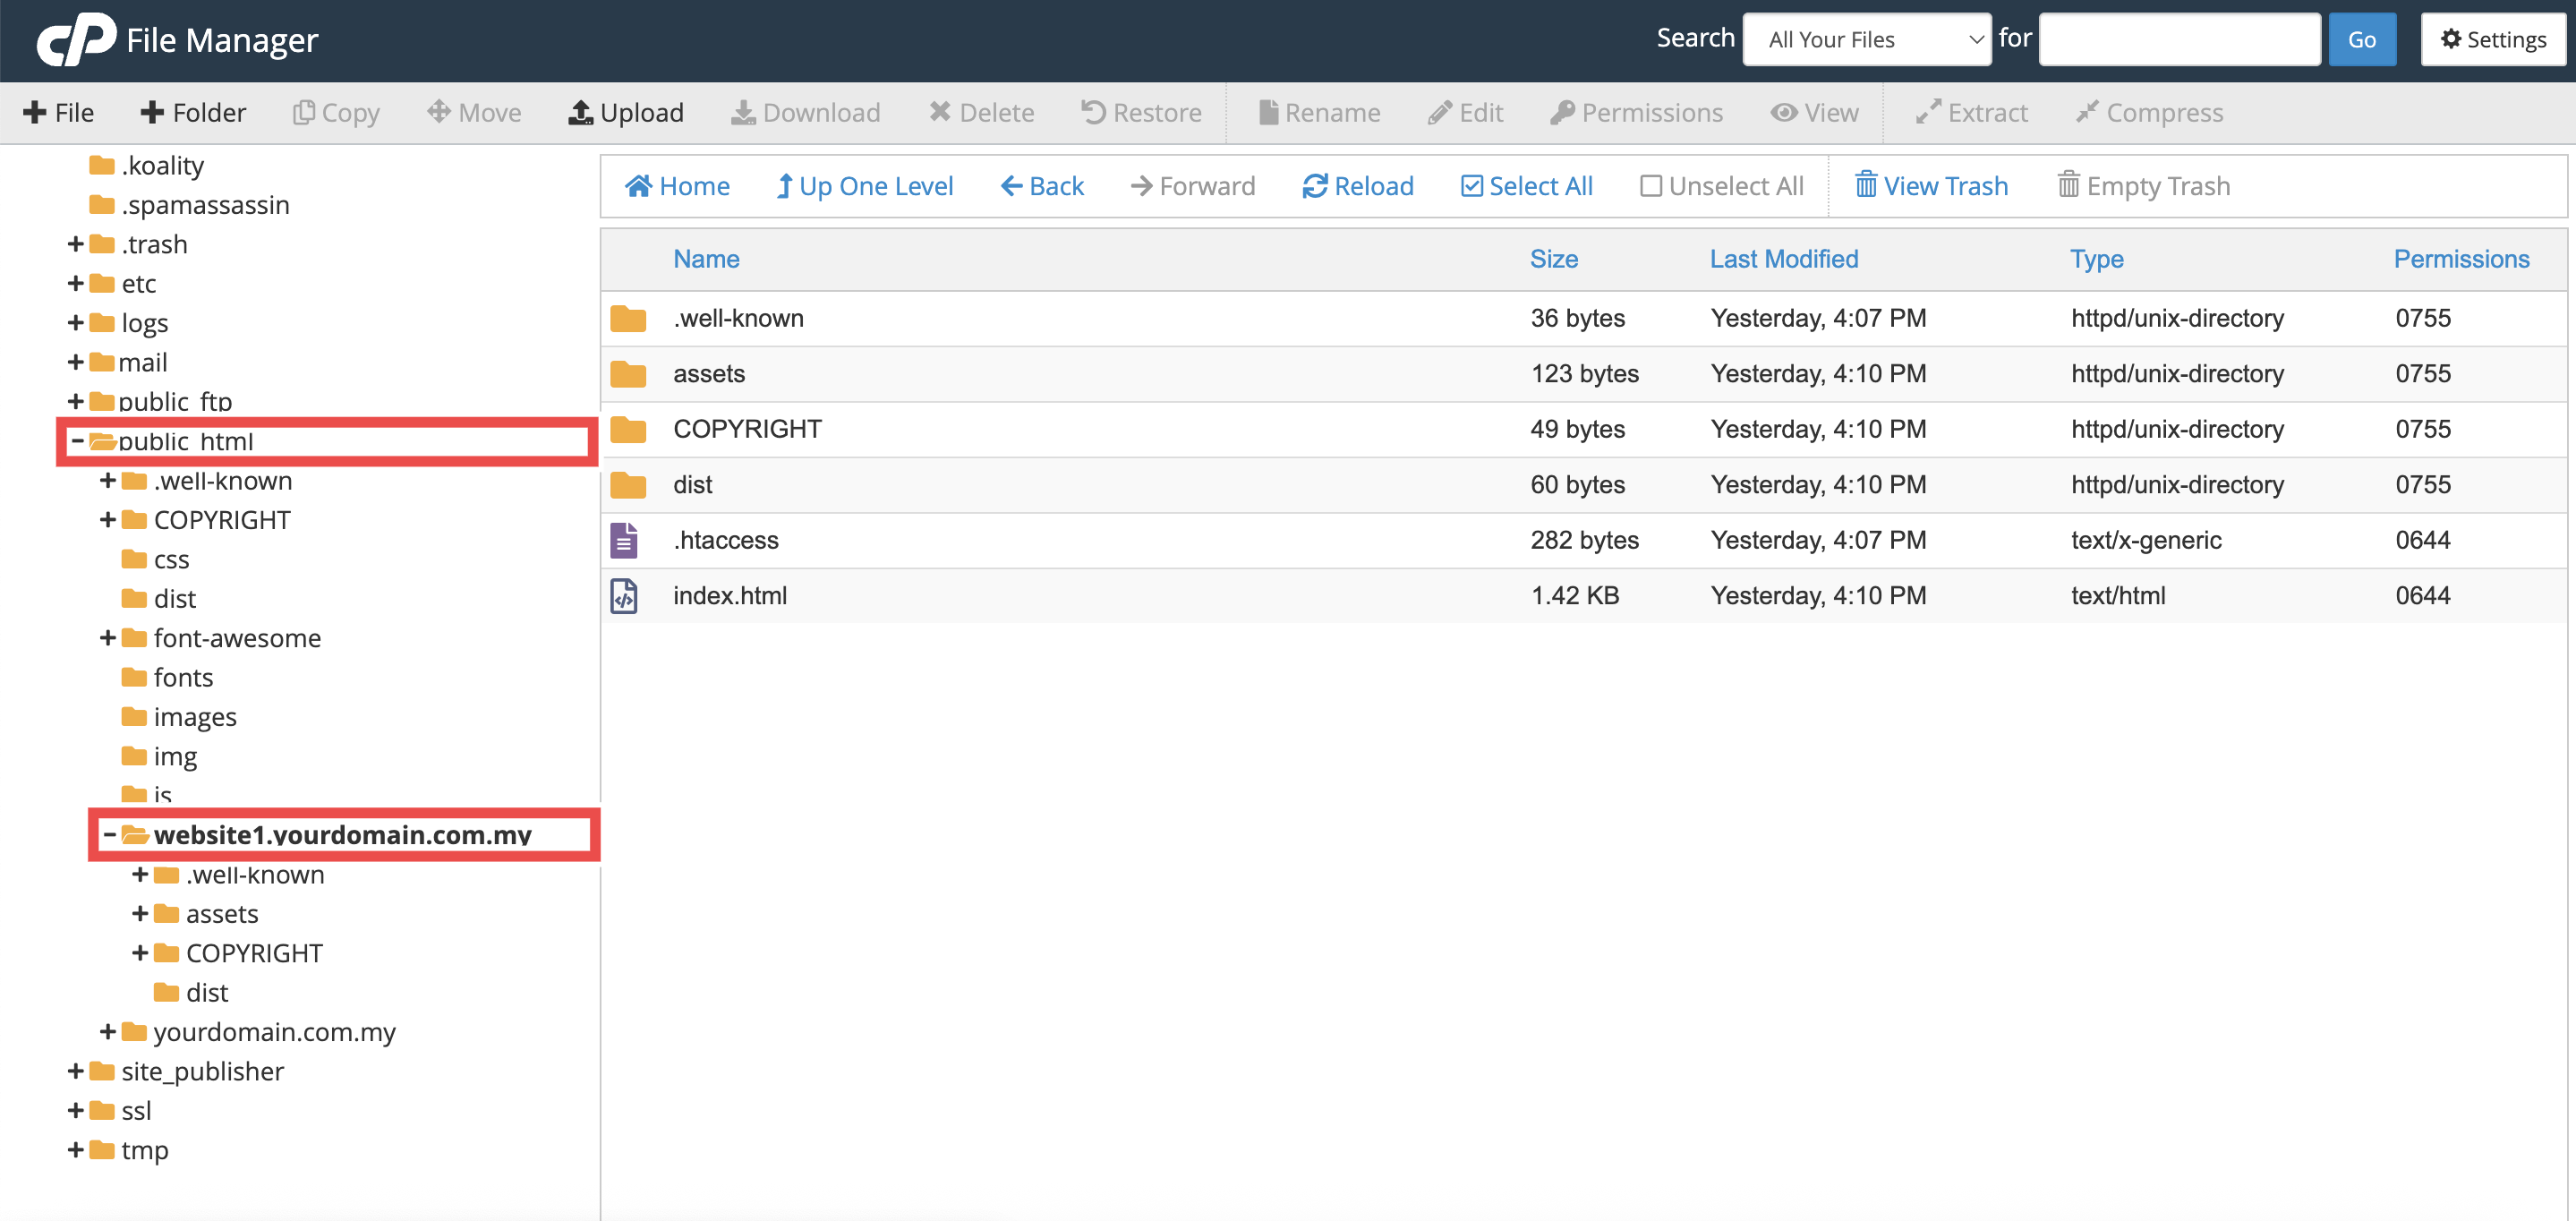
Step 3: Choose the Directory
- Navigate to the folder where you want to create the new folder. For example: /public_html/website1.yourdomain.com.my
Step 4: Create a New Folder
- In the top-left corner, click the +Folder button.
- A New Folder pop-up window will appear.
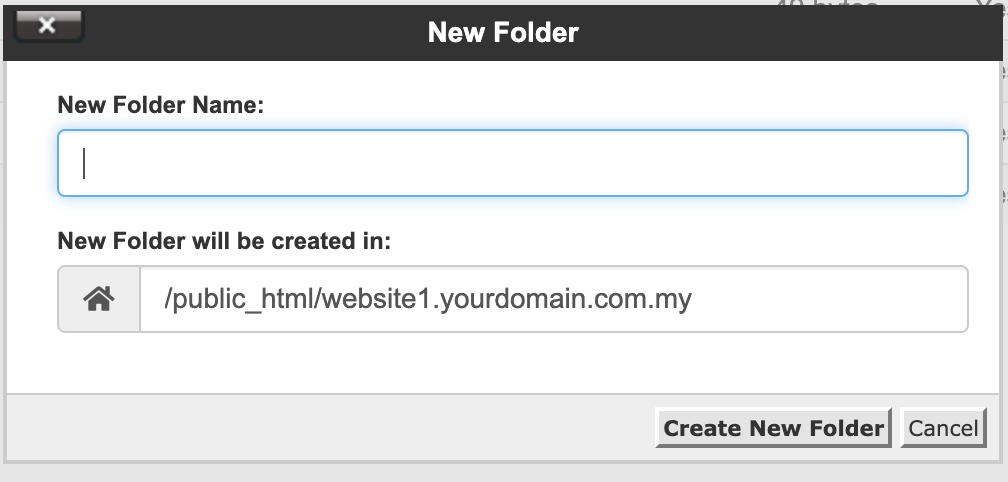
Step 5: Name the Folder and Confirm Location
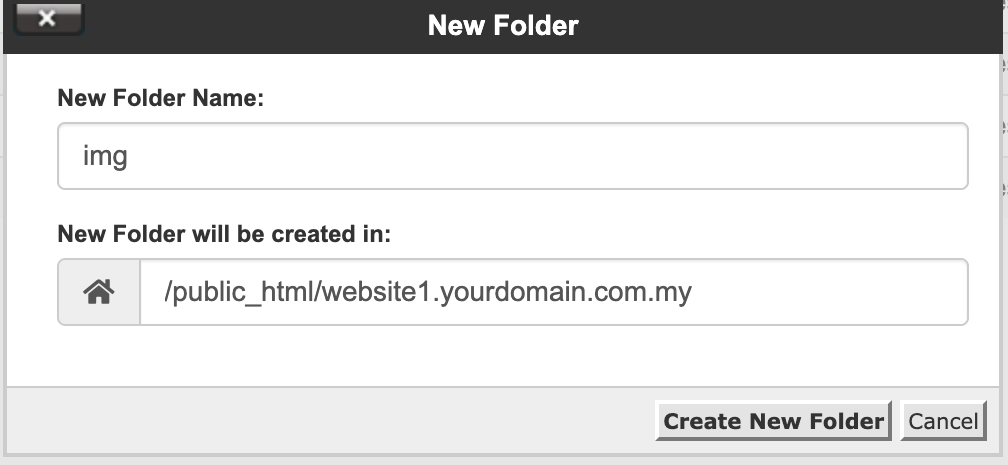
- Enter the folder name. For example: img, css, backup
- Confirm the new folder will be created in the correct path.
- By default this shows the folder you opened in Step 3. For example: /public_html/website1.yourdomain.com.my
- You may change the path here if you want the folder placed elsewhere.
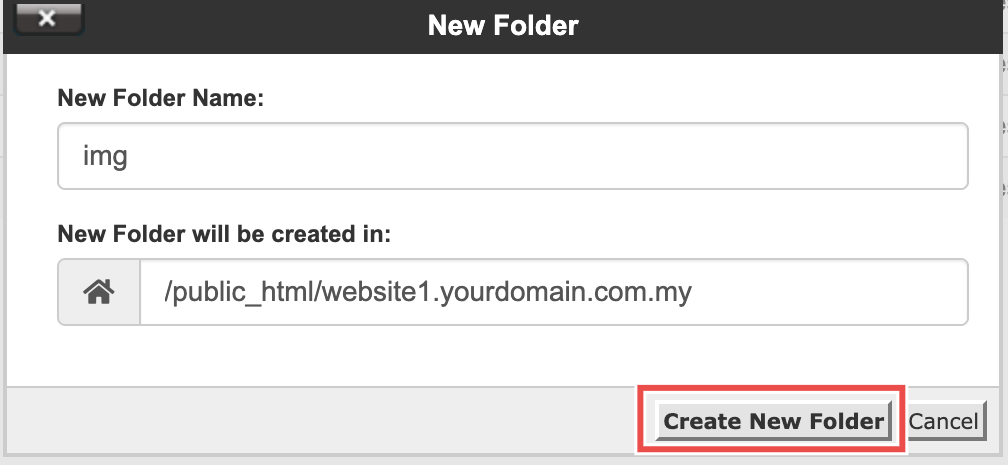
Step 6: Create the Folder
- Click Create New Folder in the pop-up window to create the folder.
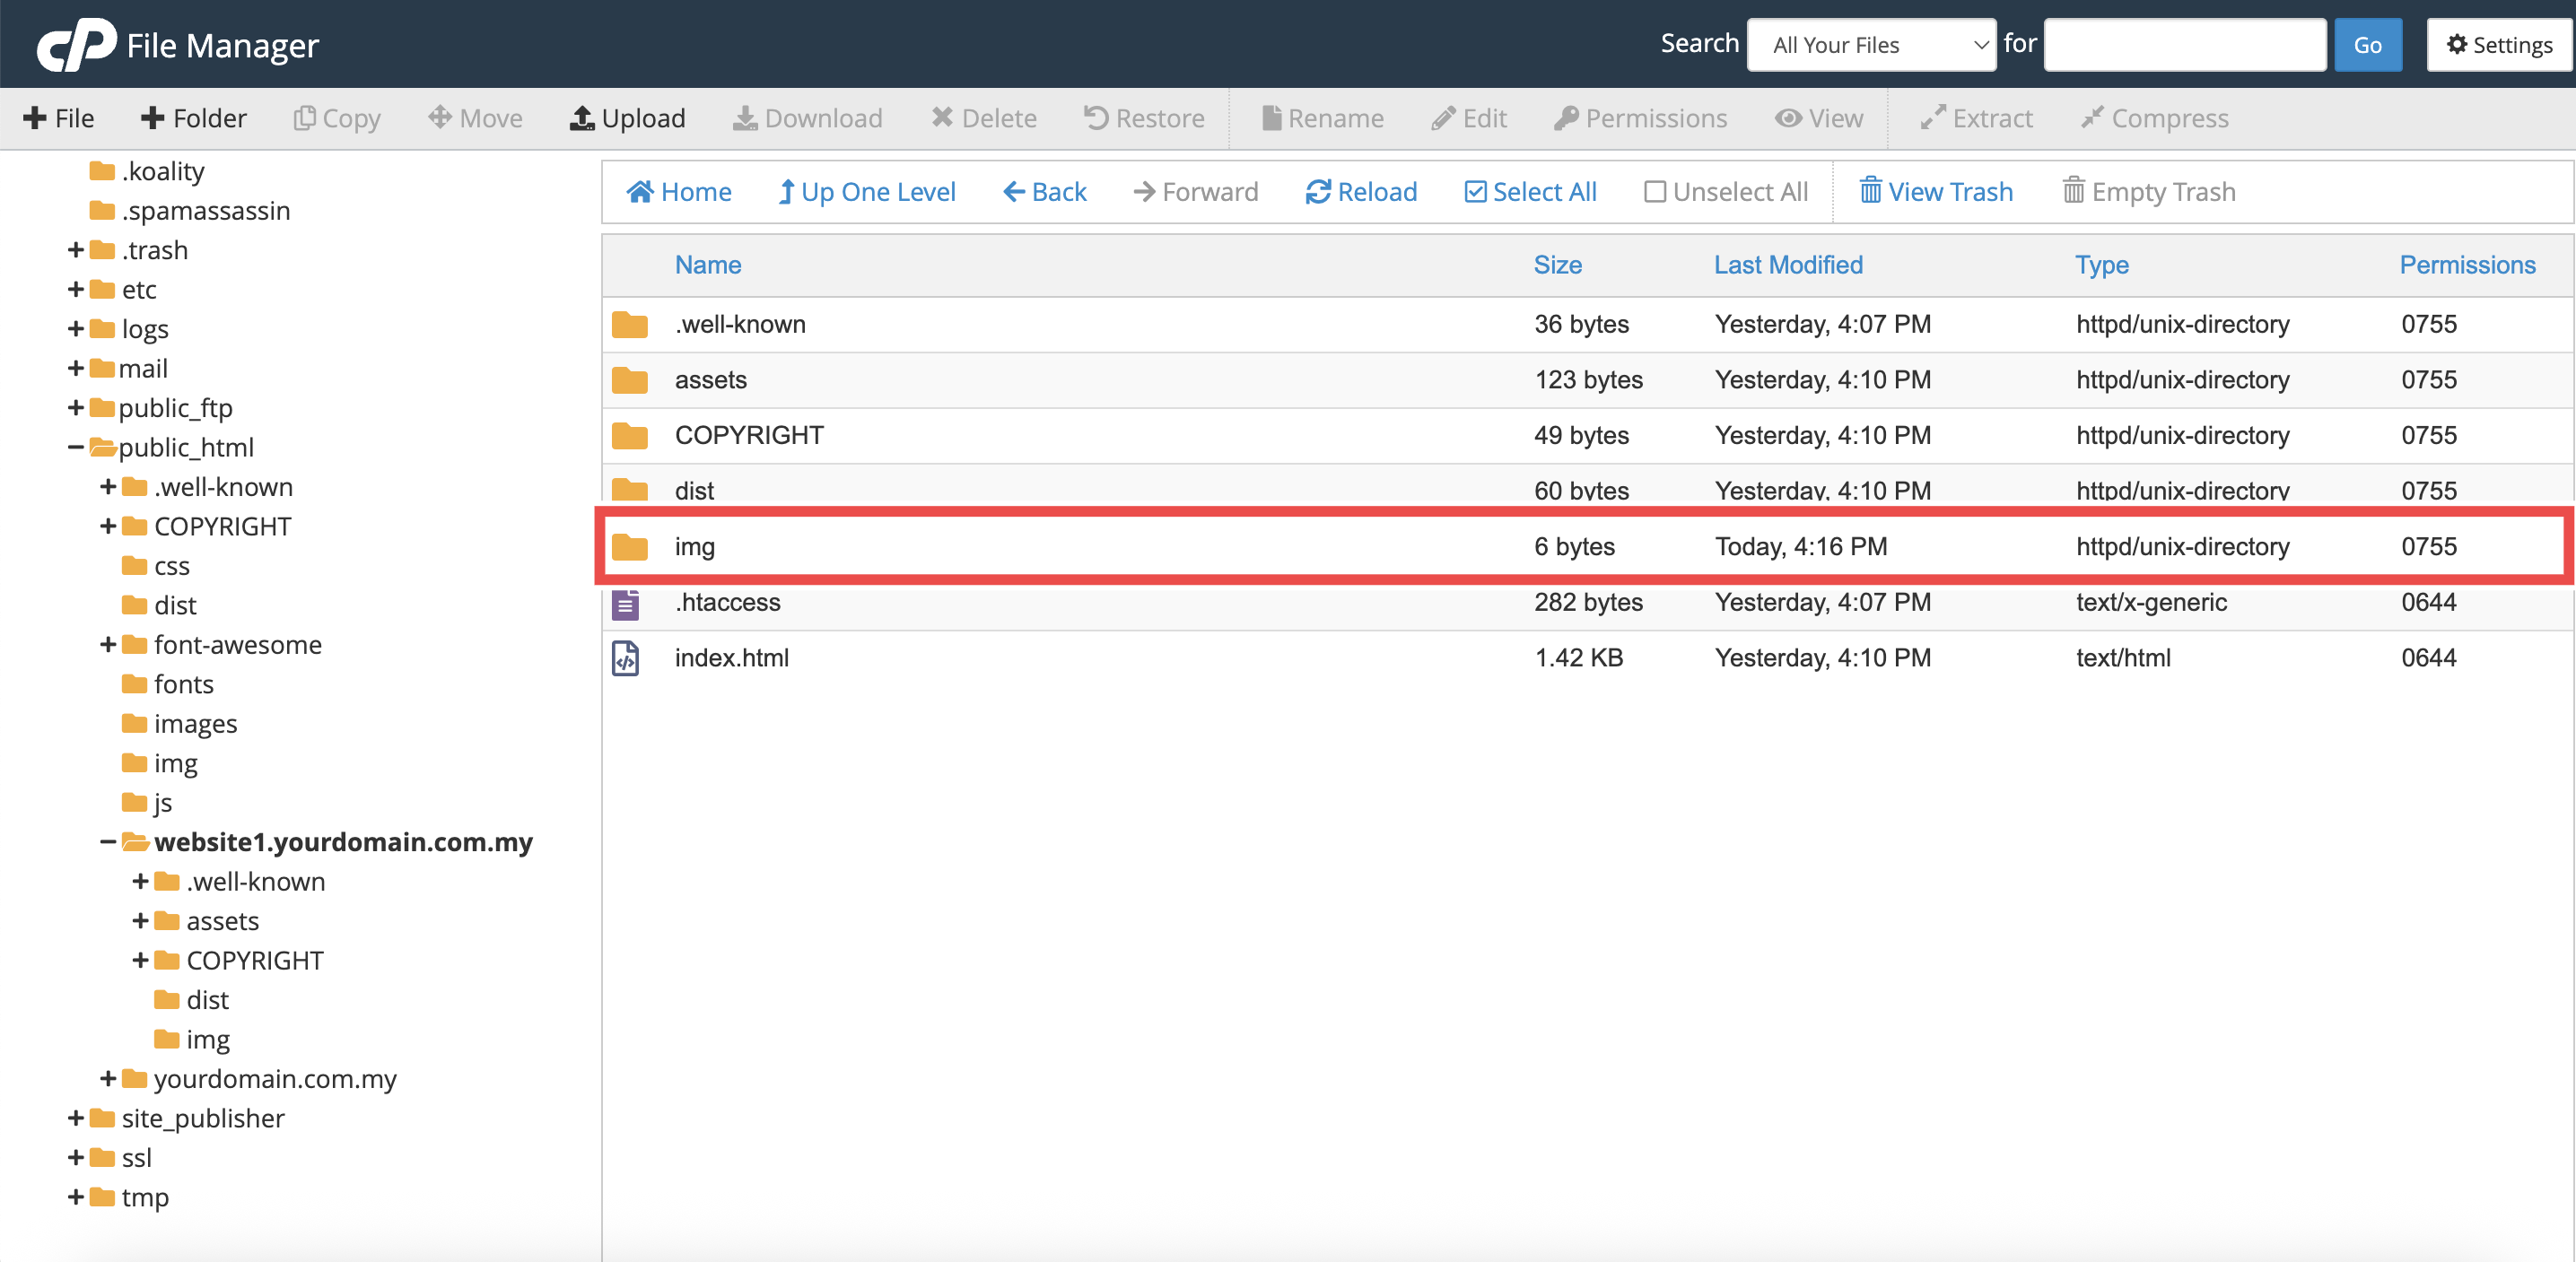
Step 7: Verify the Folder Creation
- Check that the new folder appears in the selected directory.
- If it doesn’t show immediately, refresh your browser or reopen File Manager and navigate back into the folder.
Conclusion
By following these steps, you can easily create new folders in File Manager (cPanel) to better organize your files and website content.
Should you encounter any issues or have any questions, our support team at IPSERVERONE is always here to assist you. Don’t hesitate to reach out to us at support@ipserverone.com for any help you need.